
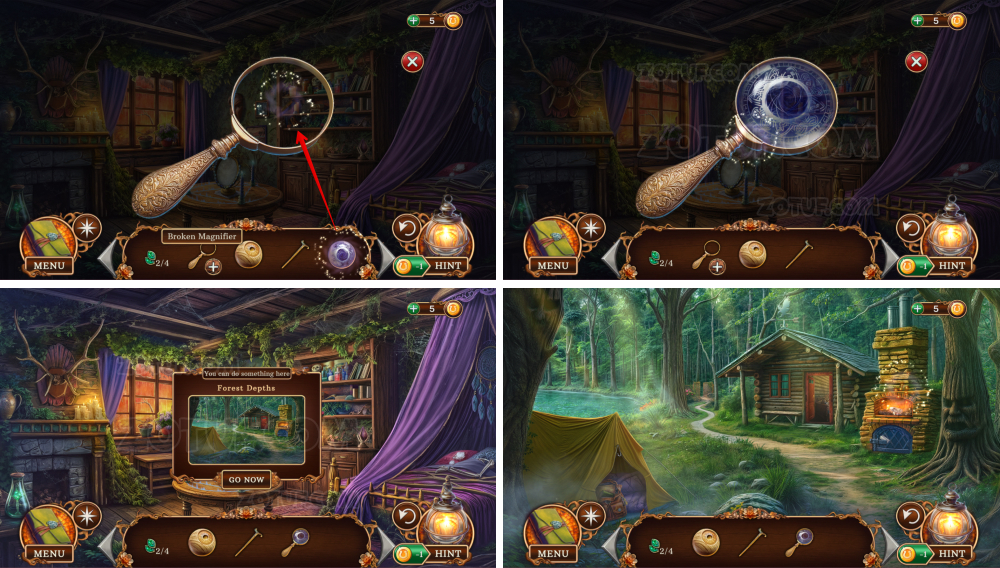
Icebound Secrets 2: Soul Hunter – A mystical adventure in which you once again find yourself on the edge of two worlds. The detective faces an icy threat, but now in an even more dangerous place: an upside-down world inhabited by dark fairies and lost souls. Defeating the Winter King was only the beginning; the portal pulls you into a distorted dimension from which there is no way back. Here, the Three-Eyed Faun reigns, a monster hungry for souls, watching your every move. In this world, nothing makes sense: frozen cities, cursed forests, ice-covered towers, and ruins hide suffering souls that need to be freed. You will have to communicate with spirits who have lost their memories, use astral beads to maintain contact with reality, and decipher runes that open the way to salvation. The prophetess Amanda comes to your aid once again, guiding you through dangers, warning you that spirits can be treacherous, and advising you to trust only proven signs. Some ghosts remember who they were archaeologists, travelers, seekers and ask for peace, but others keep secrets. You must figure out how to get to the other side and free them before Faun consumes all living things. With each secret revealed and each spirit saved, you get closer to solving the mystery, but time is running out, and the master of these lands does not tolerate interference. His wrath is near. If you can’t solve any of the puzzles or don’t know where to find the items, you can check out the walkthrough for Icebound Secrets 2: Soul Hunter on our website and save both other people’s souls and your own.
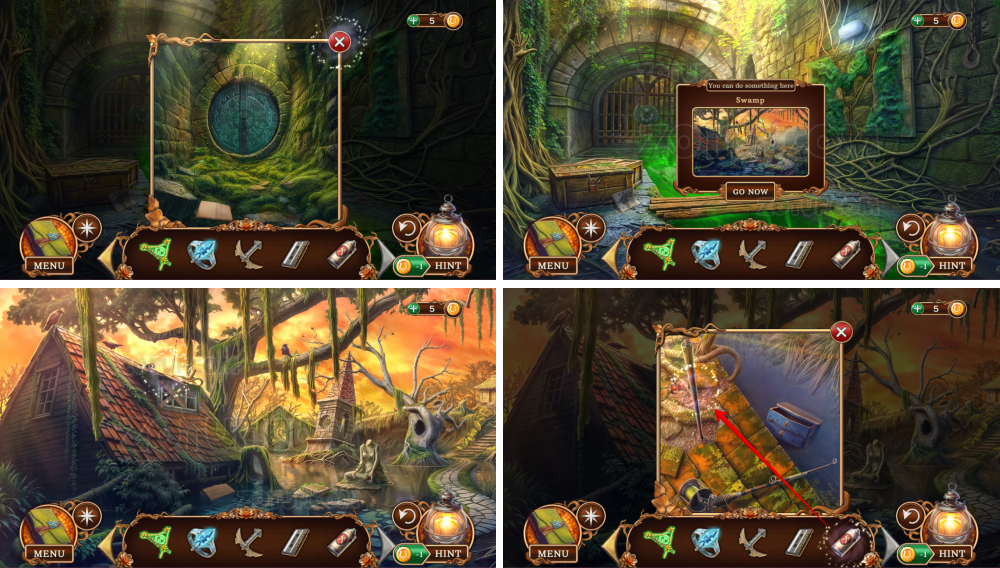
Icebound Secrets 2: Soul Hunter – Walkthrough
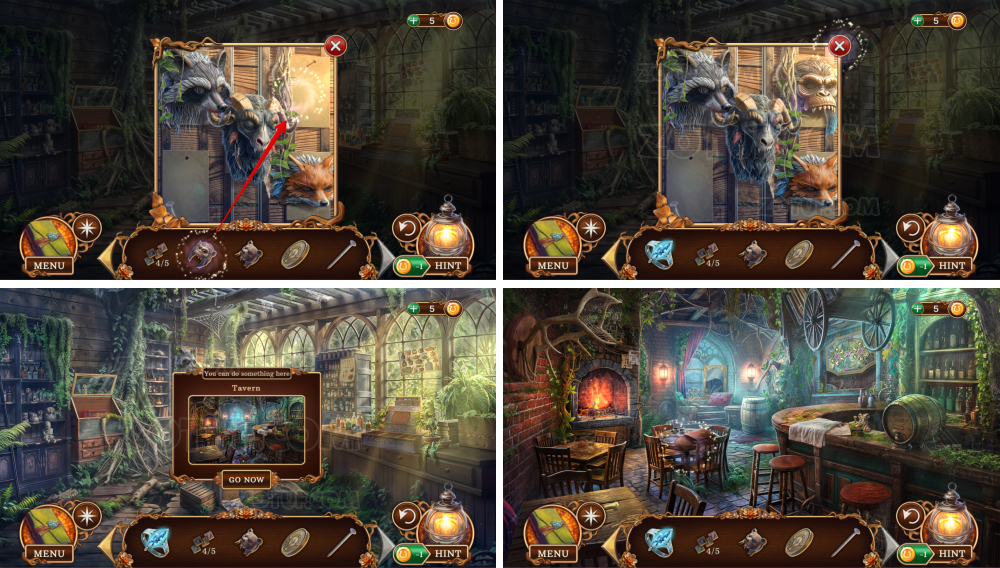
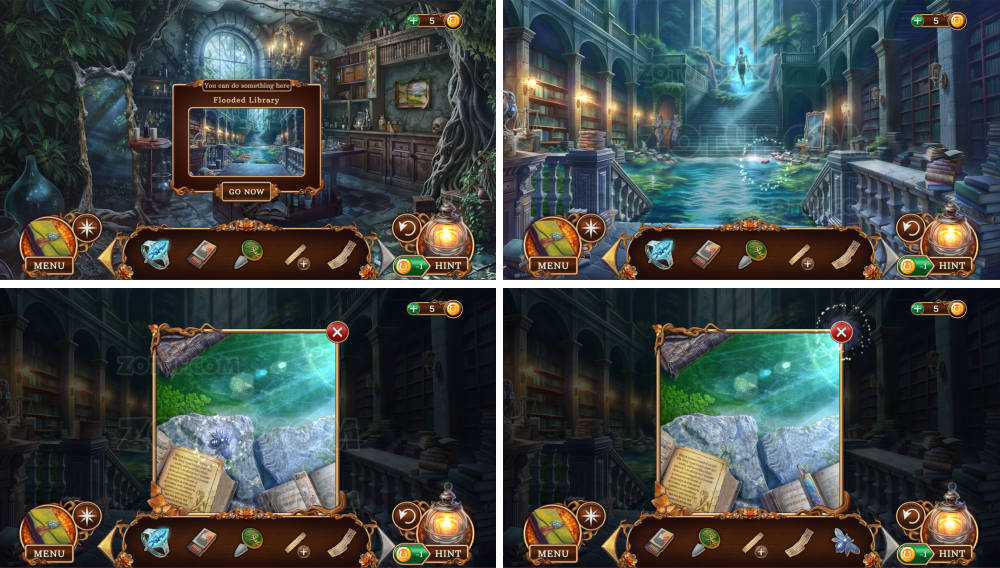
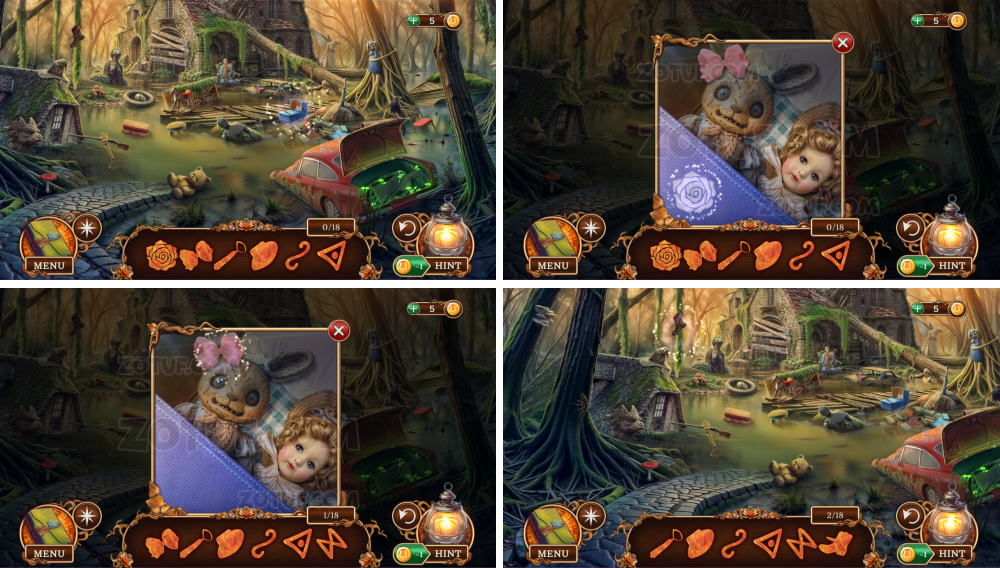
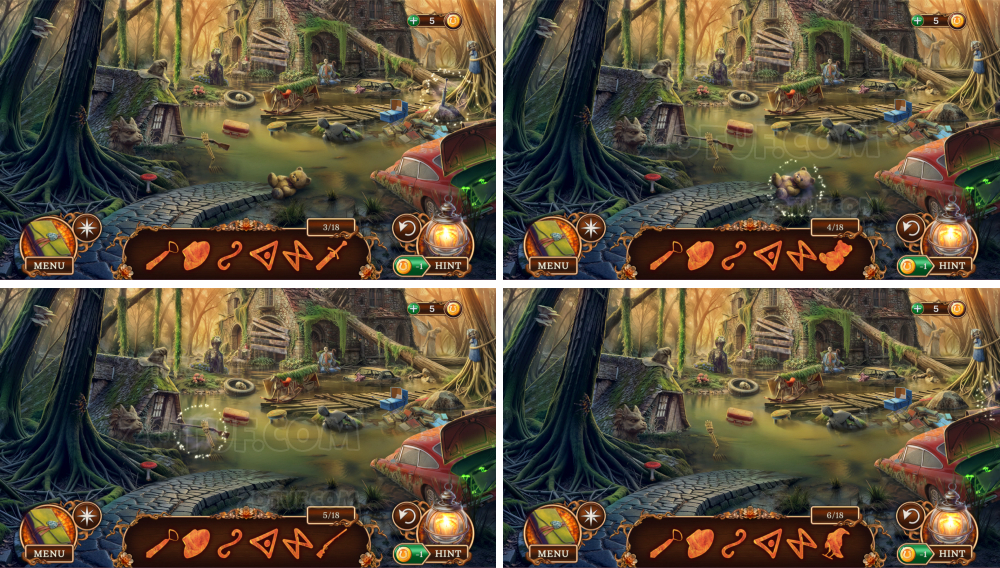
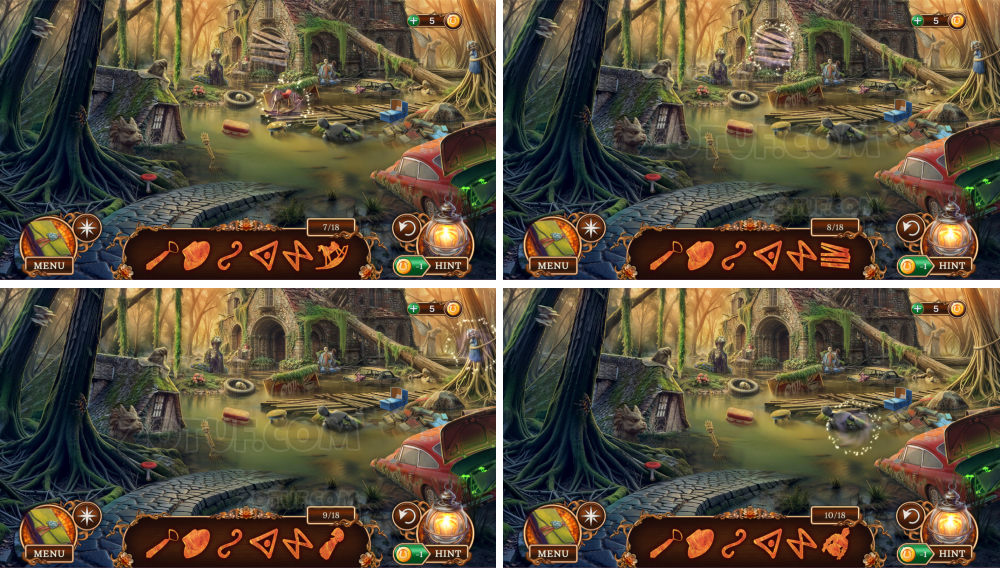
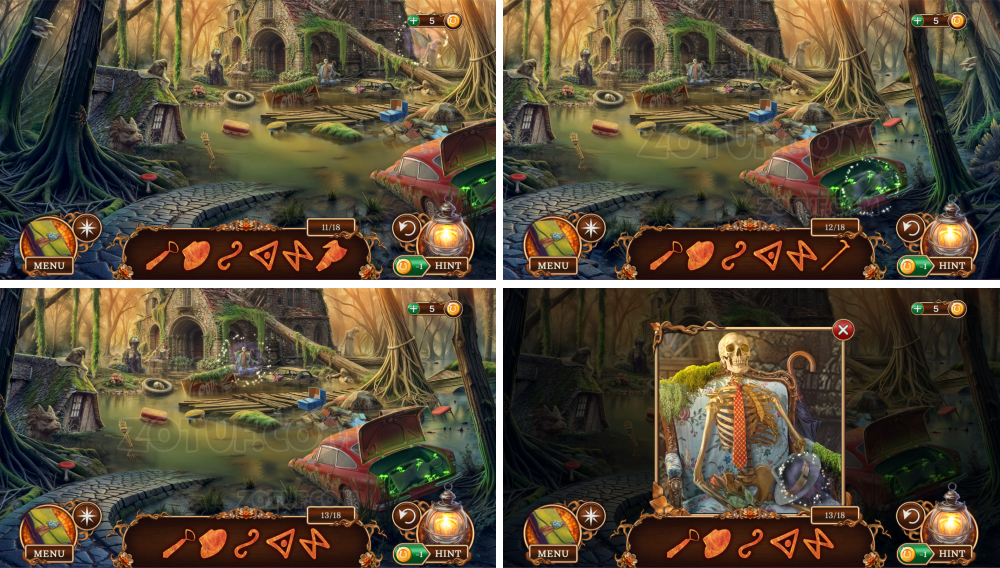
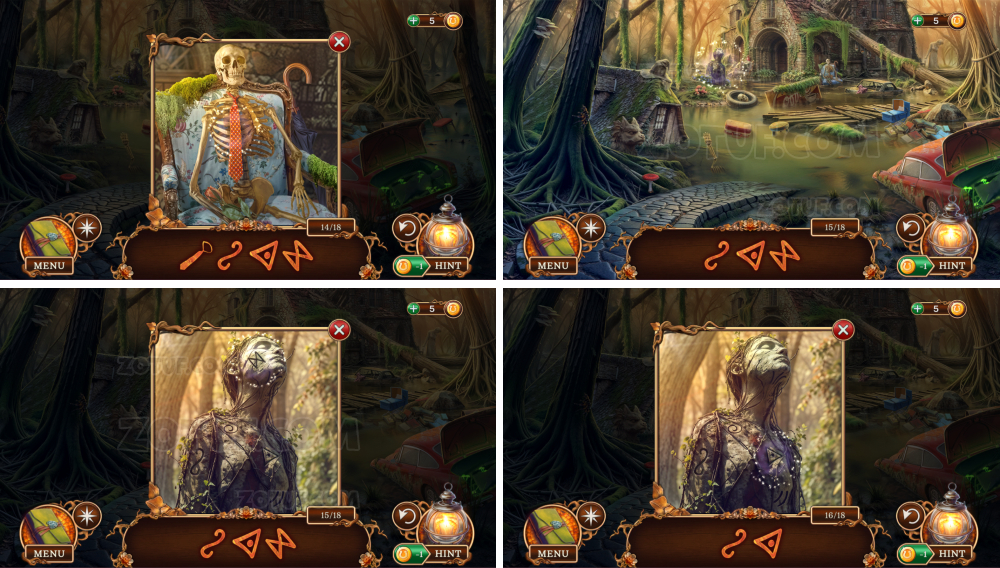
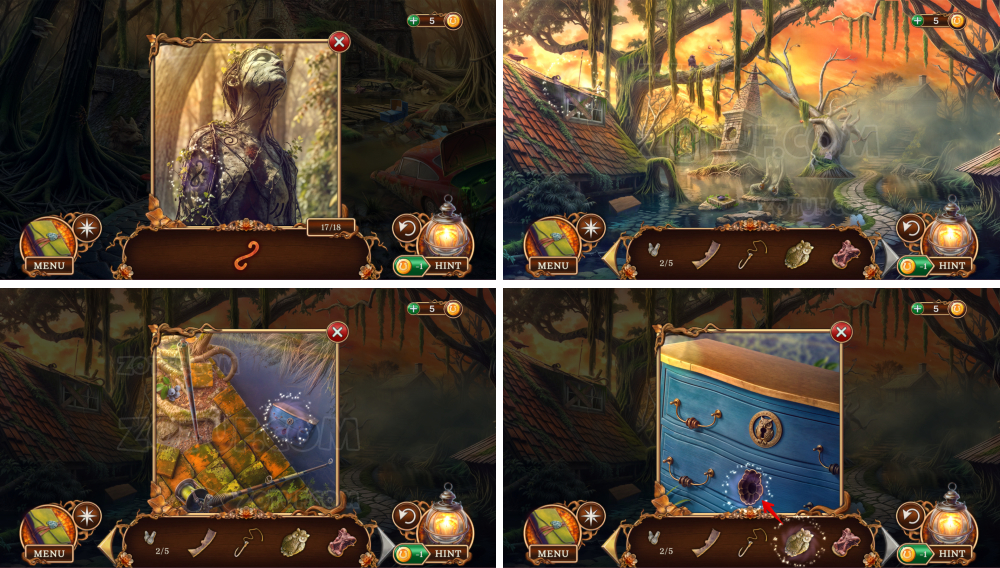
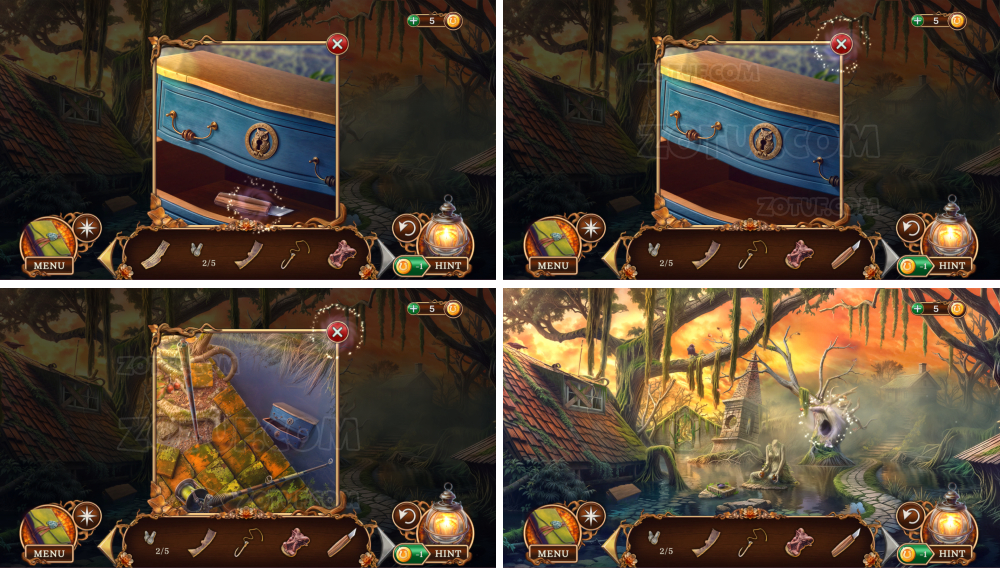
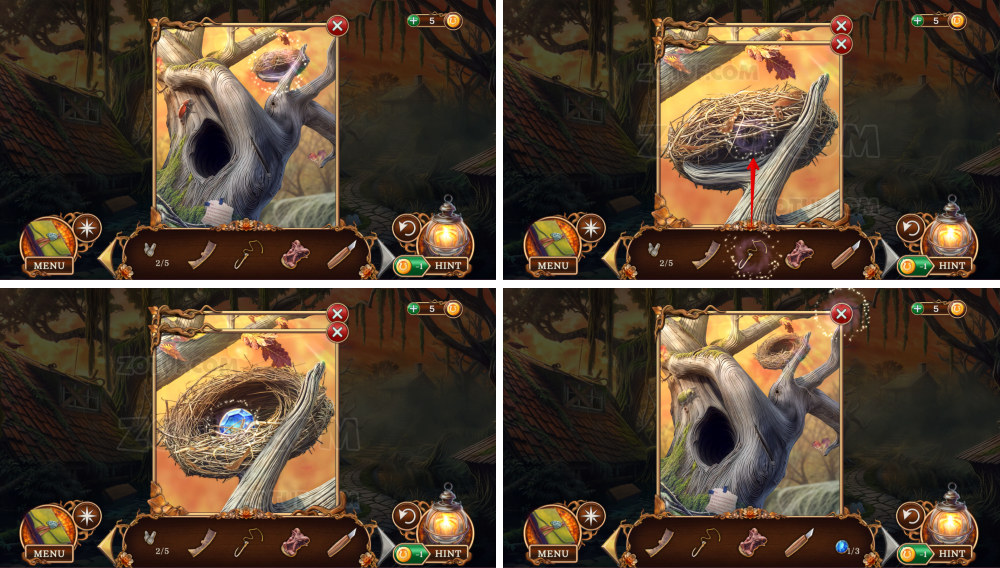
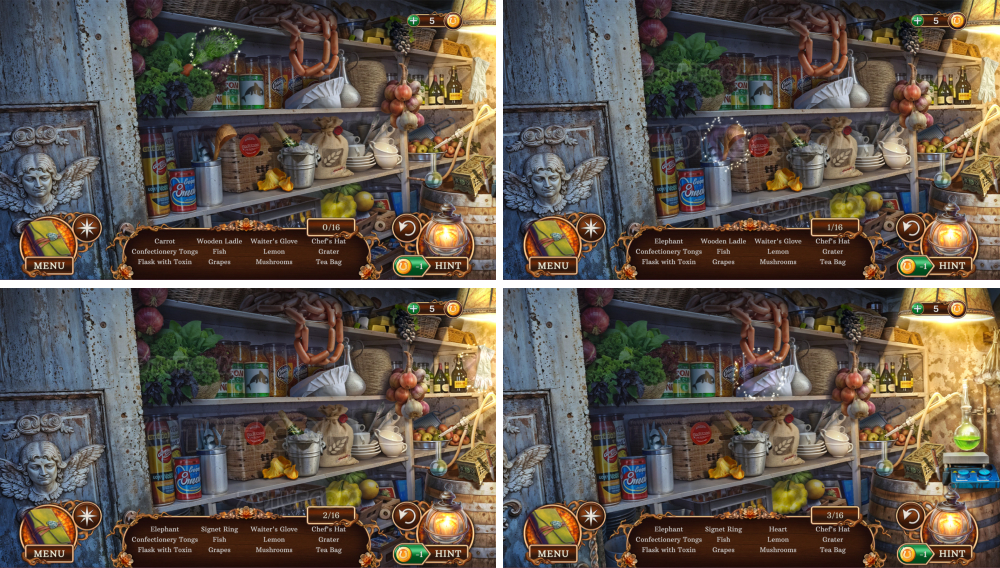
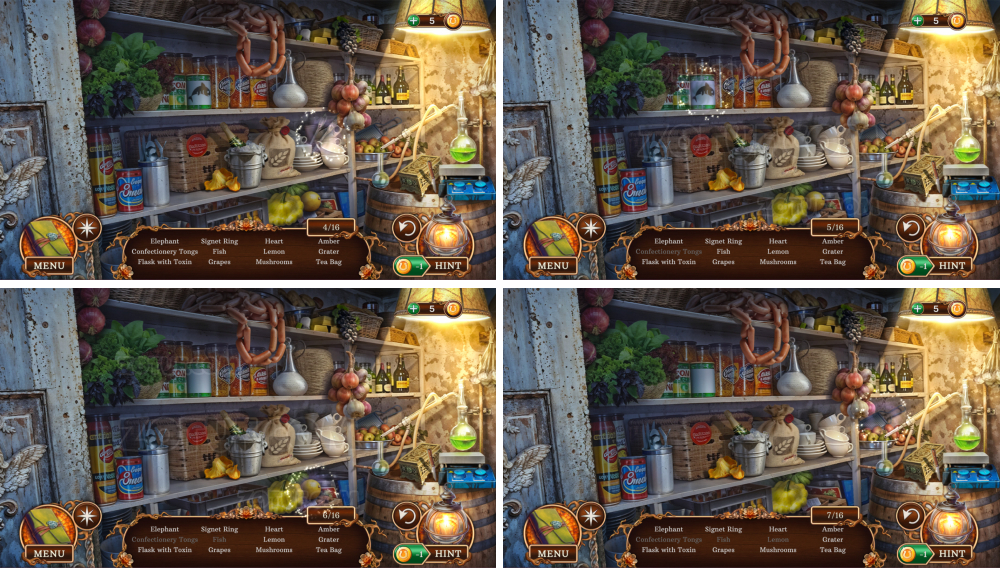
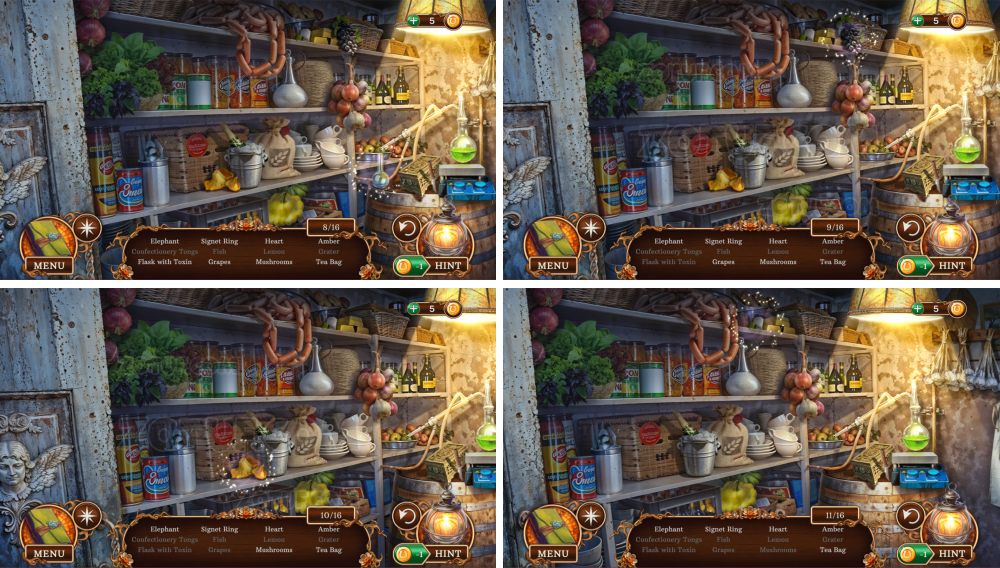
Here you can see the complete walkthrough for Icebound Secrets 2: Soul Hunter, including all chapters, in pictures.
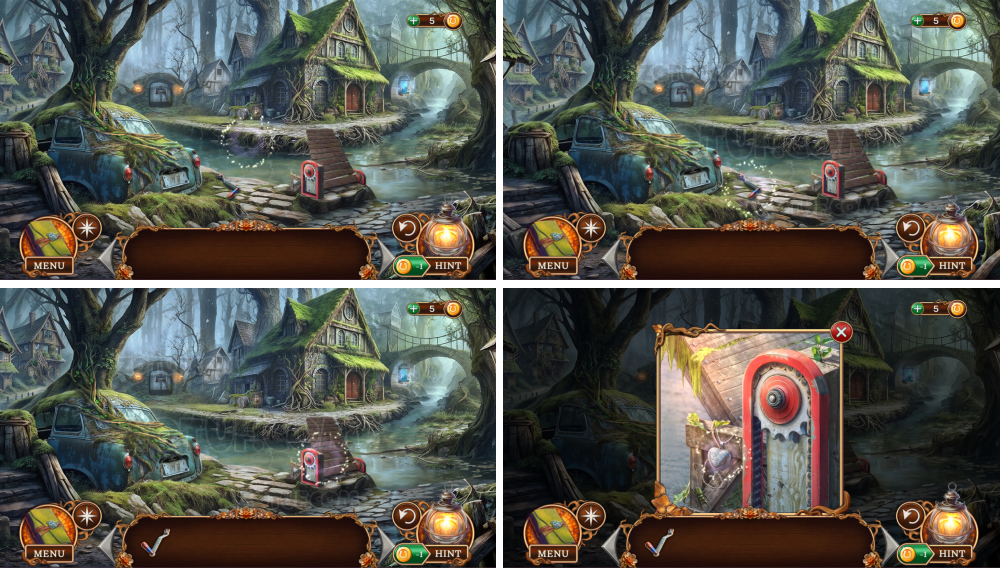
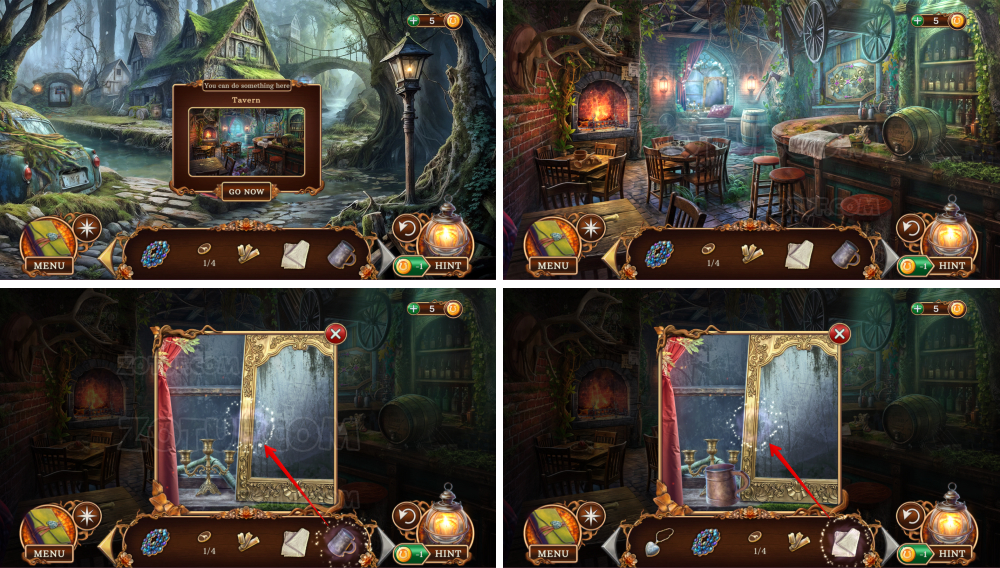
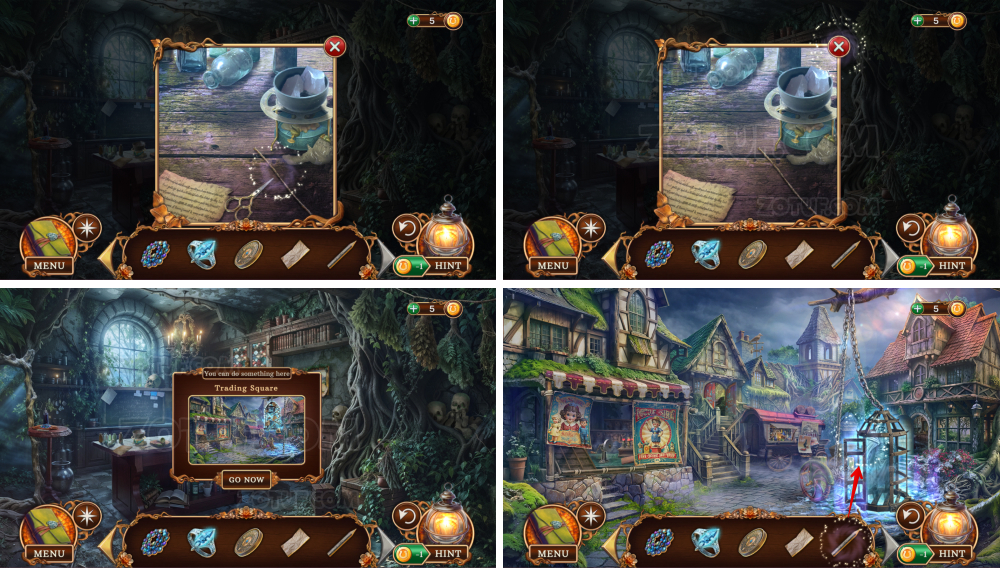
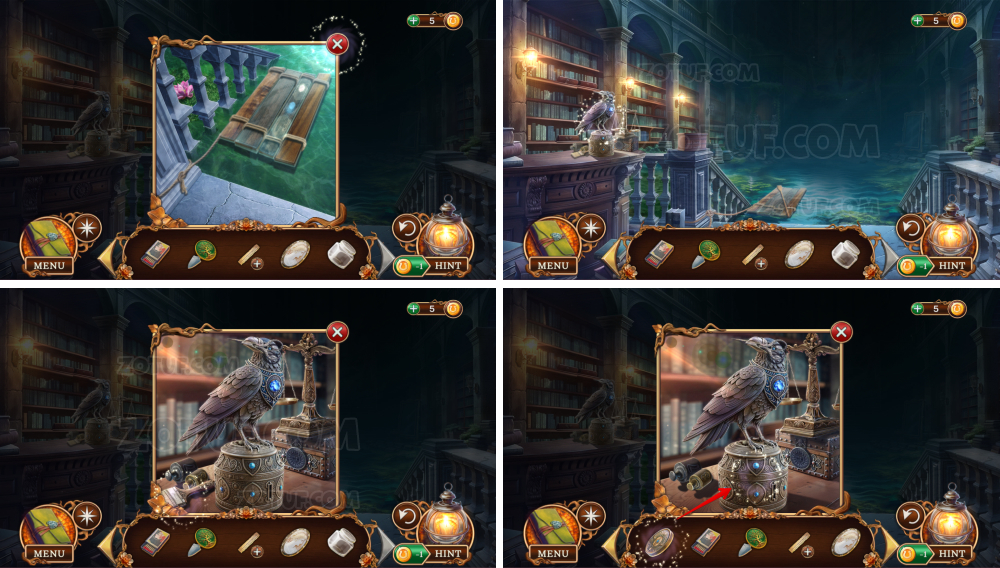
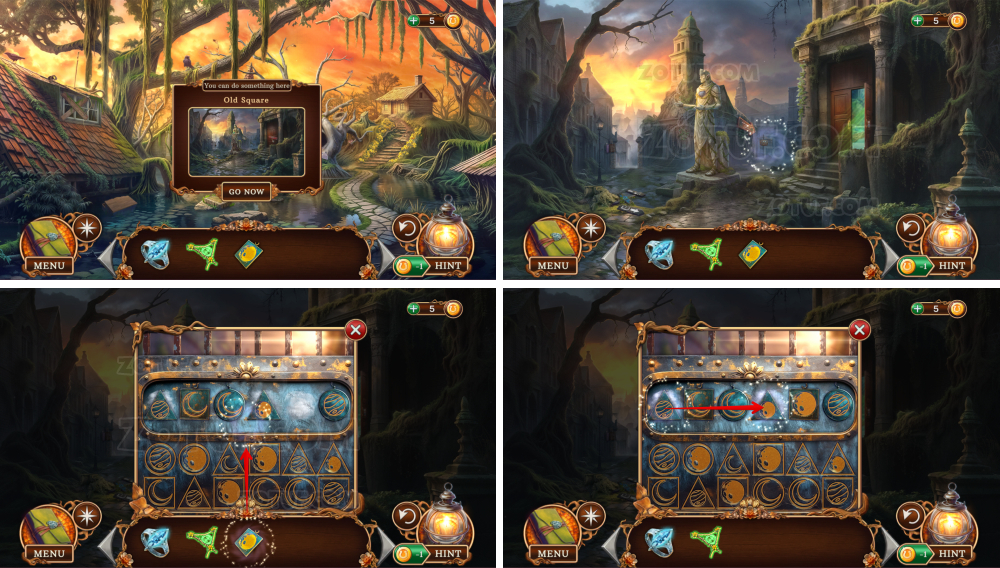
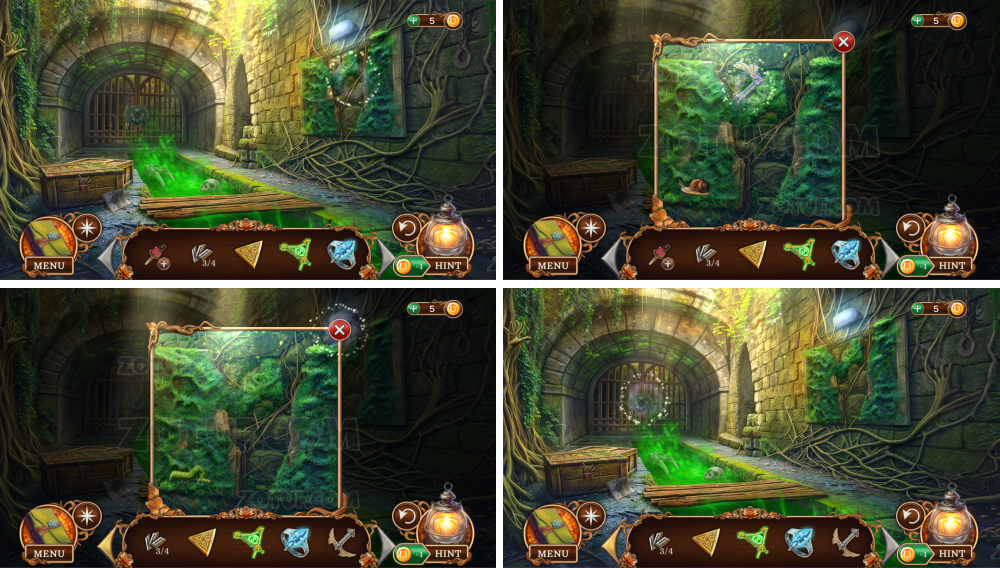
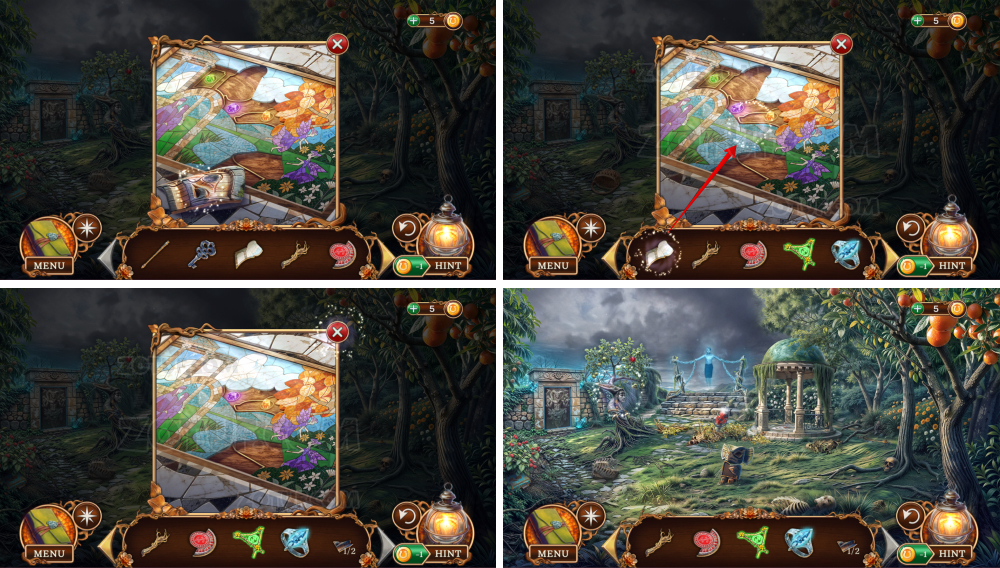
- Take the bridge lever.
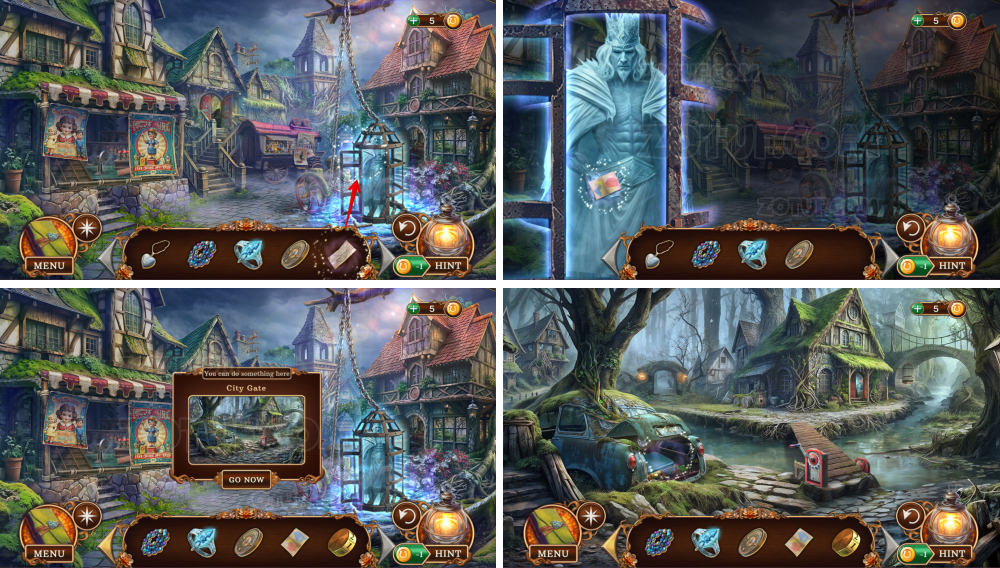
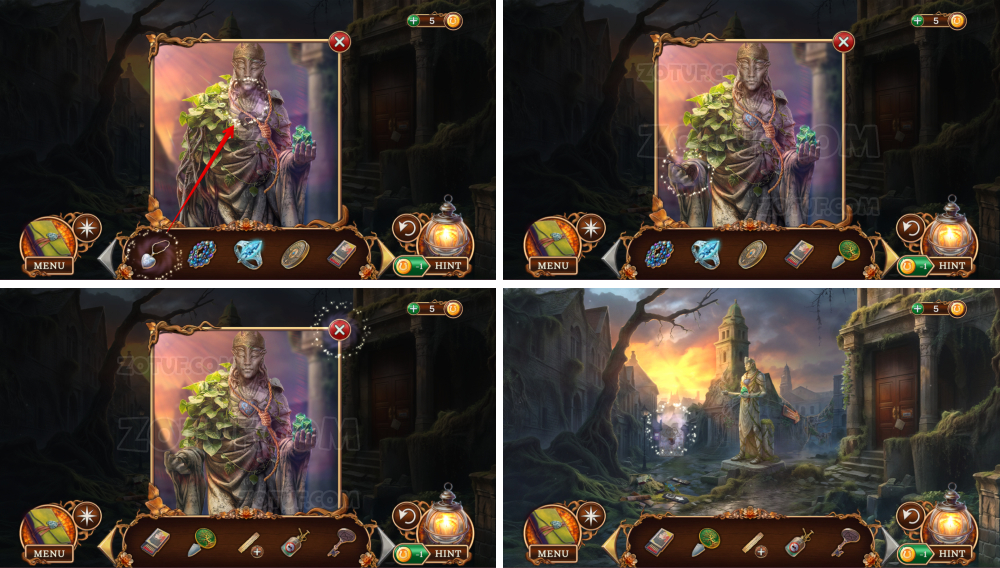
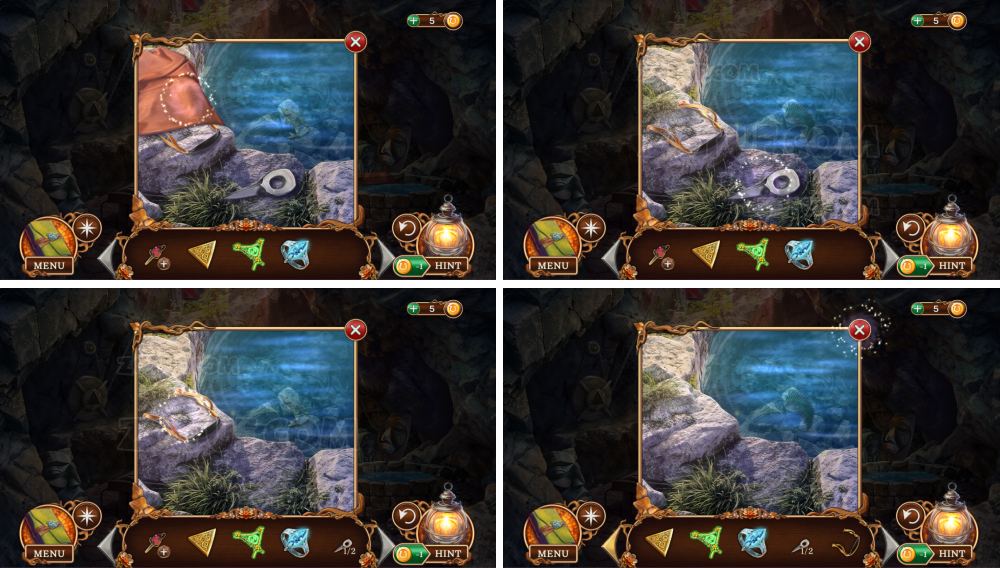
- Take the heart-shaped locket.
- Use the bridge lever.
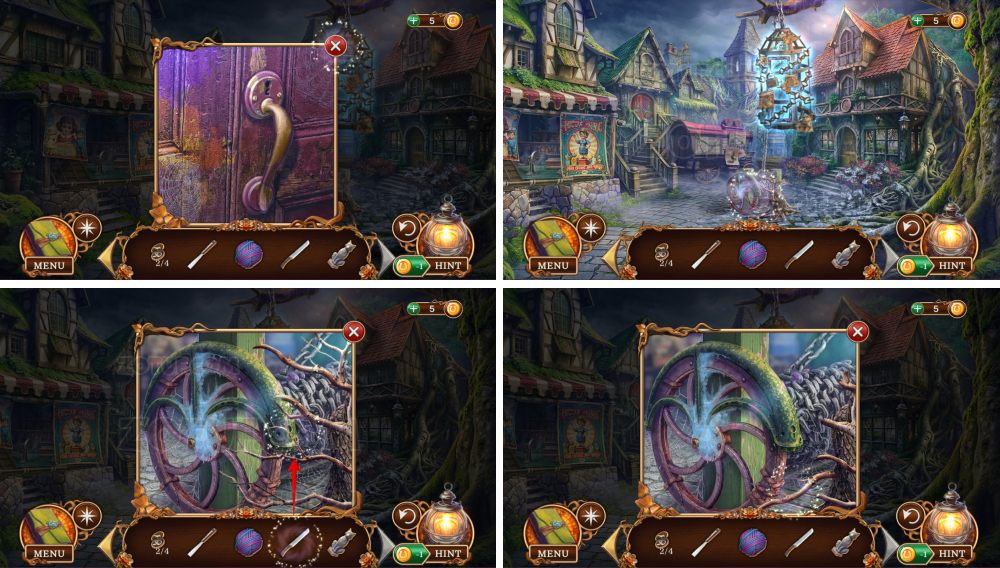
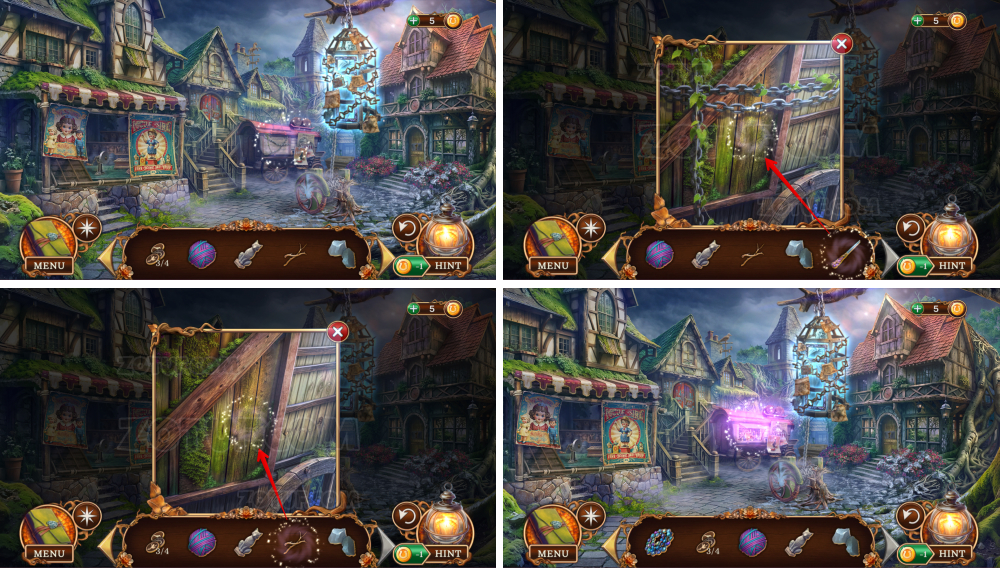
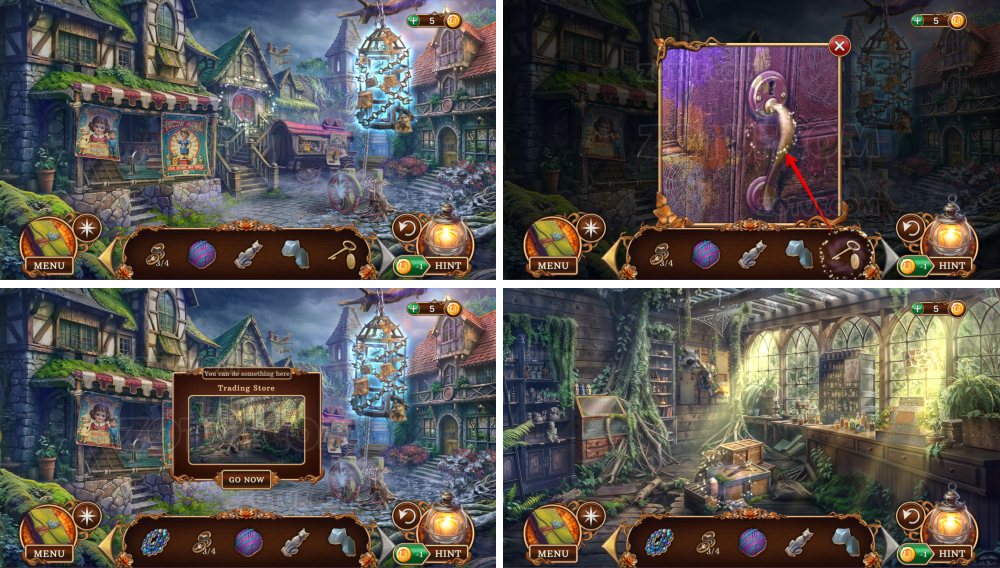
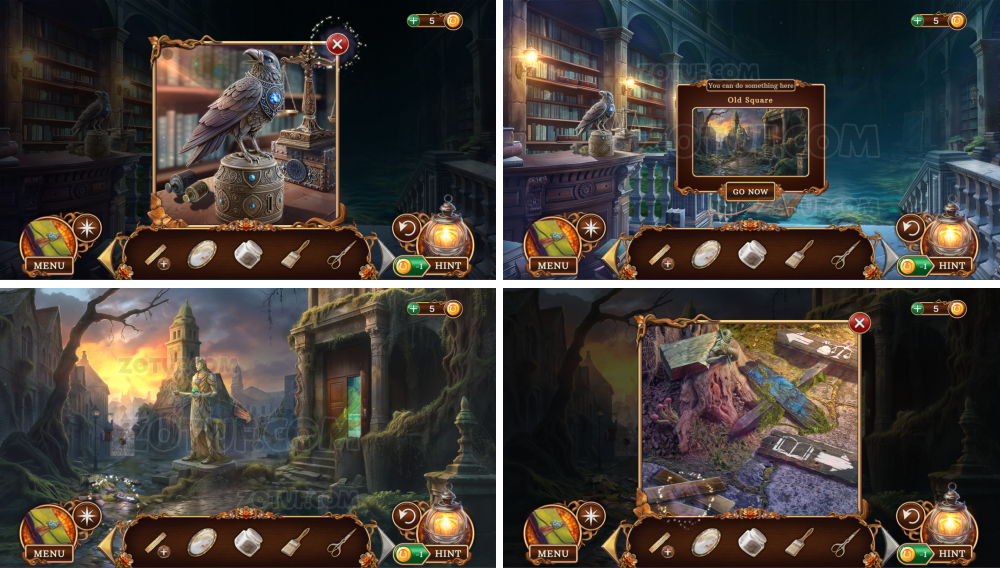
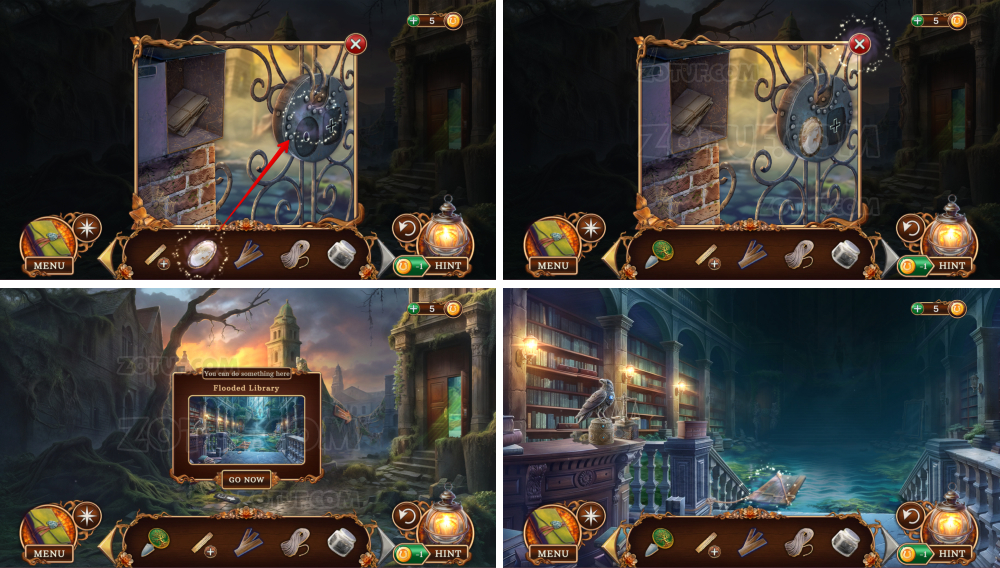
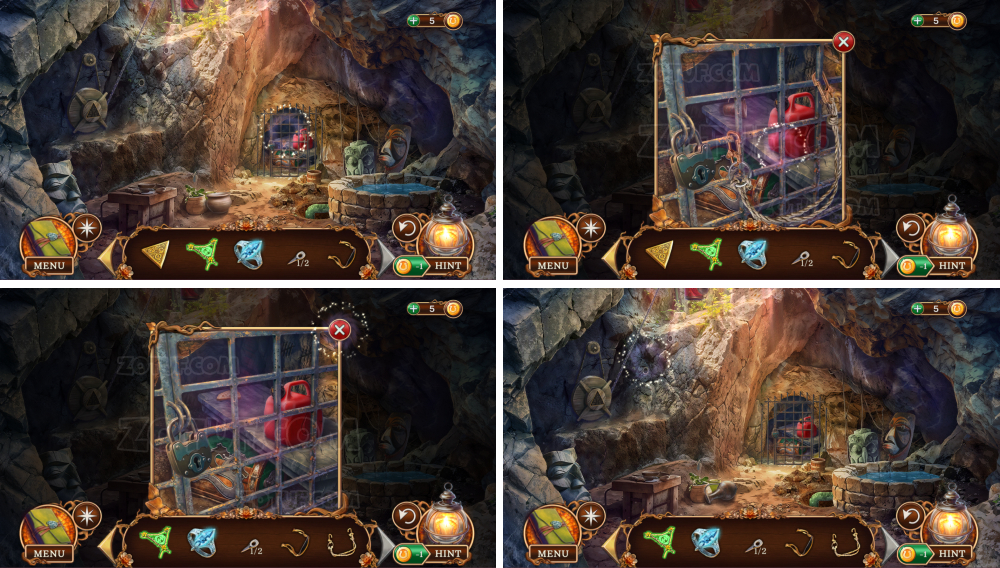
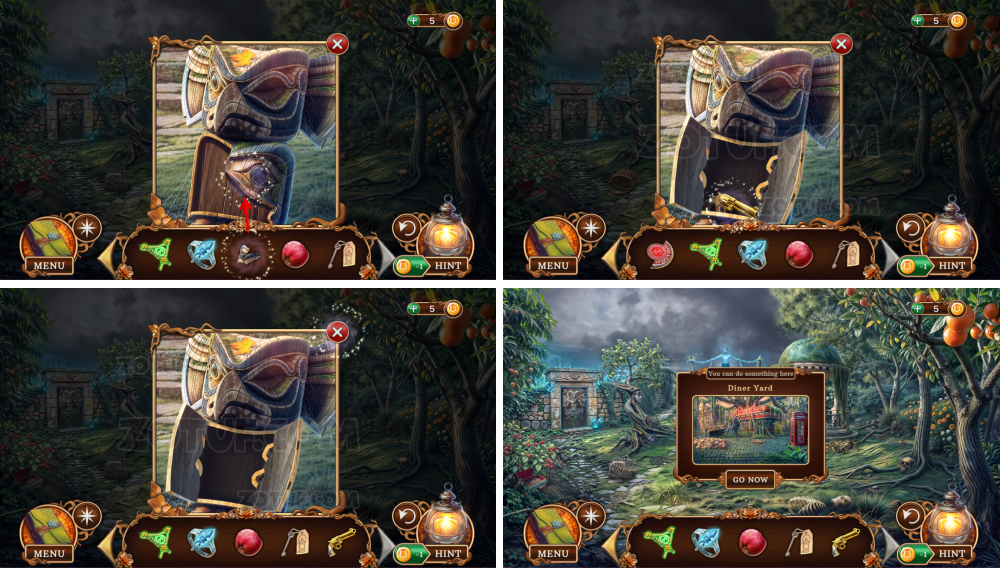
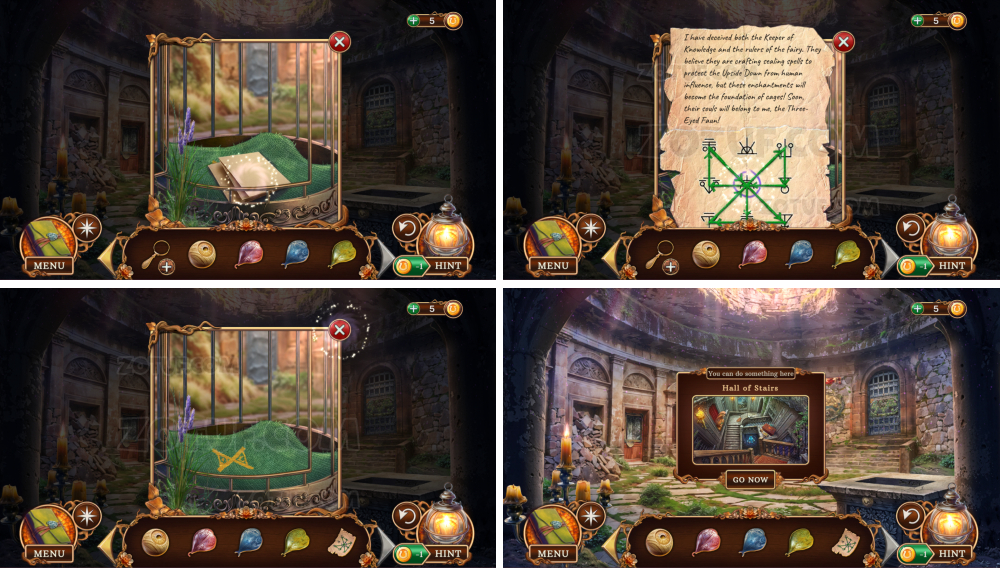
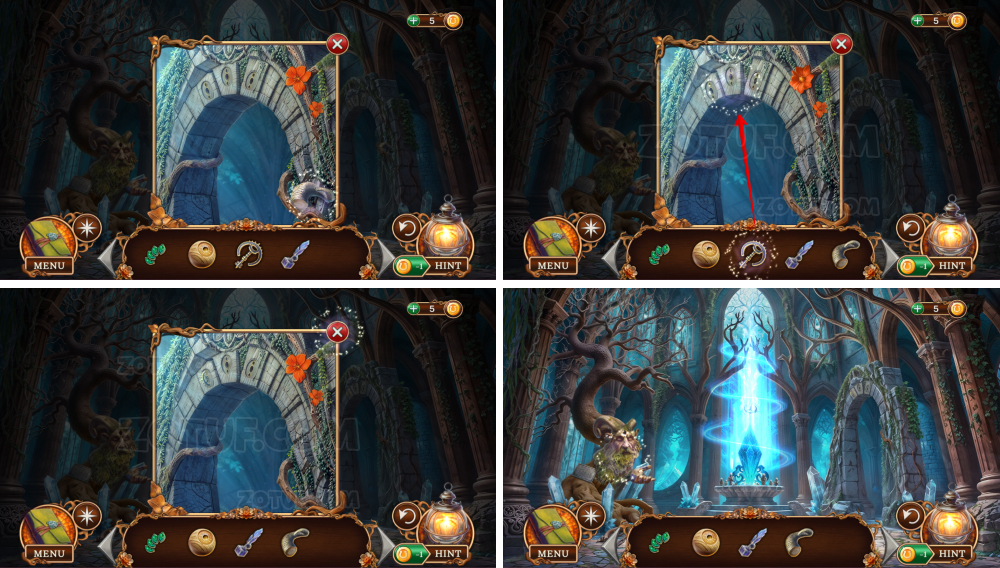
- Inspect the gate.
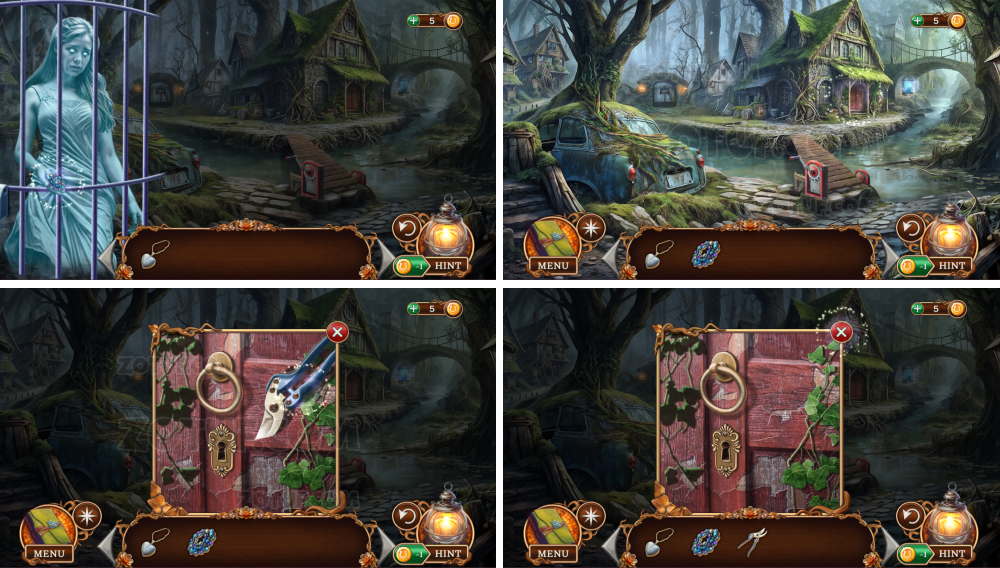
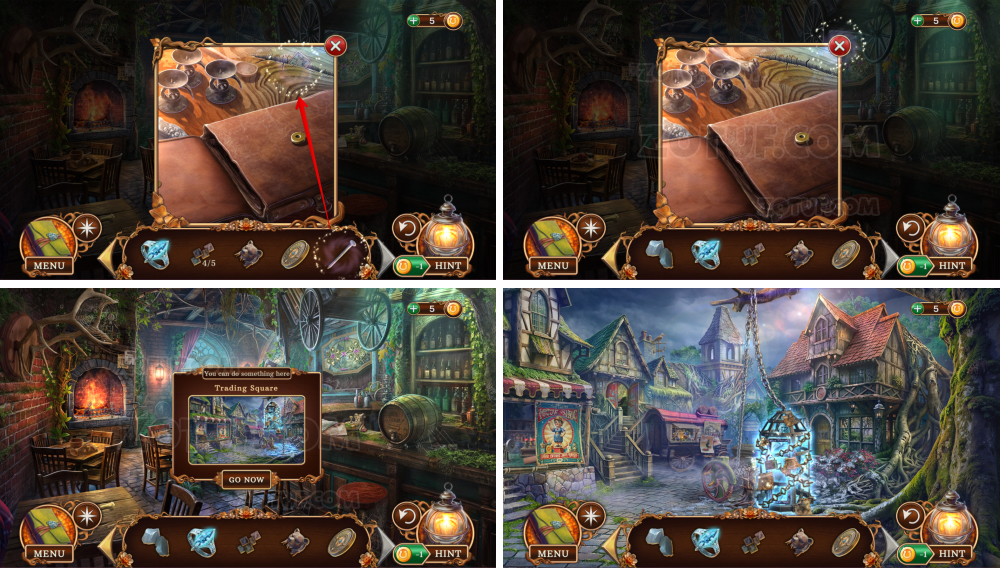
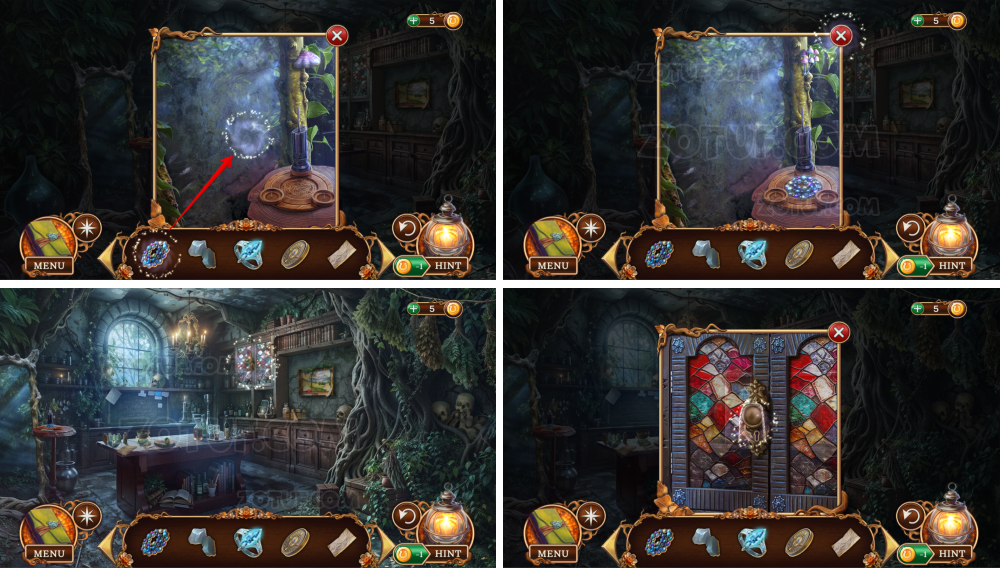
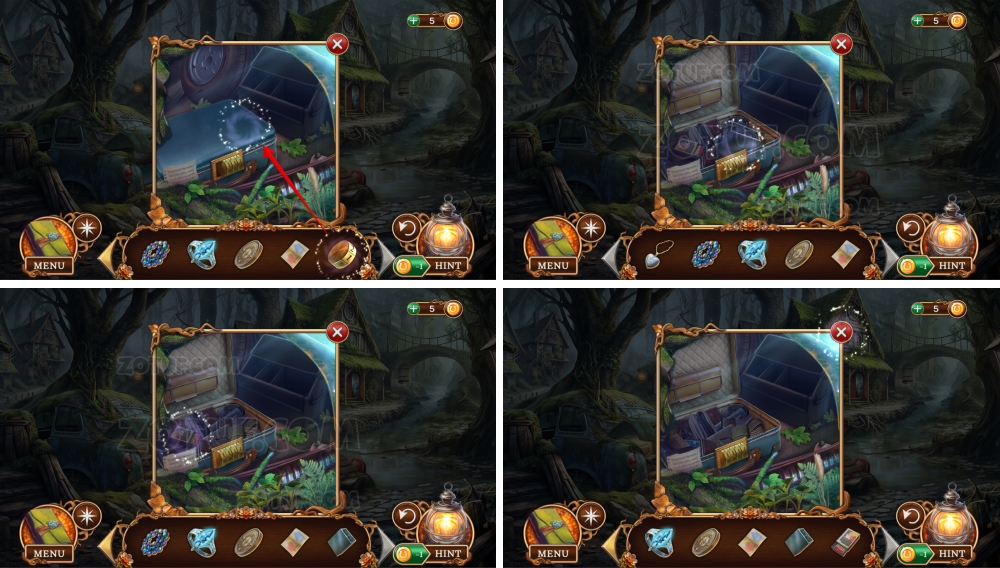
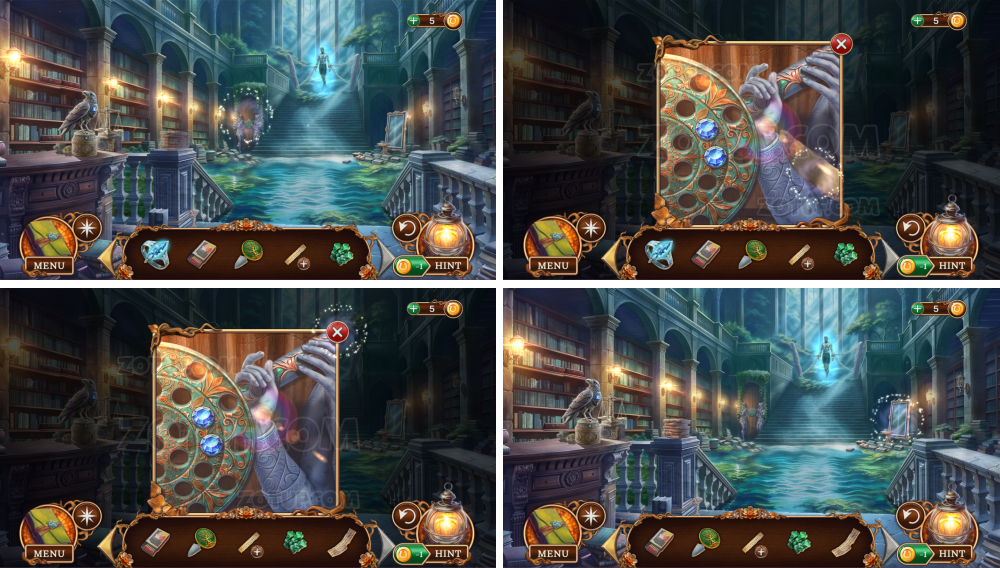
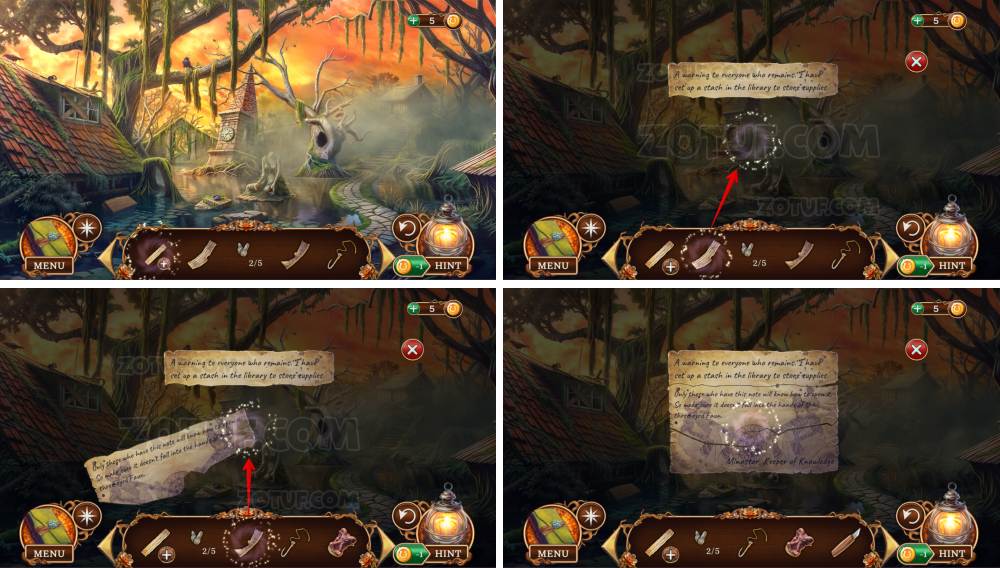
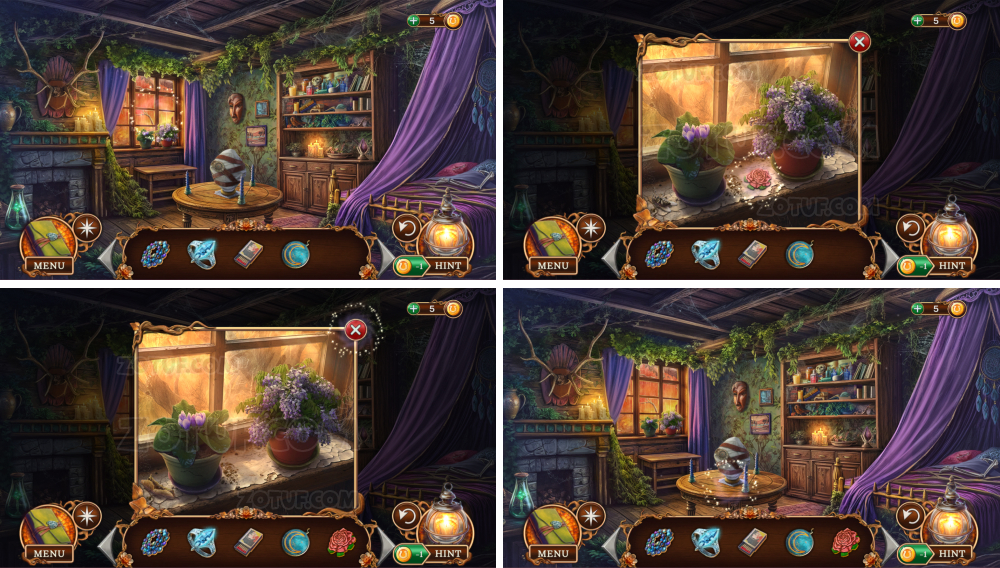
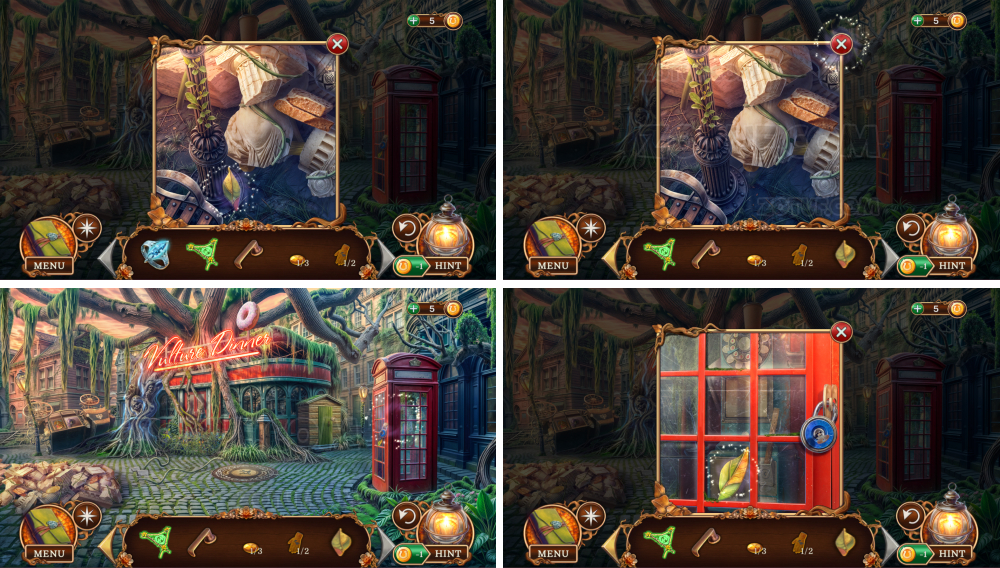
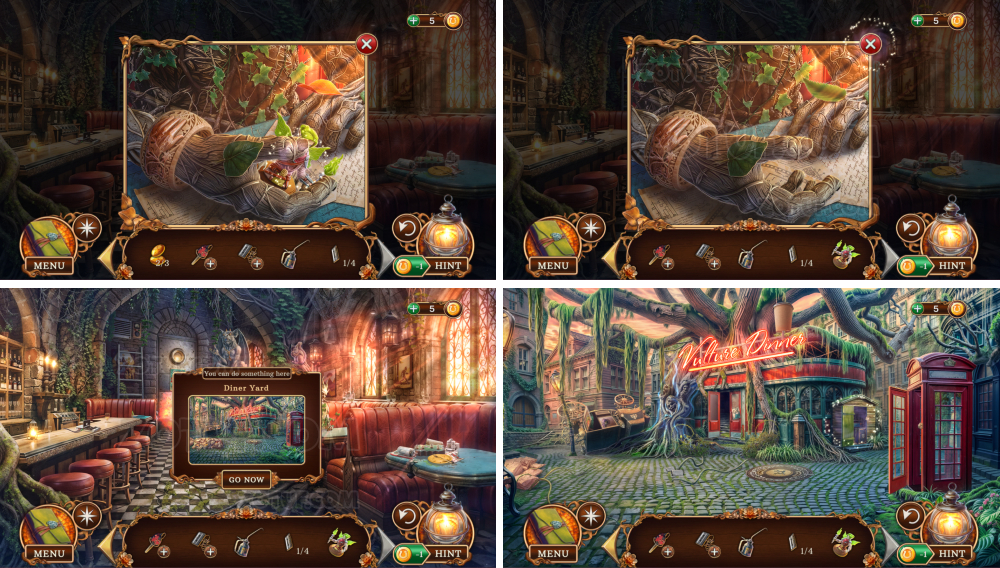
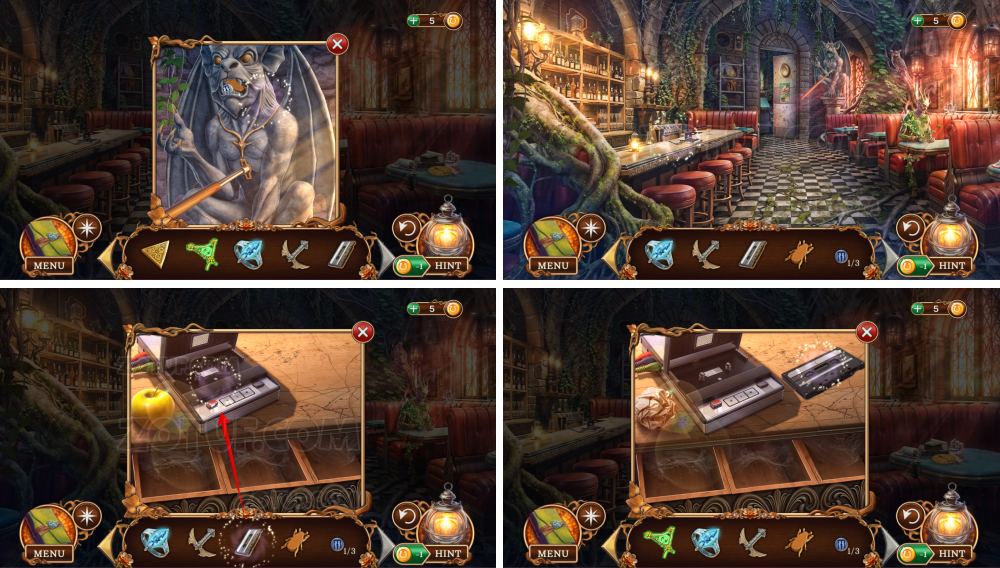
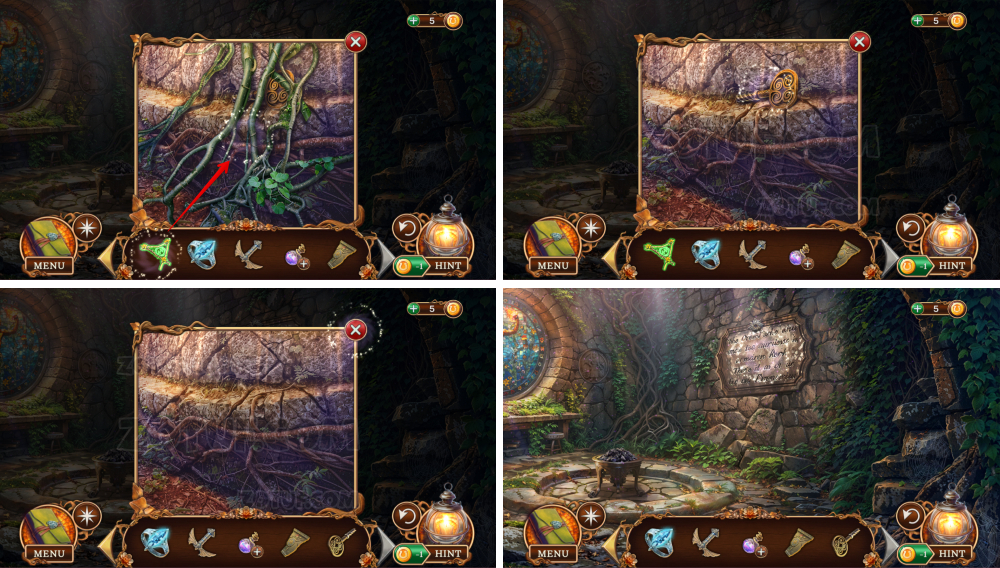
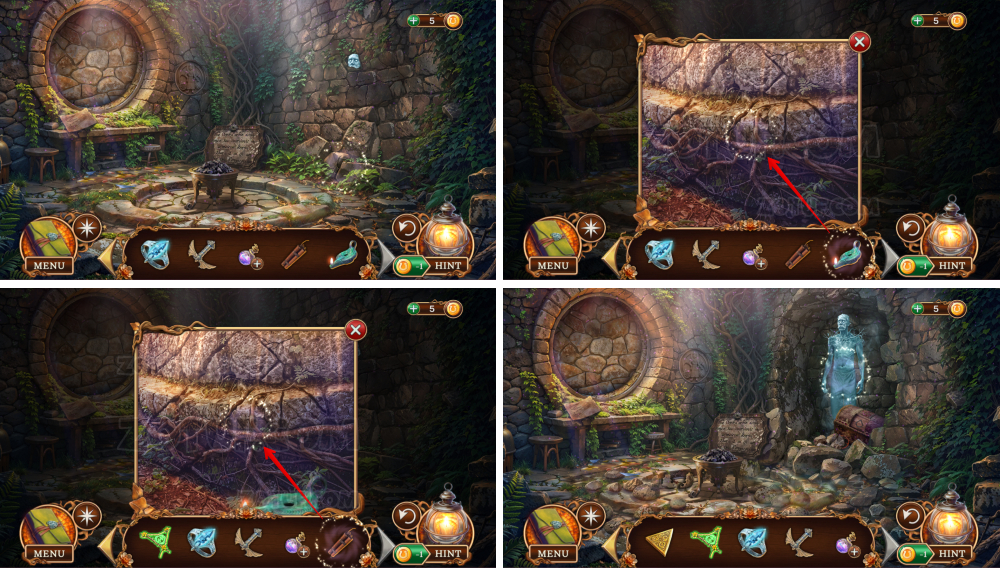
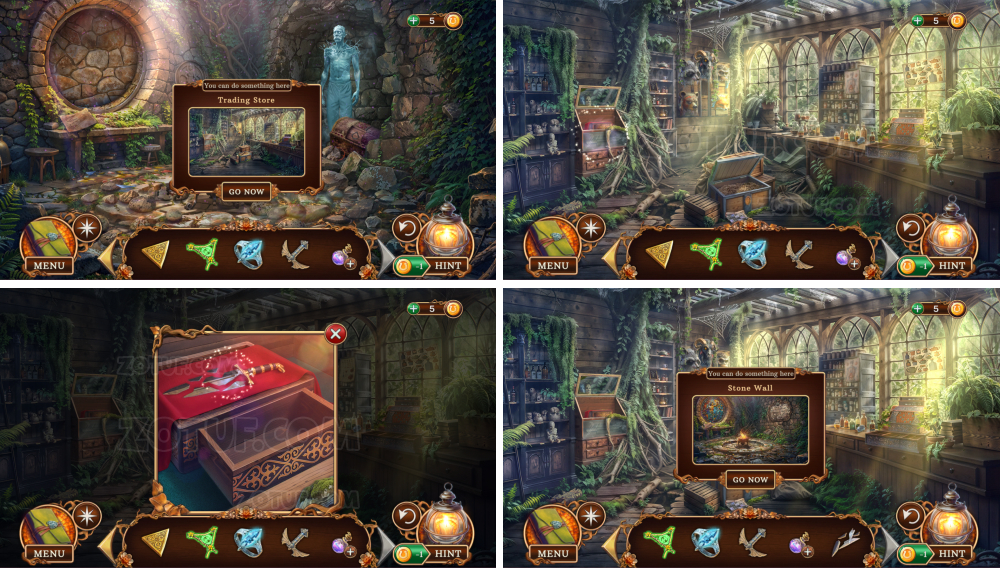
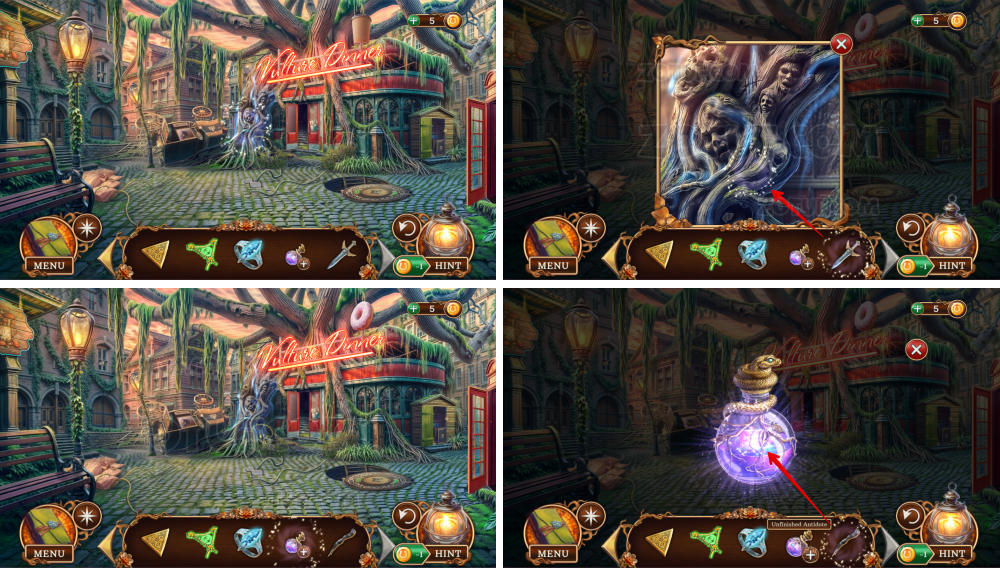
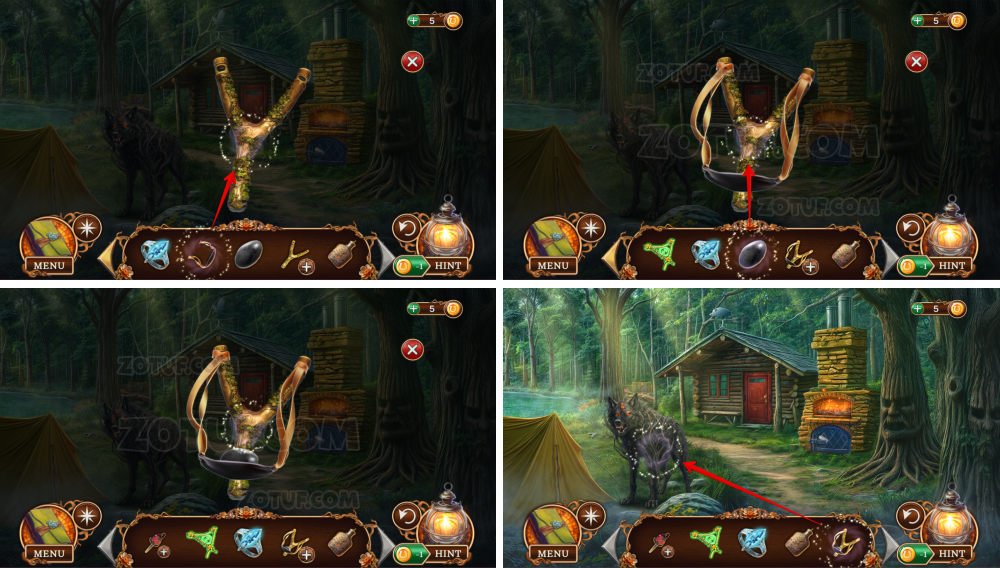
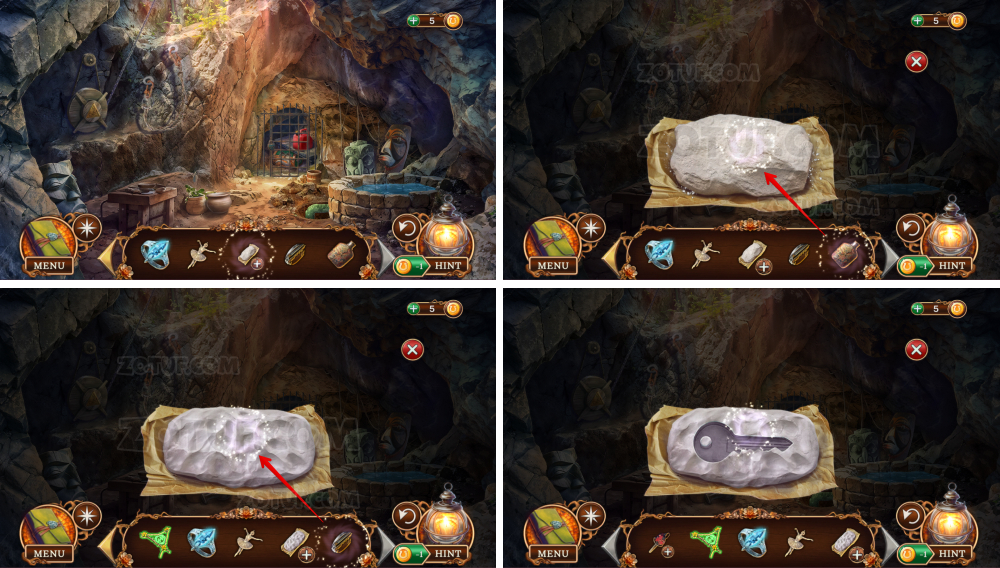
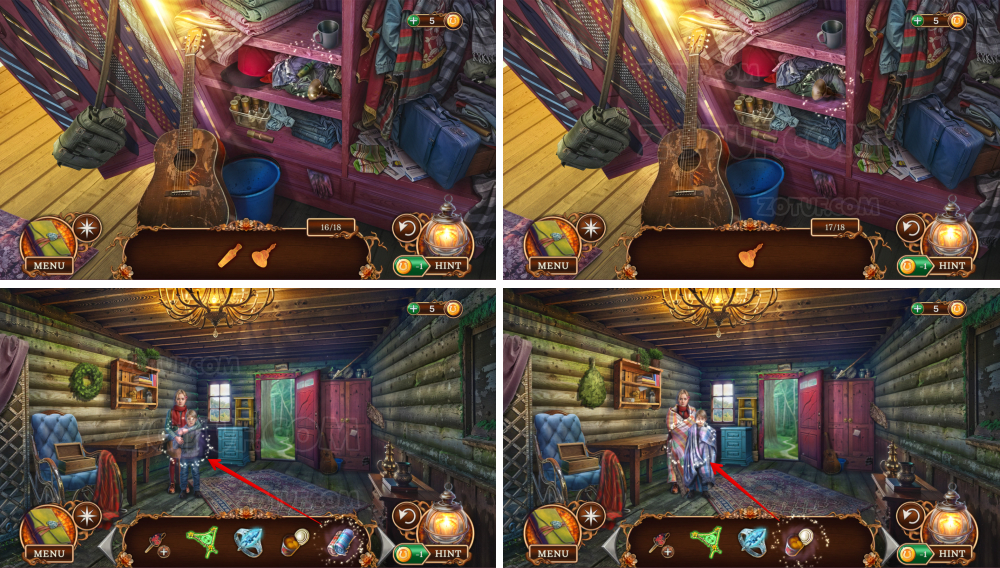
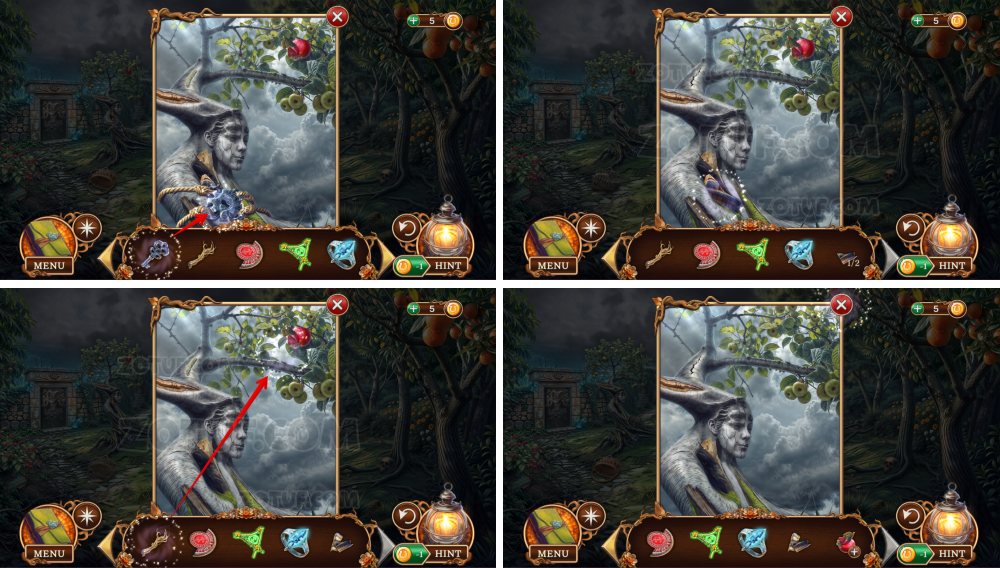
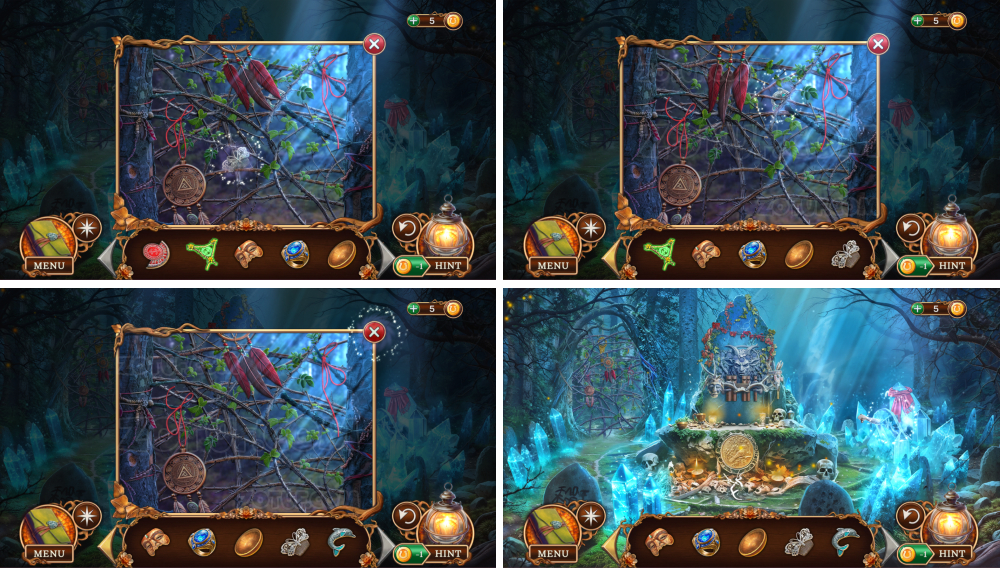
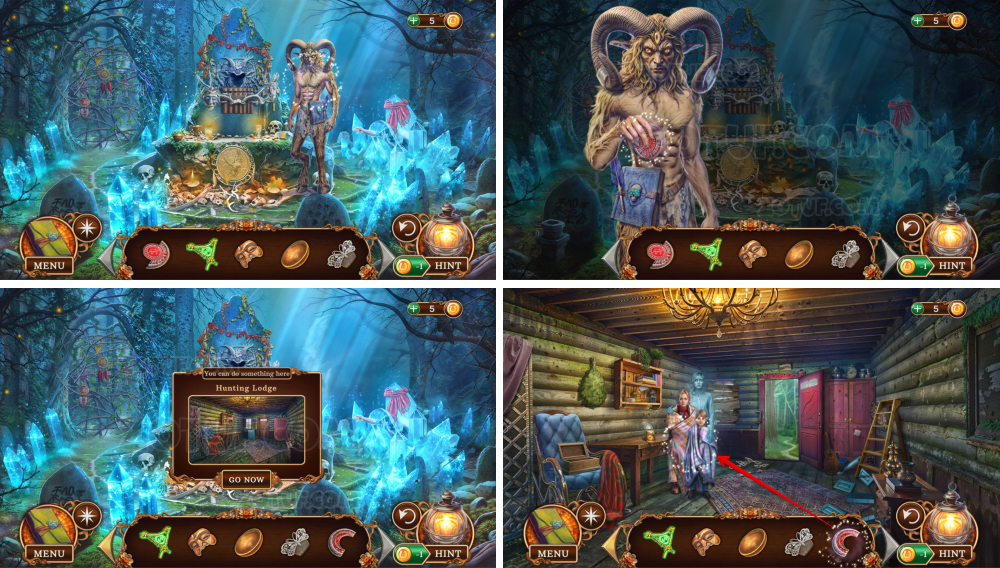
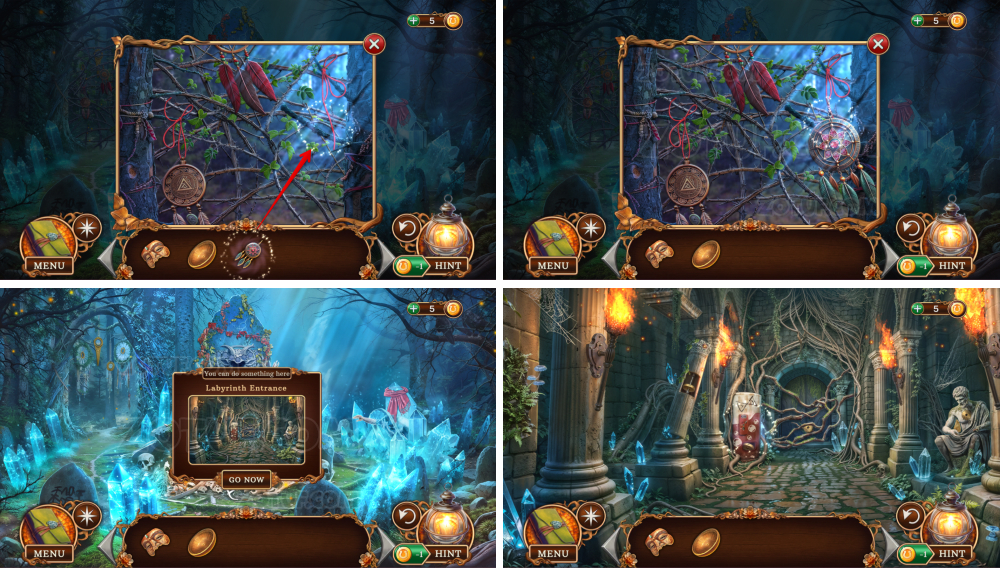
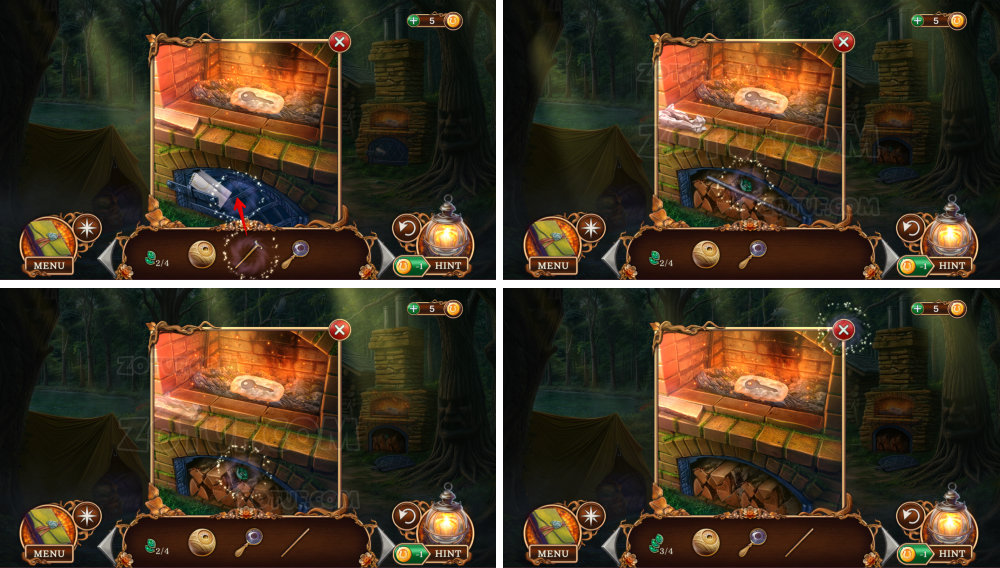
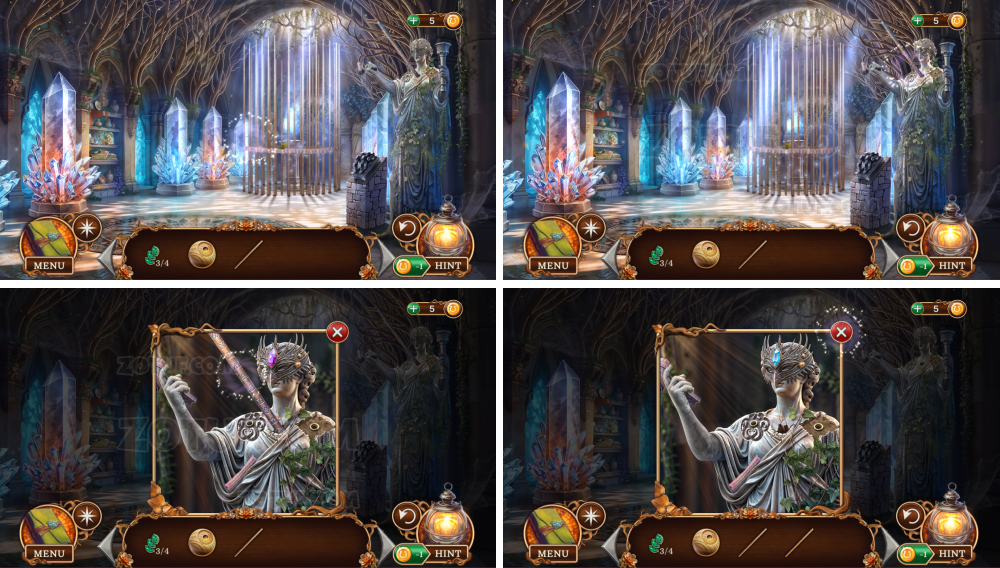
- Take the astral beads.
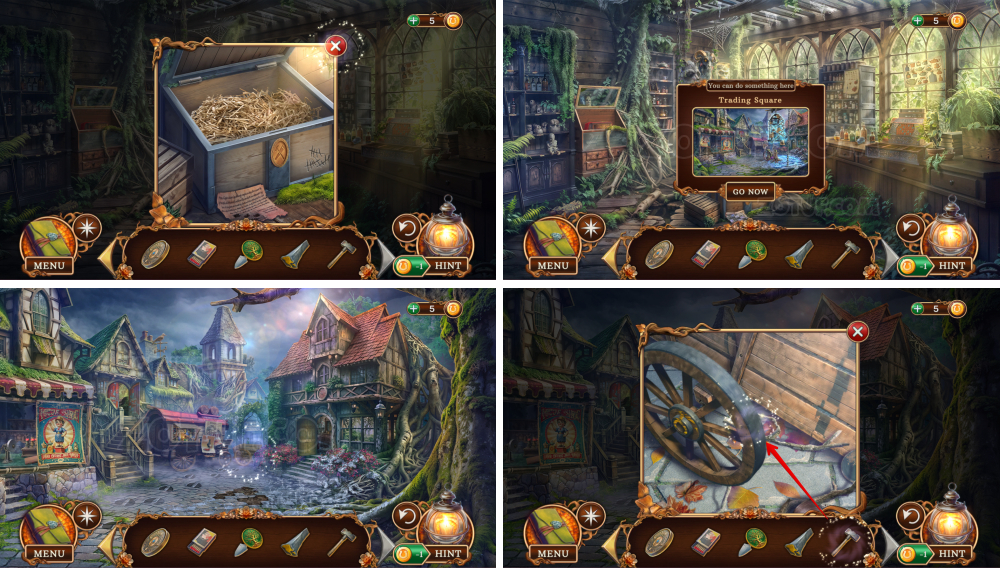
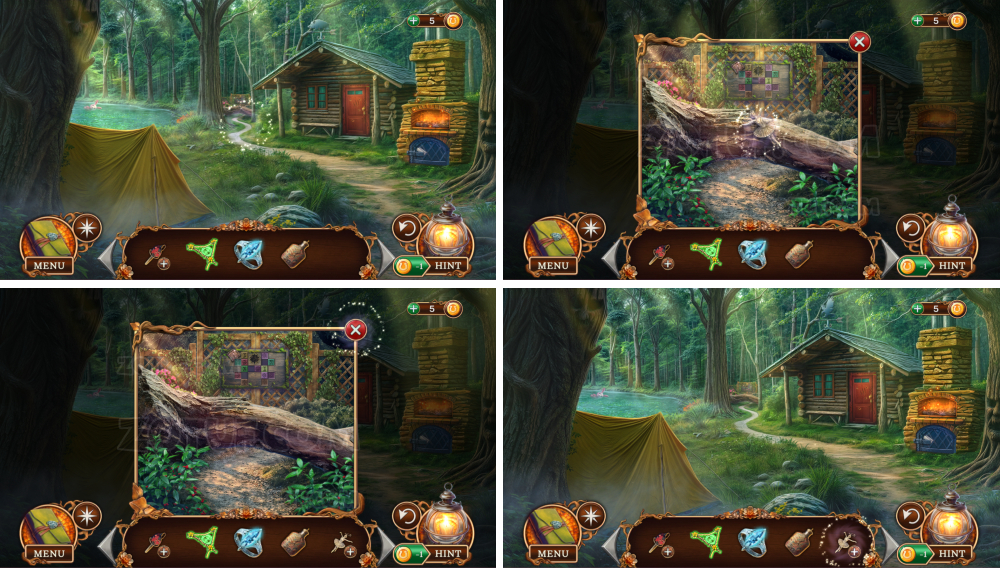
- Take the pruning shears.
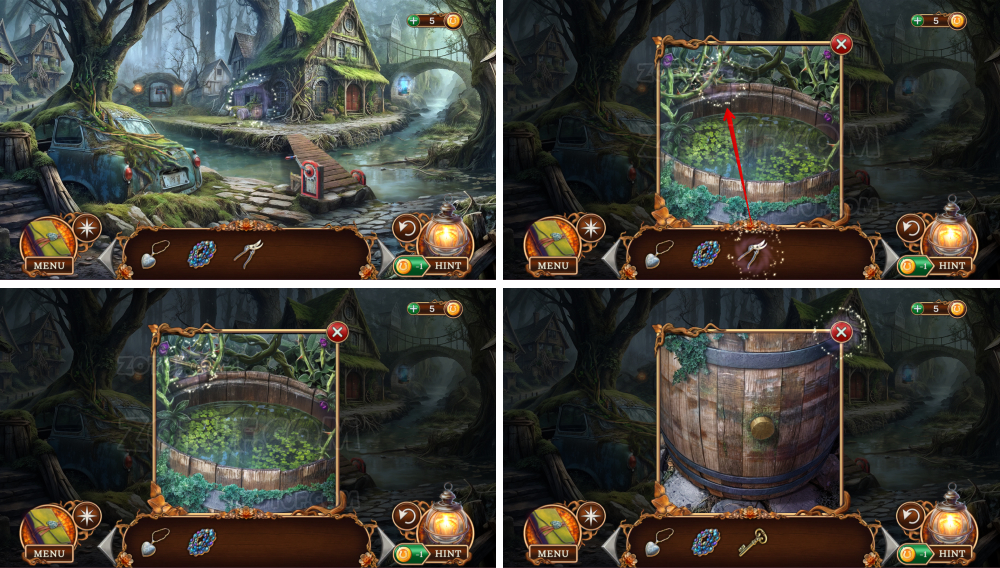
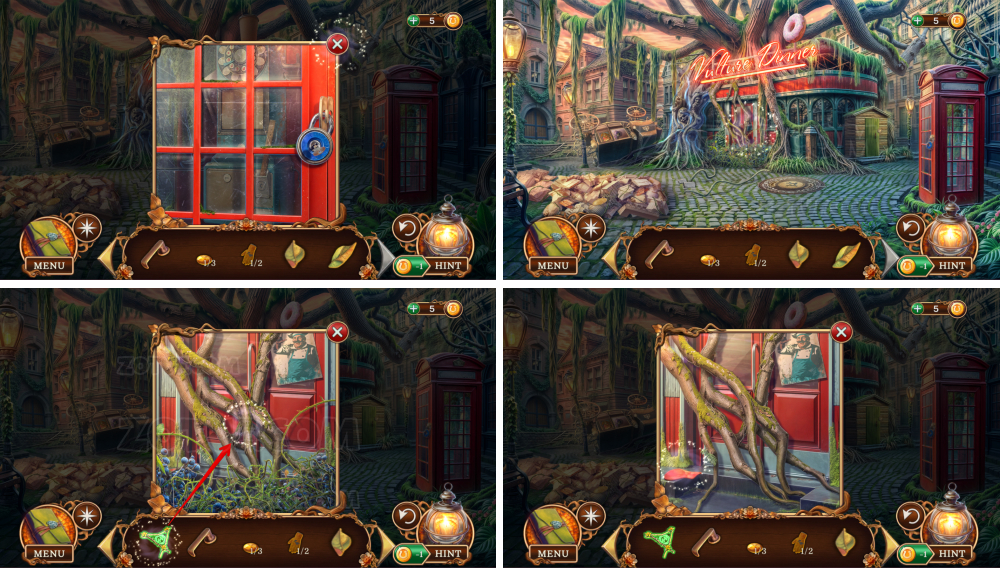
- Use the pruning shears.
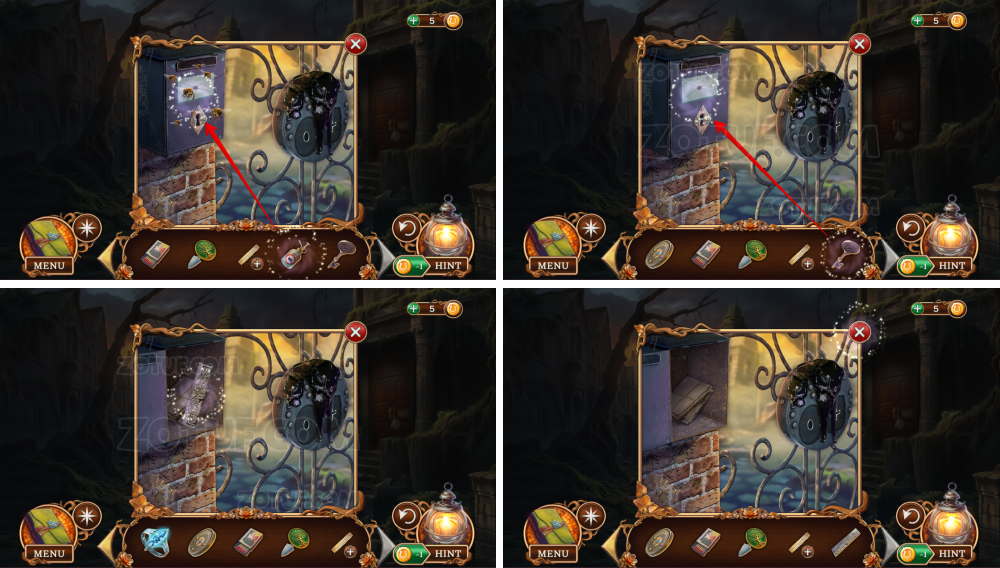
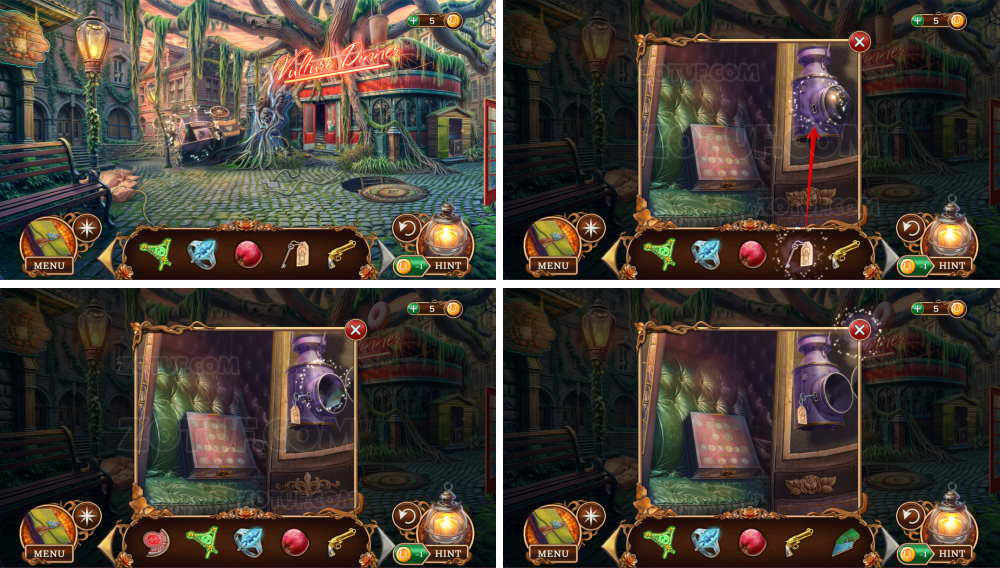
- Take the key.
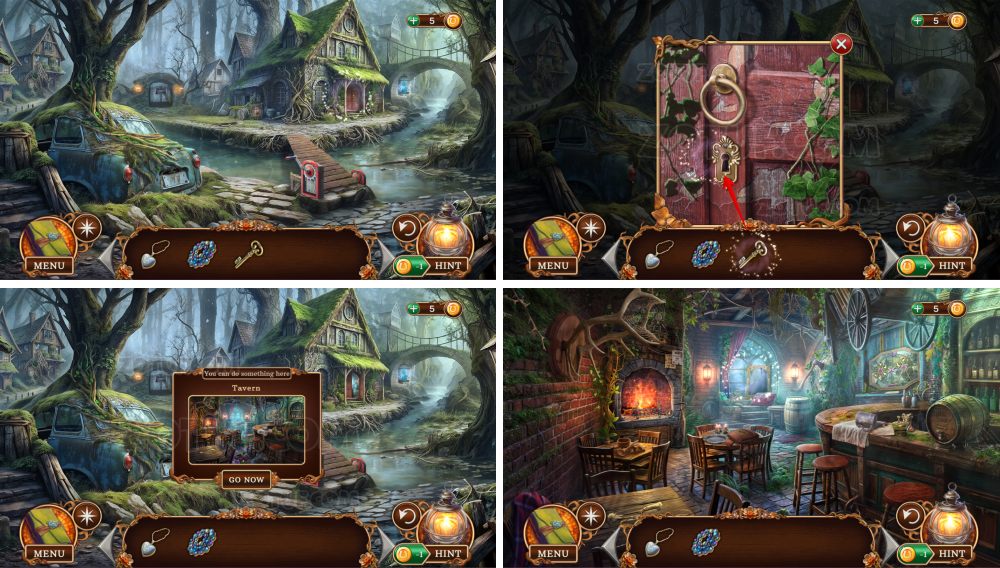
- Use the key.
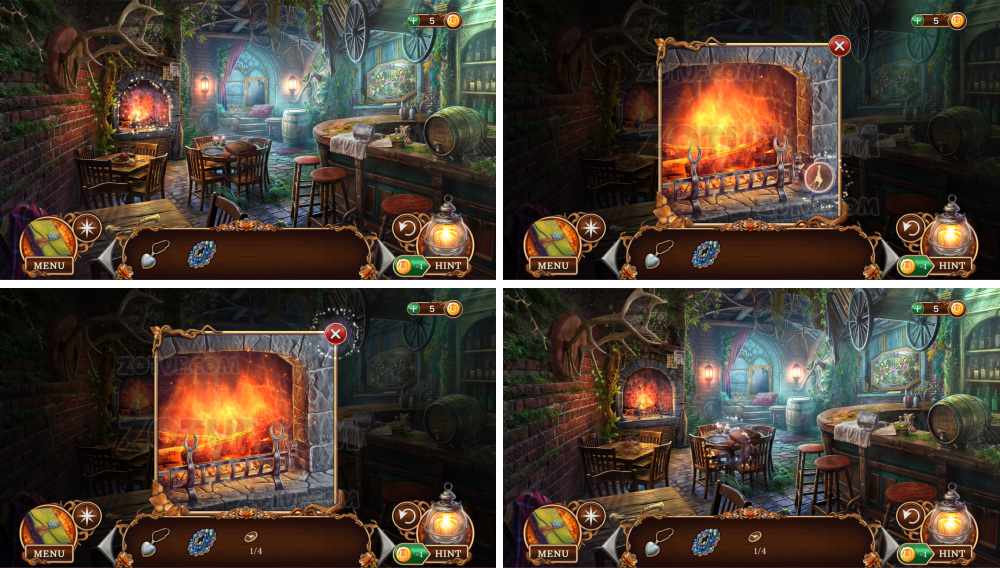
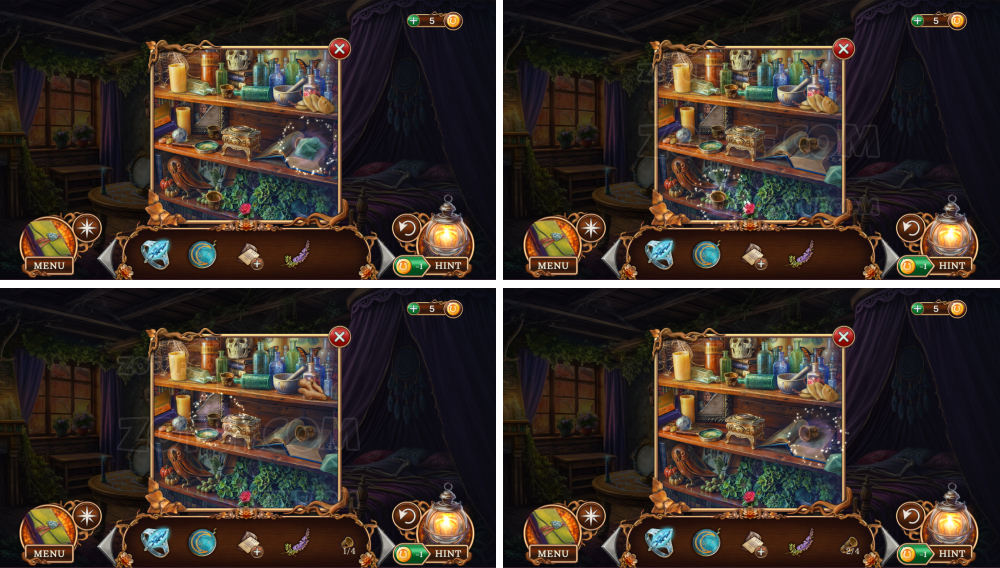
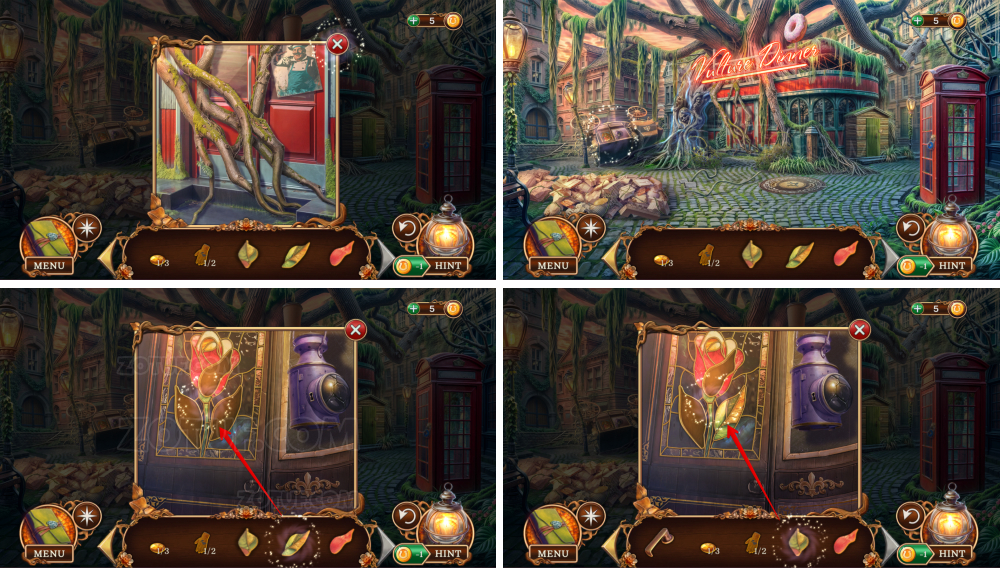
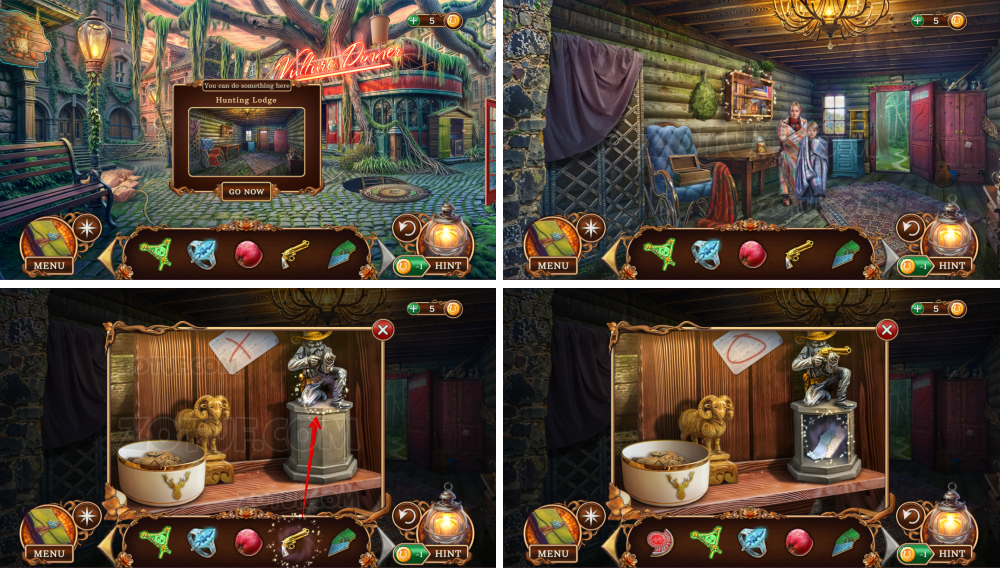
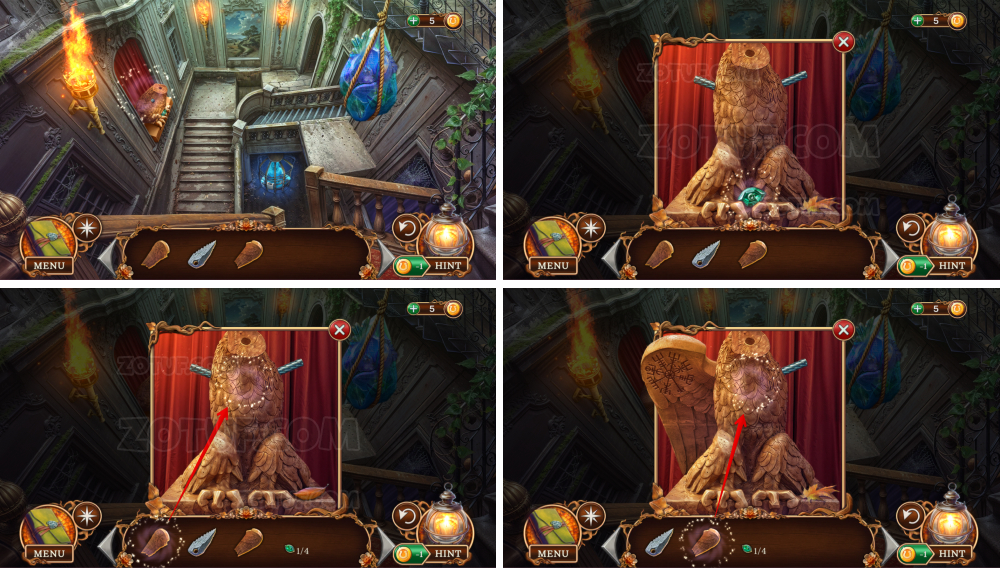
- Take the token 1/4.
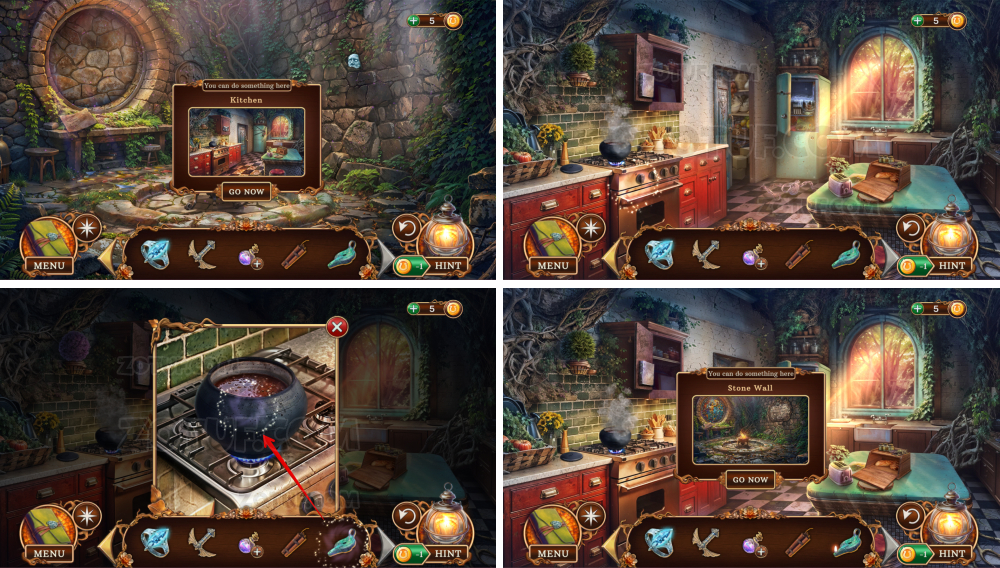
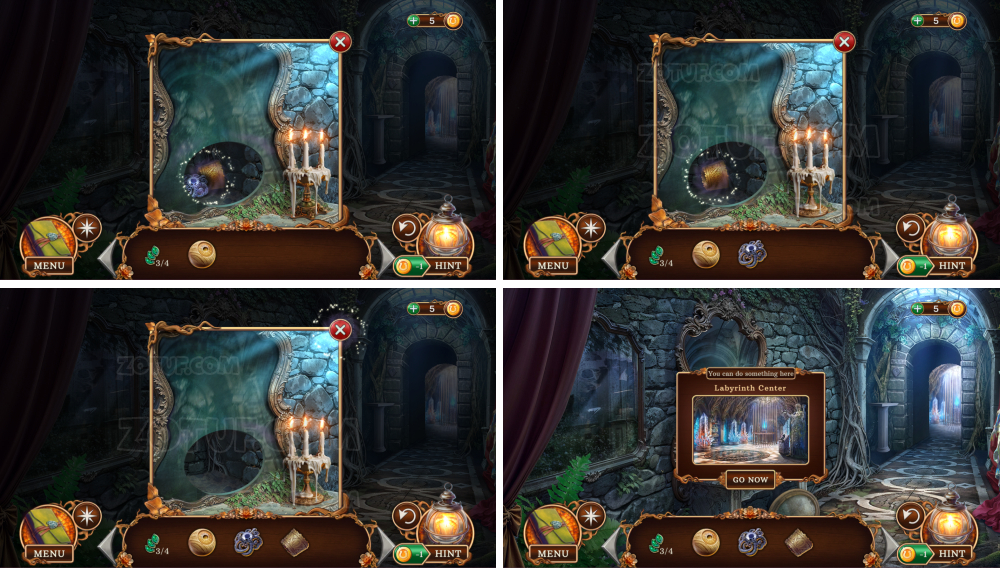
- Take 3 candles.
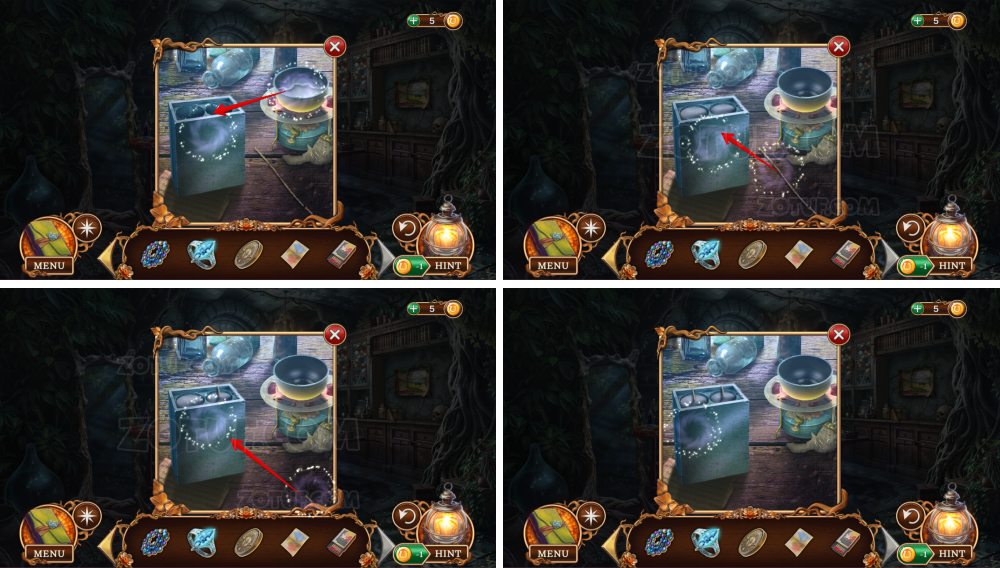
- Take the rag.

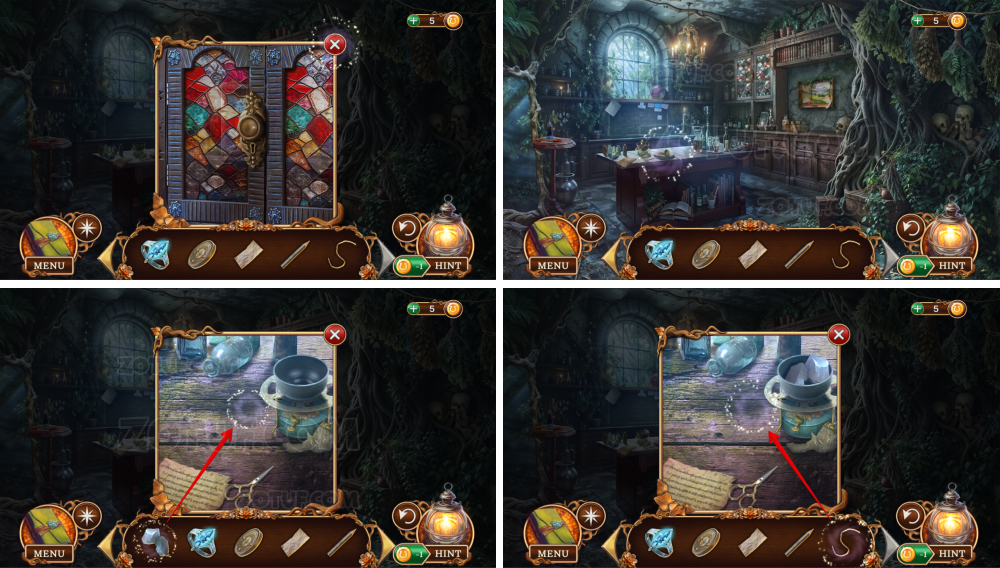
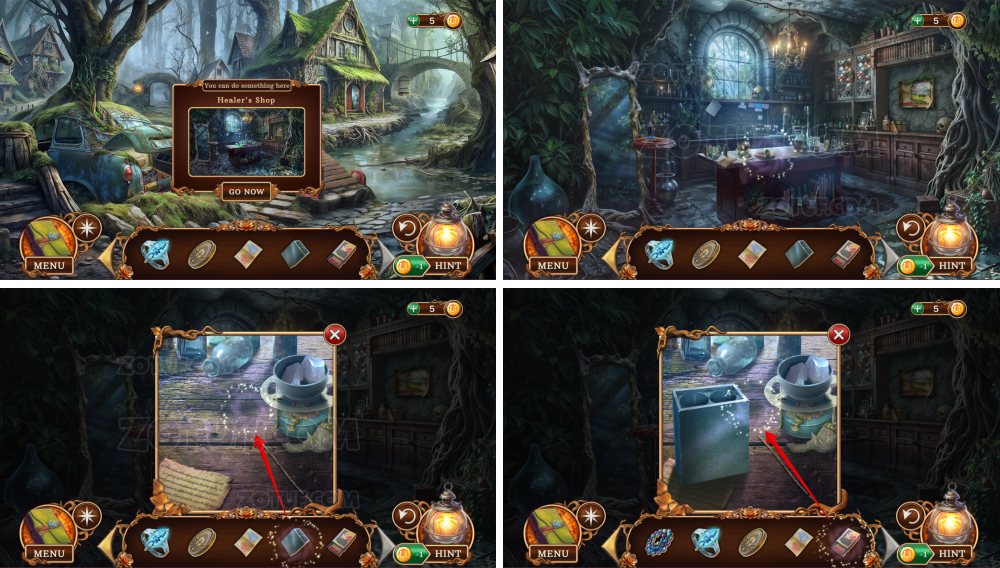
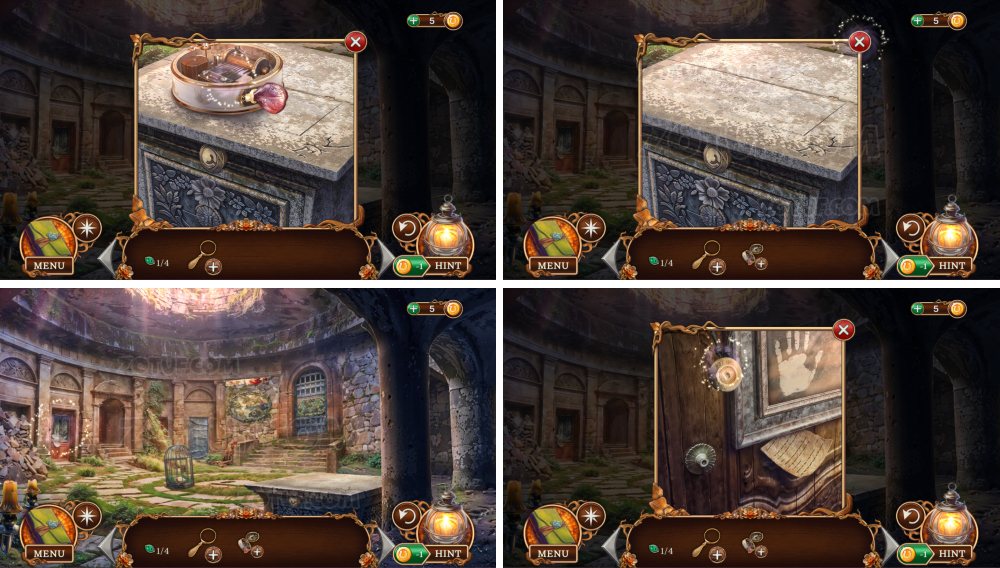
- Take the mug.
- Use the mug, get a mug with water.
- Use the mug with water.
- Use the rag.
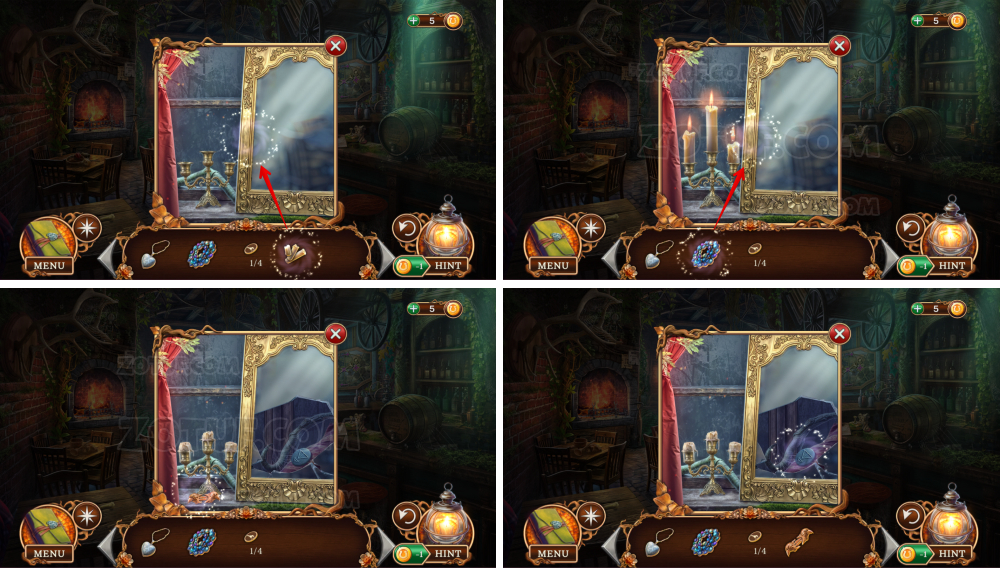
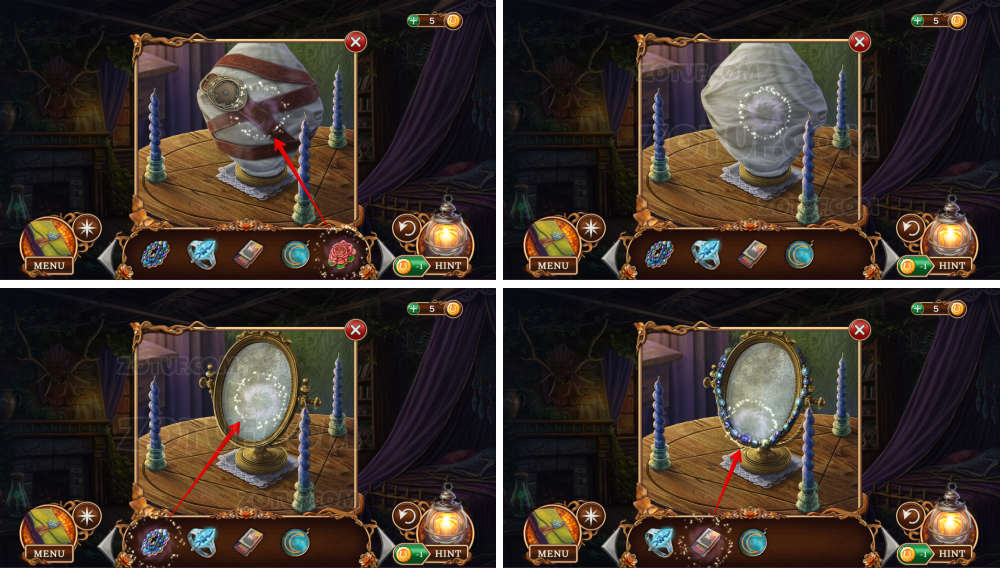
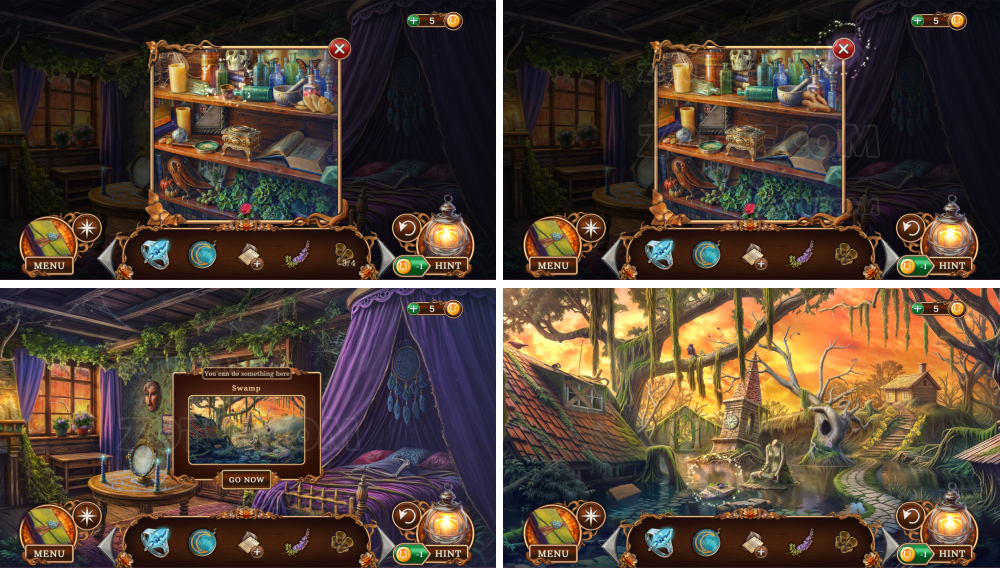
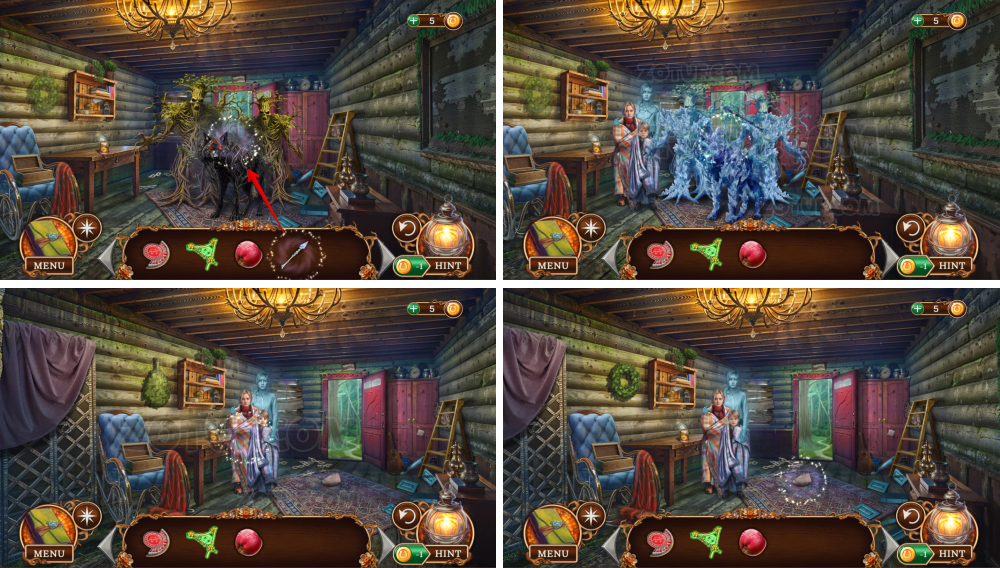
- Use the 3 candles.
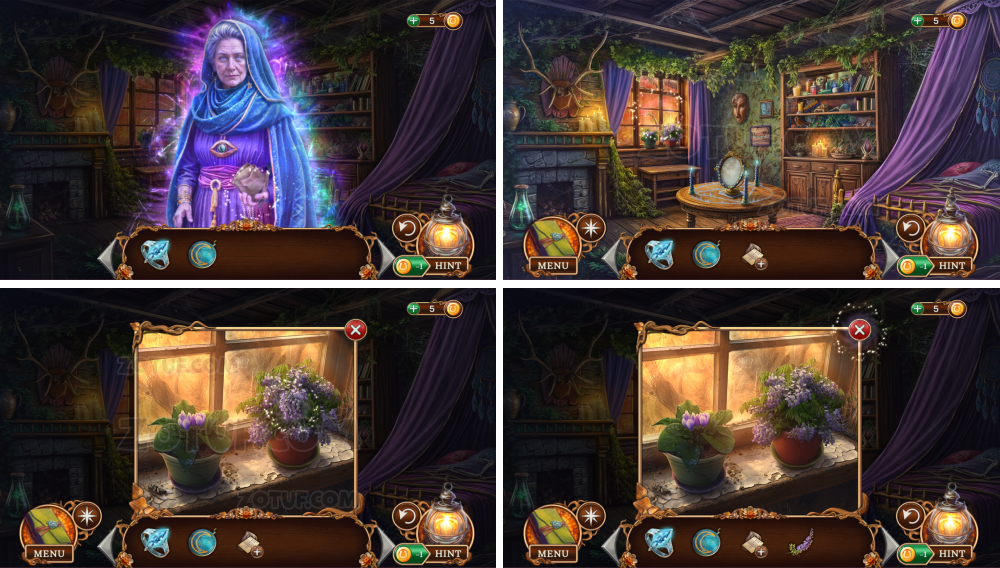
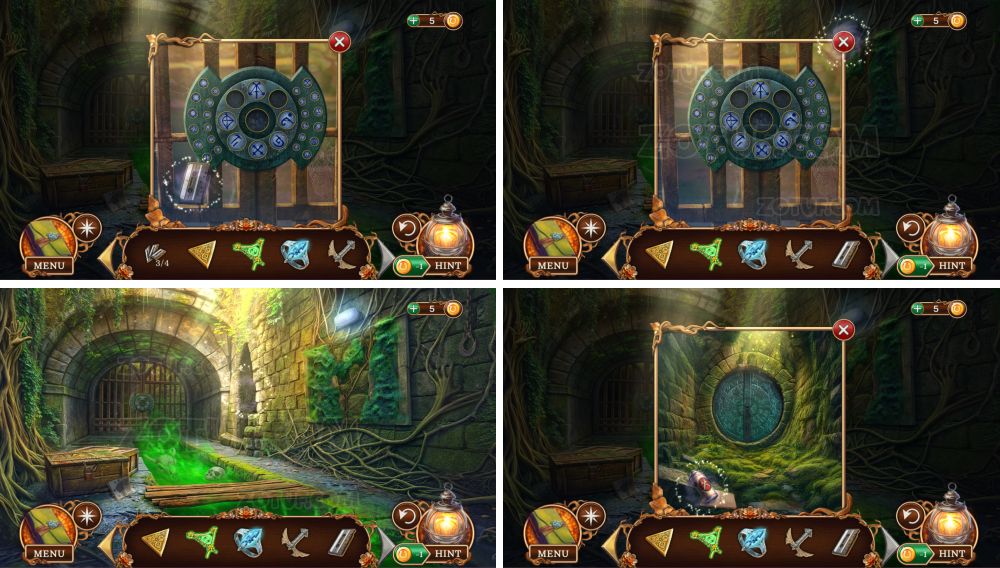
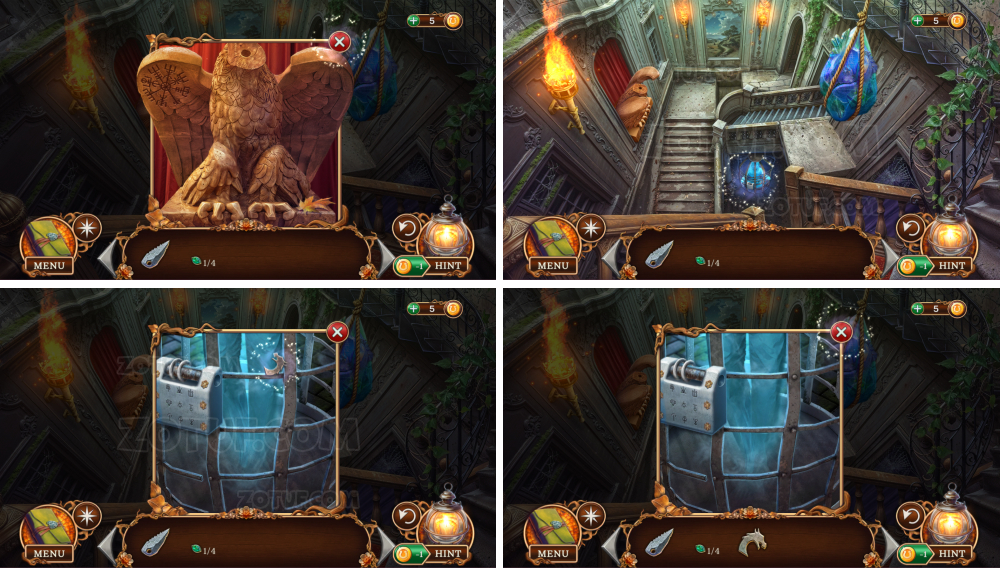
- Use the astral beads.
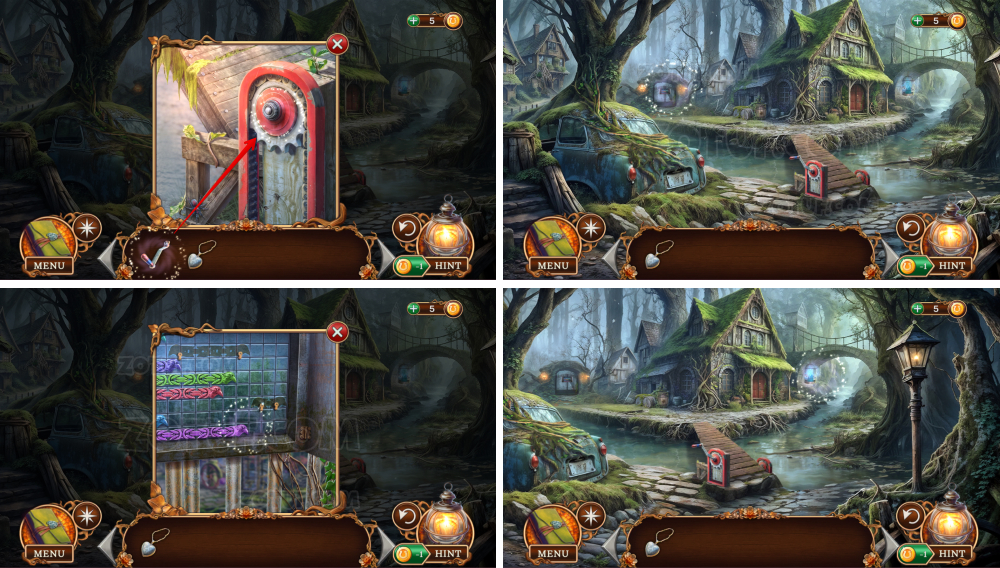
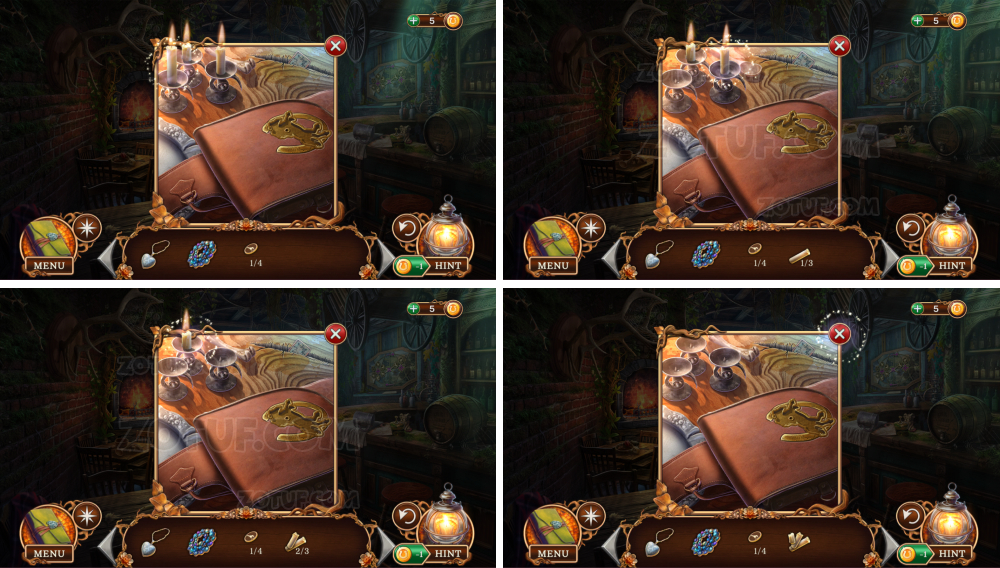
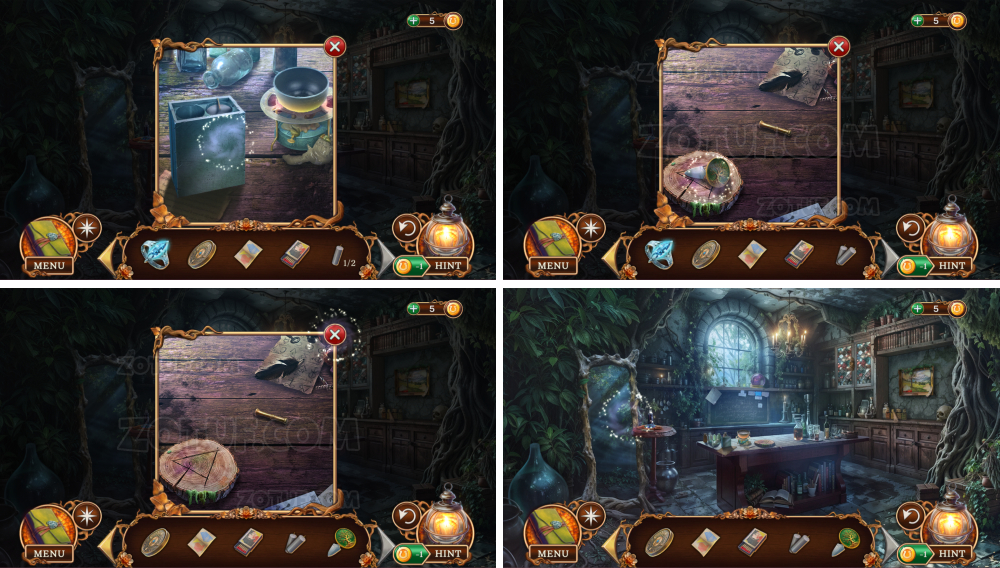
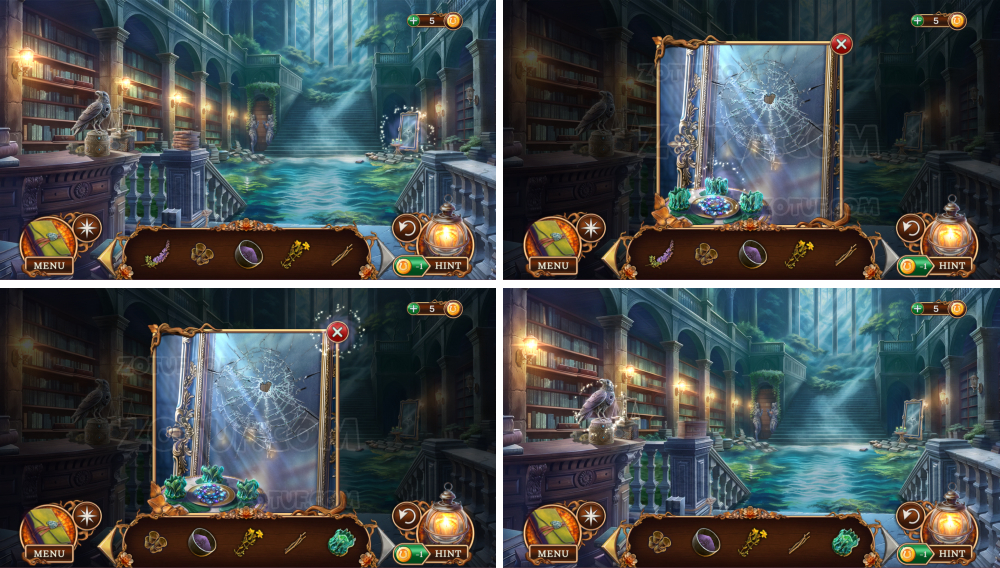
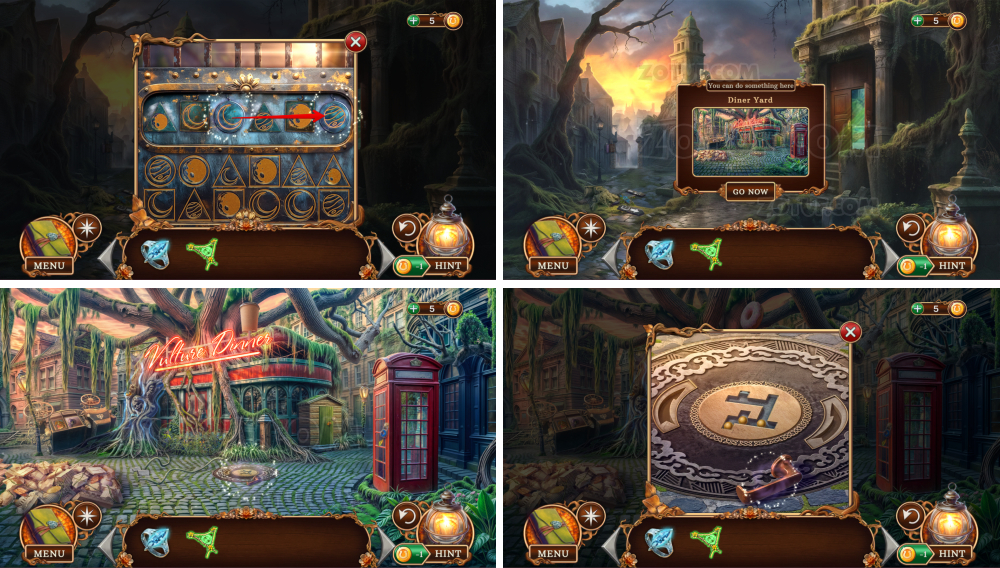
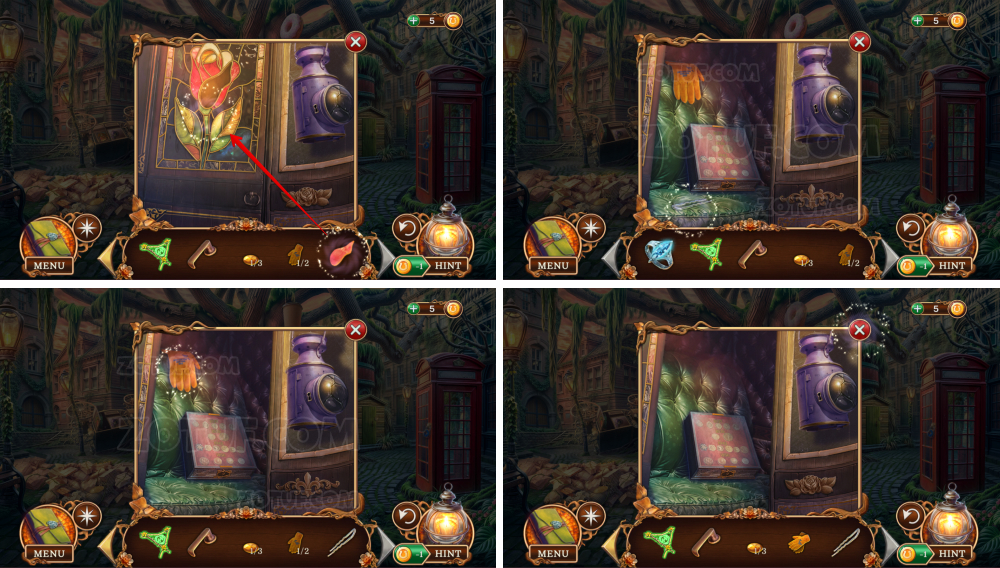
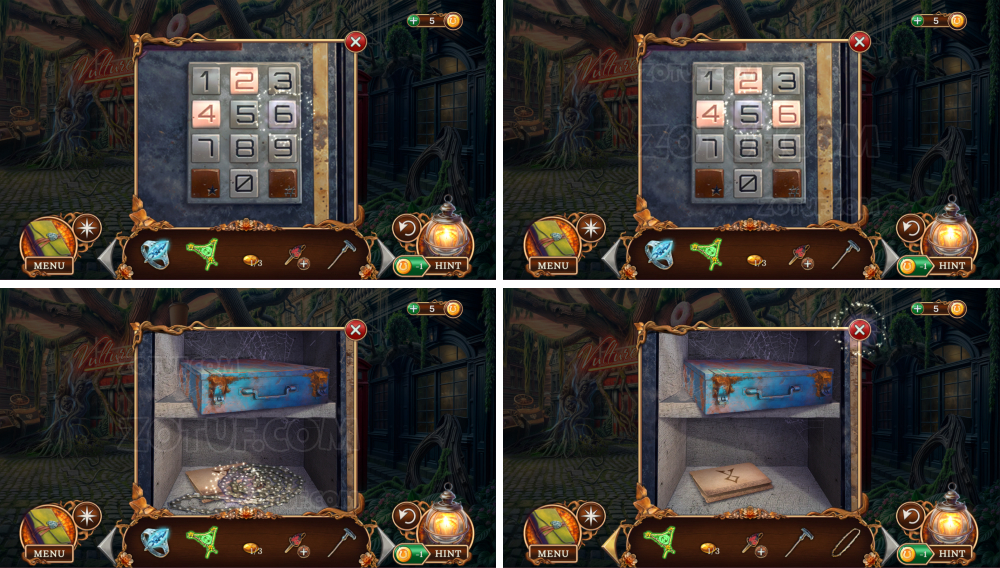
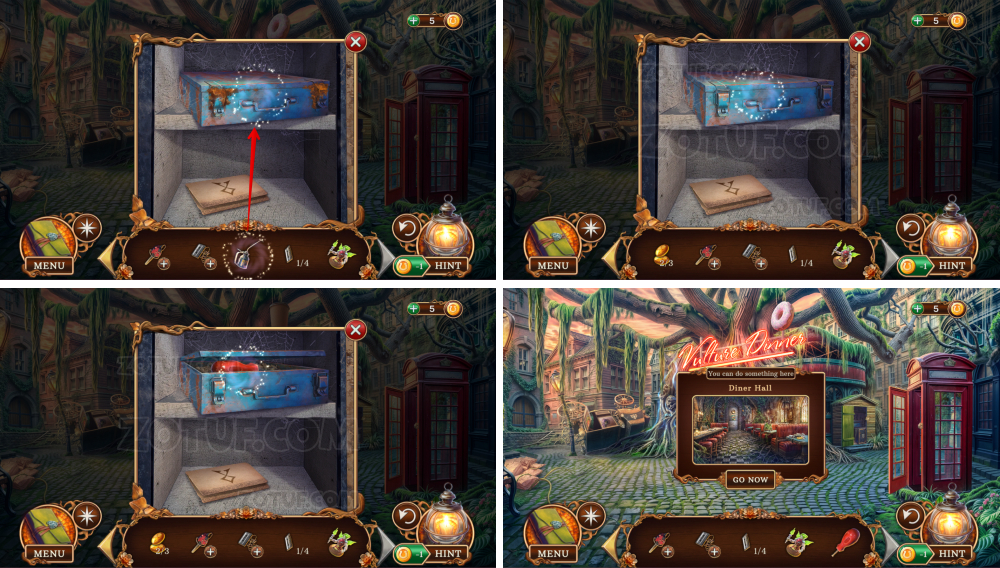
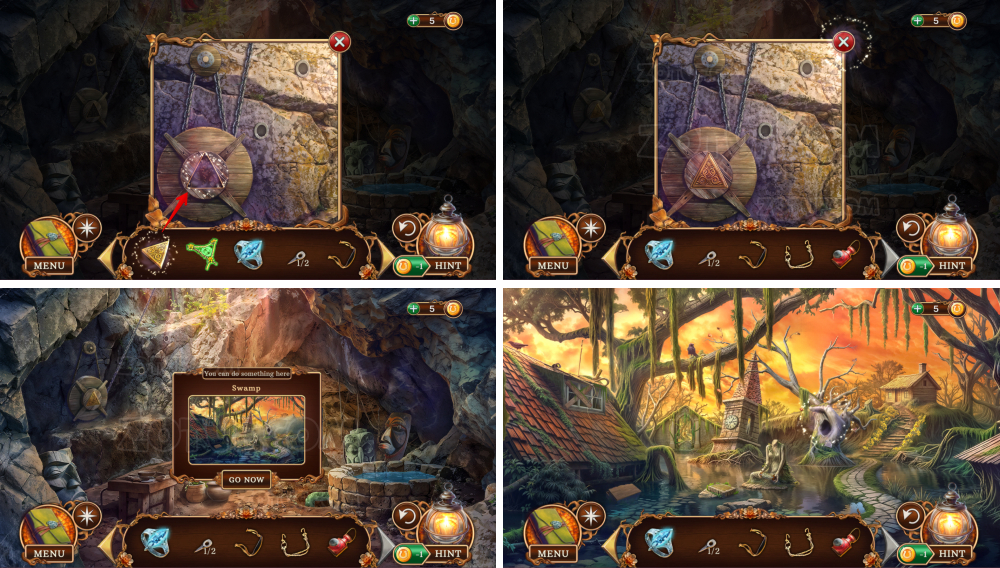
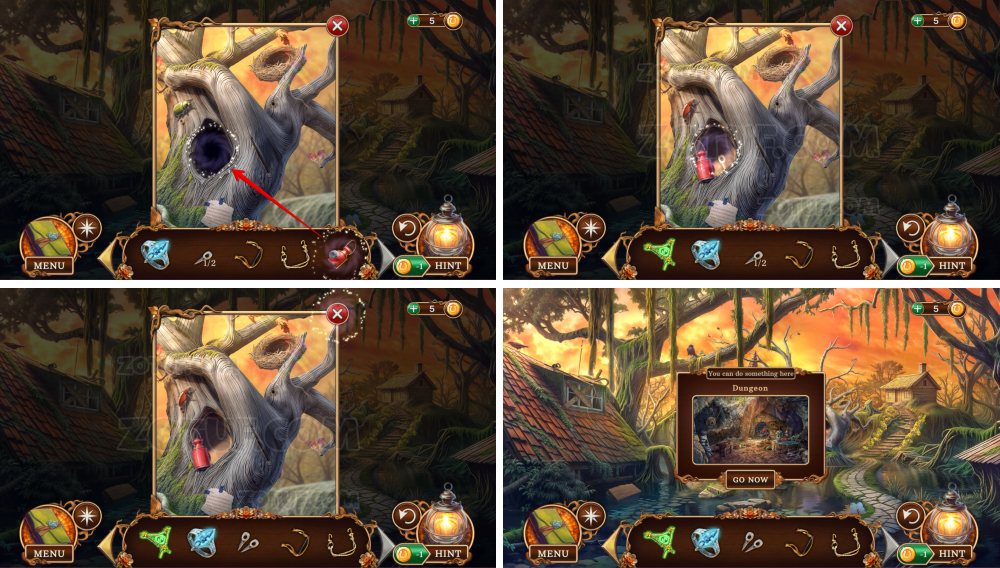
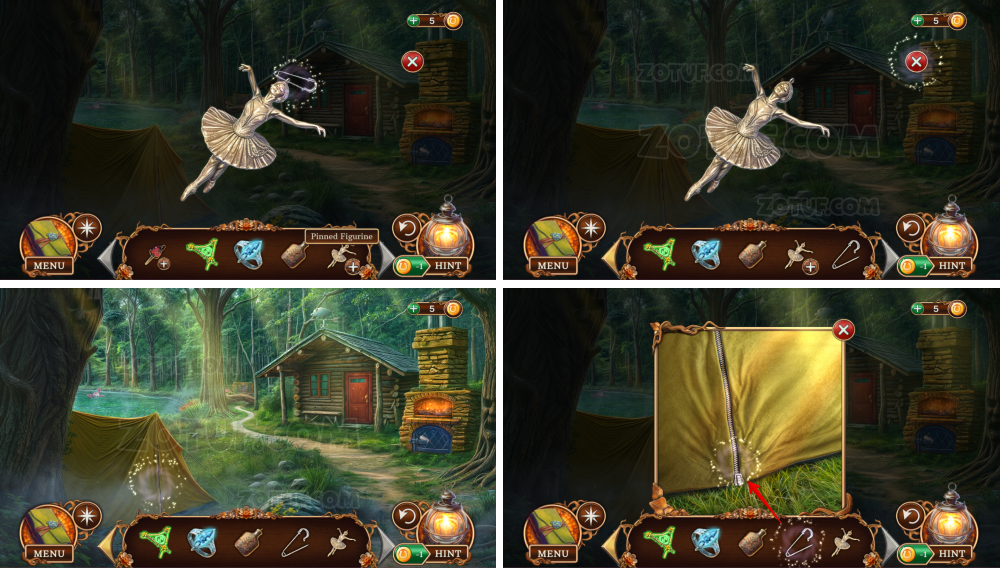
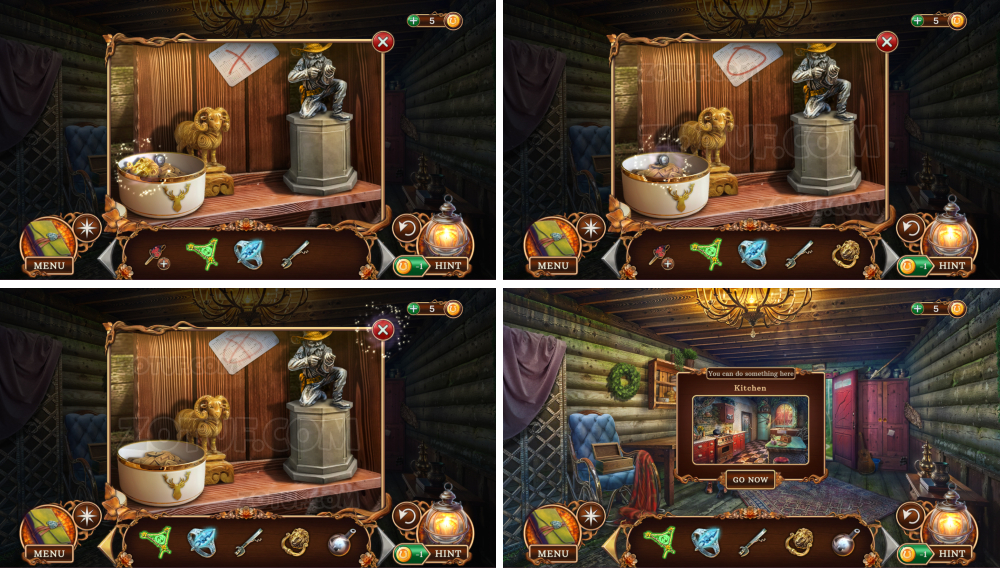
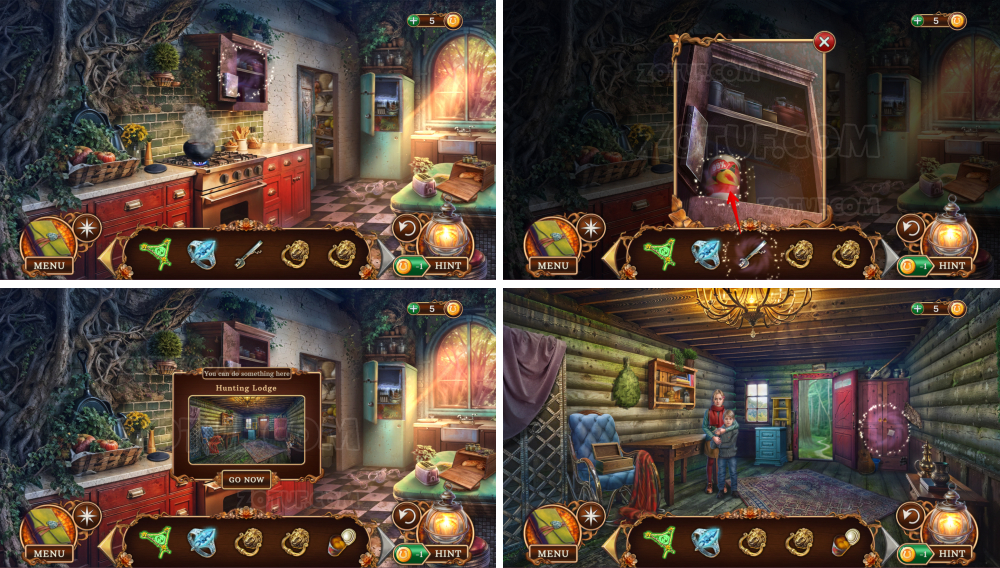
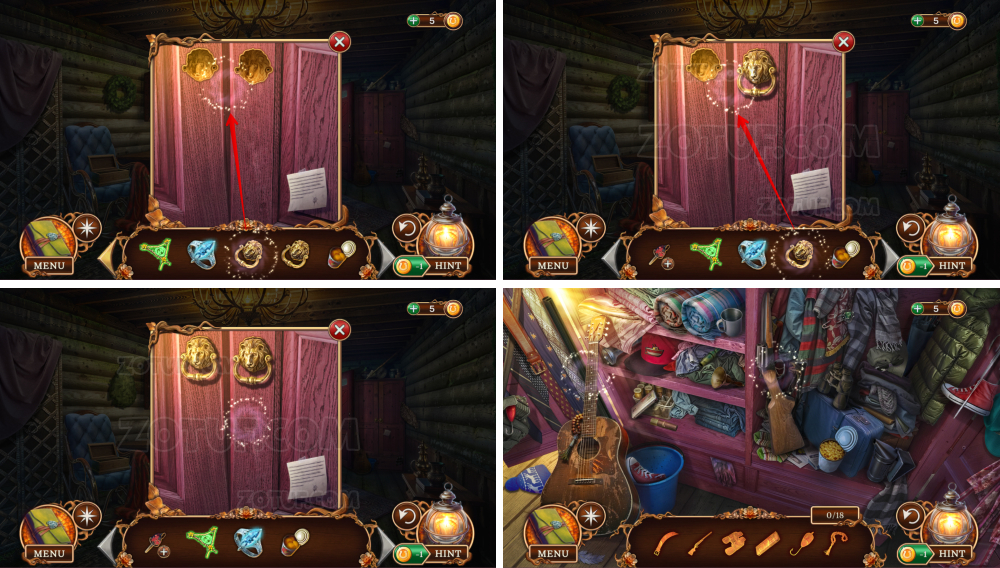
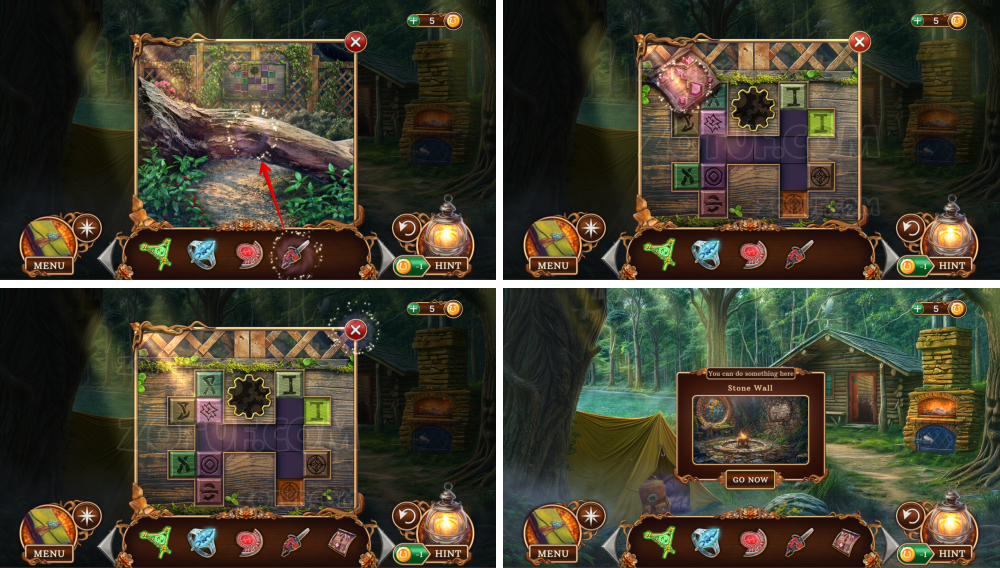
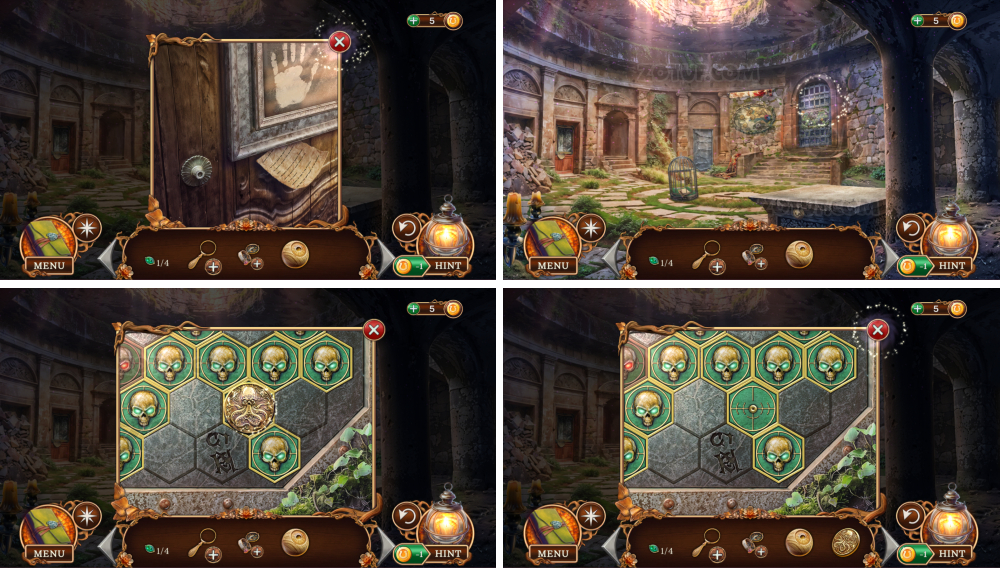
- Take the shutter slider and the mystical sign.

- Use the mystical sign.
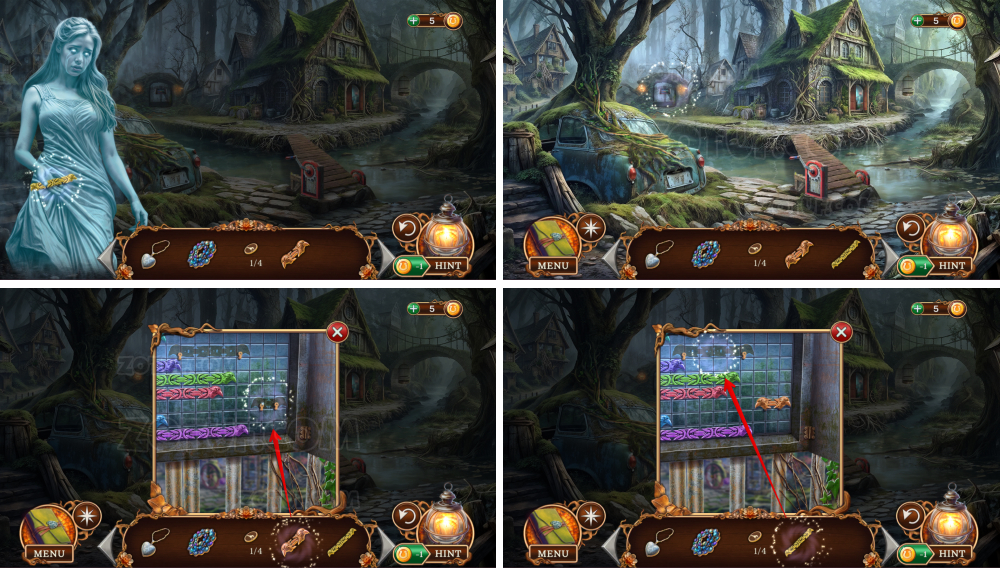
- Take the shutter slider.
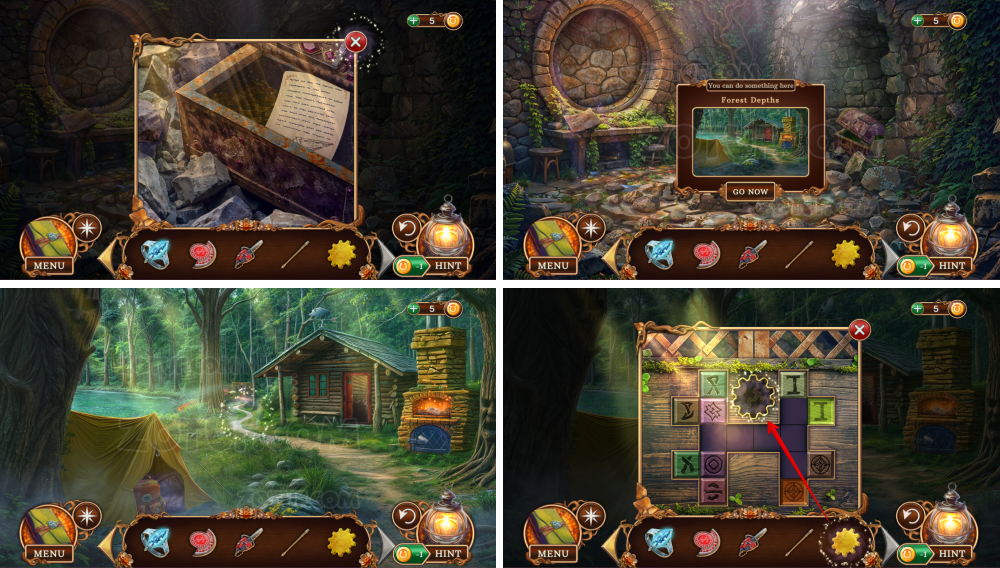
- Use the shutter sliders.
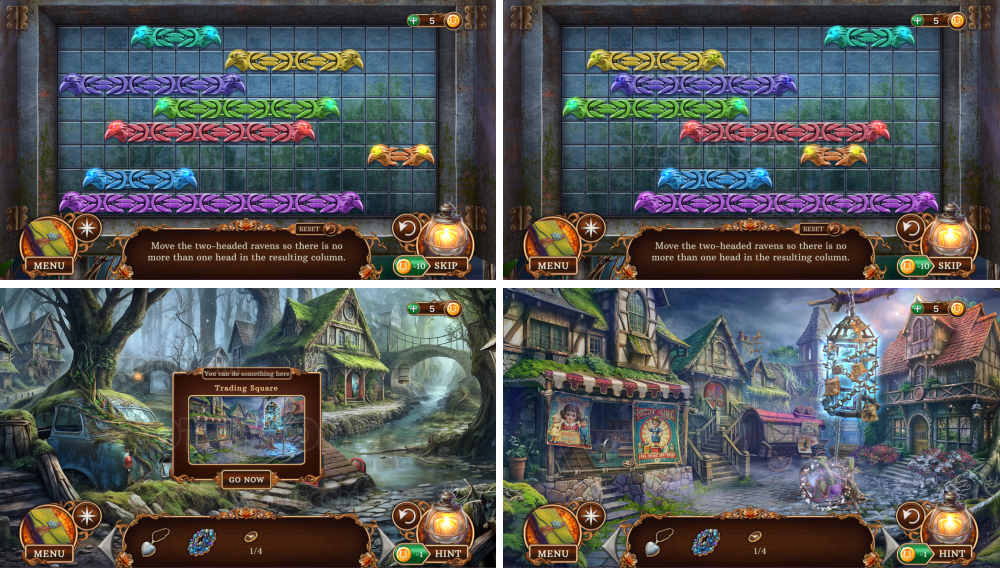
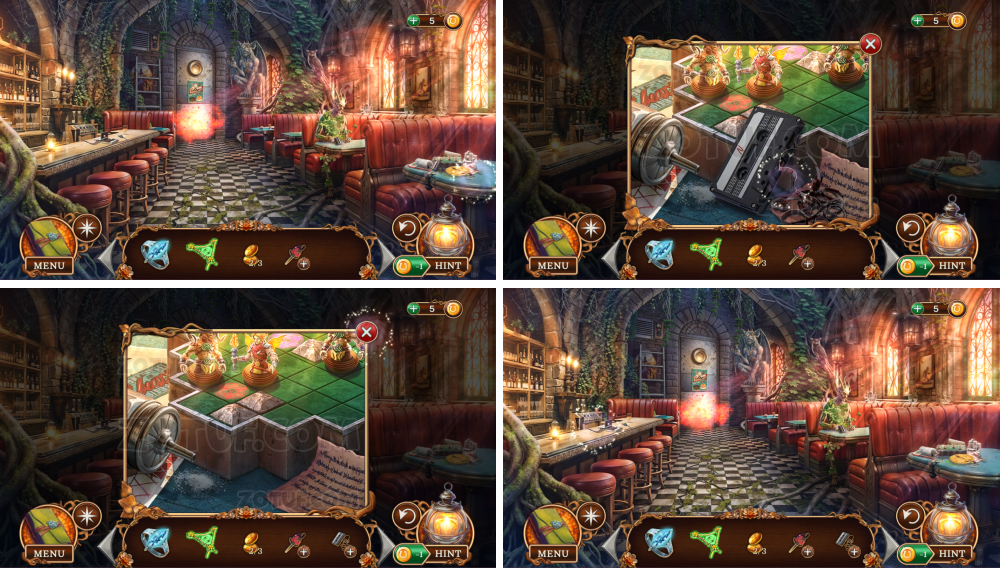
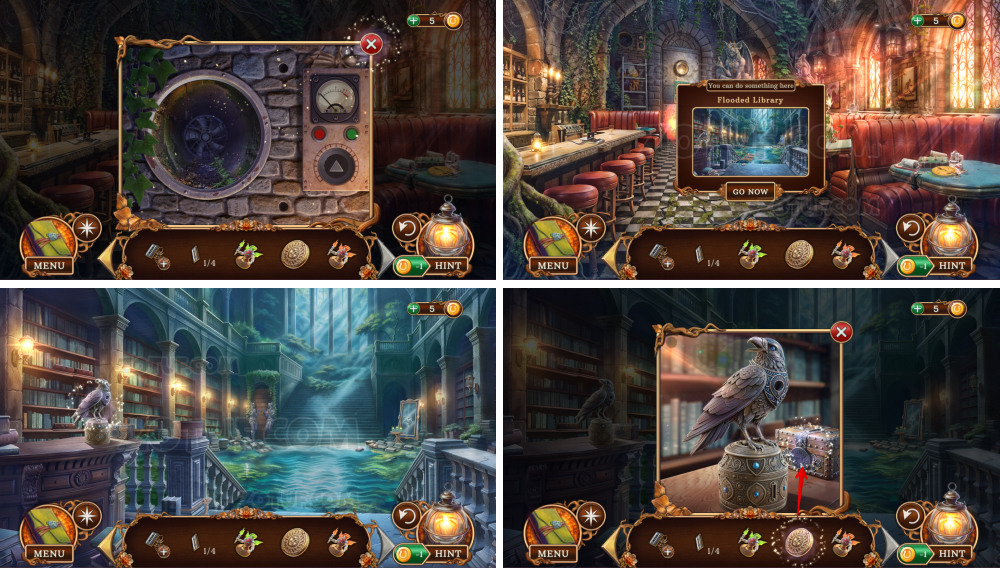
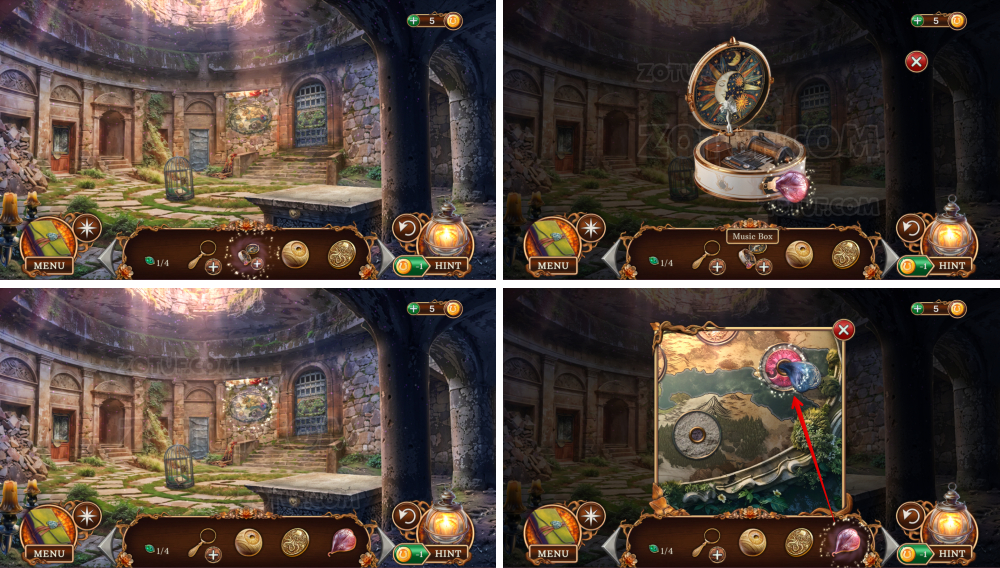
- Solve the puzzle: Move the two-headed ravens so there is no more than one head in the resulting column.
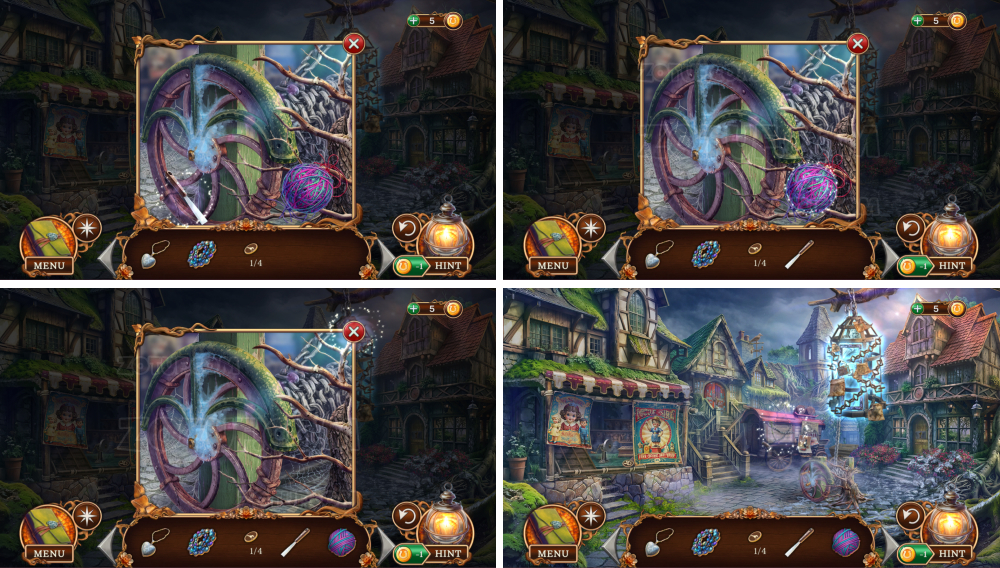
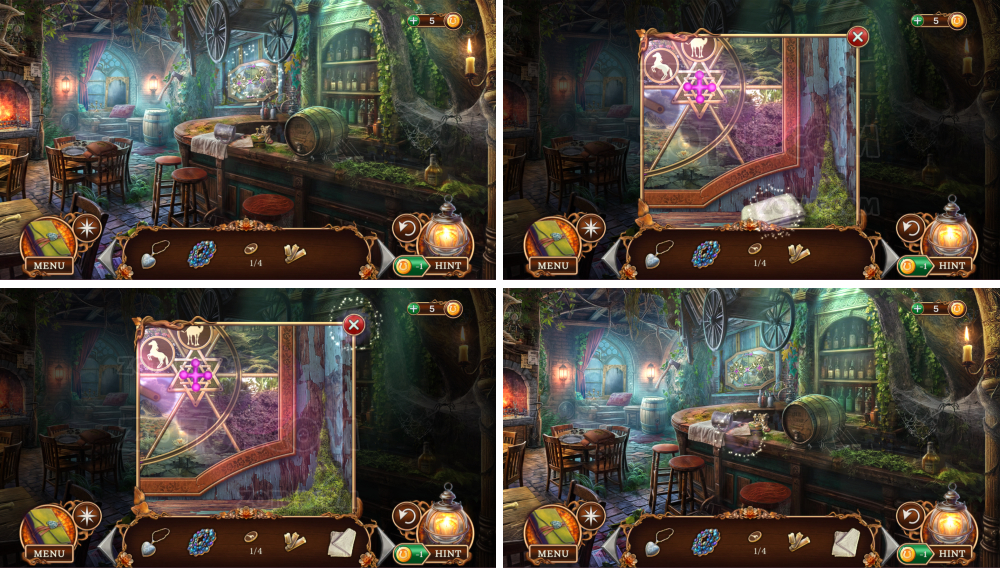
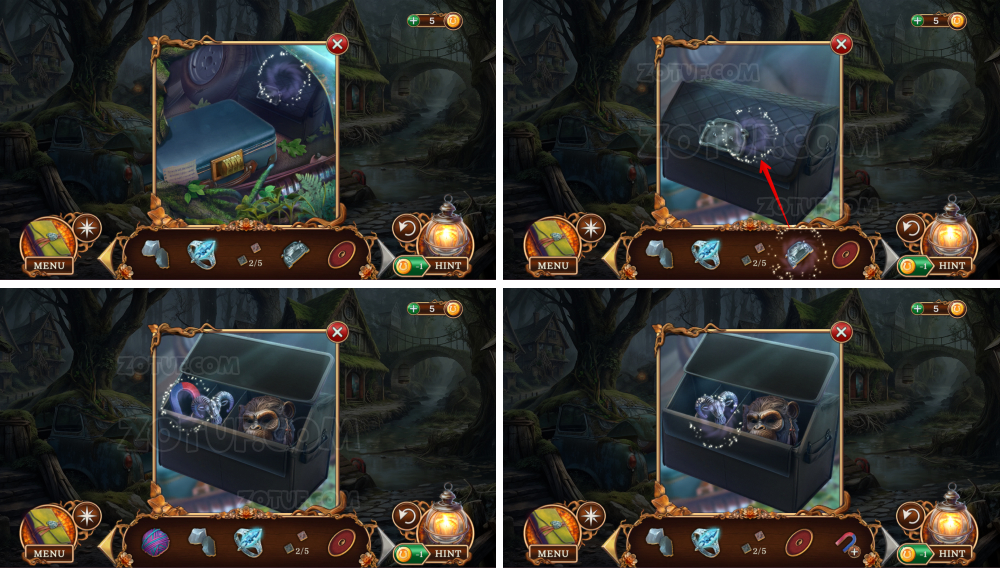
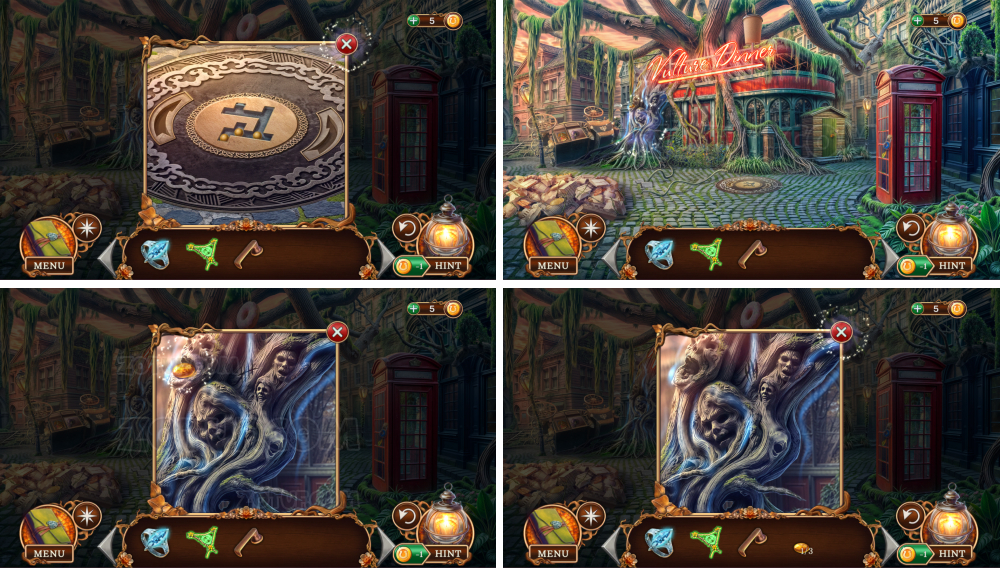
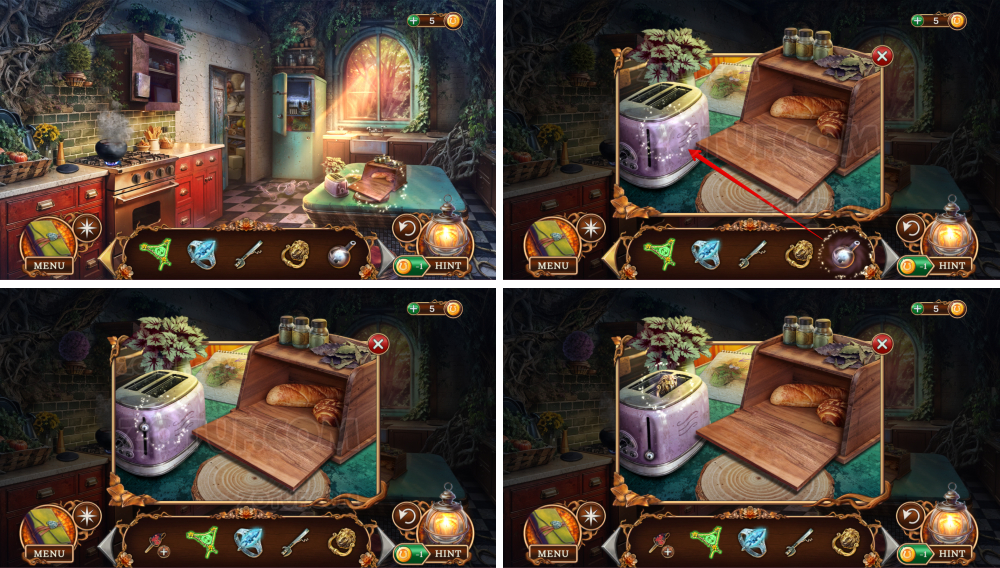
- Take the spatula.
- Take the ball of yarn.
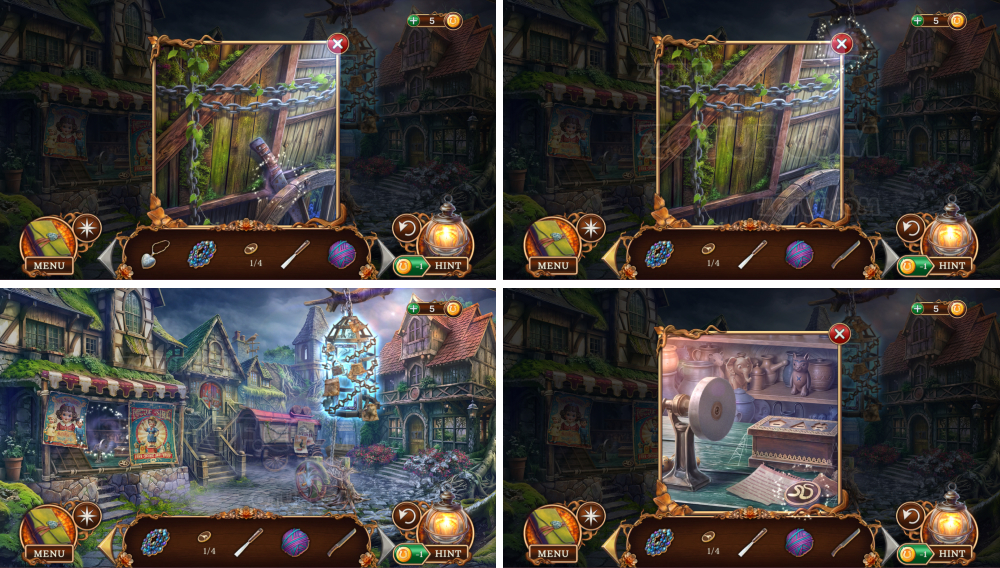
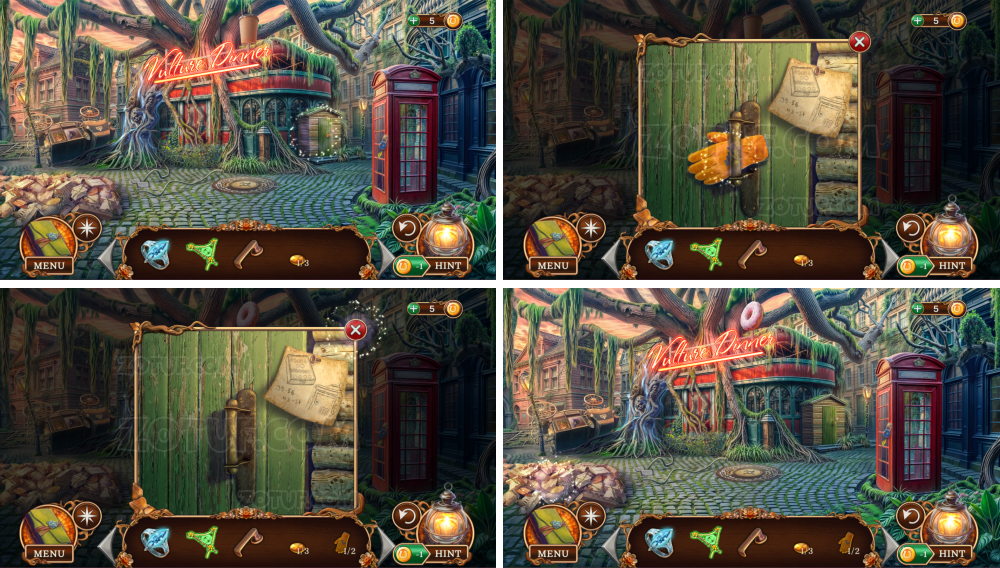
- Take the knife and token 2/4.
- Use the knife.
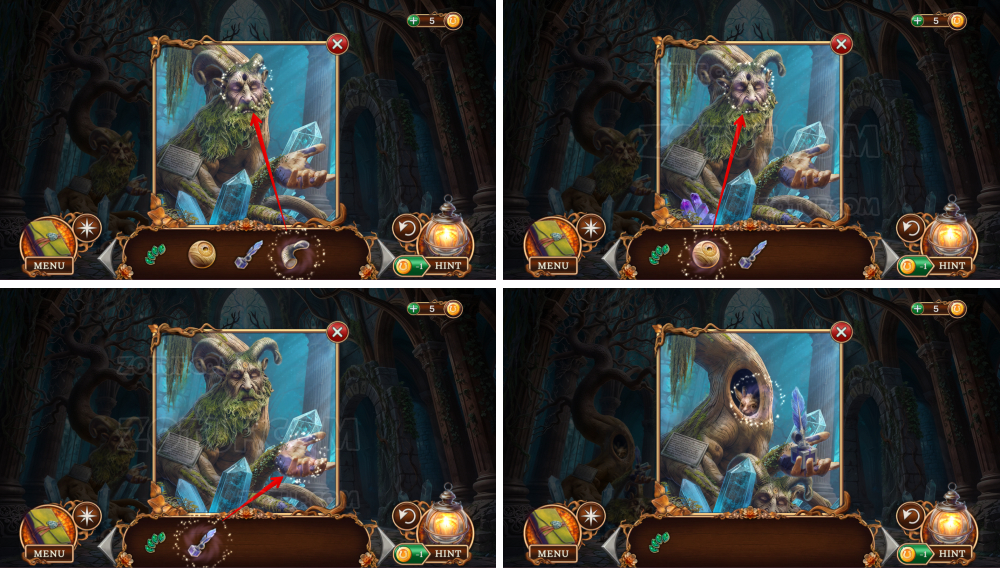
- Take the cat figurine.
- Use the knife.
- Take the stick 1/2.
- Use the knife.
- Take the horse figurine and stick 2/2.
- Use the spatula, get paraffin.
- Use the horse figurine.
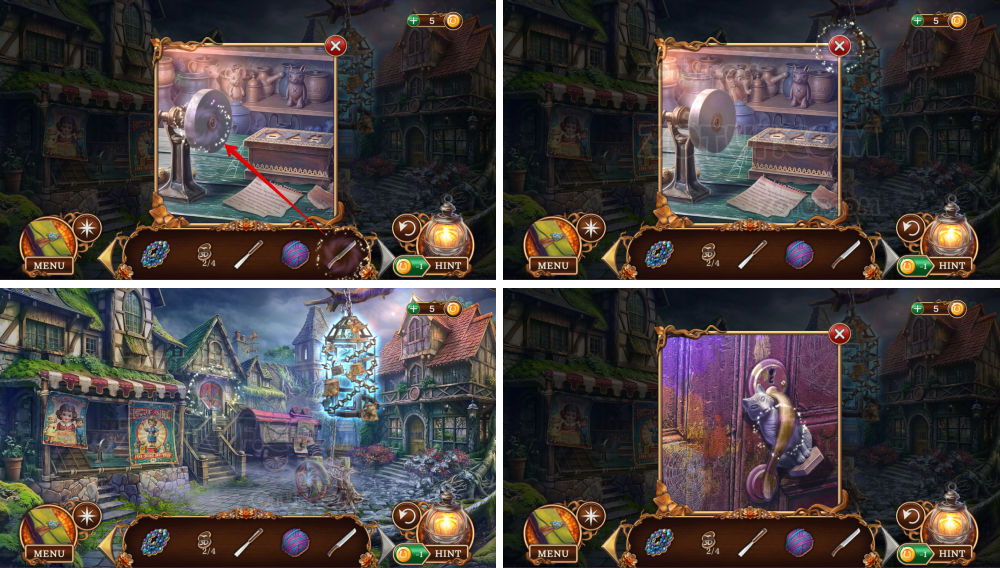
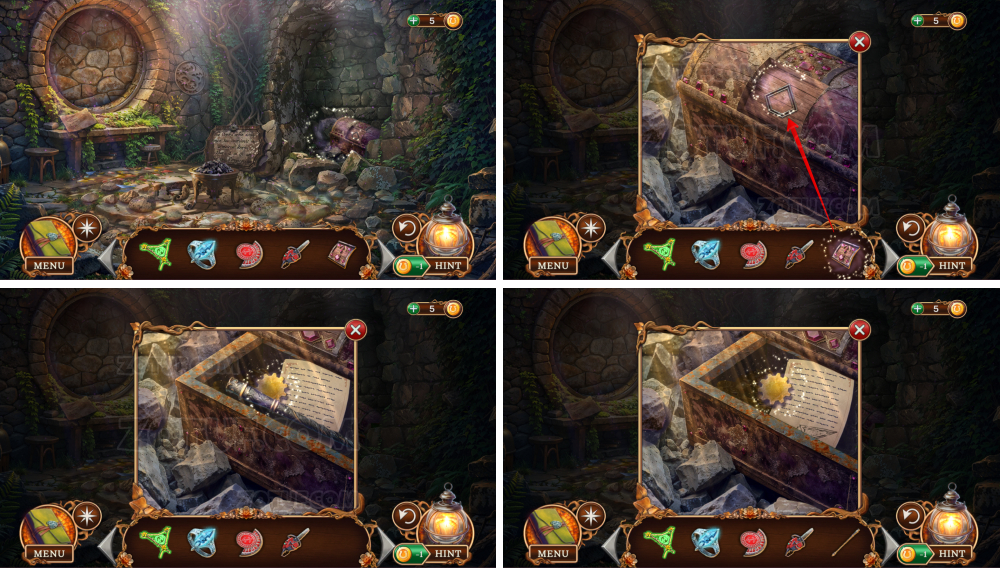
- Take the file and token 3/4.
- Use the file.
- Use the two sticks.
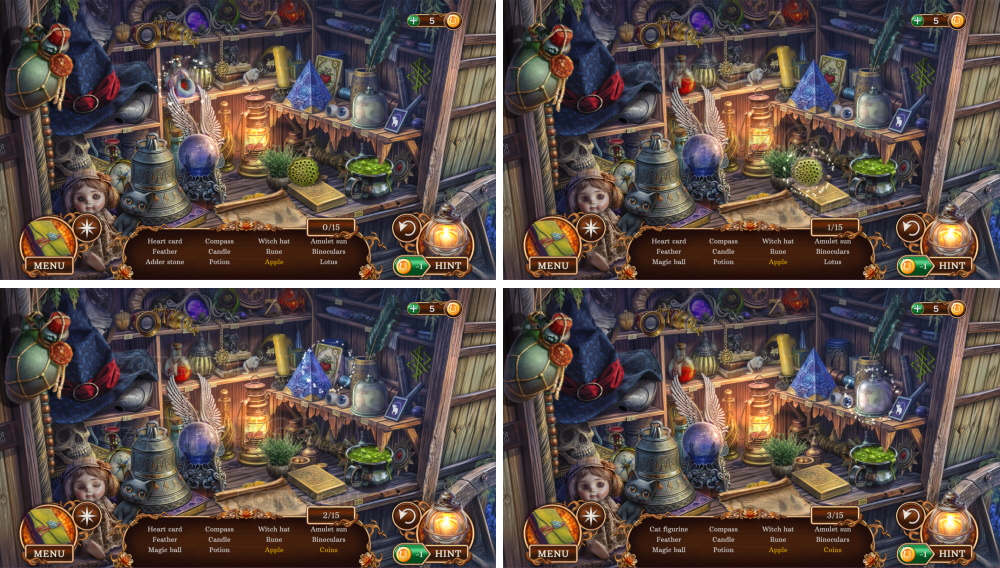
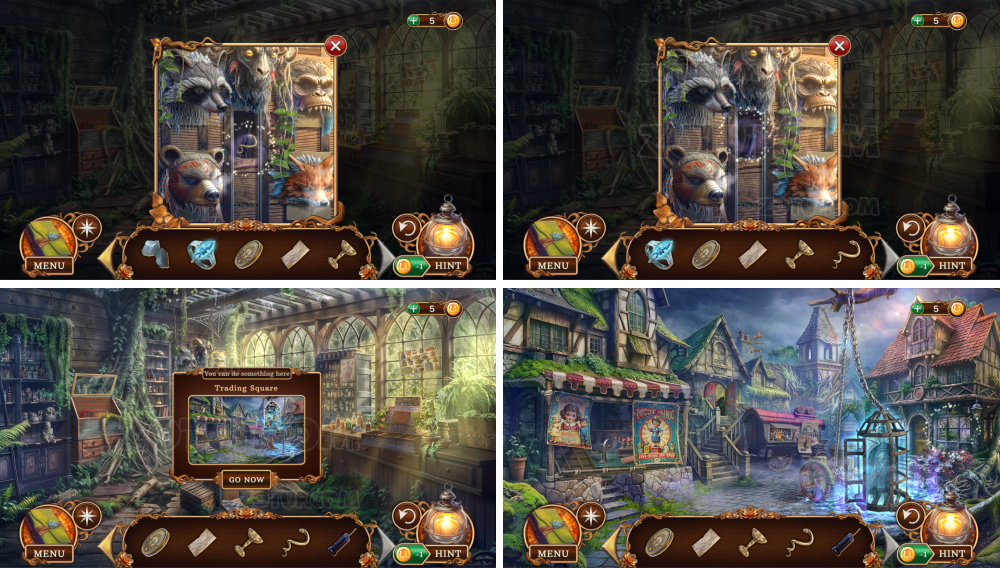
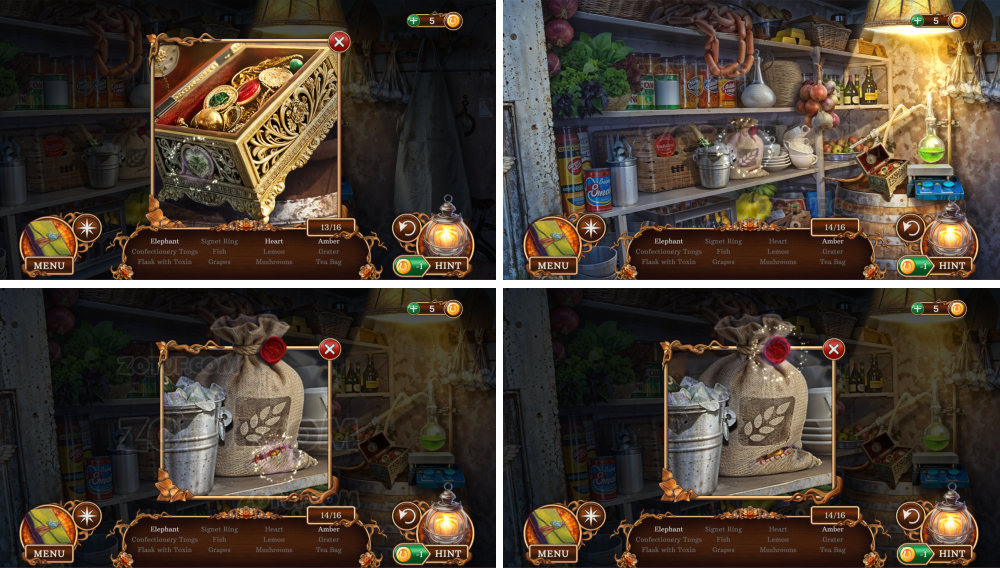
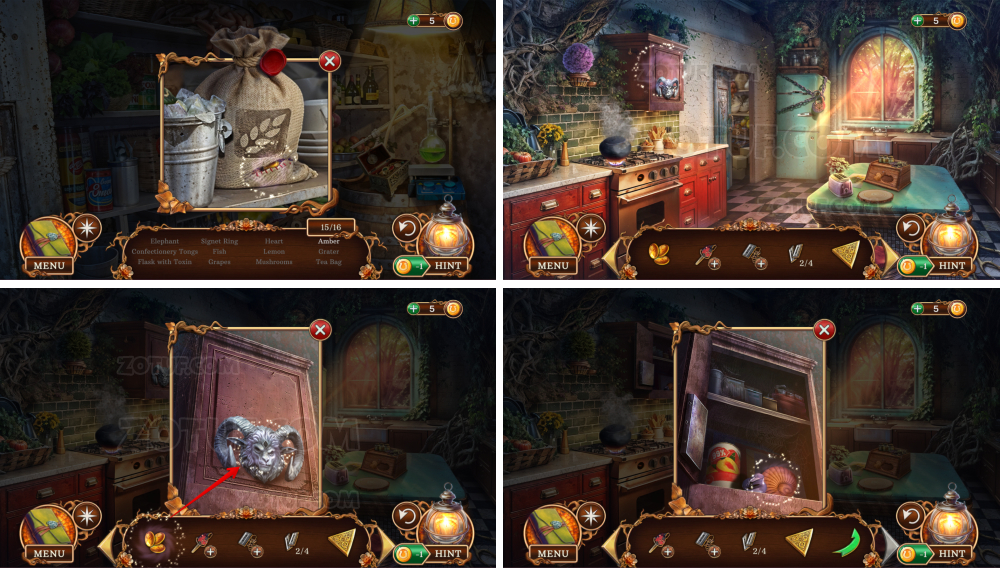
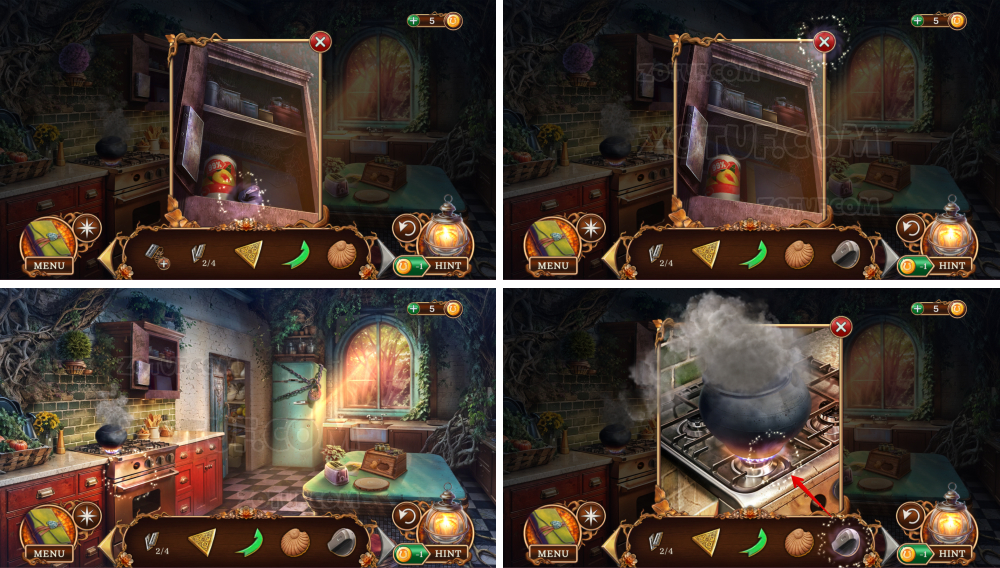
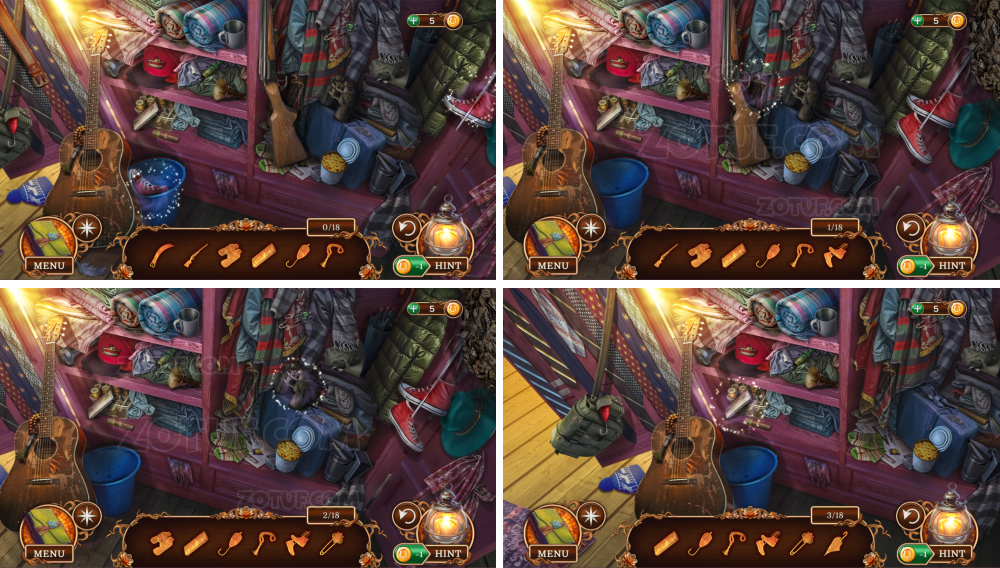
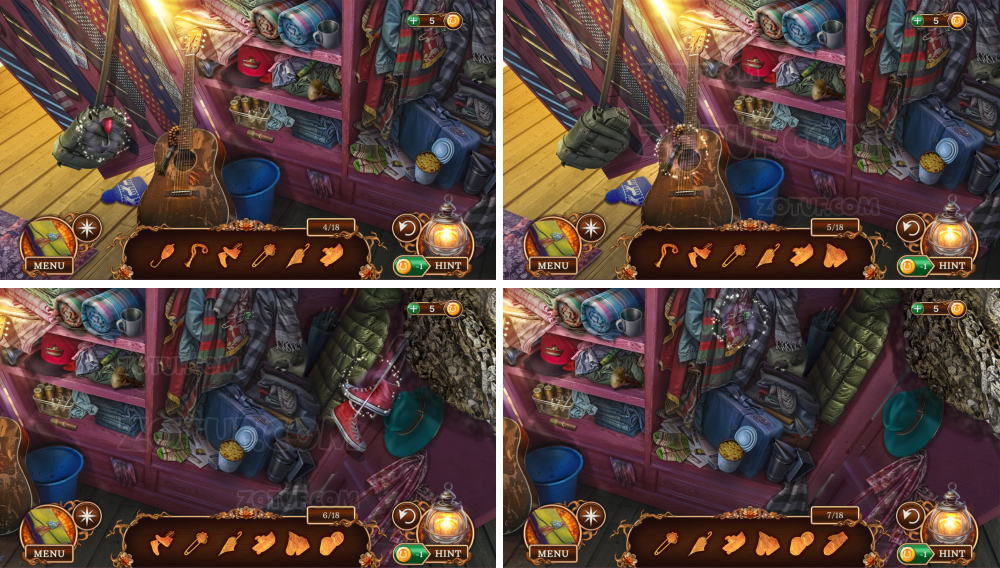
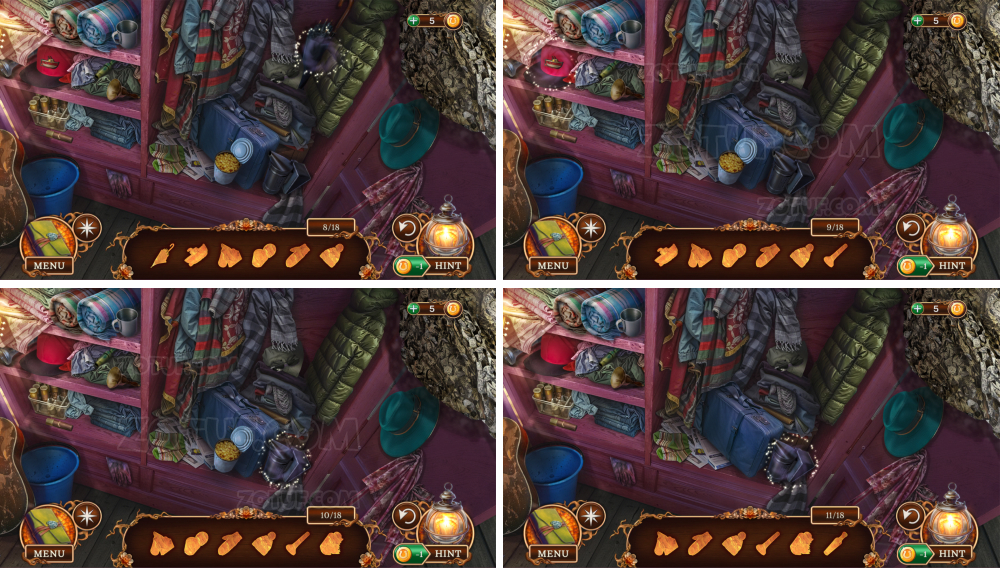
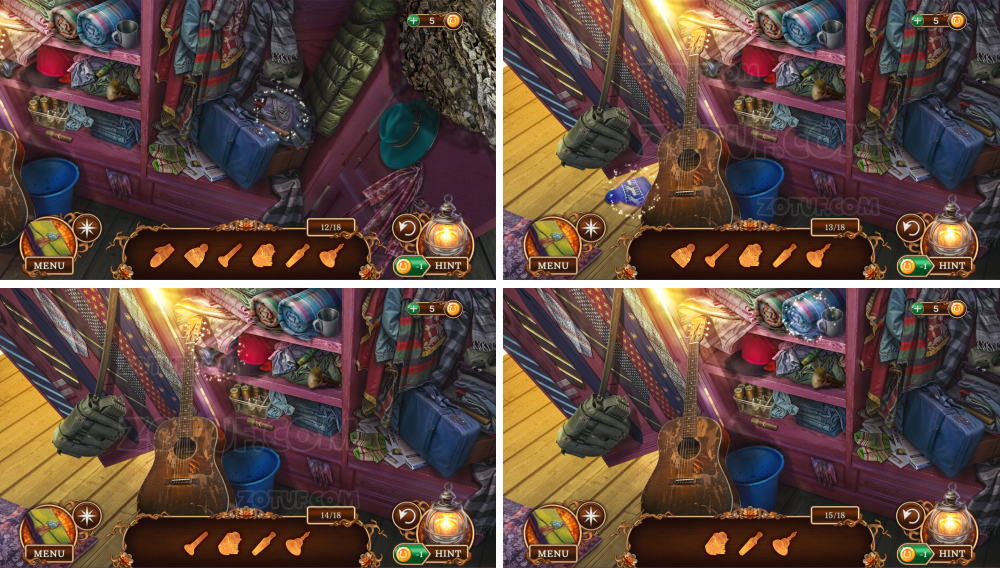
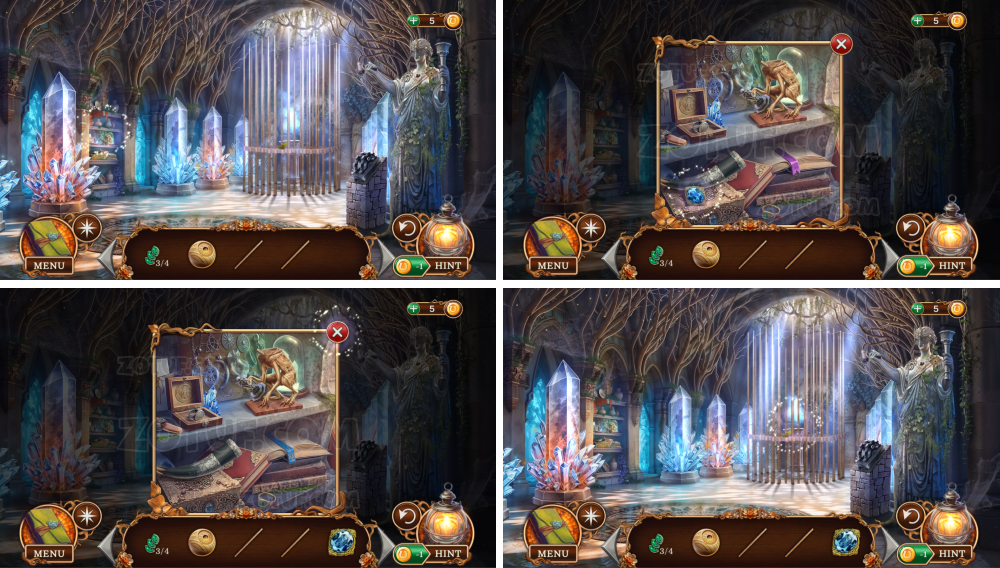
- Find all the items.
- Items 1-3/15.
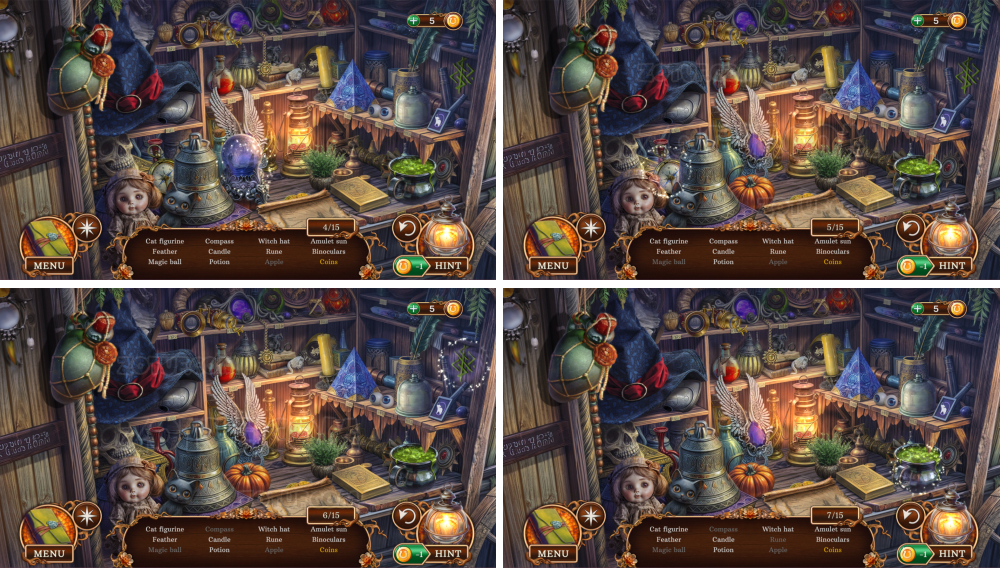
- Items 4-7/15.
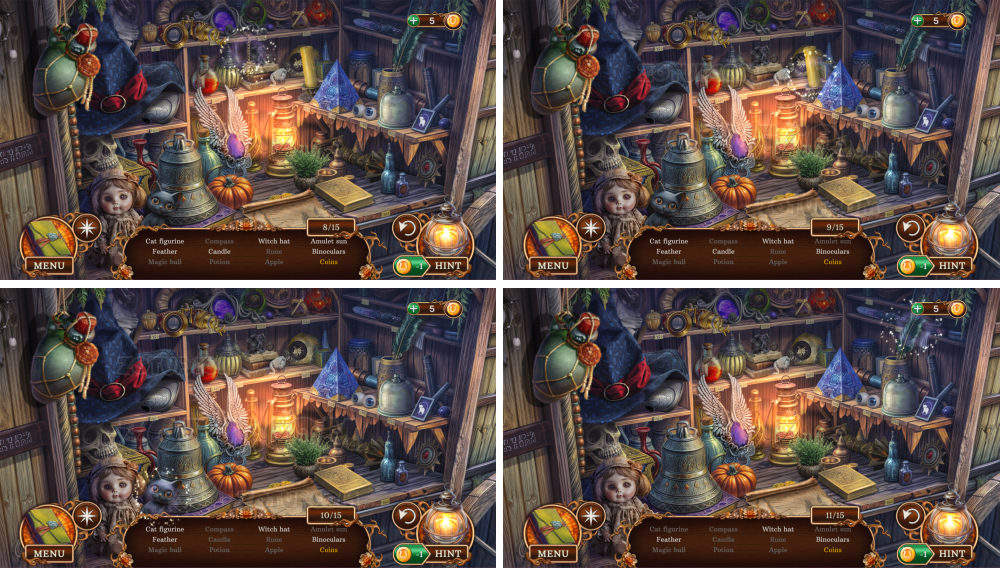
- Items 8-11/15.
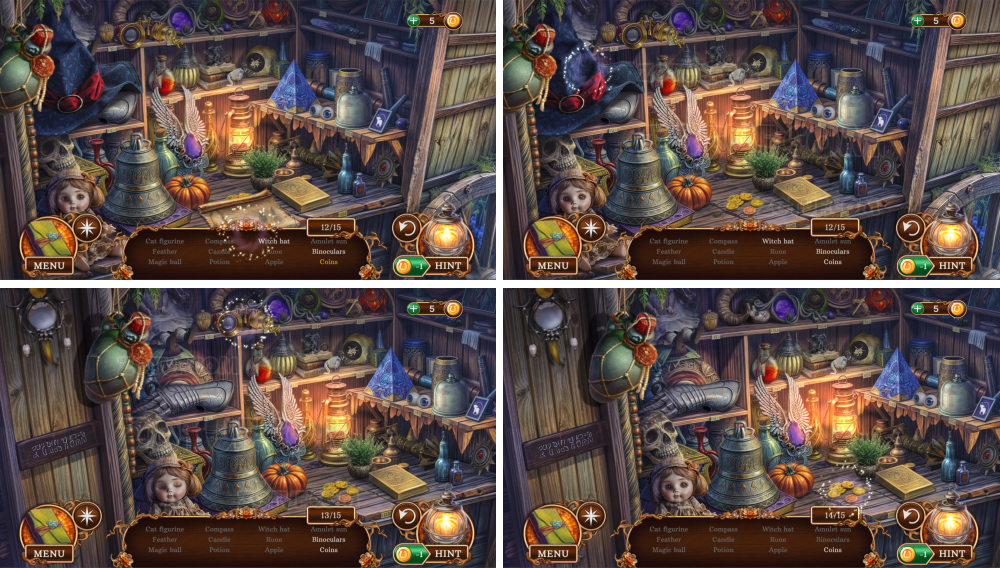
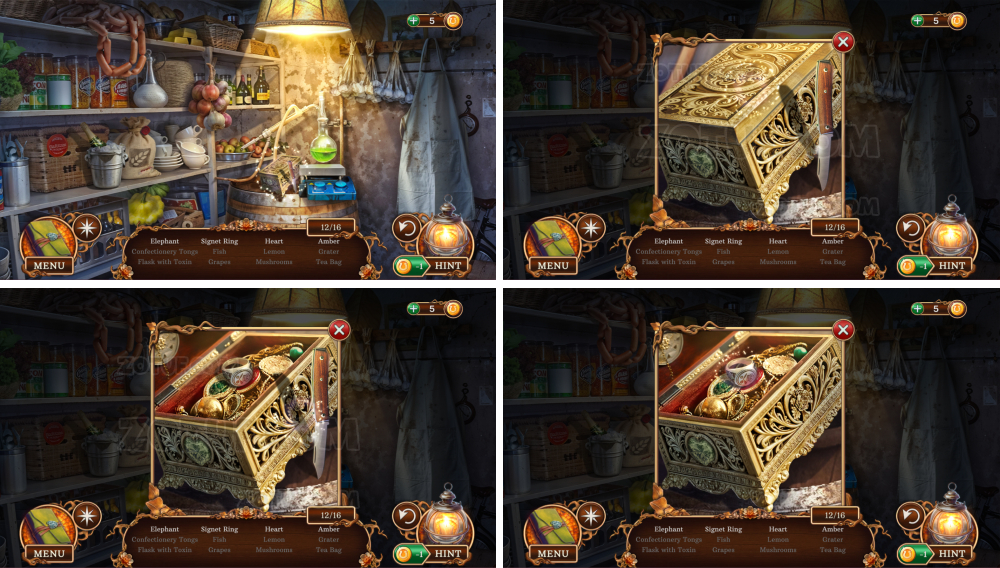
- Items 12-15/15.
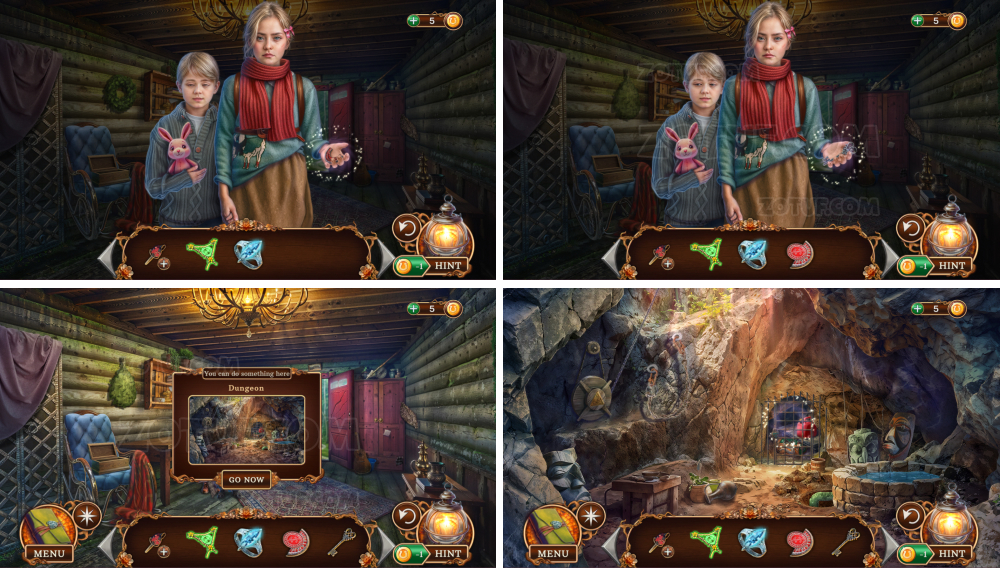
- Get the key.
- Use the key.
- Take the salt and the pen with a pommel.
- Use the salt.
- Use the pen with a pommel.
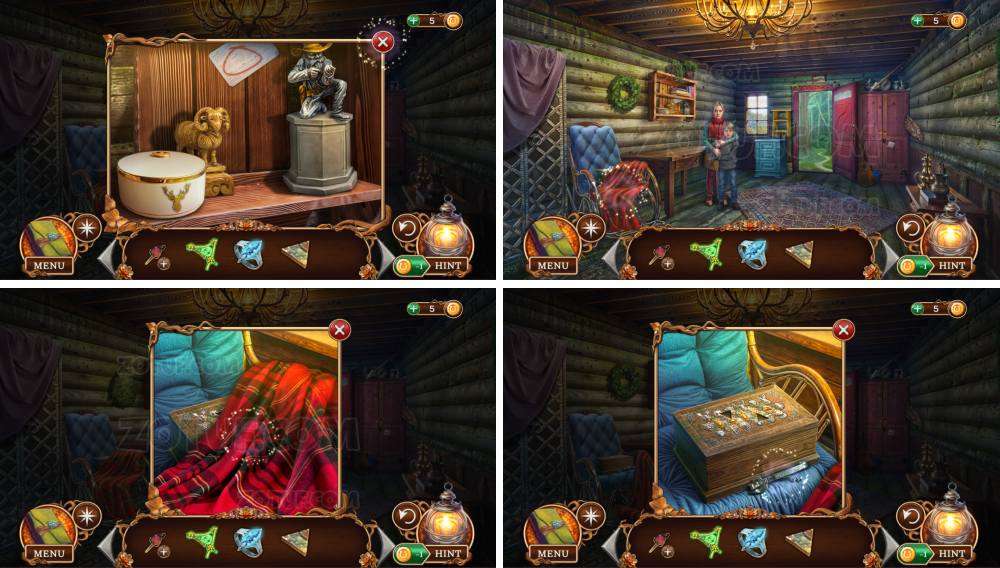
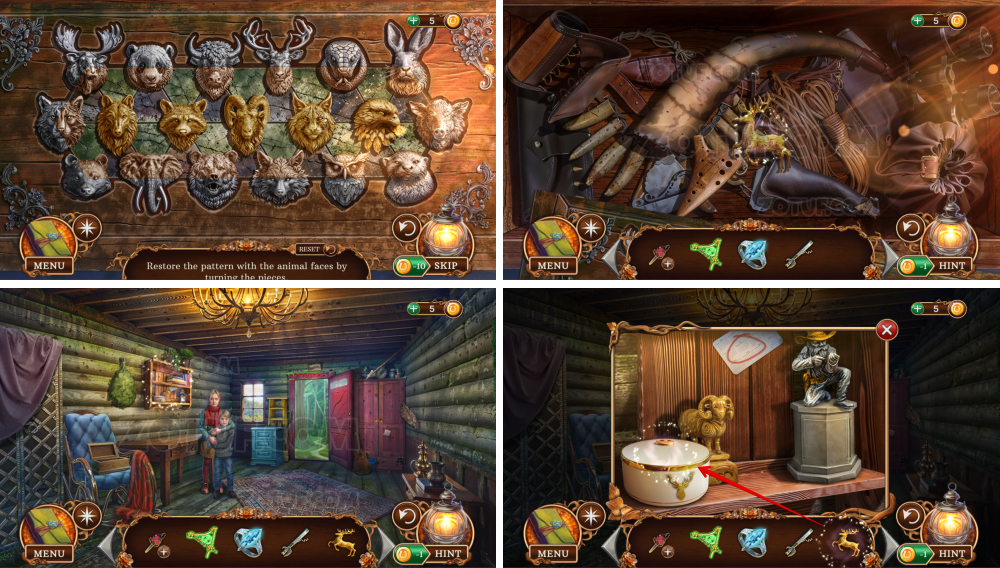
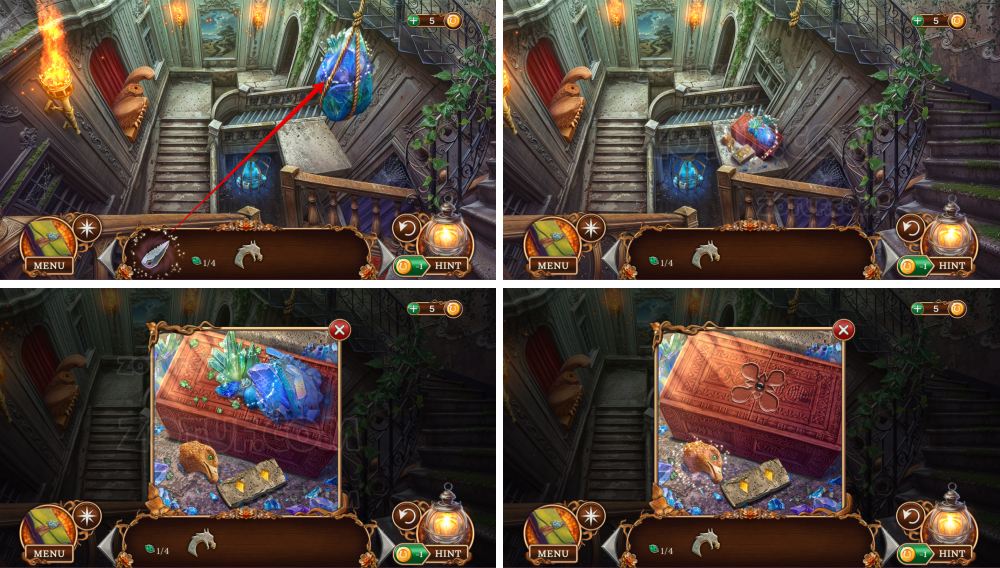
- Take the royal chain.
- Click on the royal chain.
- Take the royal ring and the sharp icicle.
- Use the sharp icicle.
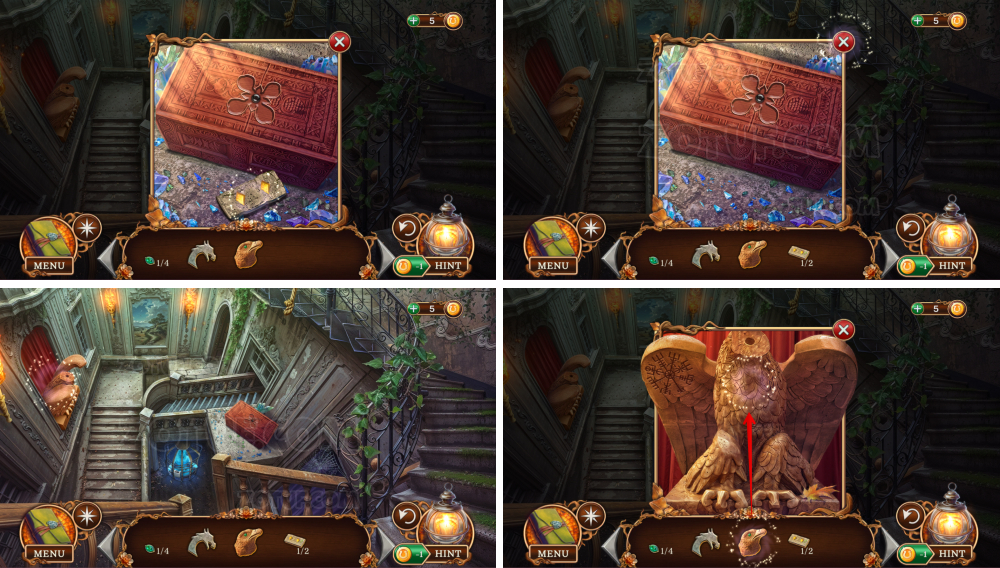
- Take the token 4/4.
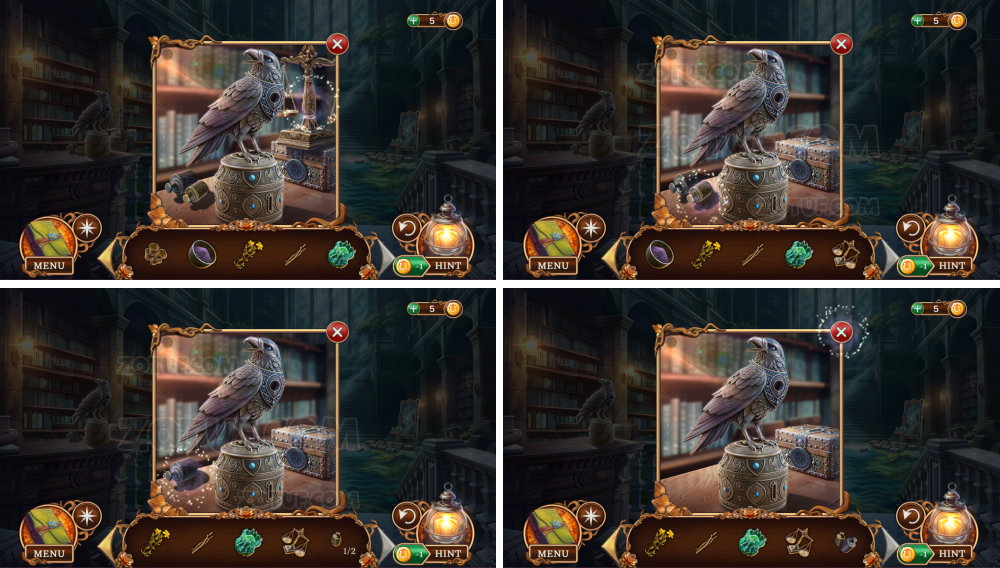
- Take the fox figurine.
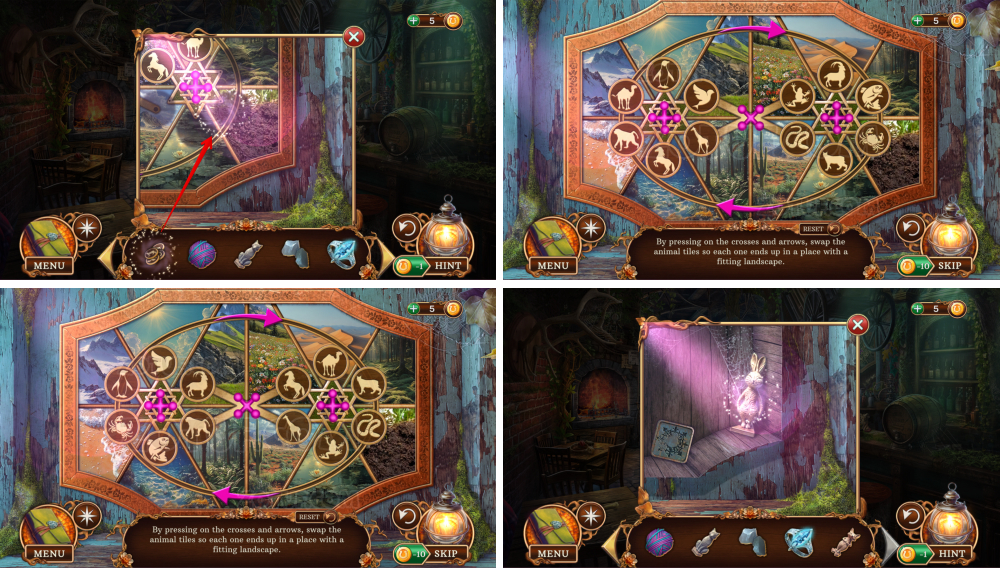
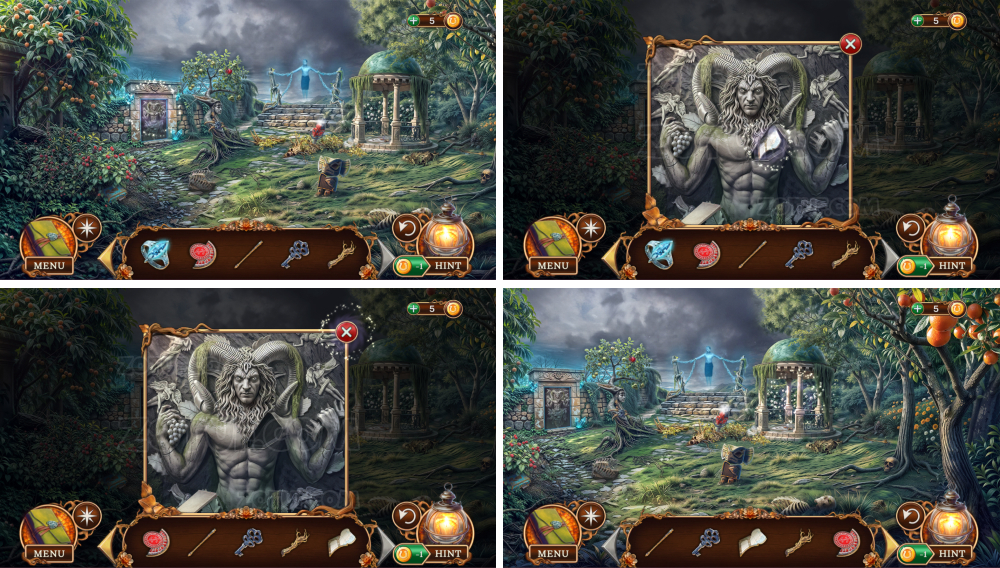
- Use the four tokens.
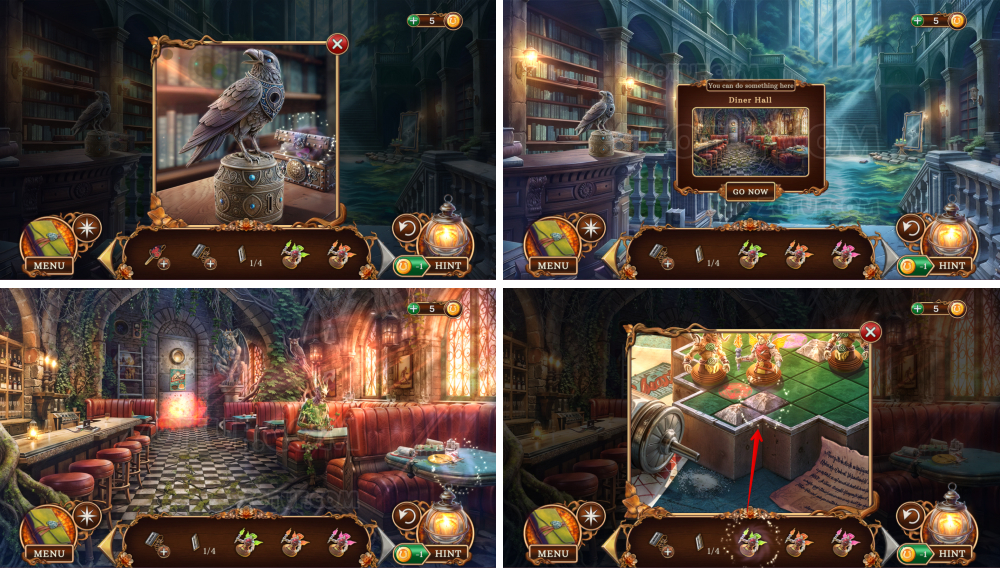
- Solve the puzzle: By pressing on the crosses and arrows, swap the animal tiles so each one ends up in a place with a fitting landscape.
- Take the hare figurine.
- Take the lock parts 1/5.
- Use the hare figurine.
- Use the fox and cat figurines.
- Take the lock parts 2/5.
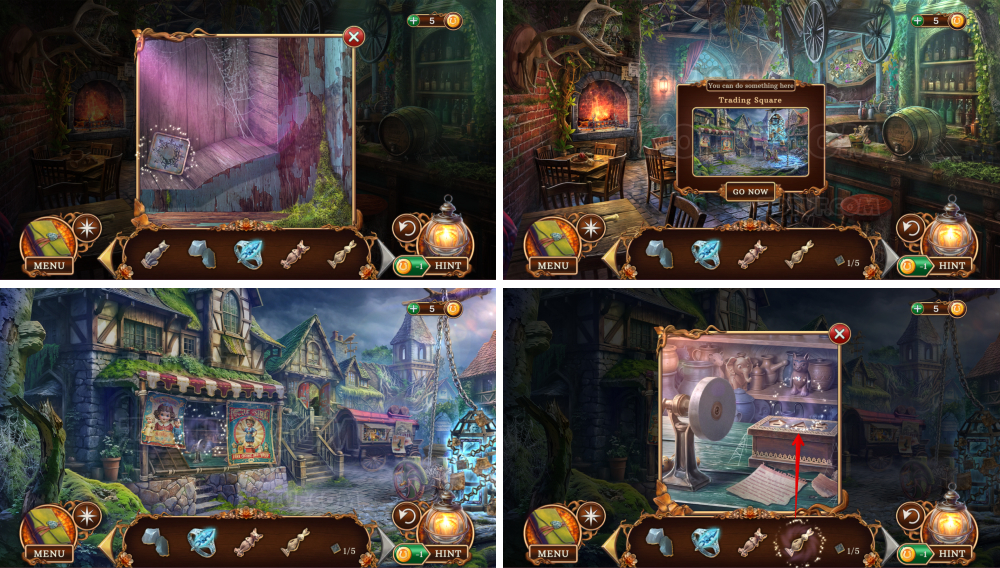
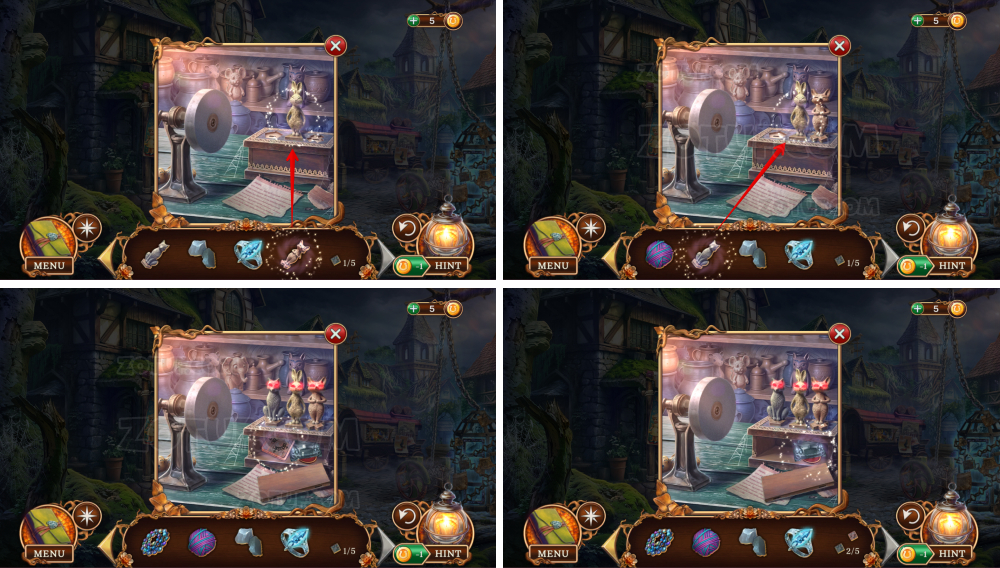
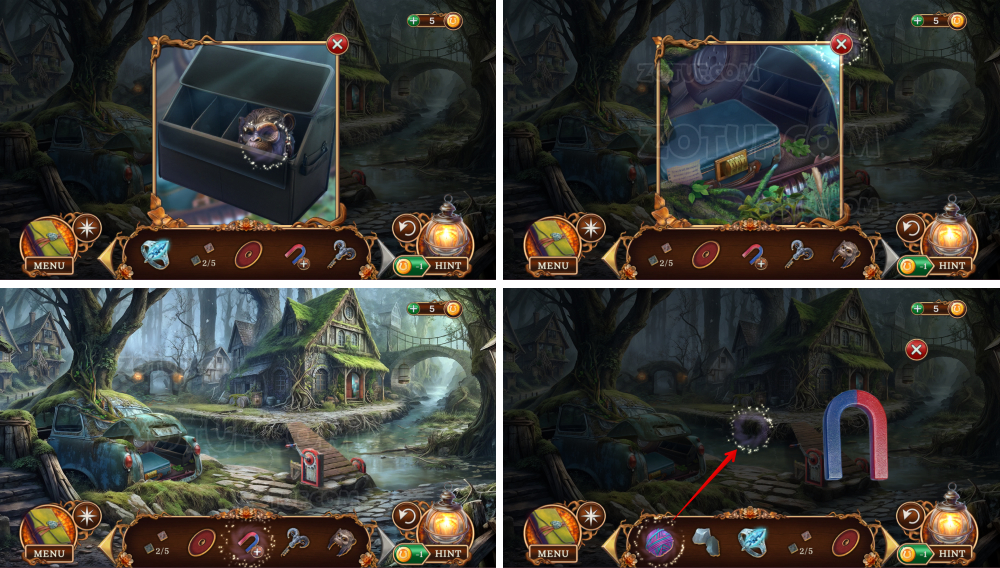
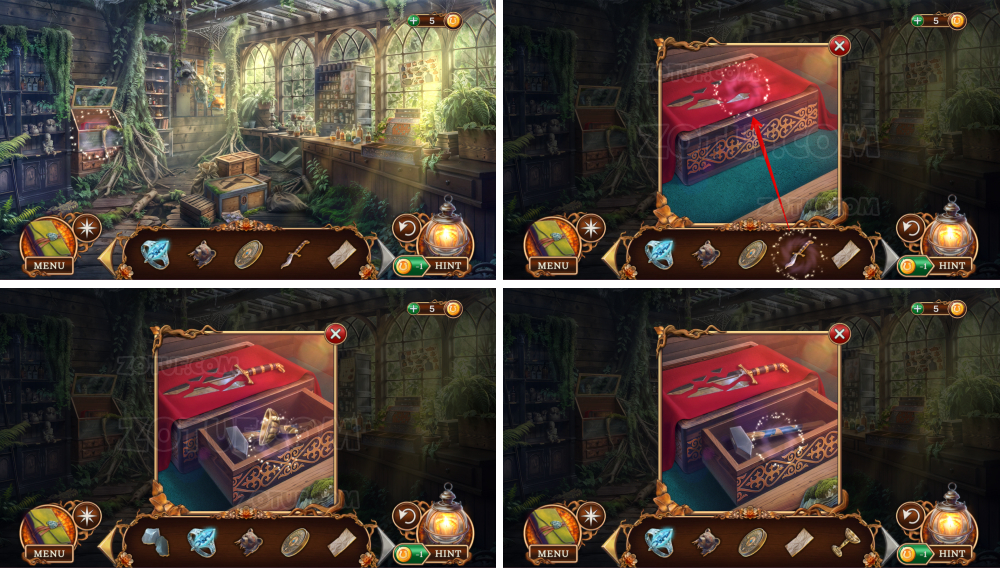
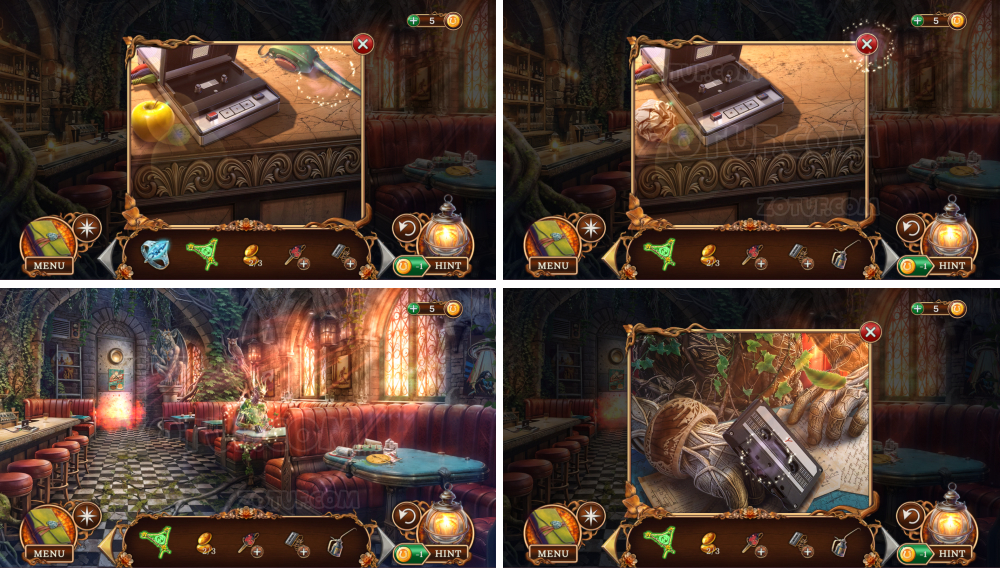
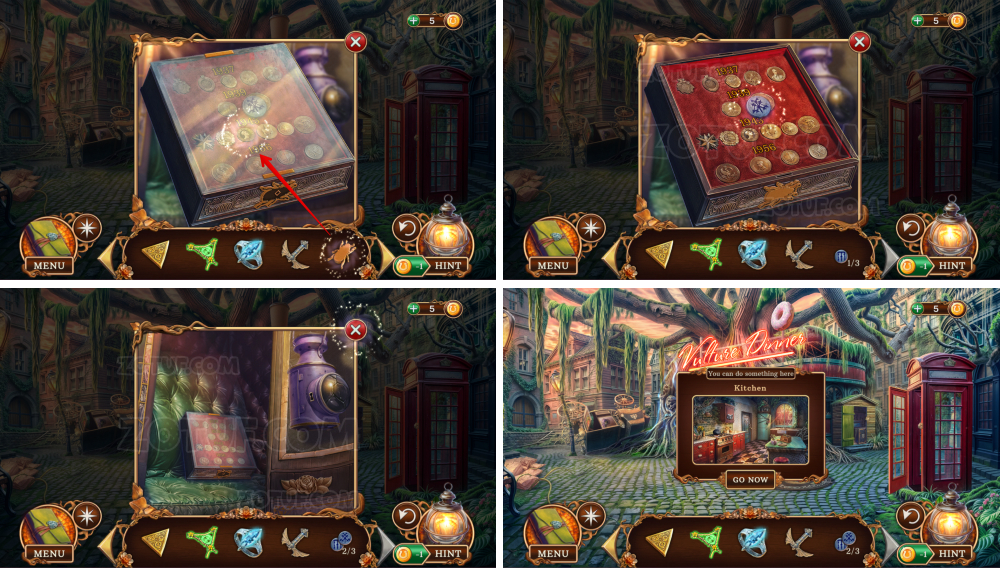
- Take the car amulet.
- Take the cash register key.
- Use the car amulet.
- Take the magnet and the corkscrew.
- Take the monkey mask.
- Click on the magnet, use the ball of yarn.
- Get the magnet on a string.
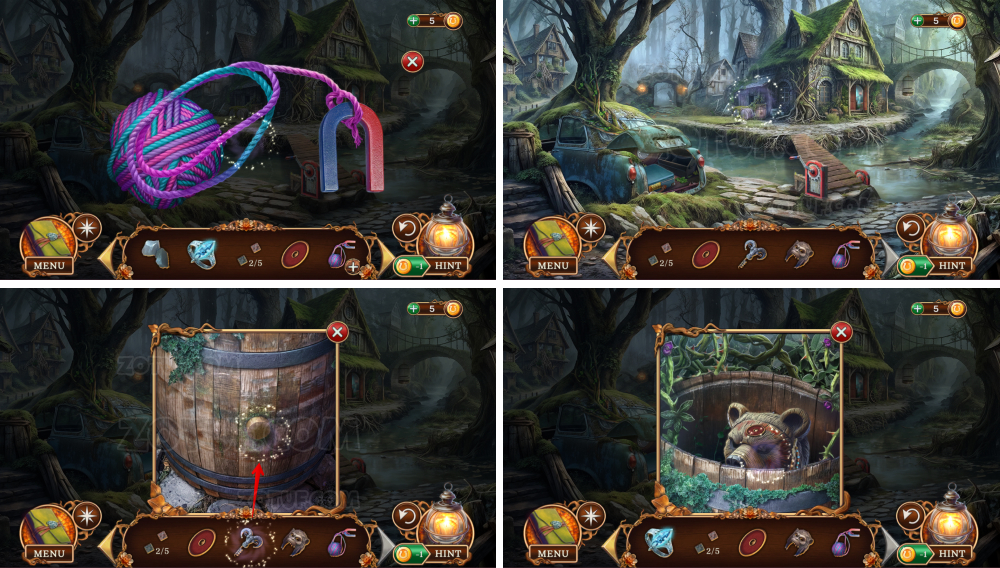
- Use the corkscrew.
- Take the bear mask.
- Use the magnet on a string, get the cash register key and lock parts 3/5.
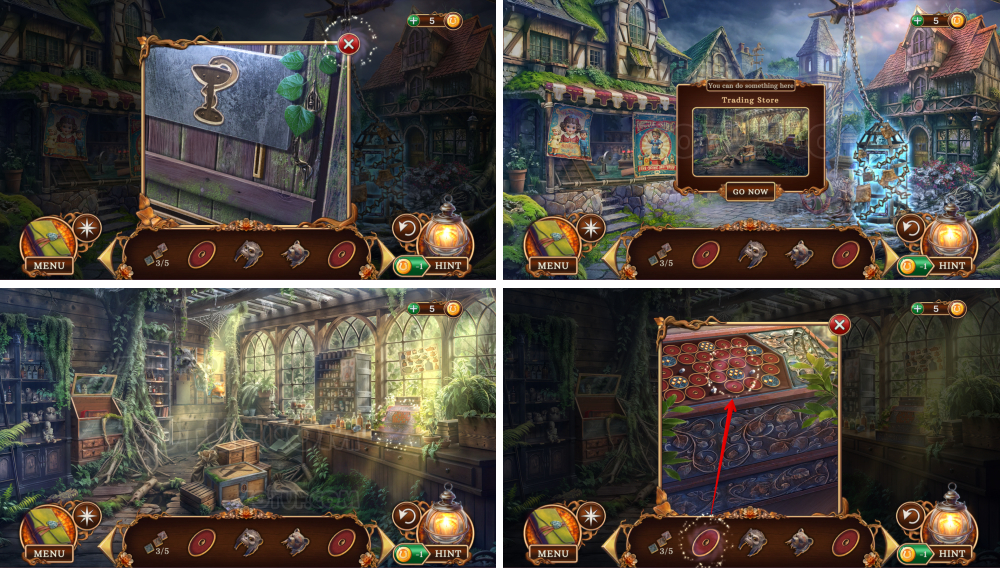
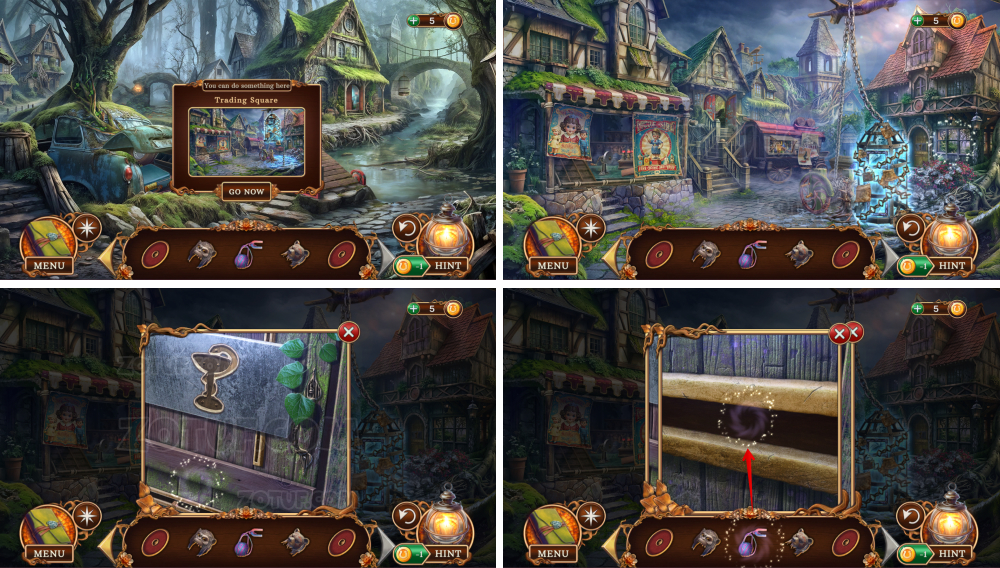
- Use the cash register key.
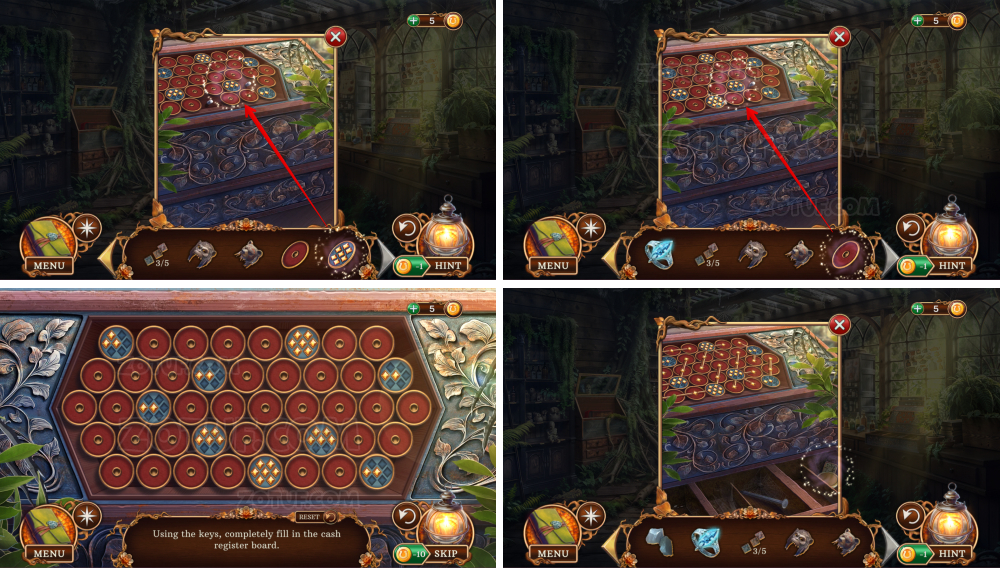
- Use the cash register keys.
- Solve the puzzle: Using the keys, completely fill in the cash register board.
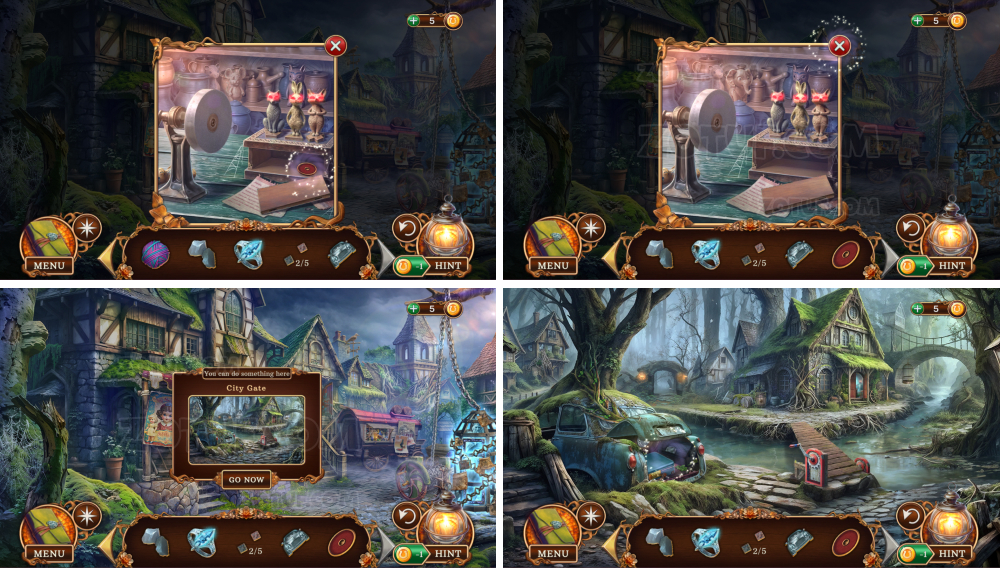
- Take the gold coin.
- Take the lock parts 4/5 and the nail.
- Use the nail.
- Use the monkey mask.
- Use the nail, get the lock parts 5/5.
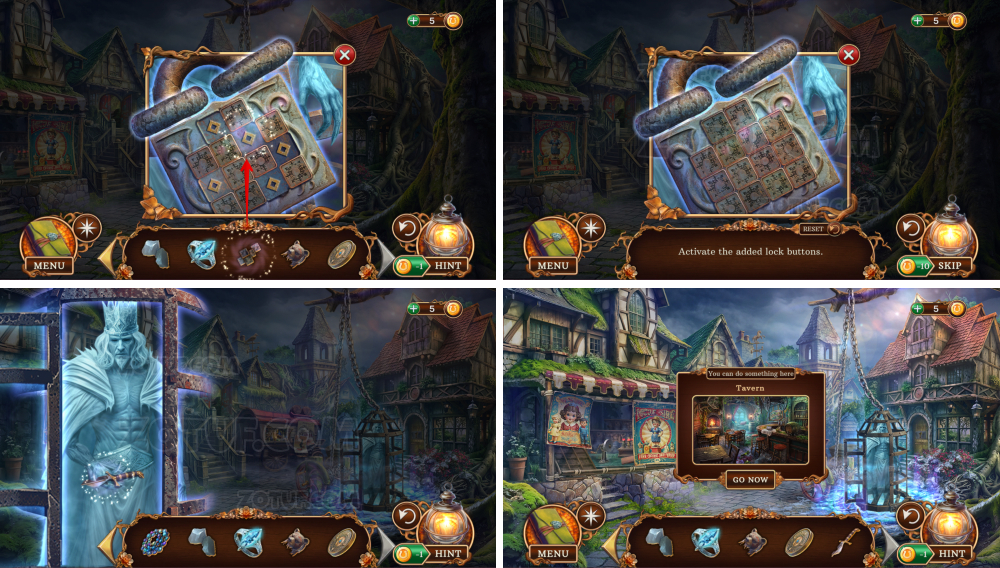
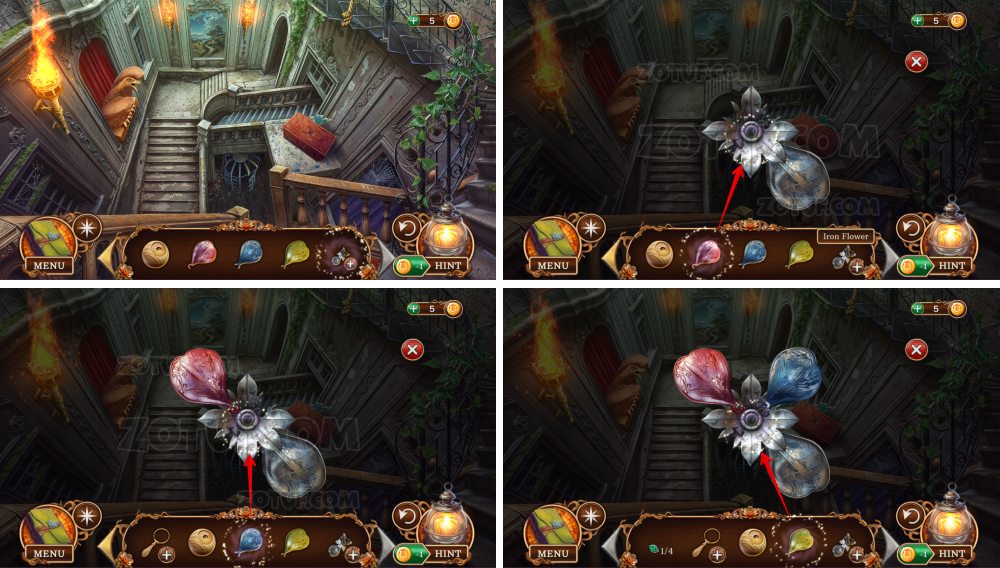
- Use the five lock parts.
- Solve the puzzle: Activate the added lock buttons.
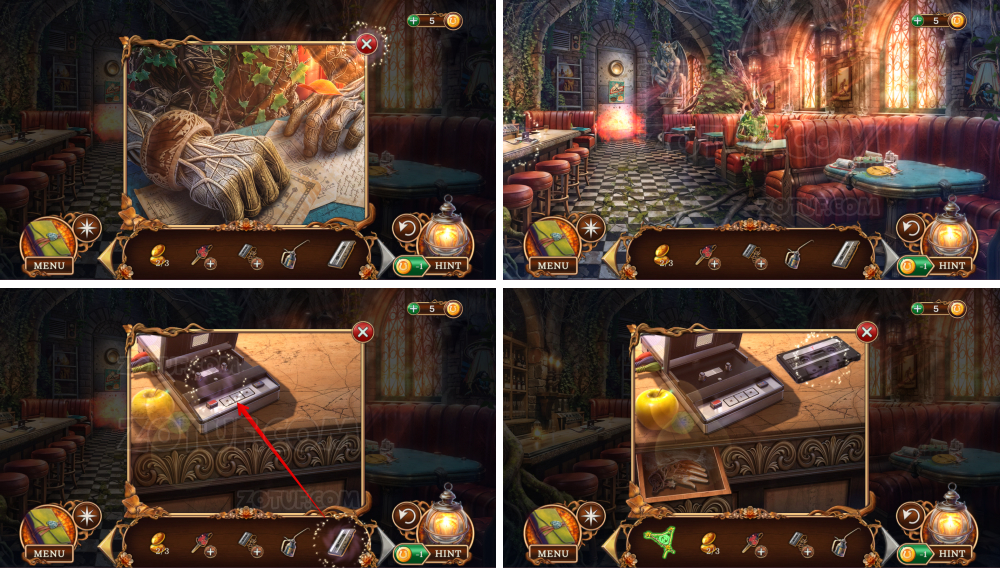
- Take the broken blade.
- Take the piece of paper.
- Use the broken blade.
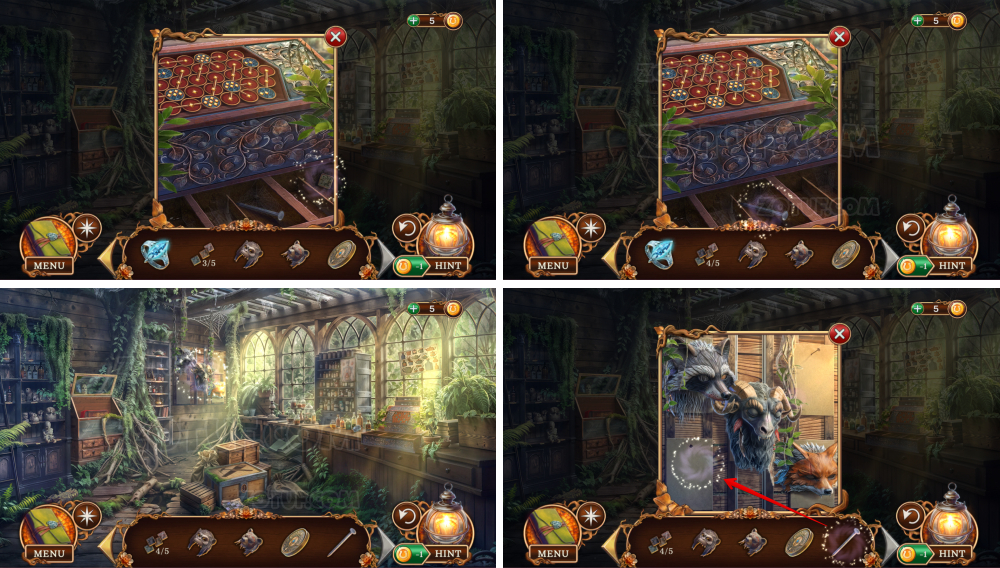
- Take the goblet and the hammer.
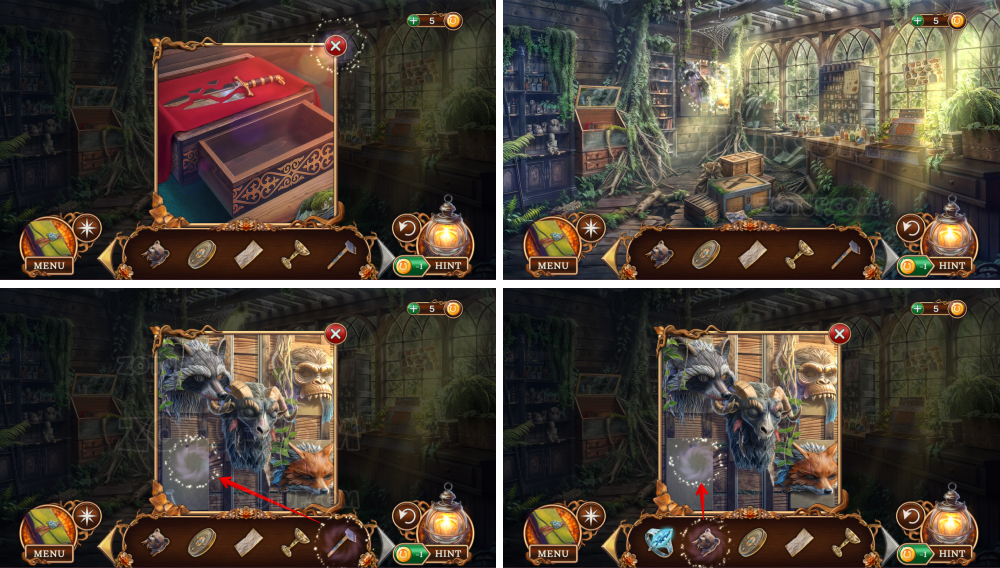
- Use the hammer.
- Use the bear mask.
- Take the snake amulet and the black candle.
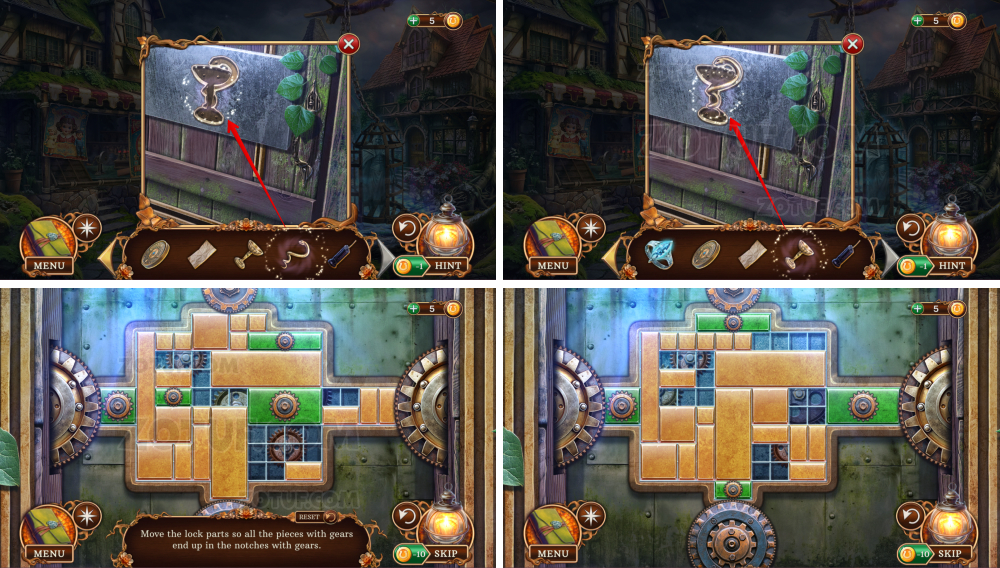
- Use the snake amulet and the goblet.
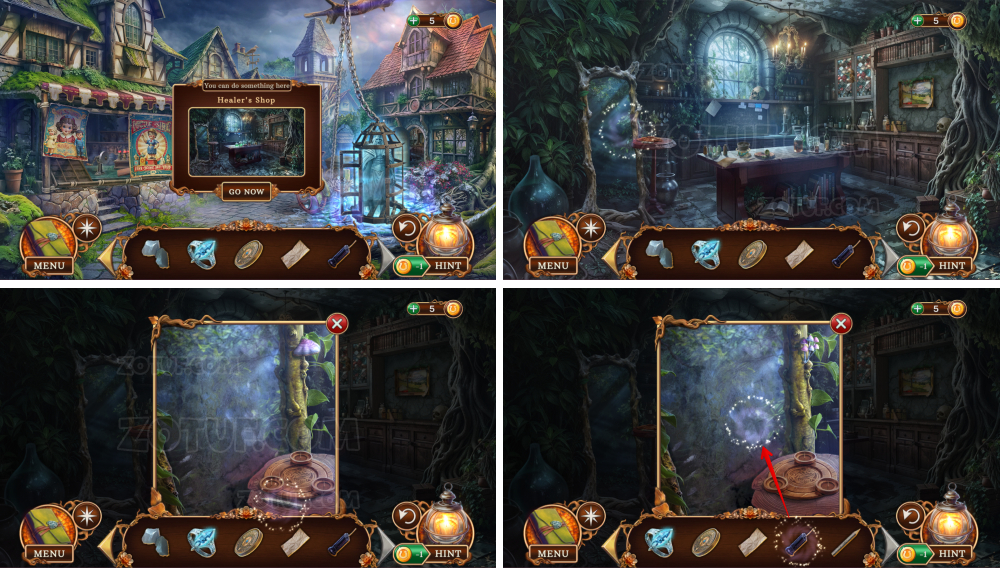
- Solve the puzzle: Move the lock parts so all the pieces with gears end up in the notches with gears.
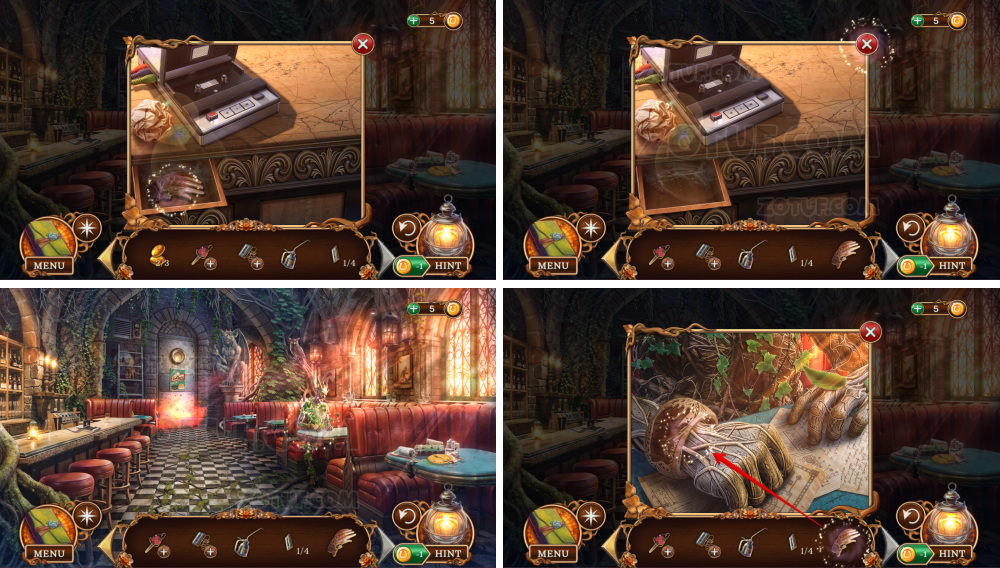
- Take the pencil.
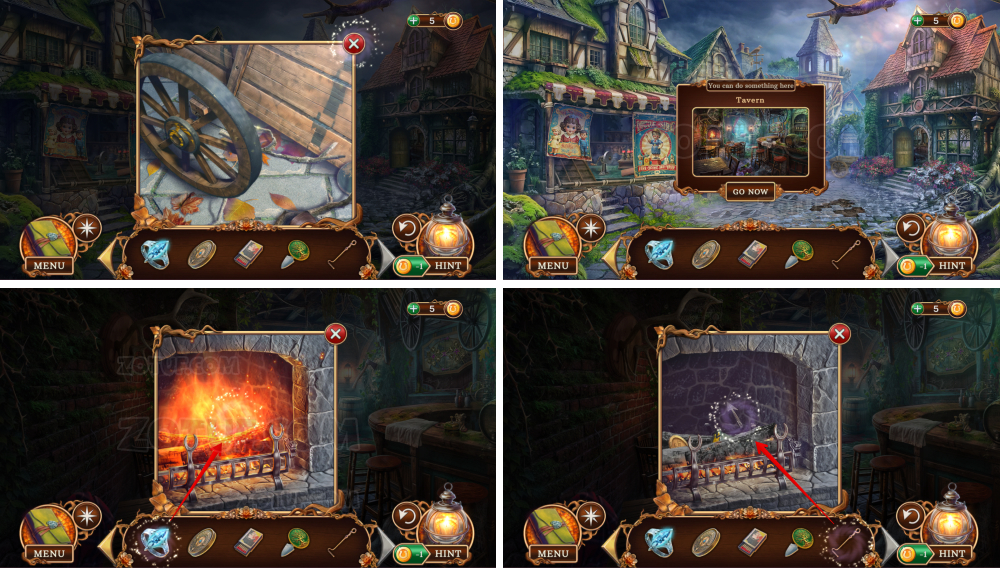
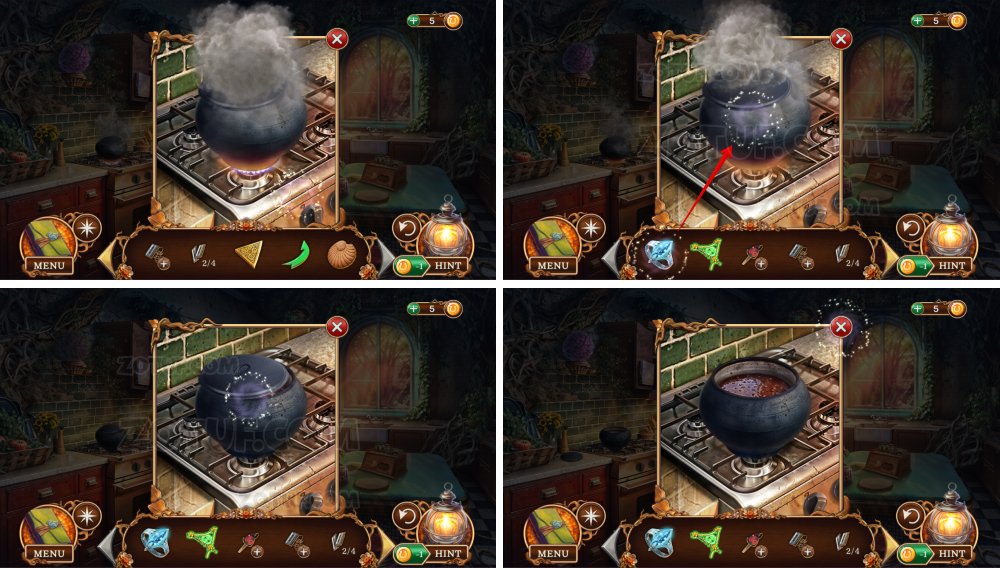
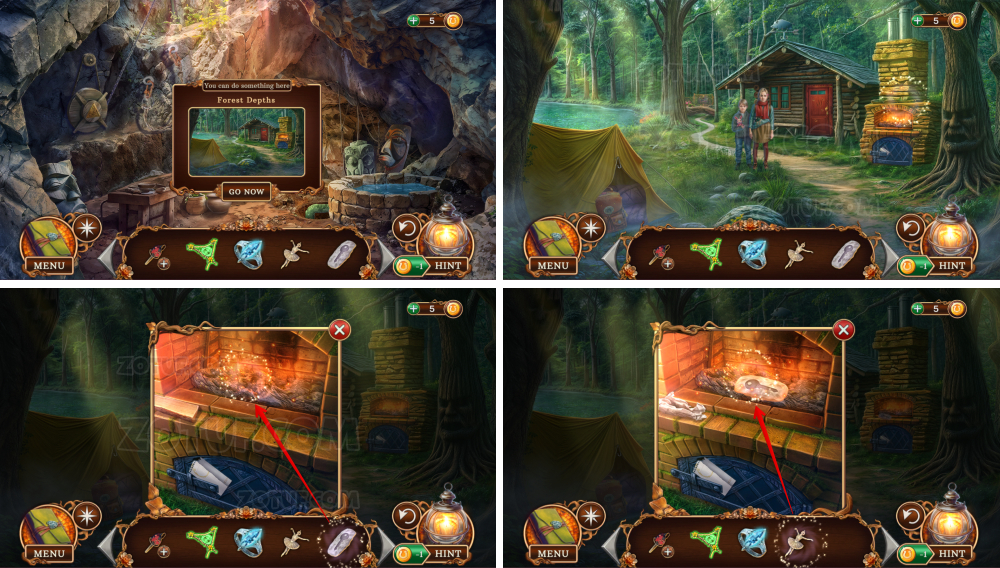
- Use the black candle.
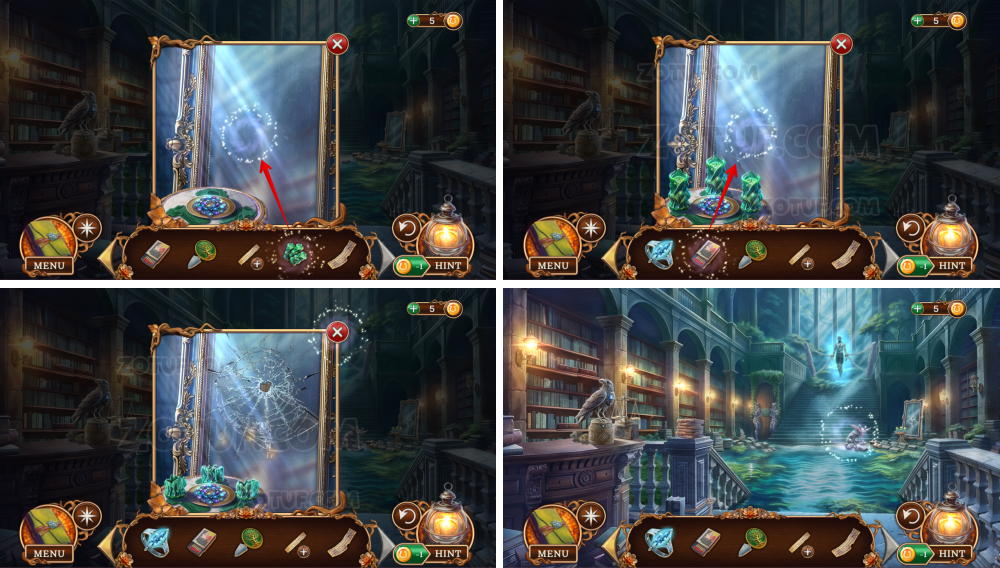
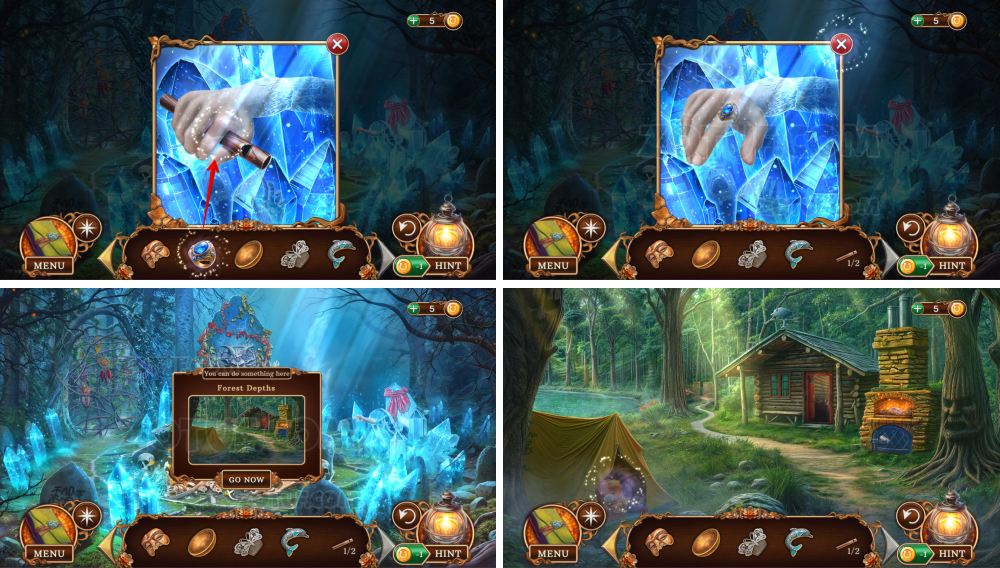
- Use the astral beads.
- Take the wick.
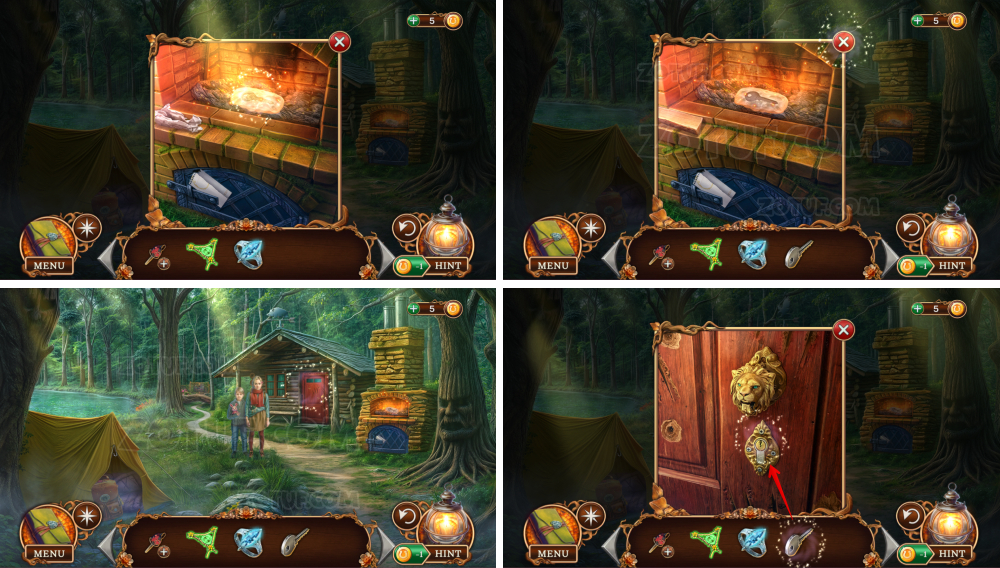
- Use the paraffin and the wick.
- Click on the scissors.
- Use the pencil.
- Use the piece of paper.
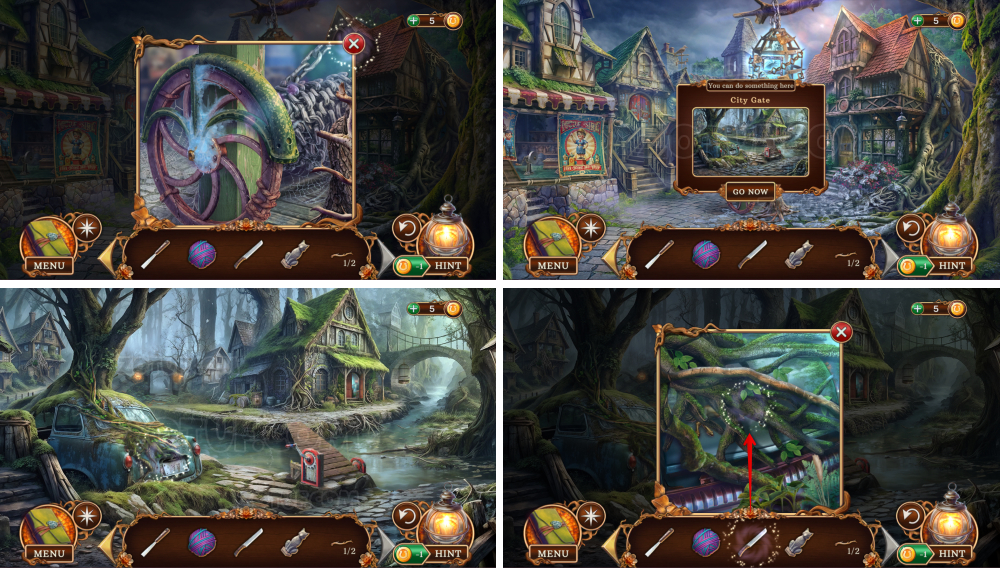
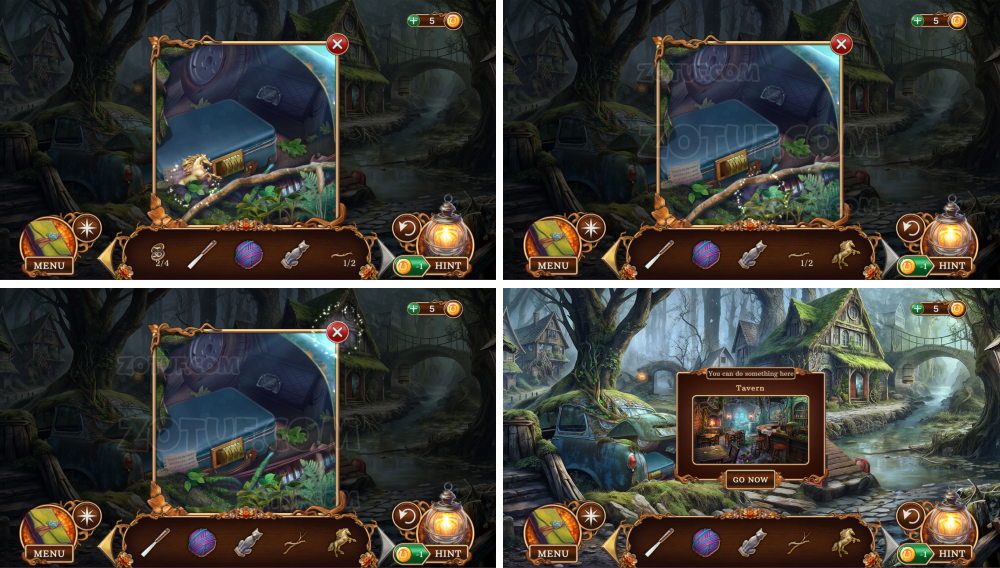
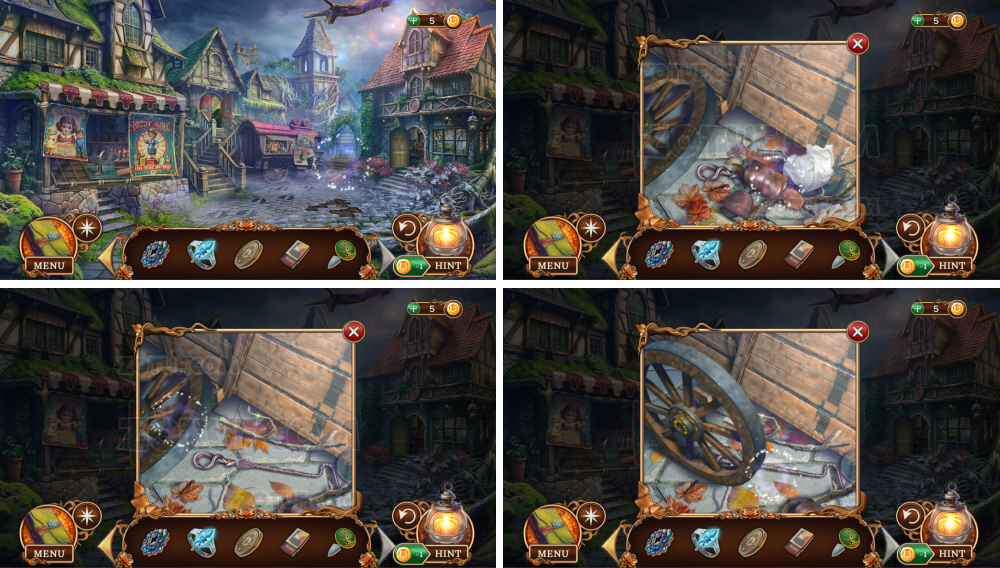
- Take the paper with symbols and the suitcase wheel.
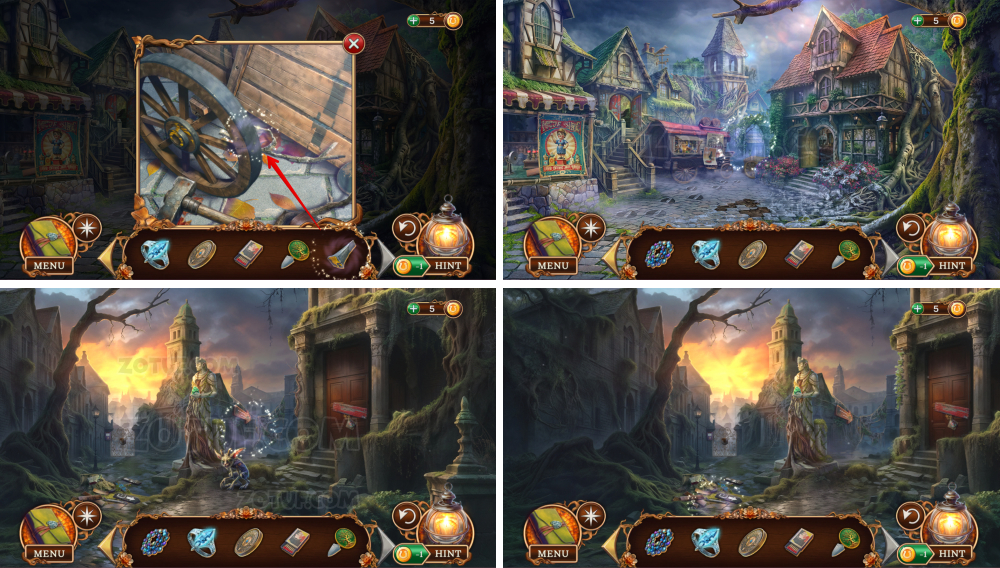
- Use the suitcase wheel.
- Take the candle mold and the matches.
- Use the candle mold and the matches.
- Pour the paraffin and insert the wicks.
- Take the candle 1/2.
- Take the candle 2/2 and the tree-shaped token.

- Use the two candles and the matches.
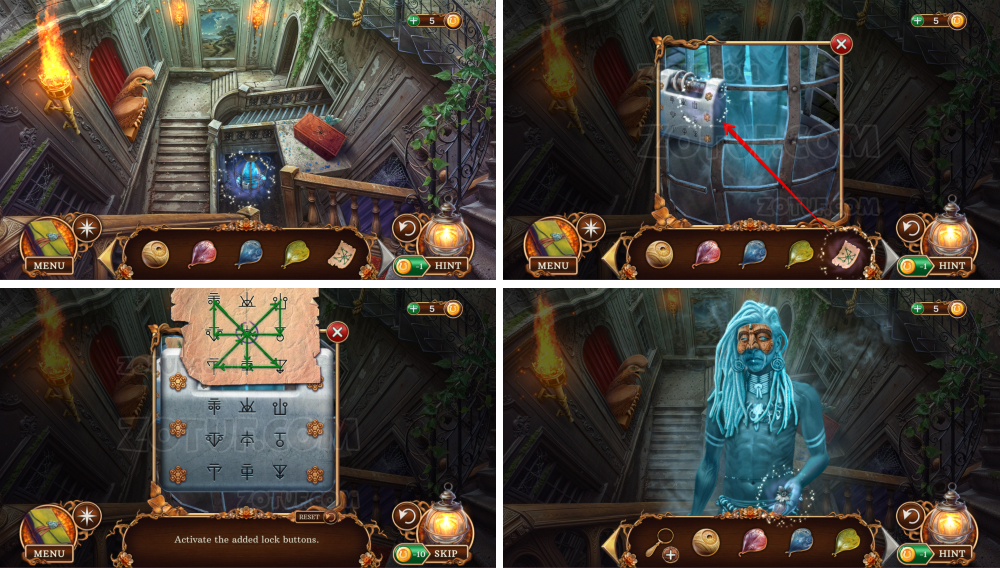
- Use the paper with symbols, get Amanda’s note.
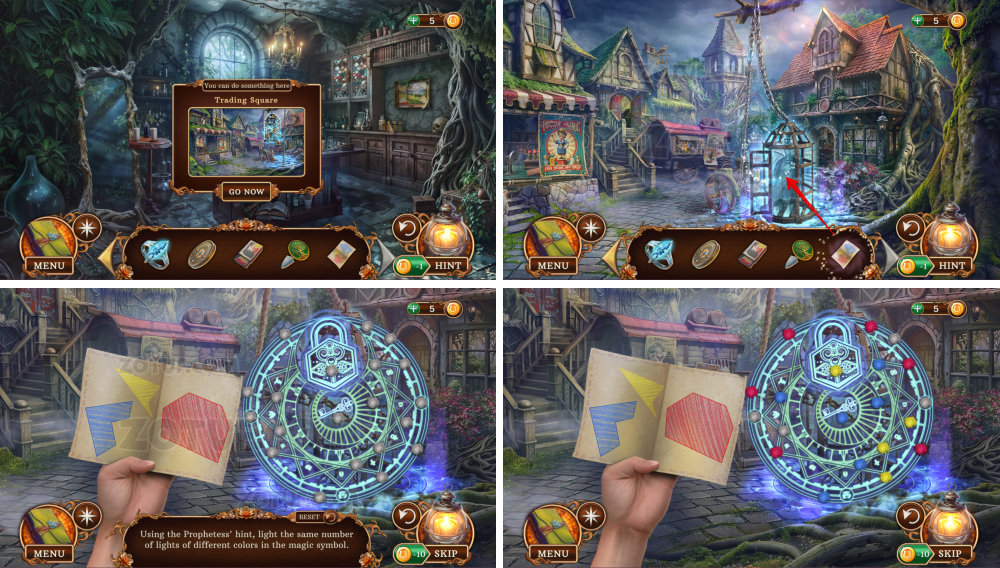
- Use Amanda’s note.
- Solve the puzzle: Using the Prophetess hint, light the same number of lights of different colors in the magic symbol.
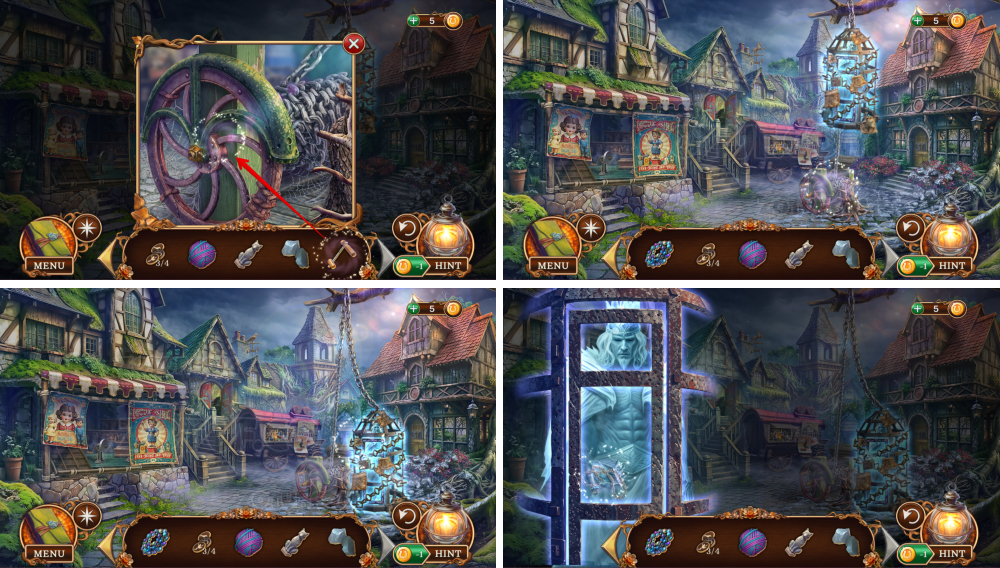
- Adjust the wheel.
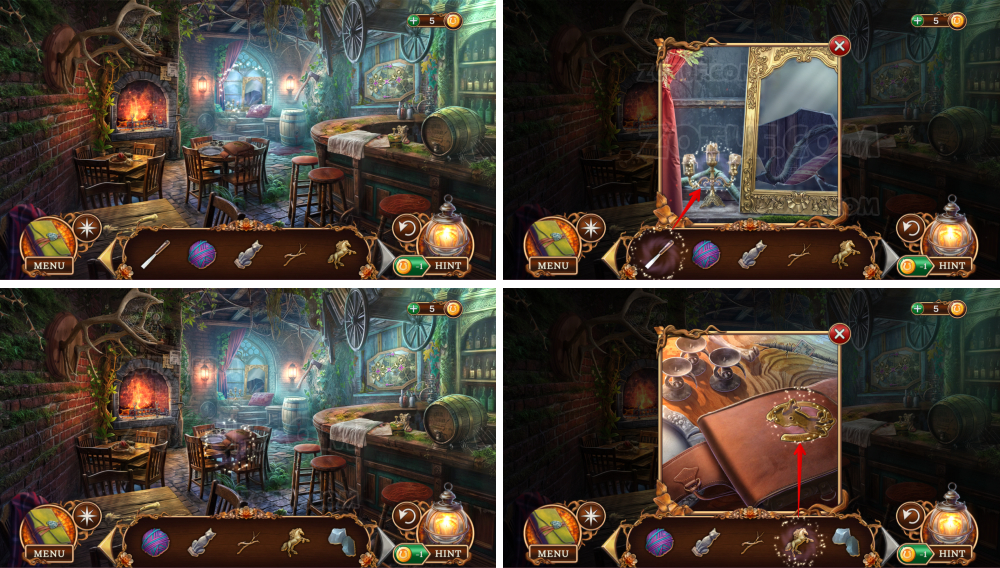
- Take the poker.
- Use the royal ring.
- Use the poker, get the steel wedge and the merchant’s amulet.
- Use the merchant’s amulet.
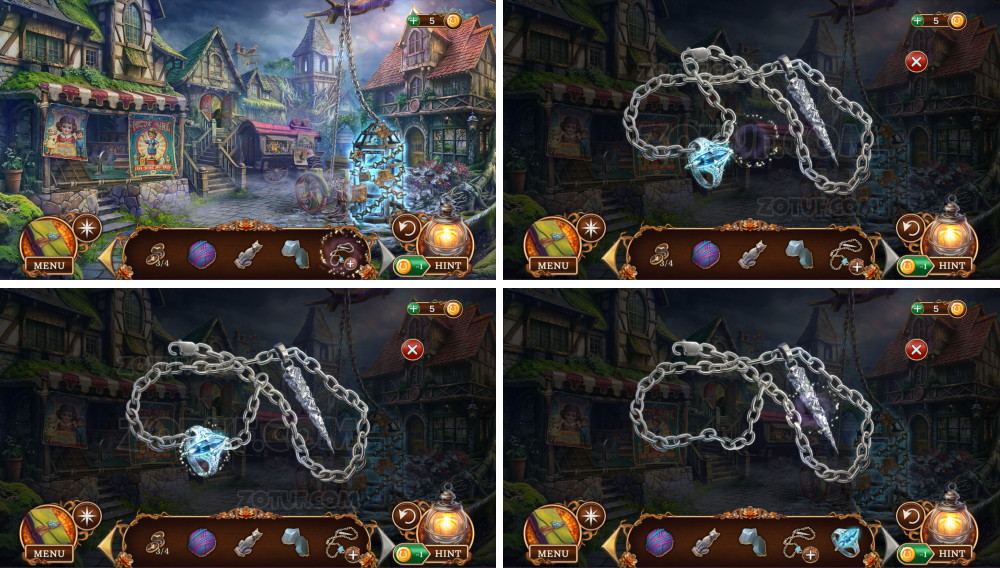
- Take the sledgehammer.
- Use the sledgehammer.
- Use the steel wedge.
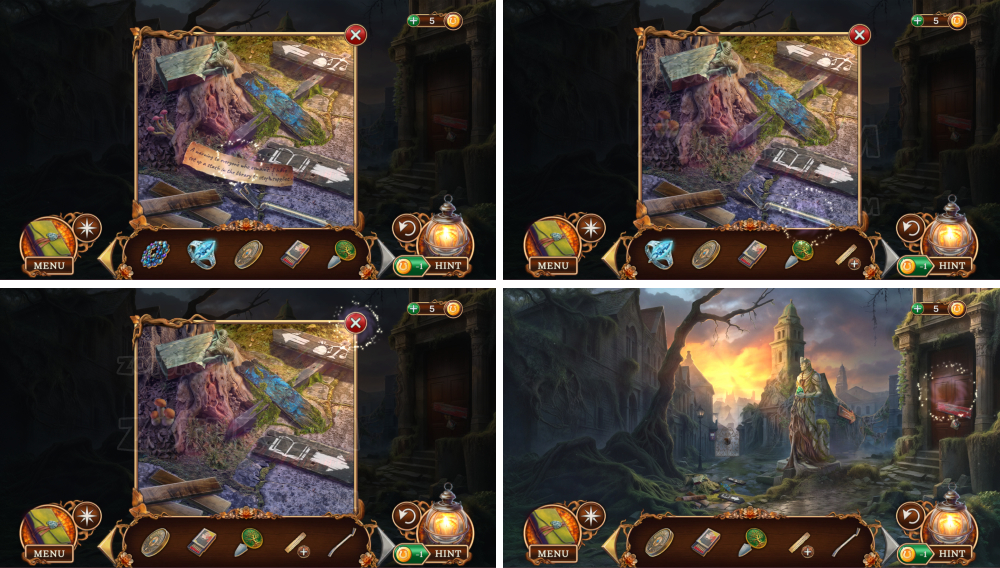
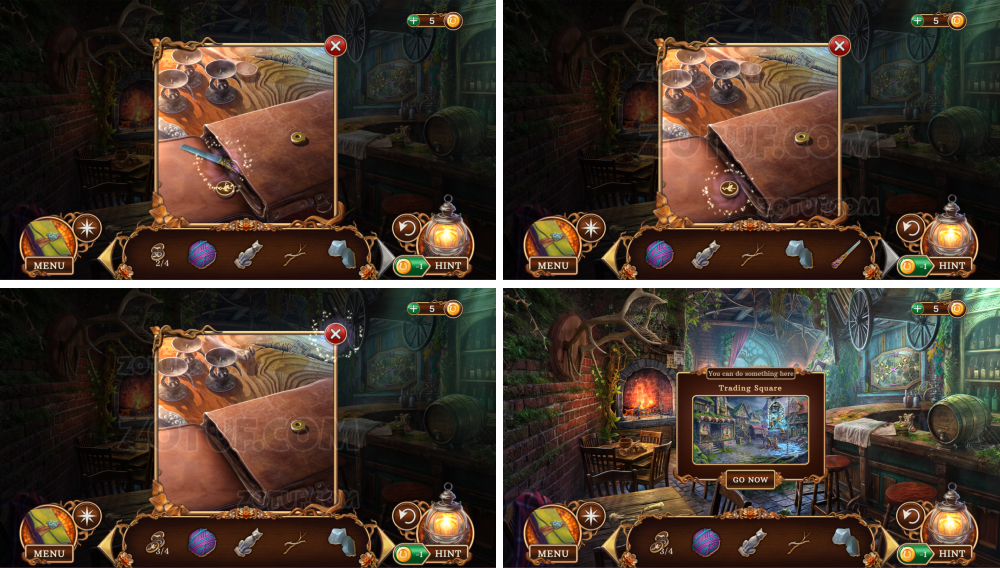
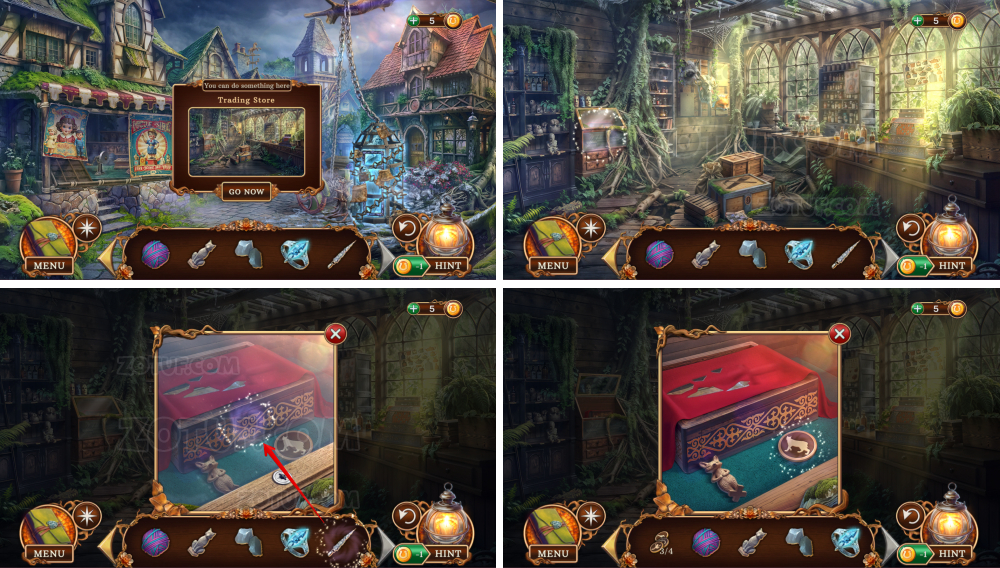
- Take the note and the crowbar.
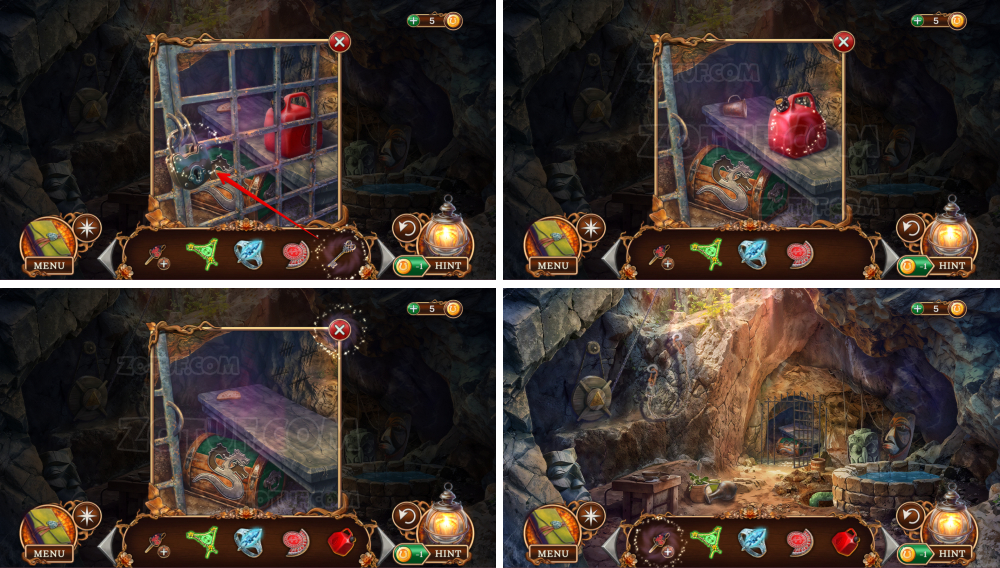
- Take the insecticide spray.
- Use the crowbar.
- Use the heart-shaped locket.
- Take the key.
- Use the insecticide spray and the key.
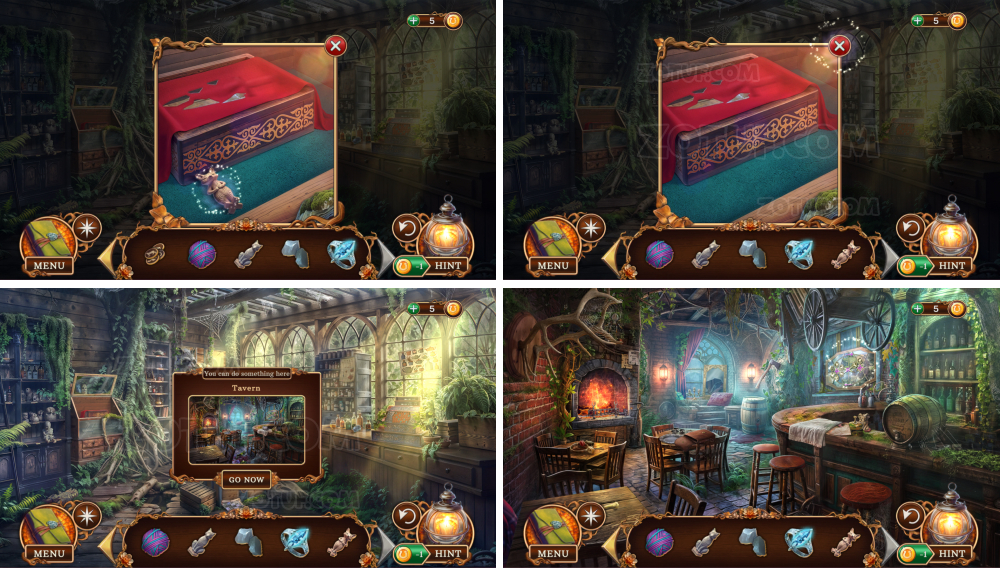
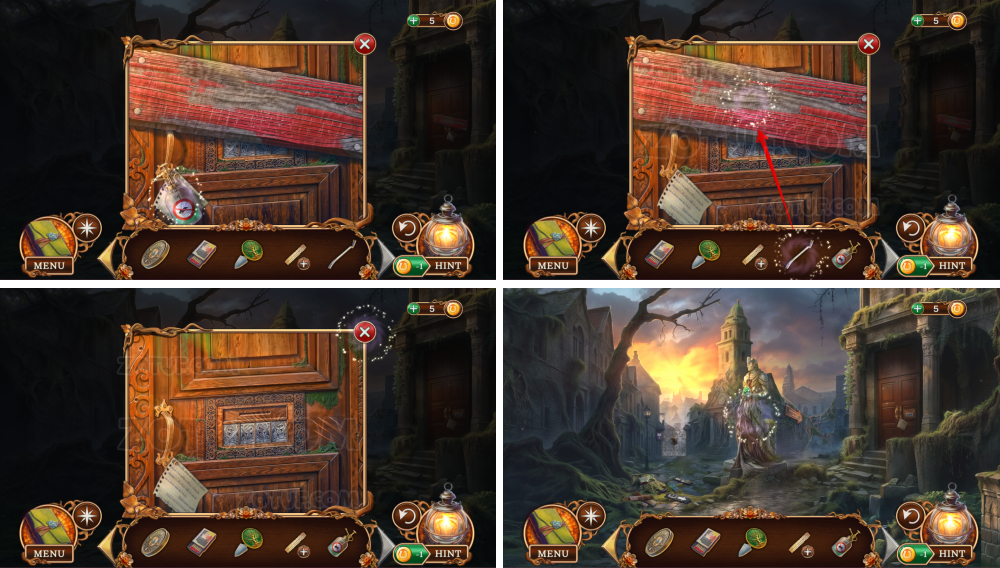
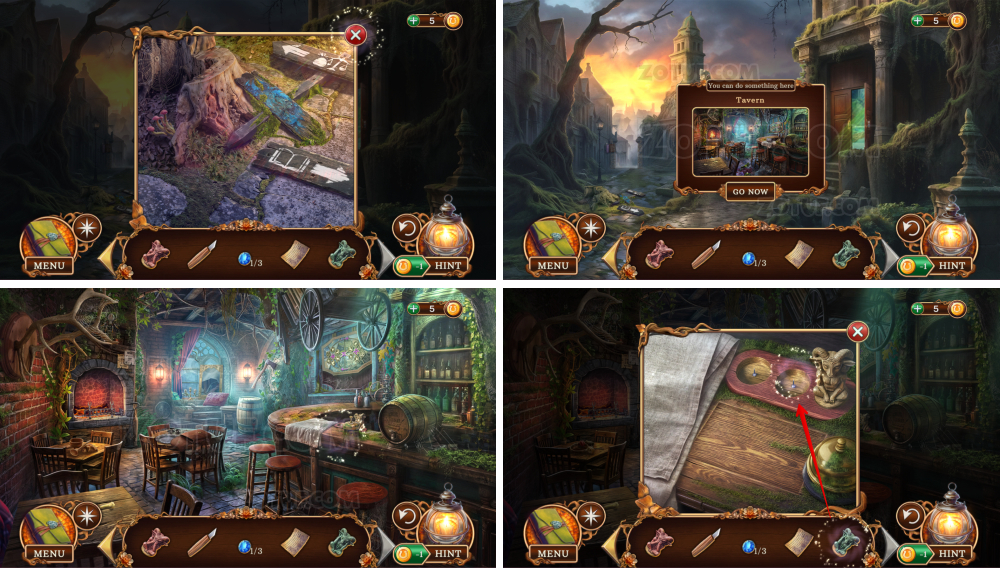
- Take the plate with a pattern.
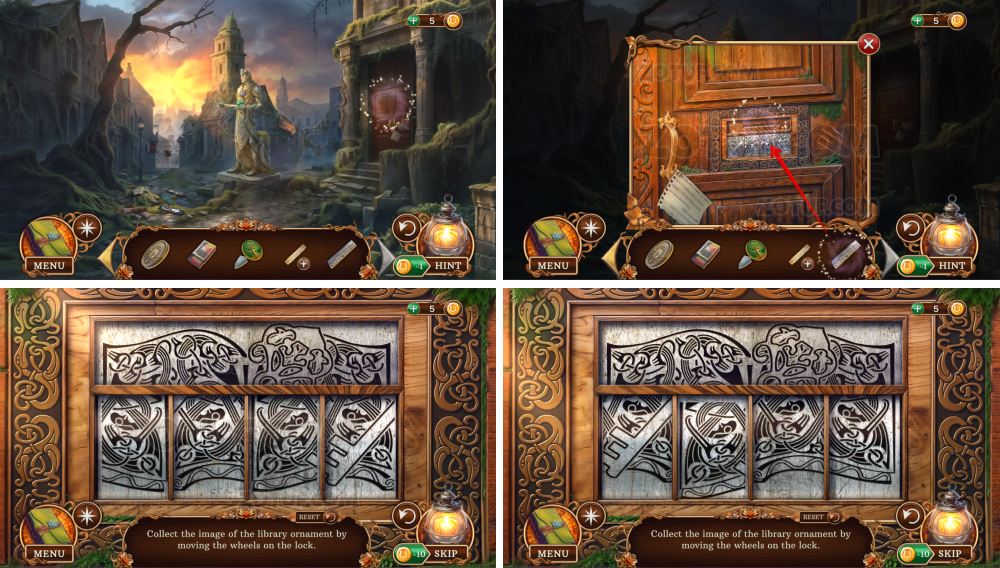
- Use the plate with a pattern.
- Solve the puzzle: Collect the image of the library ornament by moving the wheels on the lock.
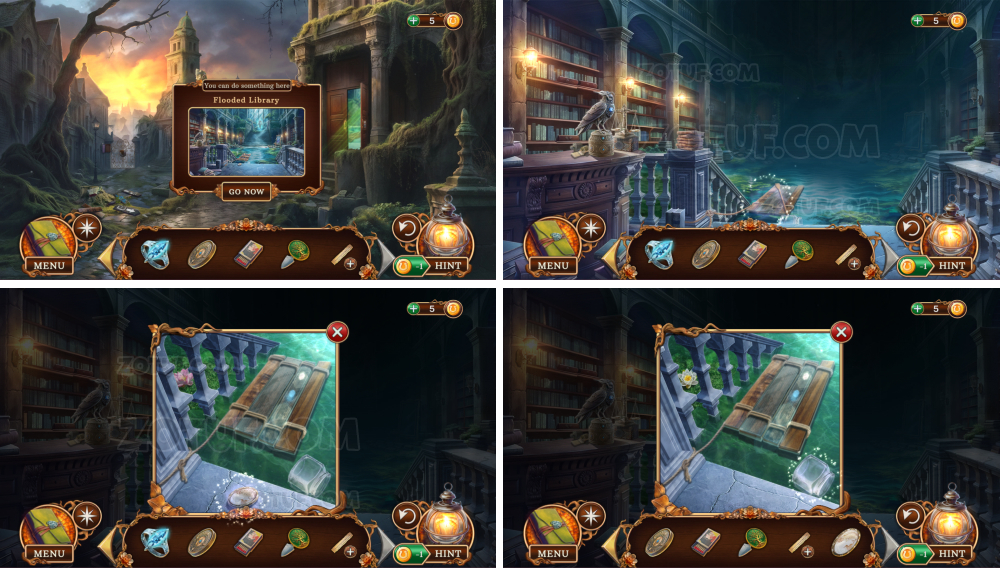
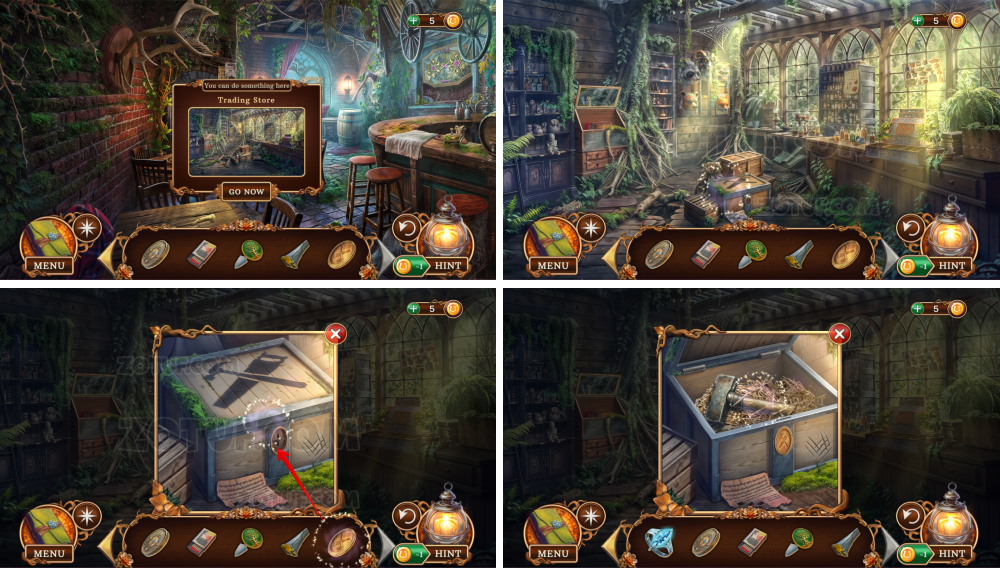
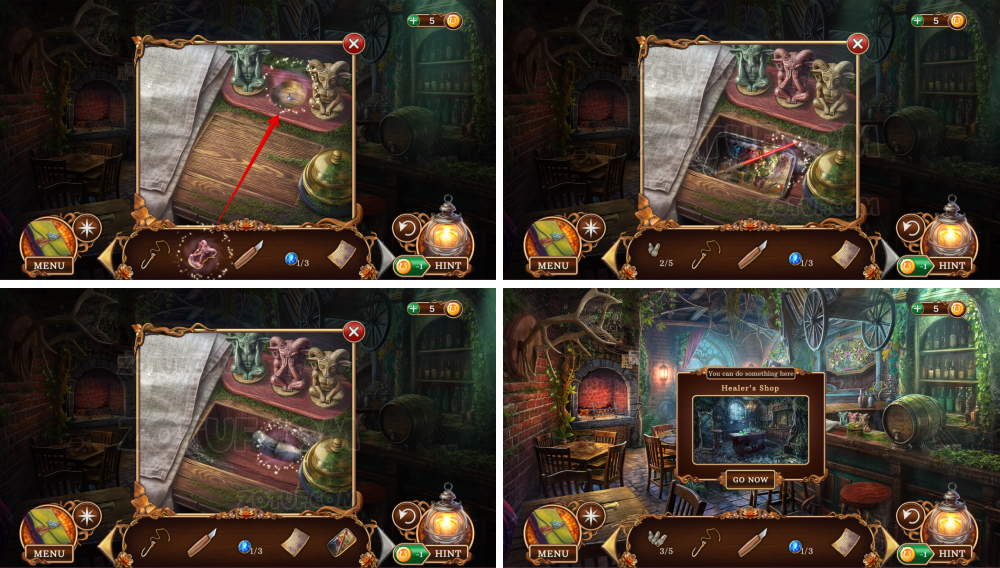
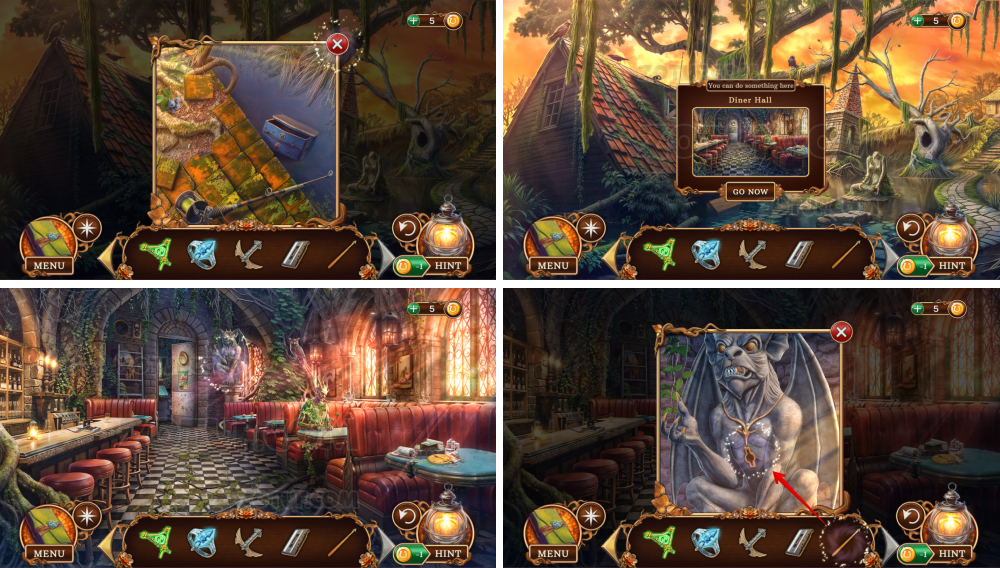
- Take the lady’s locket and the jar.
- Take the brush.
- Use the gold coin, get the scissors.
- Take the boards.
- Use the scissors.
- Take the rope.
- Use the jar and the brush, get the jar with resin.
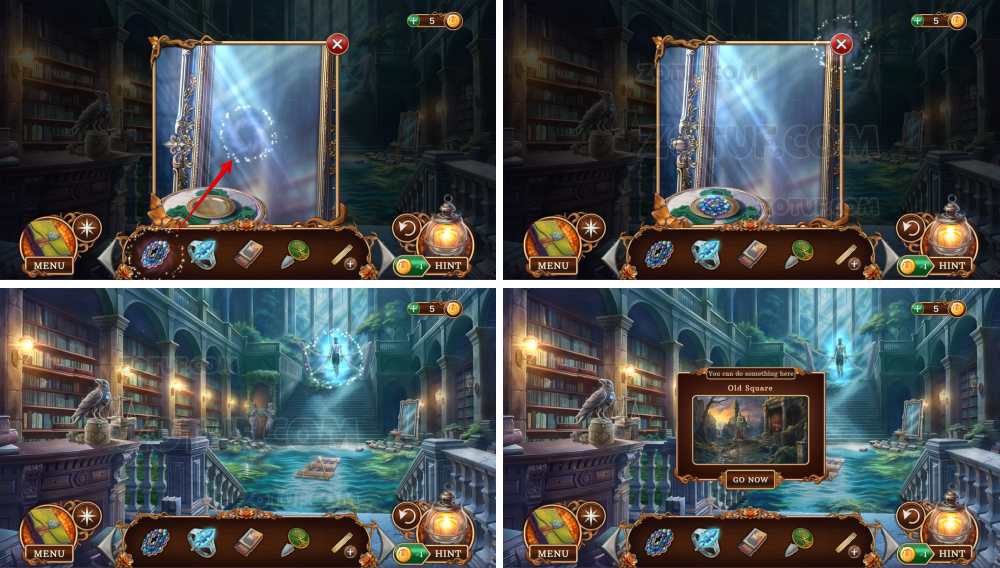
- Use the lady’s locket.
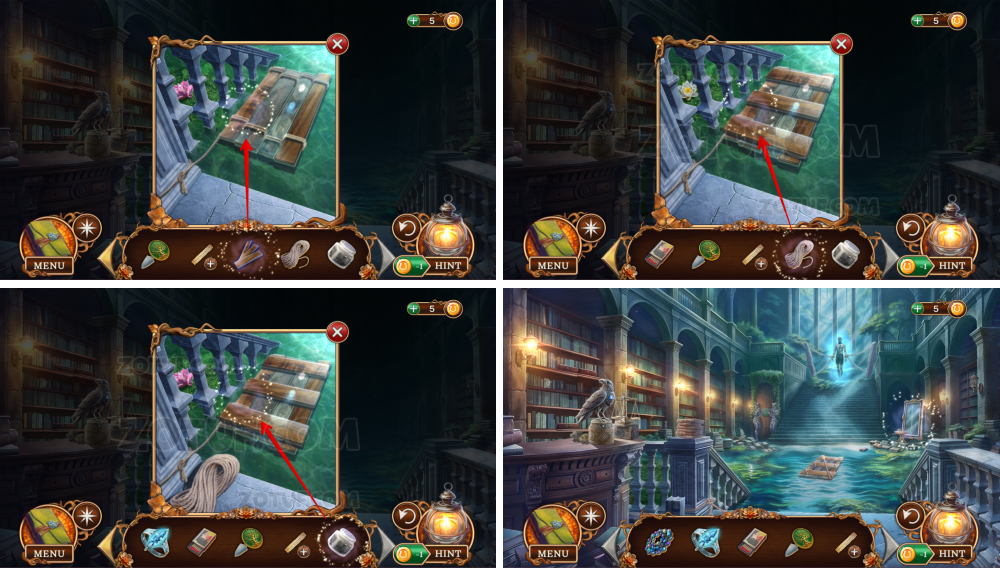
- Use the boards, rope, and jar with resin.
- Use the astral beads.
- Take the sacred candles.
- Take the note.
- Use the sacred candles and the matches.
- Take the shelf key.
- Use the shelf key.
- Move the jar and the toy aside.
- Take the wasp amulet.

- Use the wasp amulet.
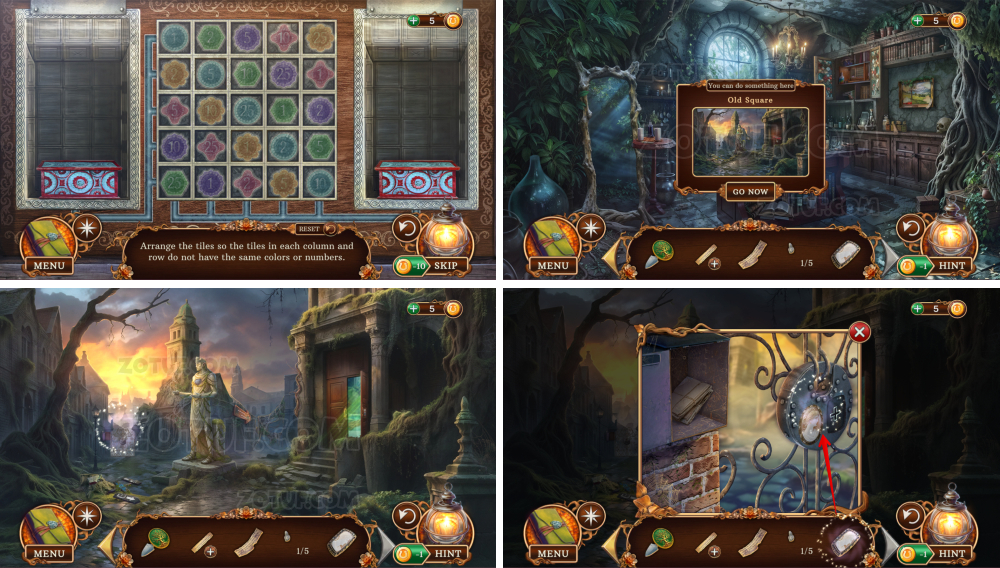
- Solve the puzzle: Arrange the tiles so the tiles in each column and row do not have the same colors or numbers.
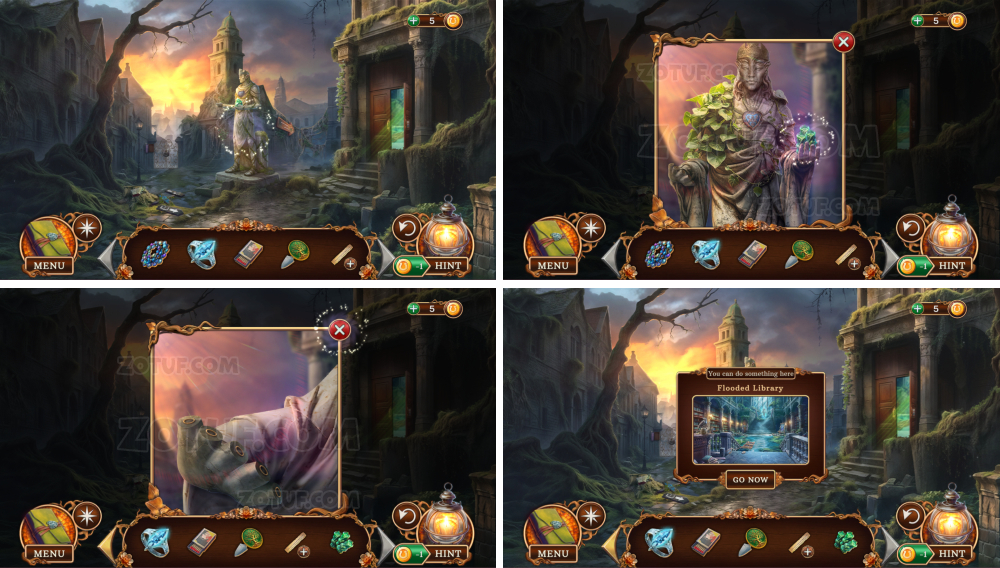
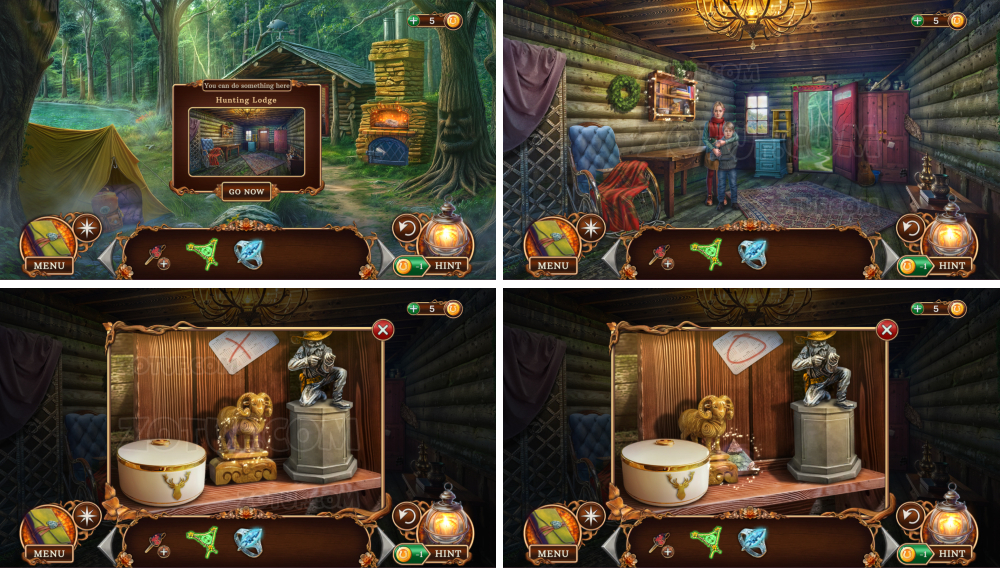
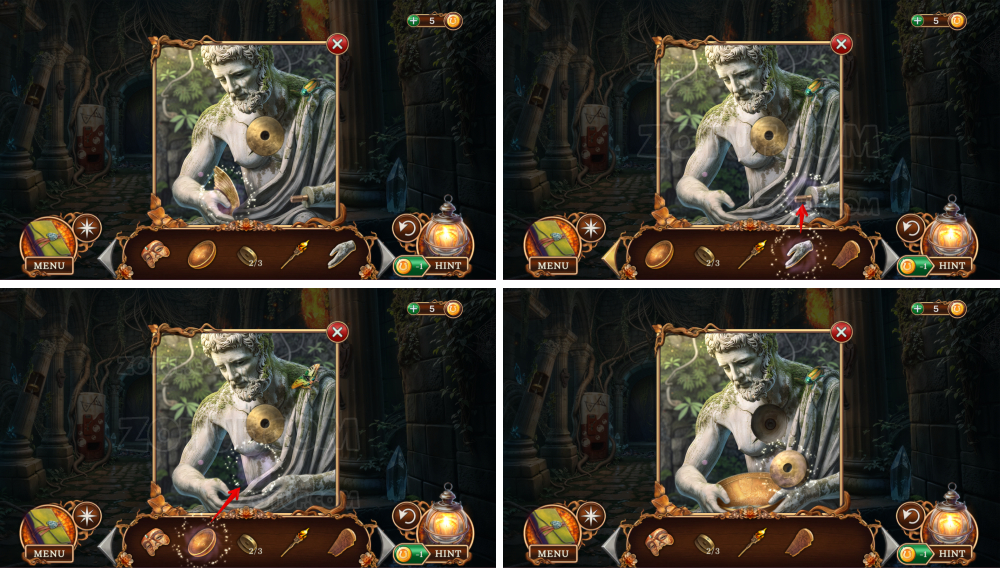
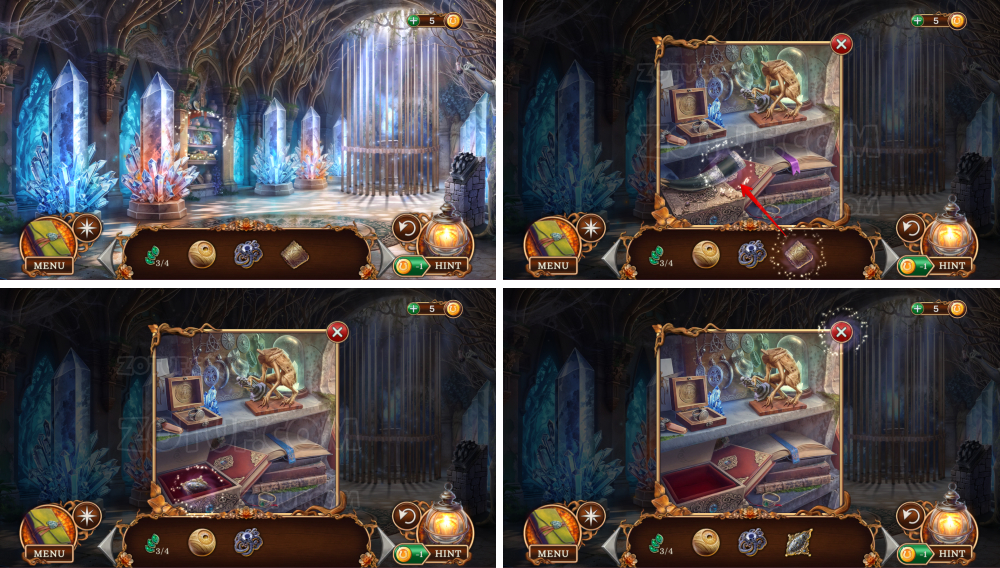
- Get the stone fingers 1/5 and the lord’s locket.
- Use the lord’s locket.

- Take the piece of paper.
- Take the stone fingers 2/5.
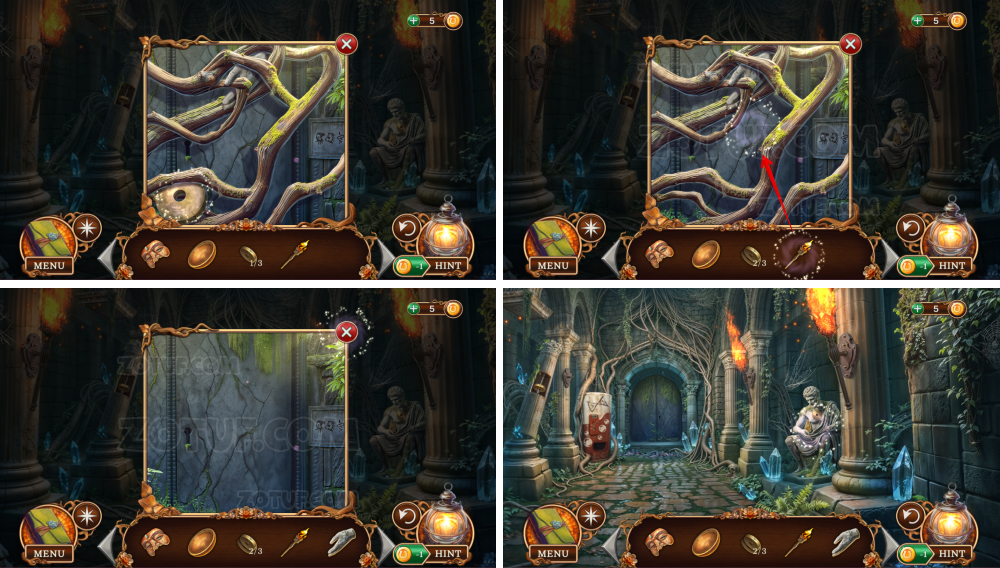
- Take the axe.
- Take the hook on a line.

- Take the owl figurine.
- Use the axe.
- Find all the items.
- Items 1-2/18.
- Items 3-6/18.
- Items 7-10/18.
- Items 11-13/18.
- Items 14-16/18.
- Items 17-18/18.
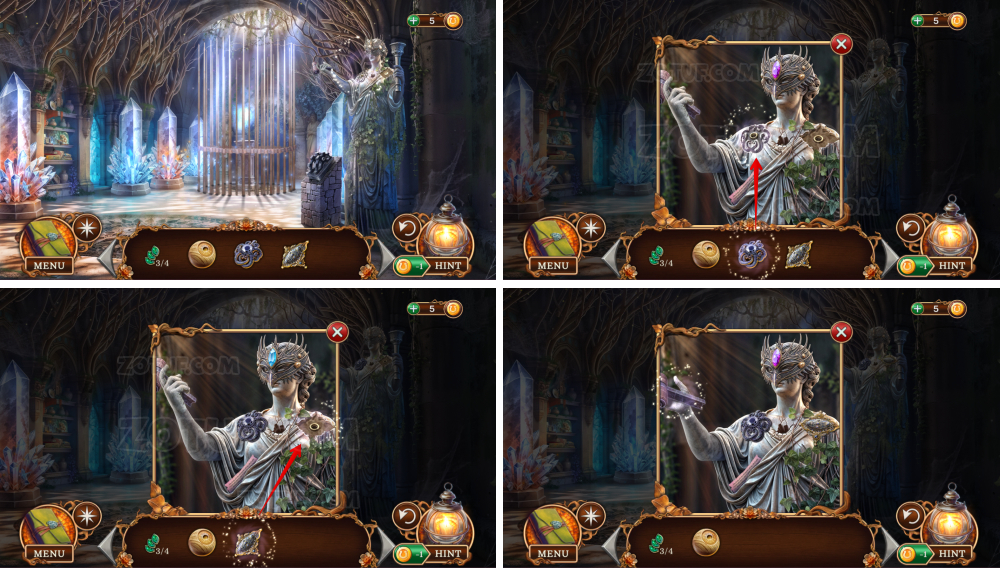
- Get the horned figurine.
- Use the owl figurine.
- Take the carving knife.
- Use the hook on a line.
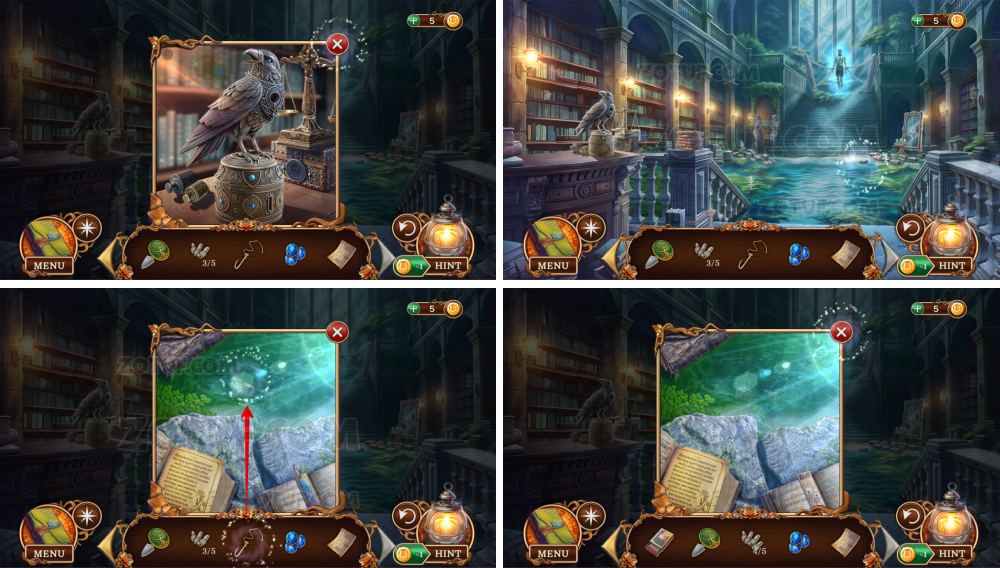
- Take the blue gem 1/3.
- Click on the piece of paper and use the other pieces, get the librarian’s notes.

- Use the carving knife.
- Take the horned figurine.
- Use the horned figurine.
- Use the horned figurine.
- Take the artist’s set and the stone fingers 3/5.
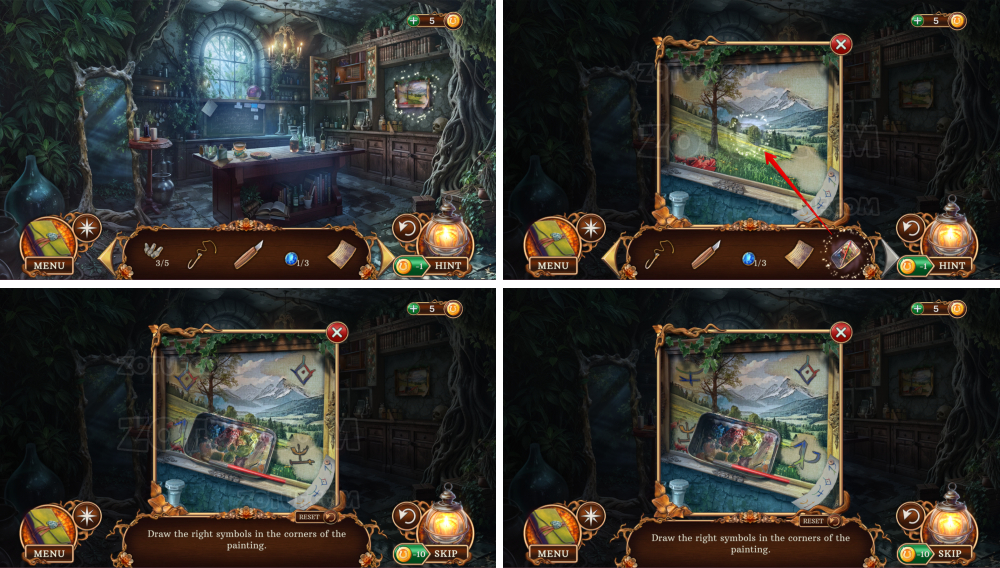
- Use the artist’s set.
- Solve the puzzle: Draw the right symbols in the corners of the painting.
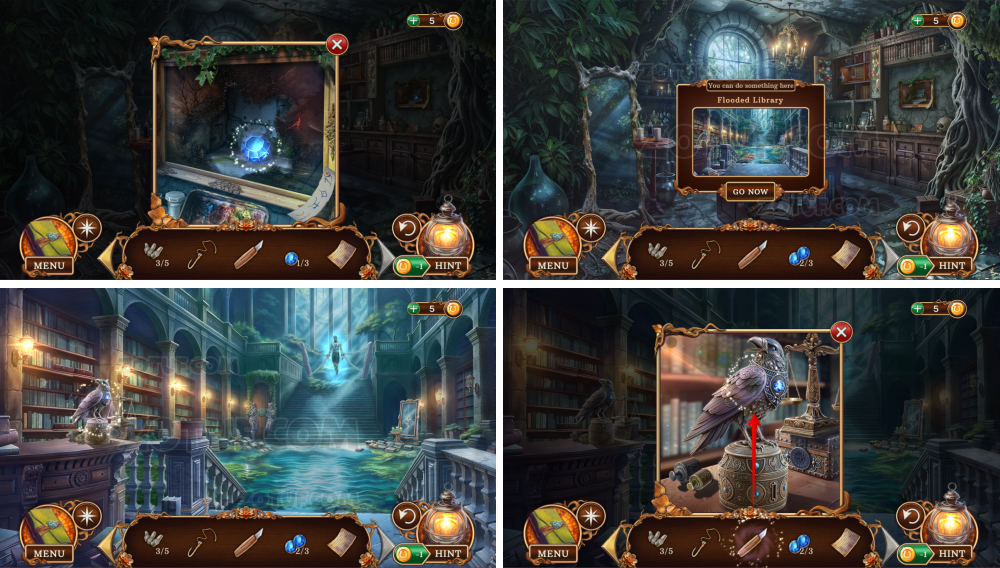
- Take the blue gem 2/3.
- Use the carving knife, get the blue gem 3/3.
- Use the hook on a line, get the stone fingers 4/5.
- Use the librarian’s notes and the three gems.
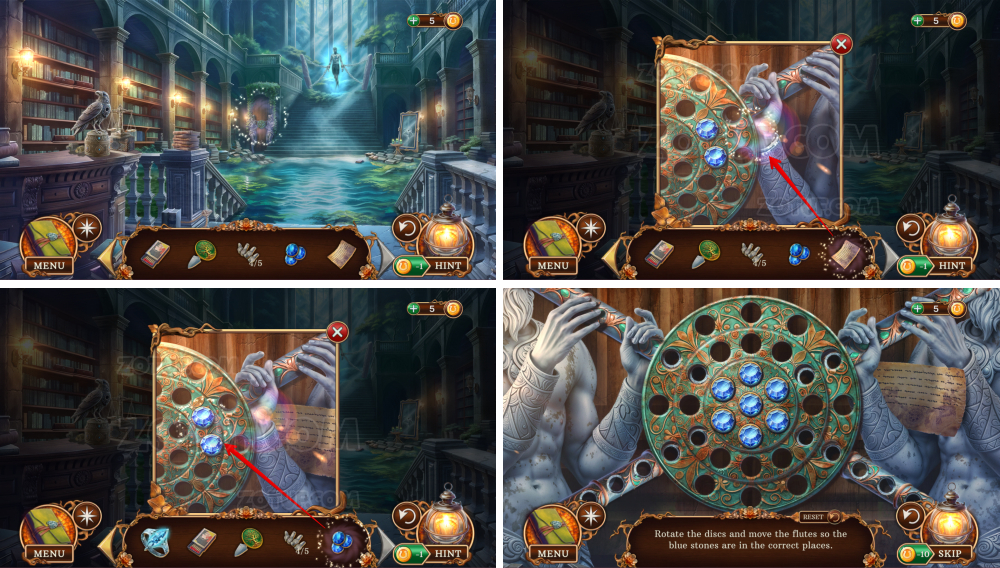
- Solve the puzzle: Rotate the discs and move the flutes so the blue stones are in the correct places.

- Take the stone fingers 5/5.
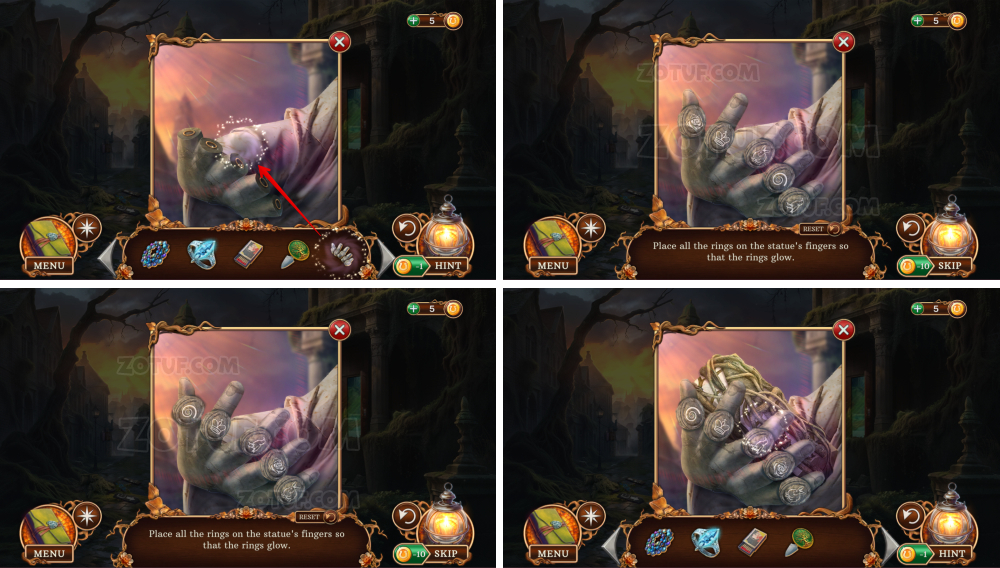
- Use the five stone fingers.
- Solve the puzzle: Place all the rings on the statue’s fingers so that the rings glow.
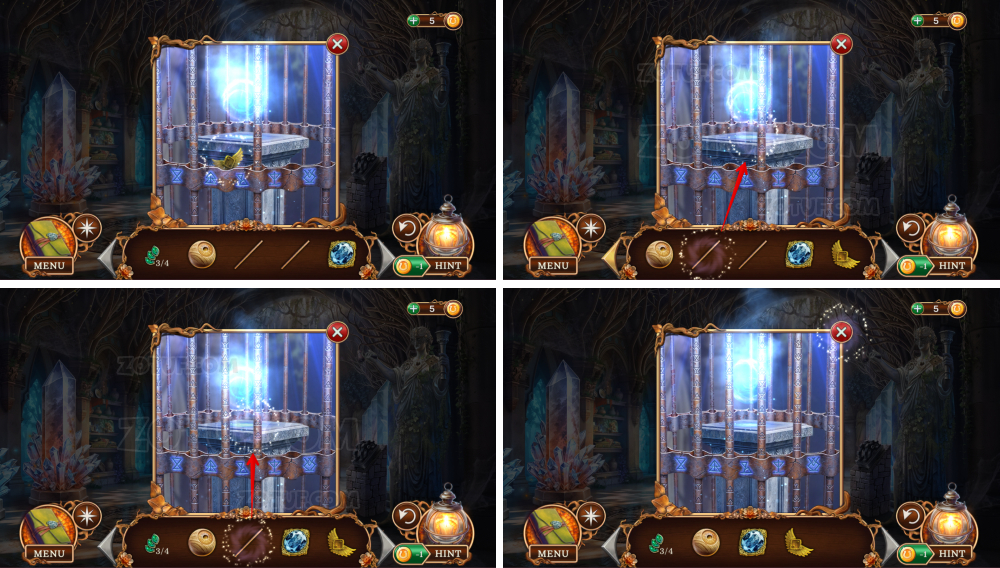
- Take the tangled cryptex.
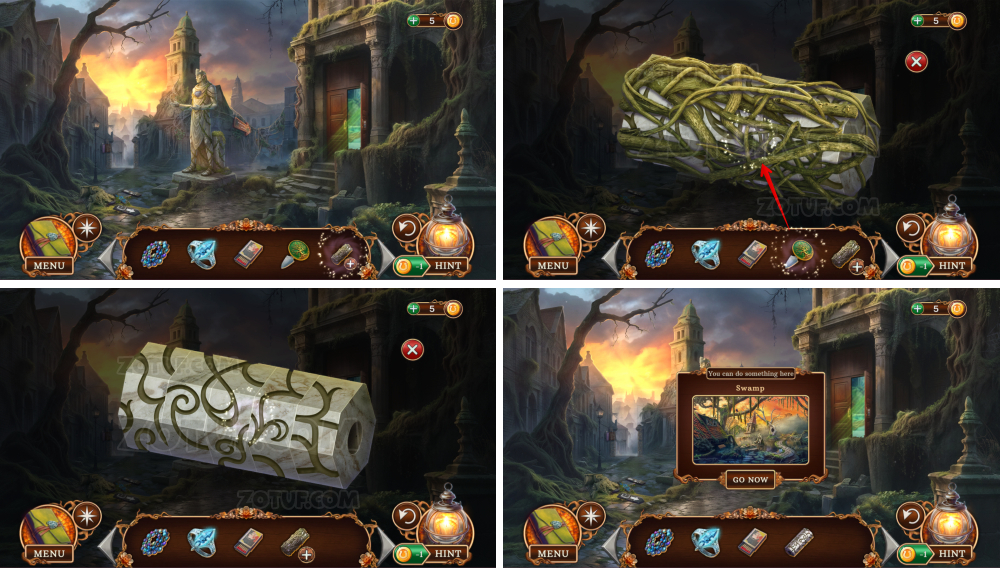
- Click on the tangled cryptex.
- Use the tree-shaped token, get the cryptex.
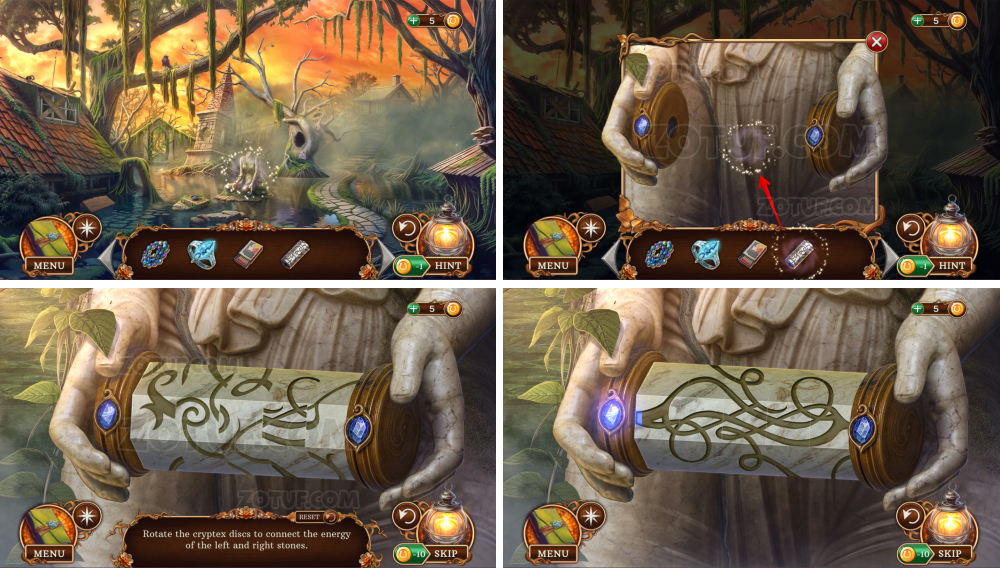
- Use the cryptex.
- Solve the puzzle: Rotate the cryptex discs to connect the energy of the left and right stones.
- Solution in the picture.
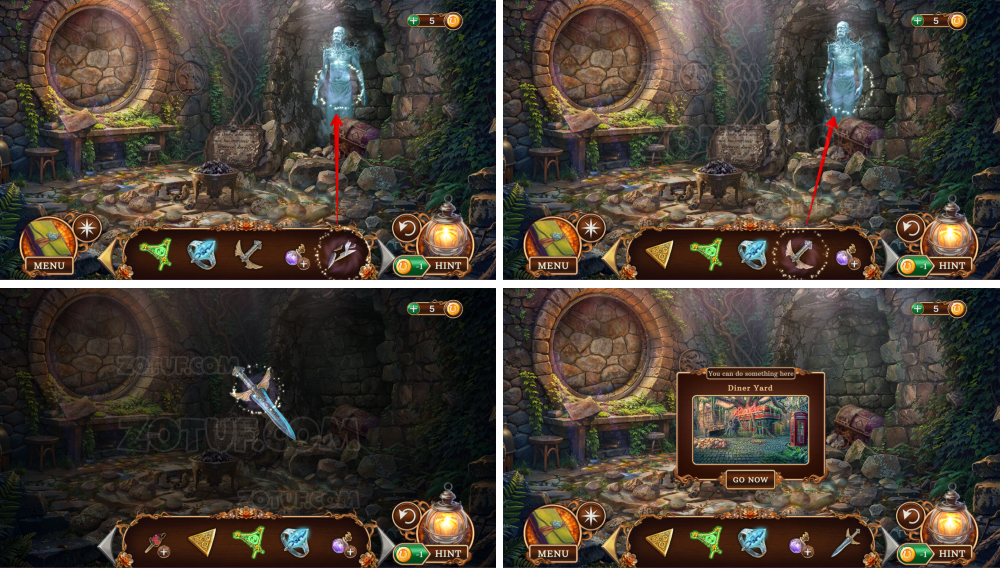
- Get the spirit shard.
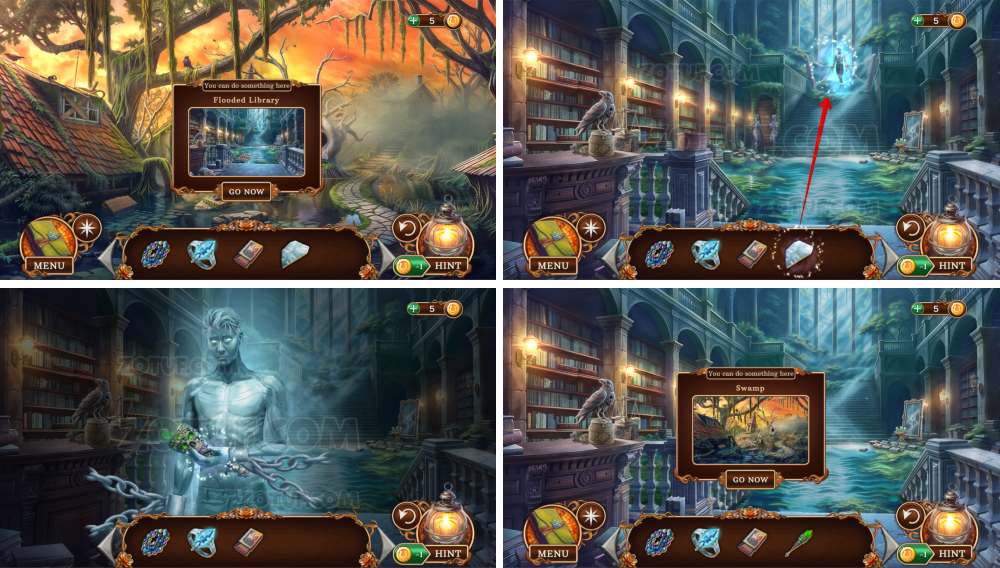
- Use the spirit shard.
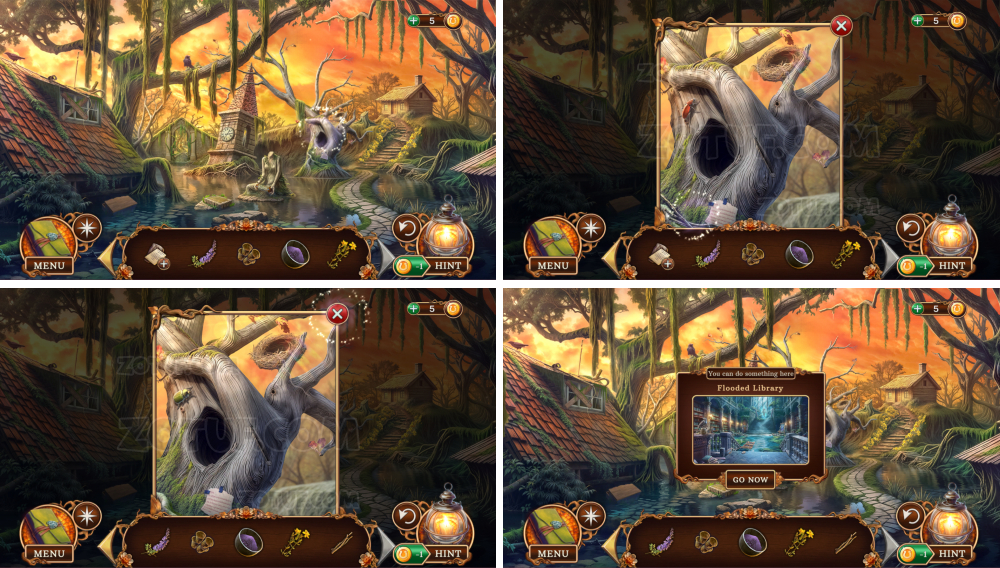
- Take the ghostly fire torch.

- Use the ghostly fire torch.
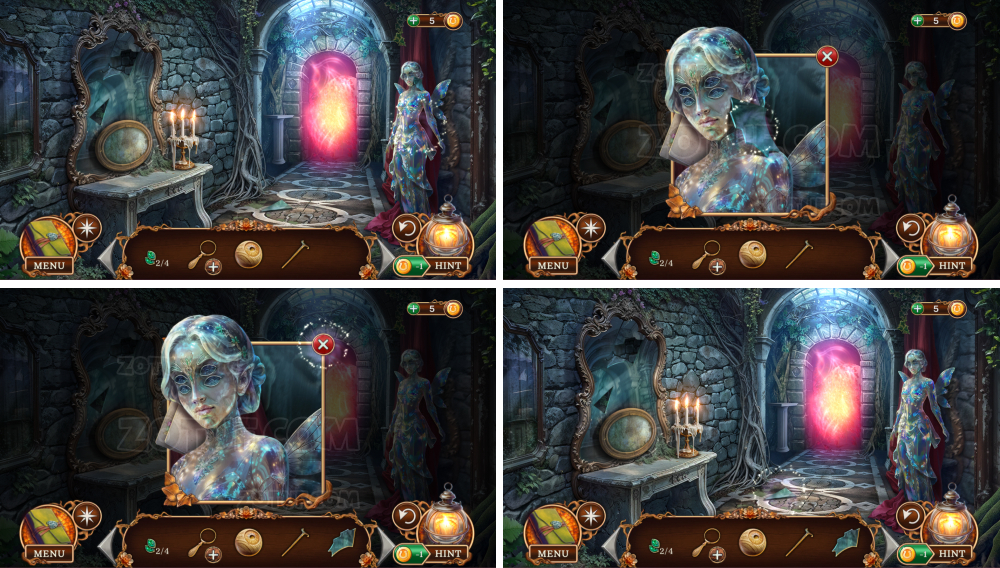
- Take the crescent-shaped locket.
- Take the all-seeing amulet.
- Use the all-seeing amulet.
- Use the astral beads and the matches.
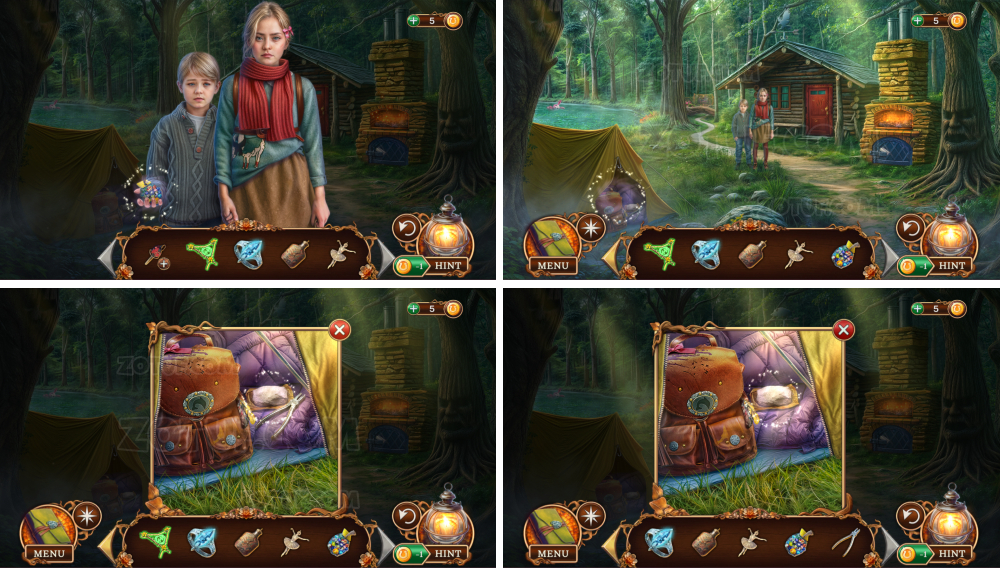
- Take the bag and the list.
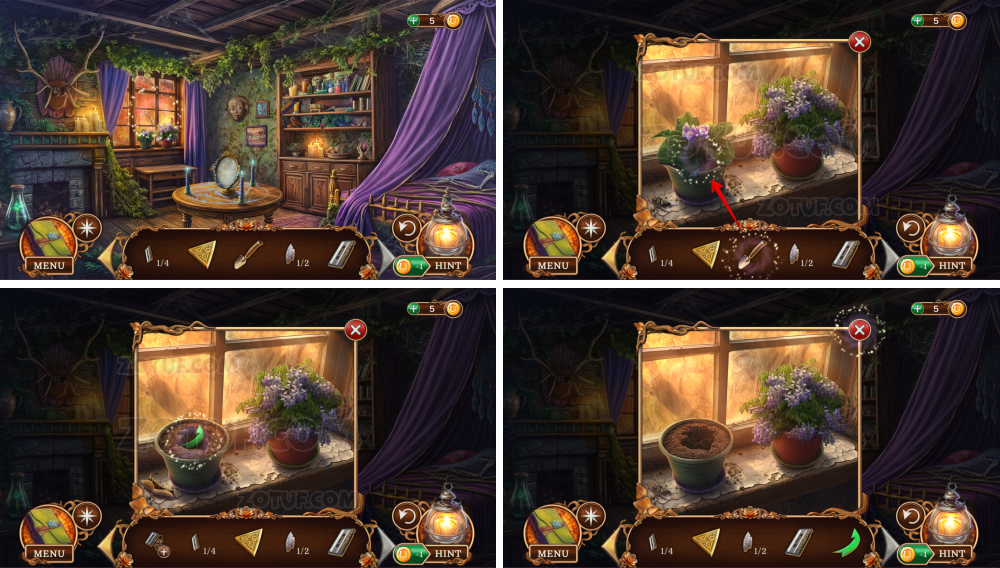
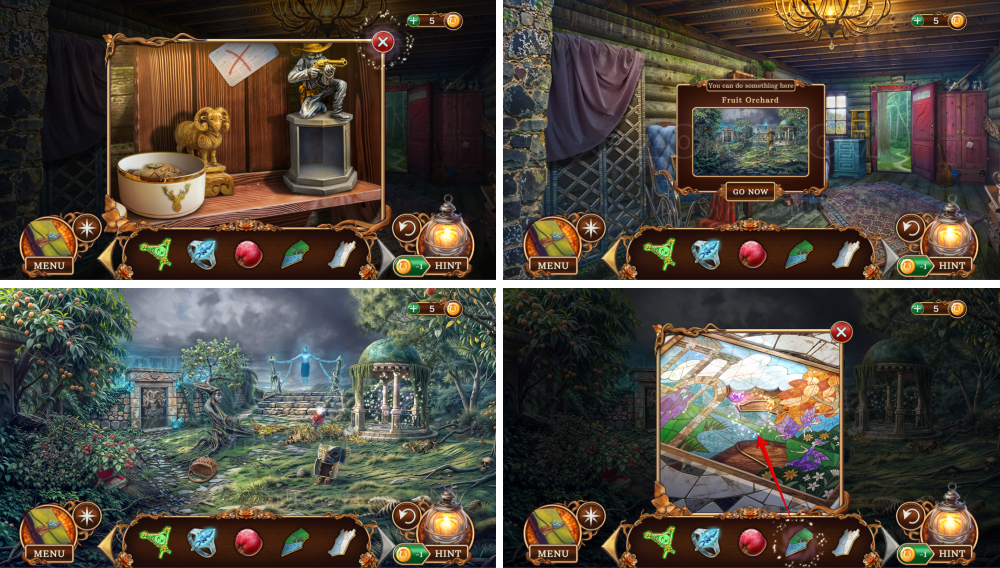
- Take the wisteria flowers.
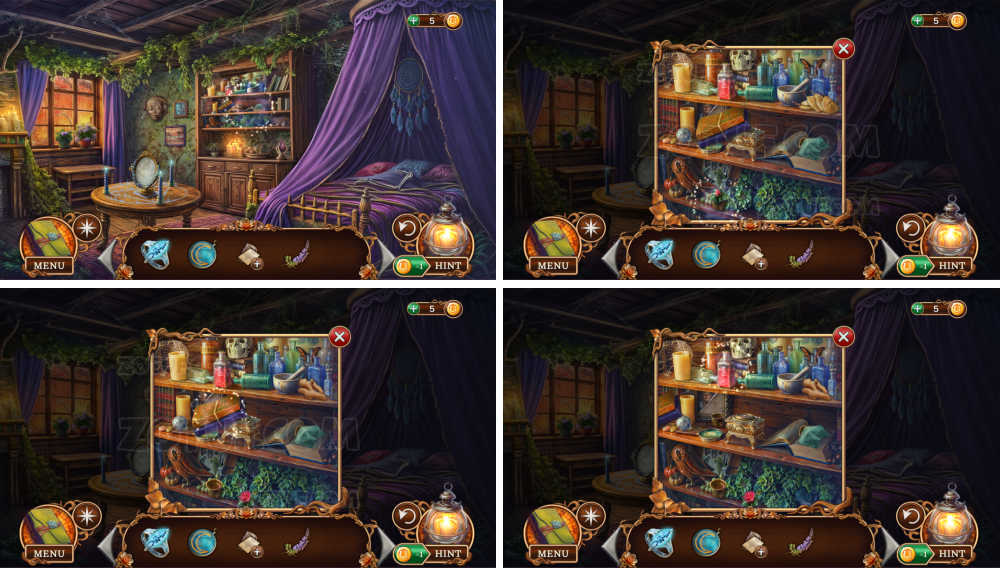
- Move the items aside.
- Take the measuring cups 1-2/4.
- Take the measuring cups 3-4/4.
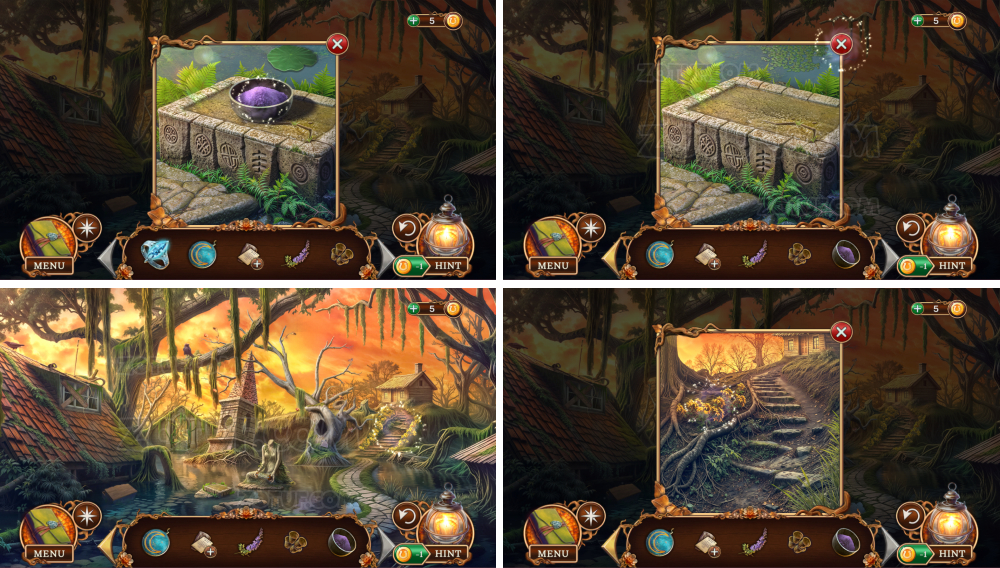
- Take the unearthly salt.
- Take the yellow flowers.
- Take the sticks.
- Take the sacred candle stub.
- Take the weights and the scales.
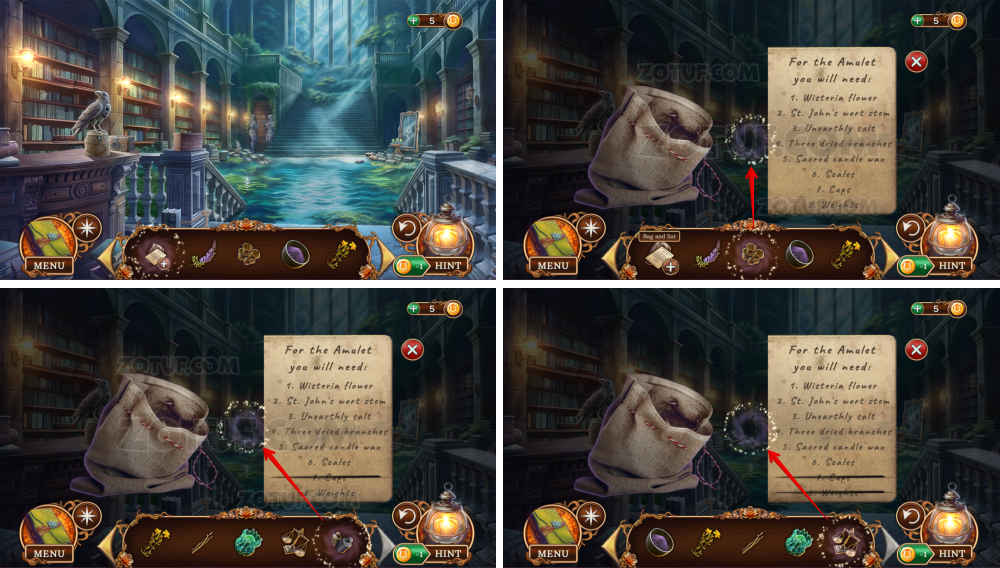
- Click on the bag and the list.
- Use the four measuring cups, weights, and scales.

- Use the wisteria flowers, unearthly salt, yellow flower, and sticks.
- Use the sacred candle stub, get the talisman crafting materials.
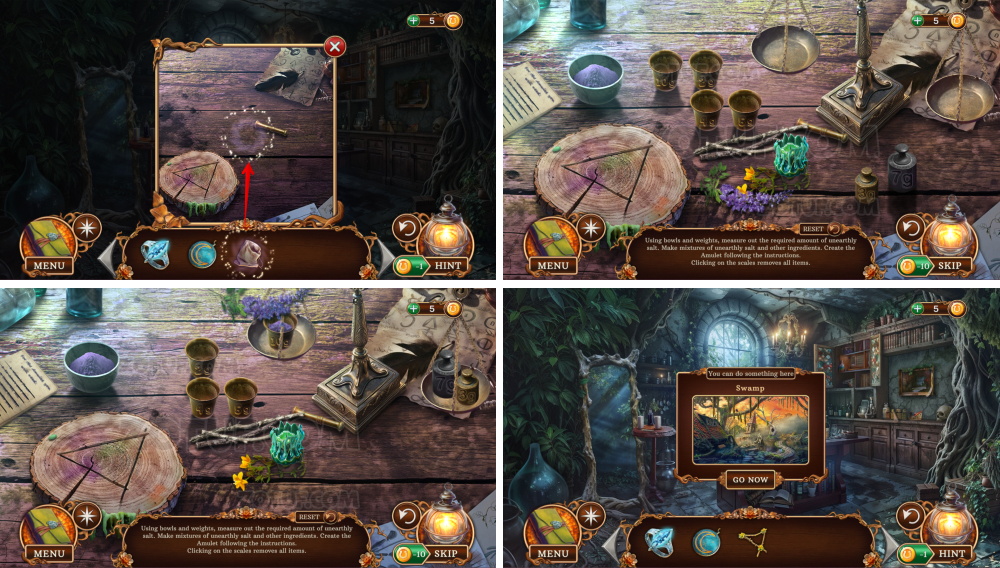
- Use the talisman crafting materials.
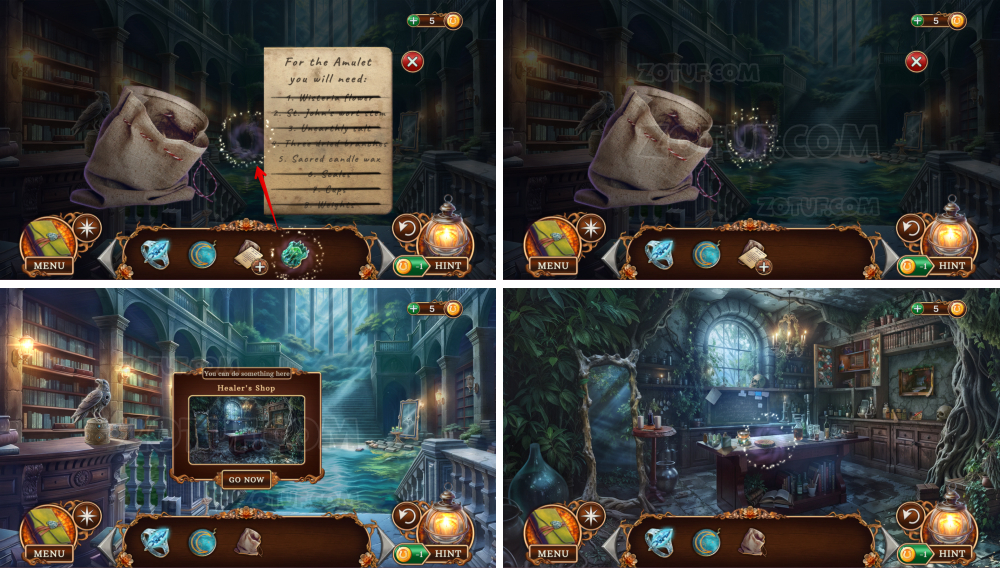
- Solve the puzzle: Using bowls and weights, measure out the required amount of unearthly salt. Make mixtures of unearthly salt and other ingredients. Create the Amulet following the instructions.
- Clicking on the scales removes all items.
- Get the reverse talisman.
- Use the reverse talisman, get the charged reverse talisman.
- Use the charged reverse talisman.

- Use the charged reverse talisman.
- Take the key.
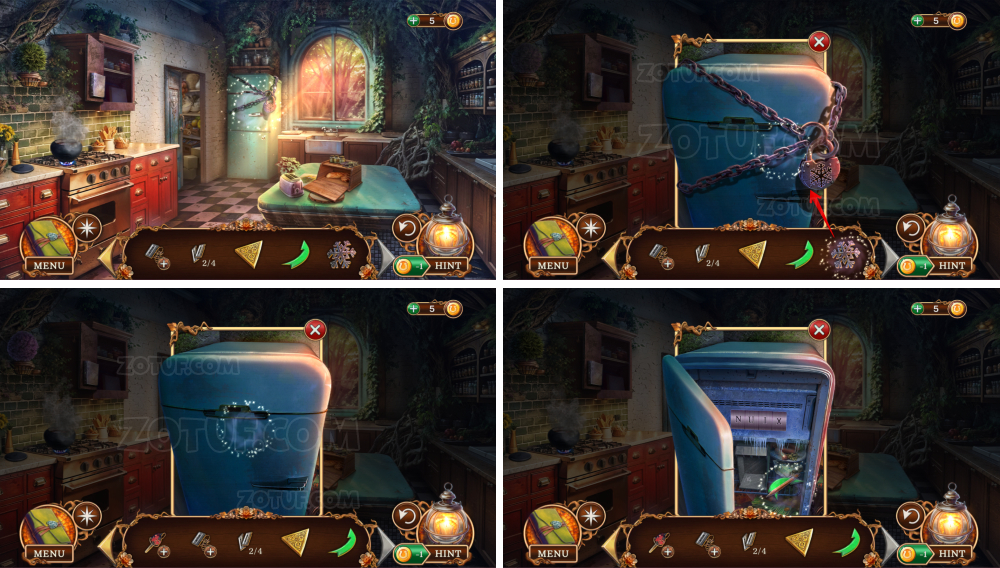
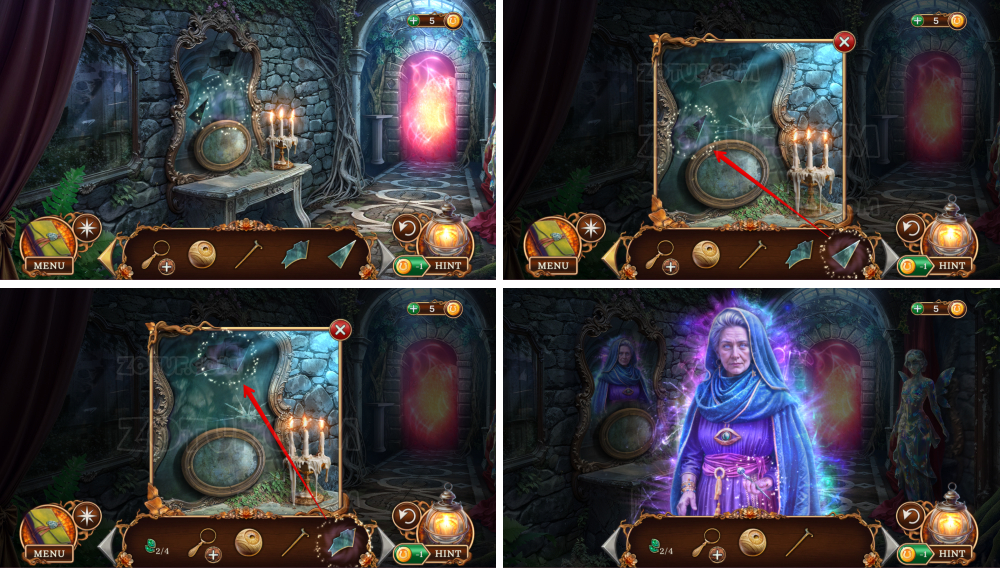
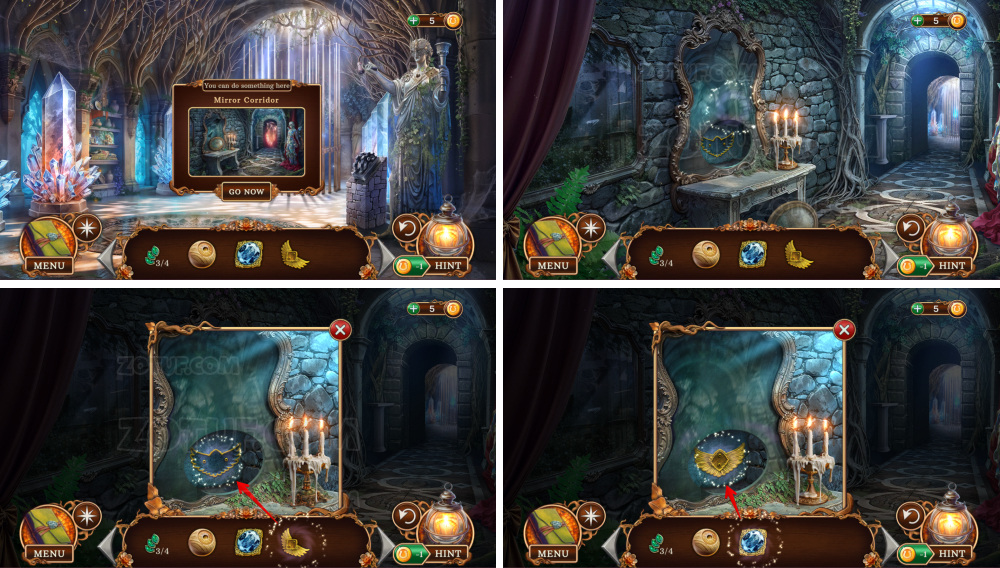
- Use the crescent-shaped locket.

- Use the key.
- Take the full moon locket.
- Use the full moon locket.
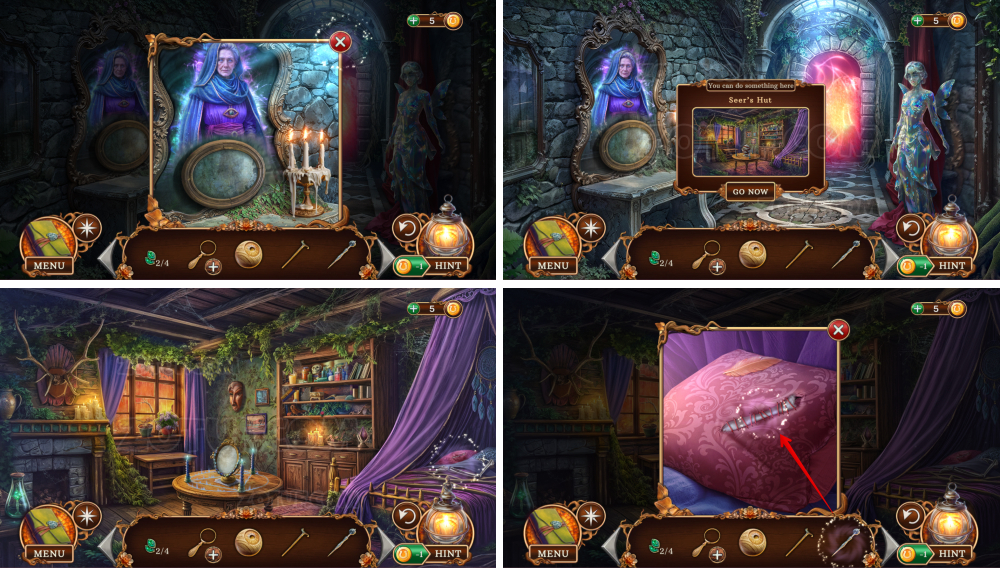
- Move the lockets.
- Move more lockets.
- Take the pen.
- Take the amber 1/3.
- Take the glove 1/2.
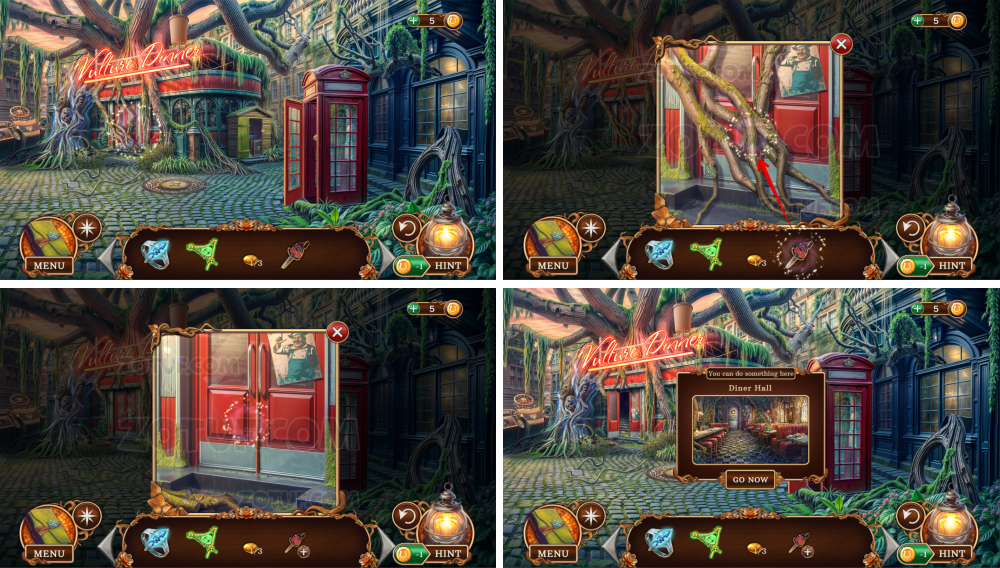
- Take the colored shards under the pillar and in the phone booth.
- Use the charged reverse talisman.
- Take the colored shard.
- Use the colored shards.
- Use the colored shard.
- Take the pin and the glove 2/2.
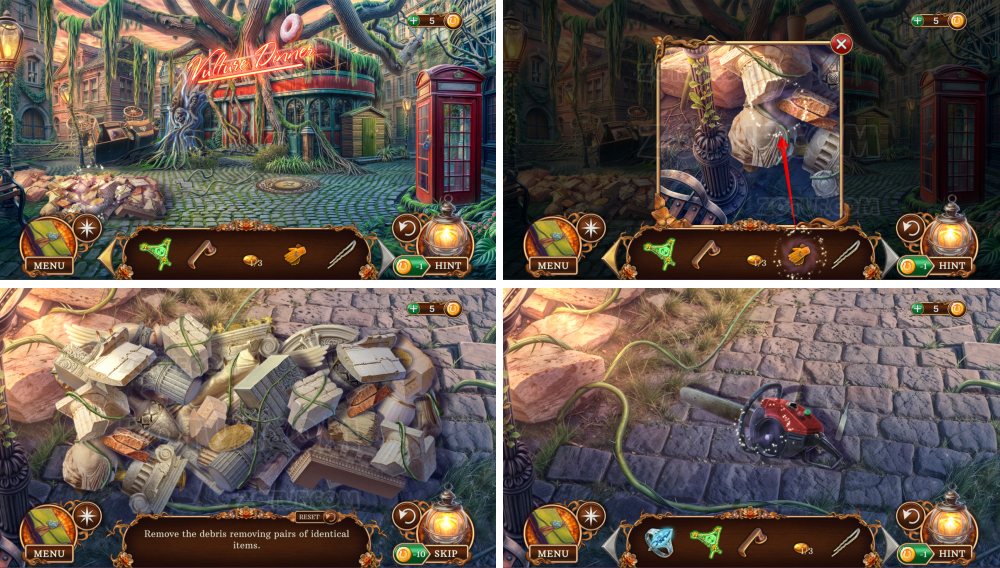
- Use the gloves.
- Solve the puzzle: Remove the debris removing pairs of identical items.
- Take the broken chainsaw.
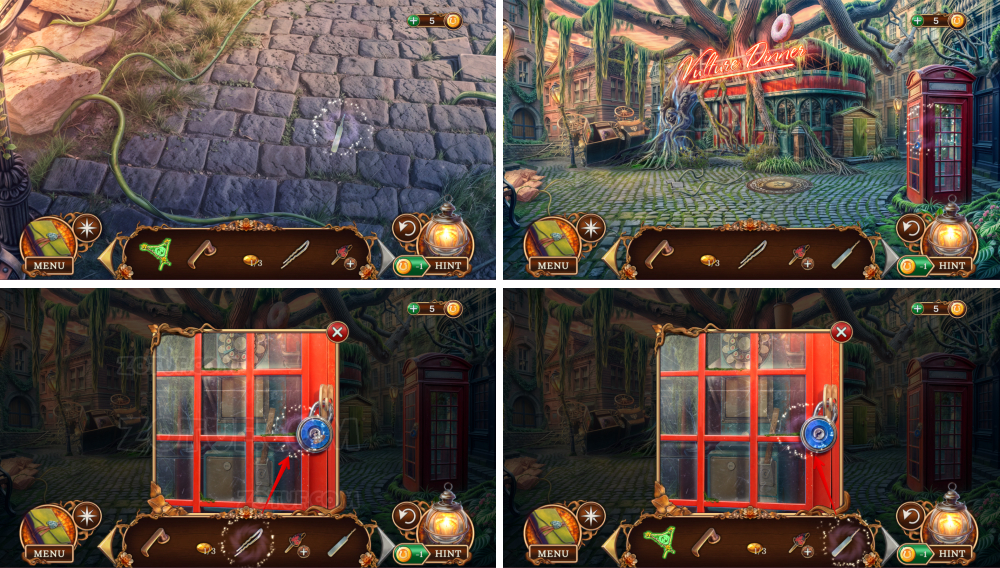
- Take the lockpick.
- Use the pin and the lockpick.
- Take the chainsaw starter and the ruler.
- Use the ruler.
- Use the pen.
- Click on 2, 4, 6, 5.
- Take the chain.
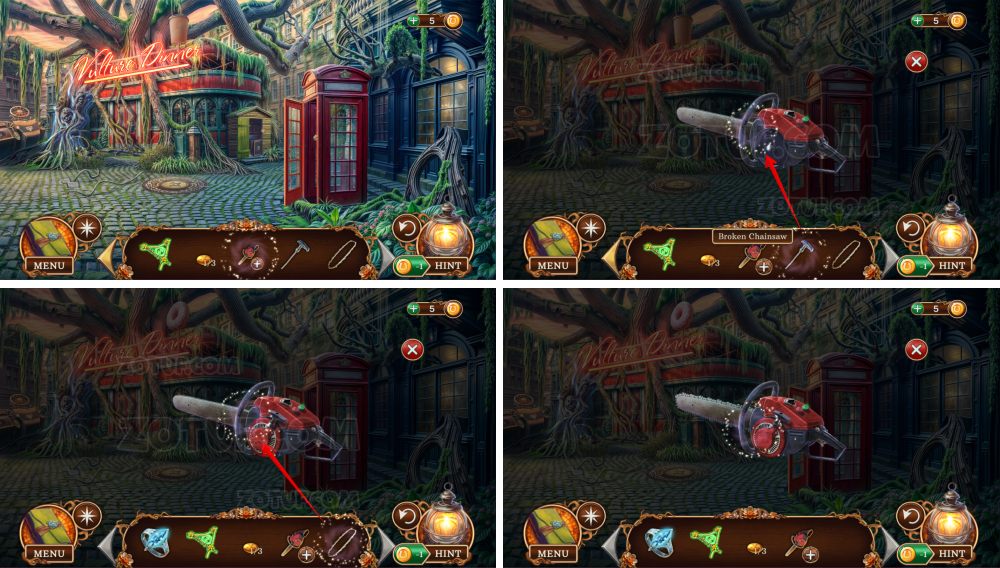
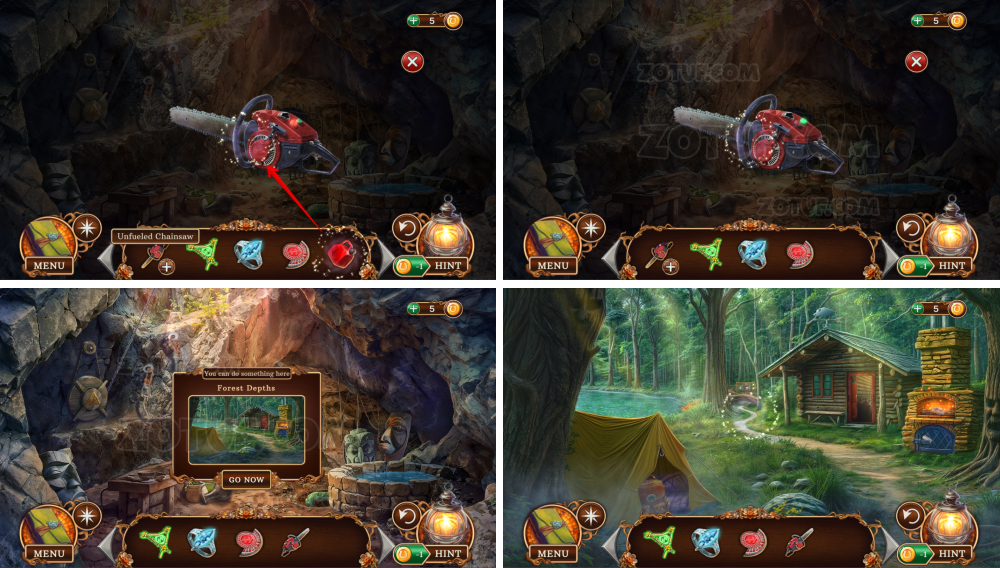
- Click on the broken chainsaw, use the chainsaw starter and the chain, get the chainsaw.
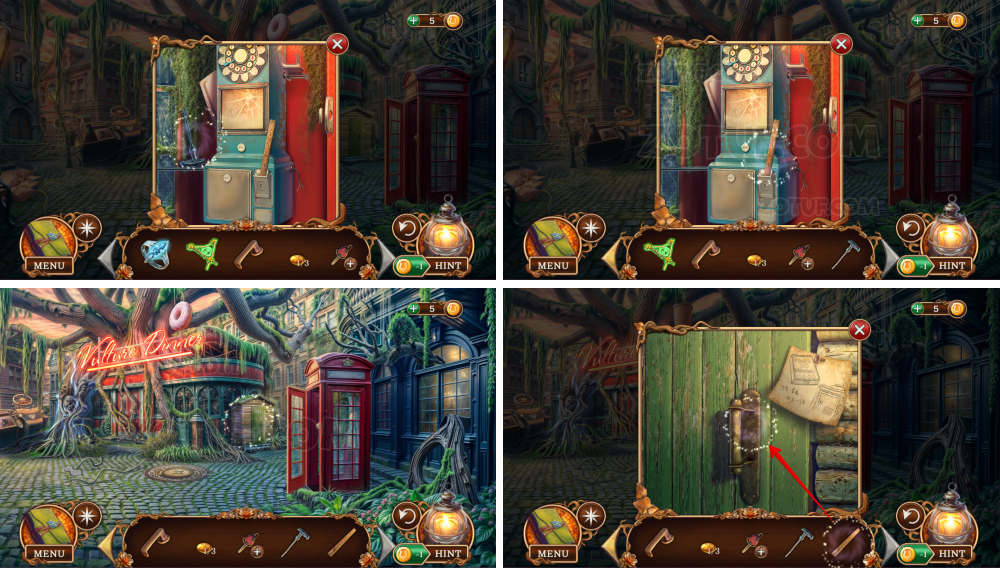
- Use the chainsaw, get the broken chainsaw.
- Take the amber 2/3.
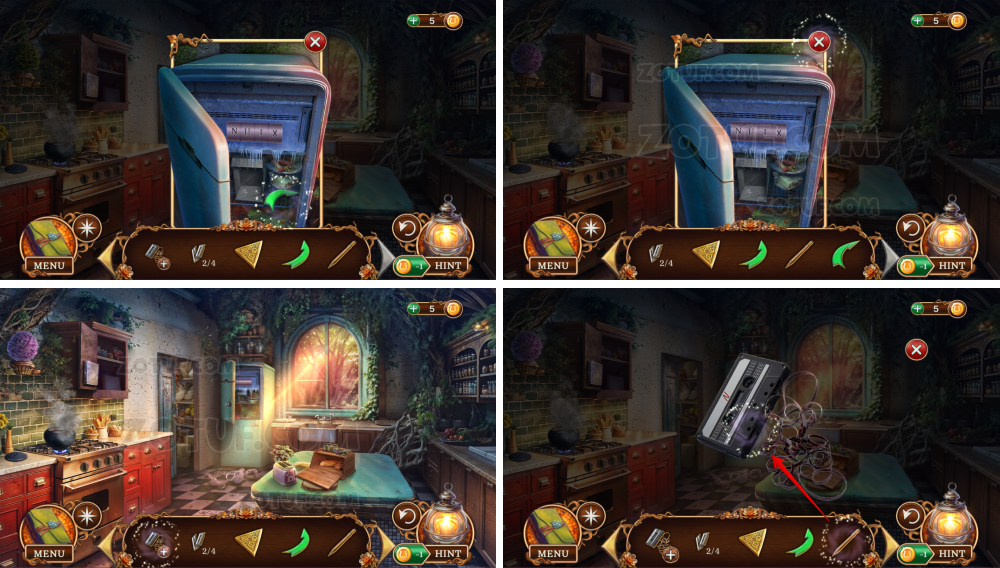
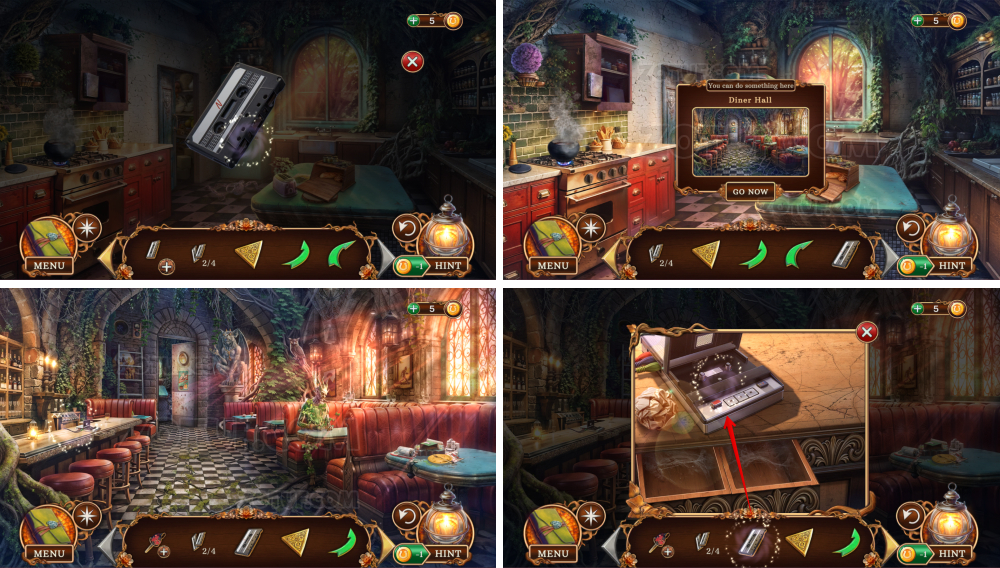
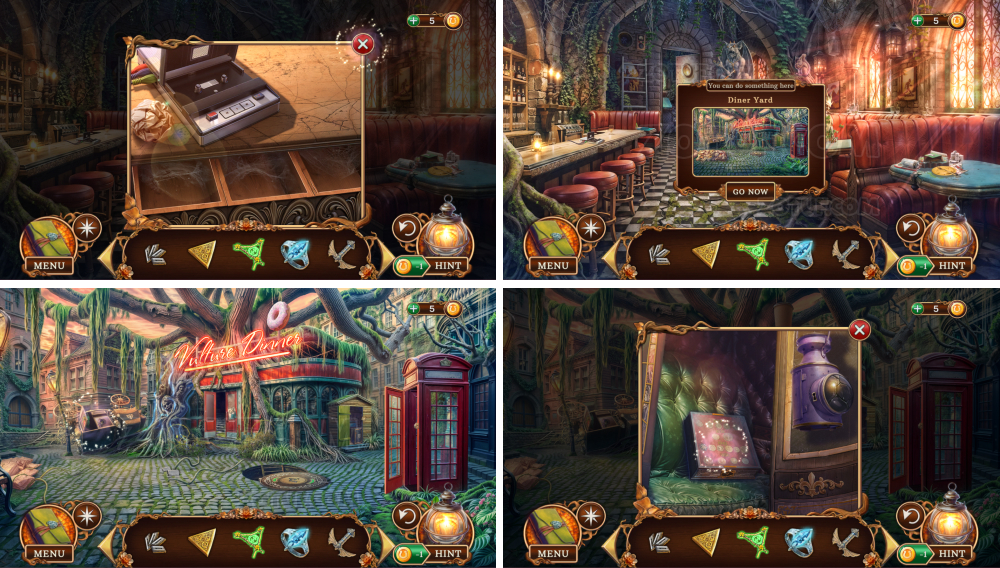
- Take the damaged audio cassette.
- Take the oil can and the unplayed audio cassette.
- Use the unplayed audio cassette.
- Take the audio cassette 1/4.
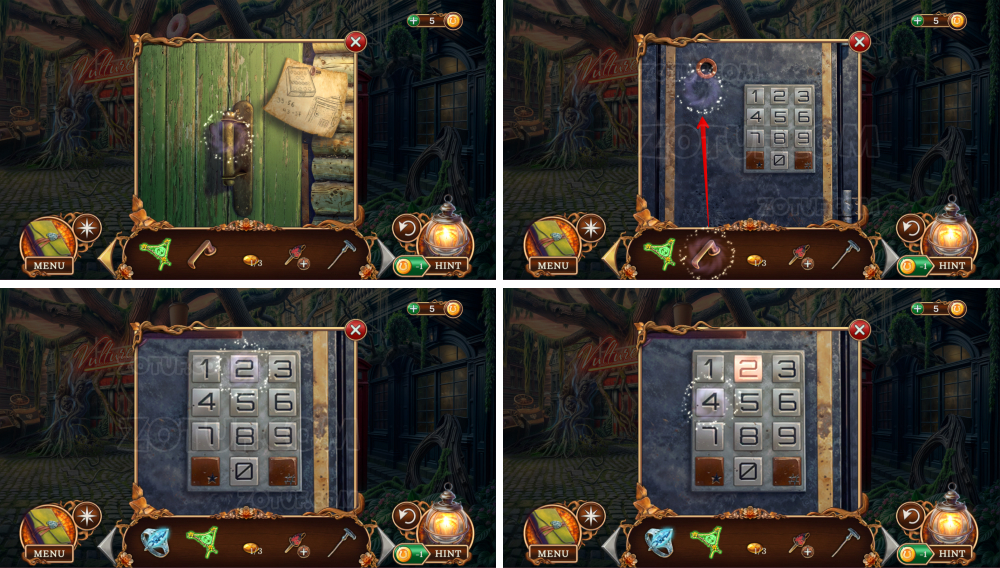
- Take the hand sign.
- Use the hand sign.
- Take the figurine 1.
- Use the oil can.
- Take the screwdriver.

- Use the screwdriver.
- Take the sun medallion and the figurine 2.
- Use the sun medallion.
- Take the figurine 3.
- Use the figurine 1.
- Use the figurine 2 and 3.
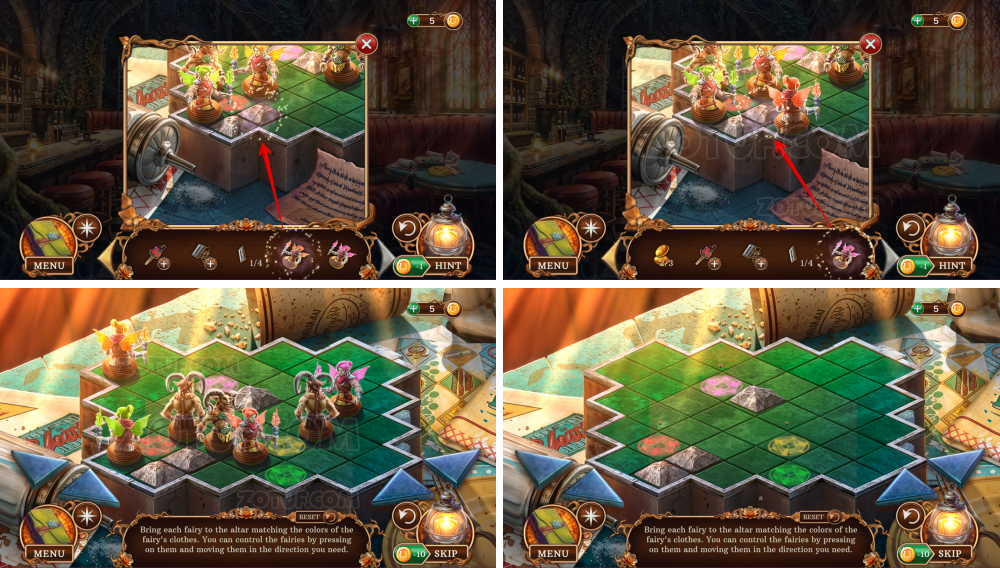
- Solve the puzzle: Bring each fairy to the altar matching the colors of the fairy’s clothes. You can control the fairies by pressing on them and moving them in the direction you need.
- Take the adjustment wheel.
- Use the adjustment wheel.
- Take the triangular amulet.
- Take the trowel.
- Take the decorative wings 1/2.
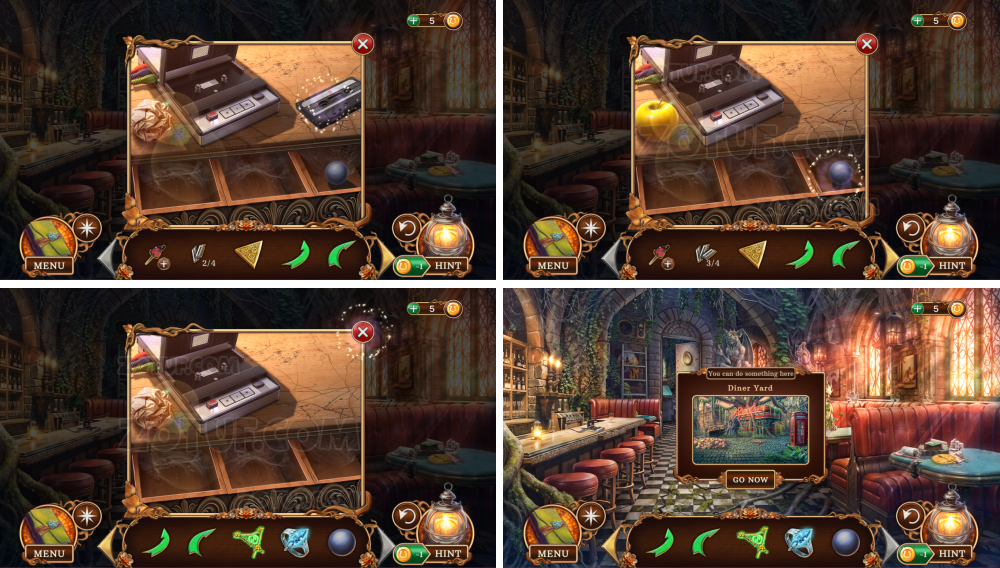
- Take the unplayed audio cassette.
- Use the trowel.
- Take the green arrow.
- Use the unplayed audio cassette.
- Take the audio cassette 2/4.
- Take the decorative wings 2/2.

- Use the two decorative wings.
- Find all the items.
- Items 1-3/16.
- Items 4-7/16.
- Items 8-11/16.
- Items 12/16.
- Items 13-14/16.
- Items 16/16.
- Get the amber 3/3.
- Use the three amber pieces.
- Take the shell.
- Take the stove handle.
- Use the stove handle.
- Use the royal ring.
- Use the shell.
- Take the spoon.
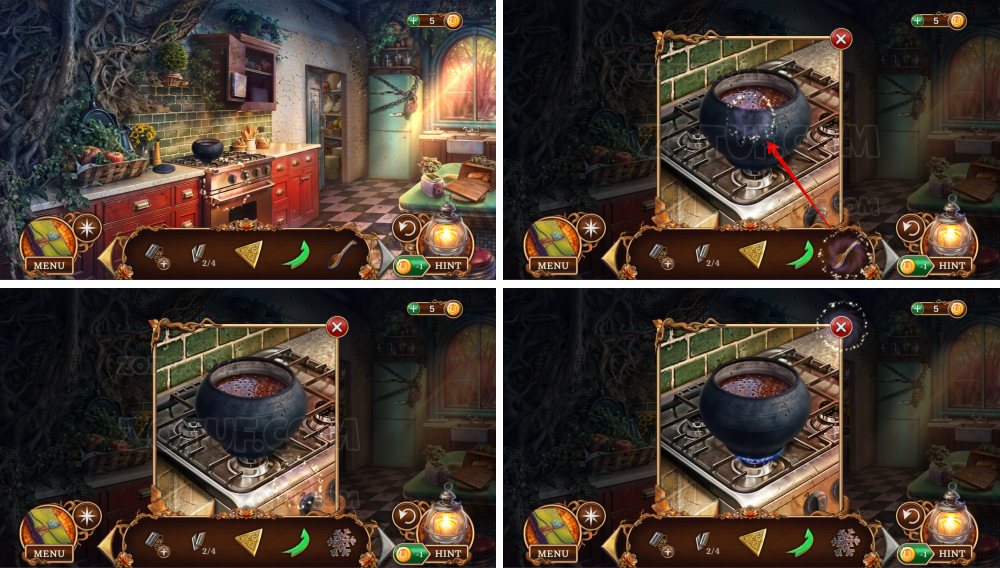
- Use the spoon, get the snowflake.
- Use the snowflake.
- Take the pencil.
- Take the green arrow.
- Click on the damaged audio cassette, use the pencil.
- Get the unplayed audio cassette.
- Use the unplayed audio cassette.
- Take the audio cassette 3/4.
- Take the ball.
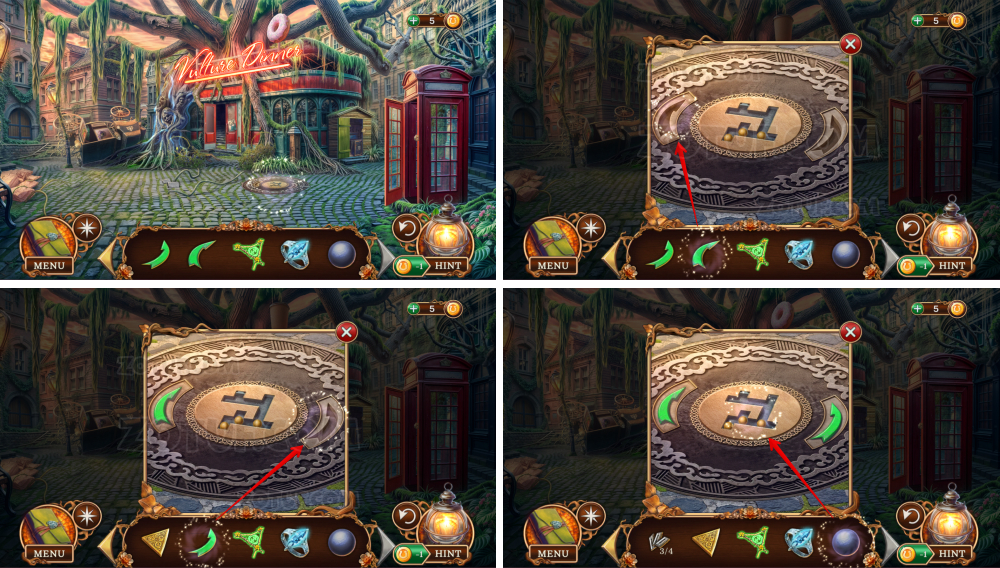
- Use the two green arrows and the ball.
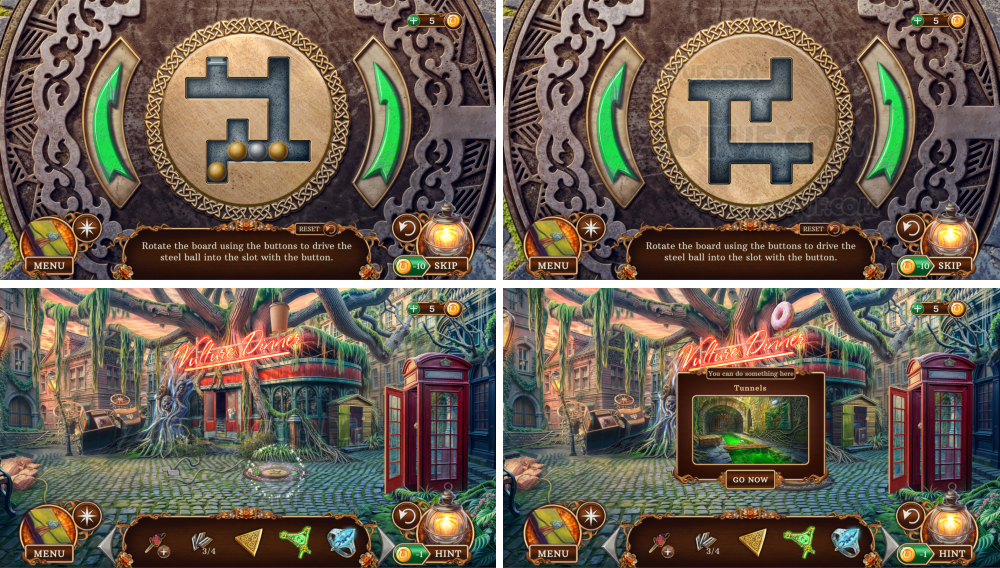
- Solve the puzzle: Rotate the board using the buttons to drive the steel ball into the slot with the button.
- Take the dagger handle.
- Take the unplayed audio cassette.
- Take the rust remover.
- Use the rust remover, get the harpoon.
- Use the harpoon.
- Take the golden beetle and the missing runes 1/3.
- Use the unplayed audio cassette.
- Take the audio cassette 4/4.
- Click on the coin box.
- Use the golden beetle.
- Take the missing runes 2/3.
- Use the four audio cassettes.
- Solve the puzzle: Find the correct code for the stash based on the hint from the audiotapes.
- Take the missing runes 3/3 and the unfinished antidote.
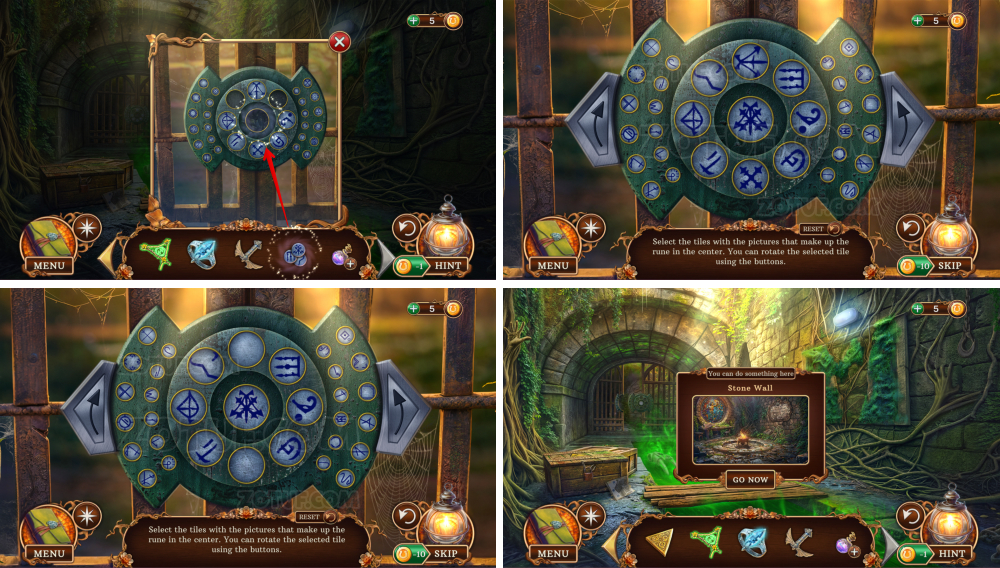
- Use the three missing runes.
- Solve the puzzle: Select the tiles with the pictures that make up the rune in the center. You can rotate the selected tile using the buttons.
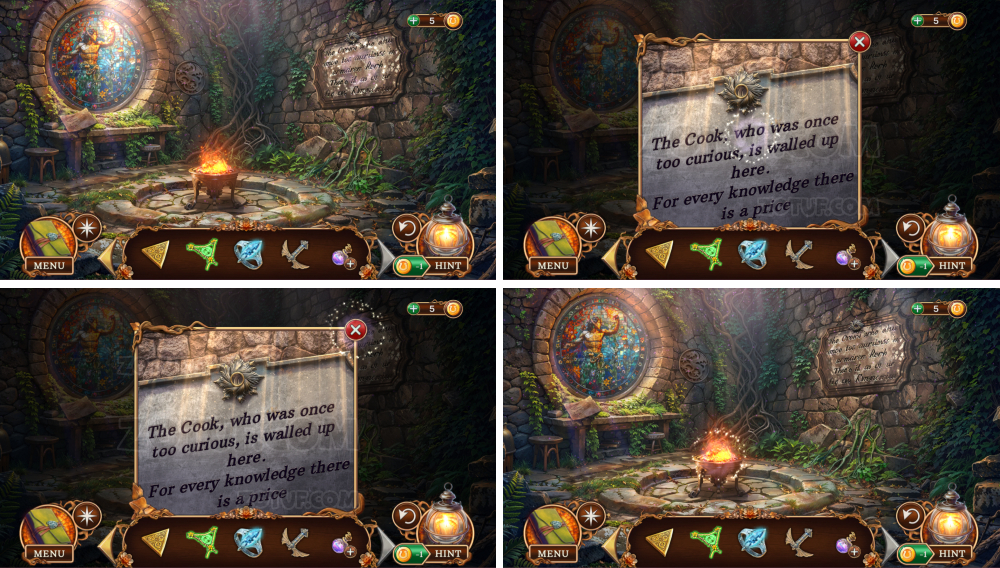
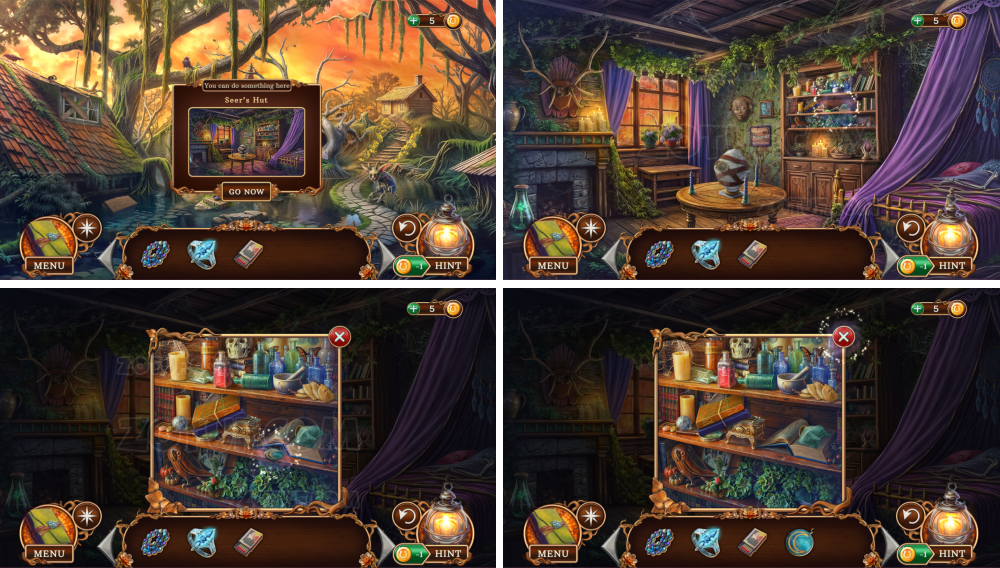
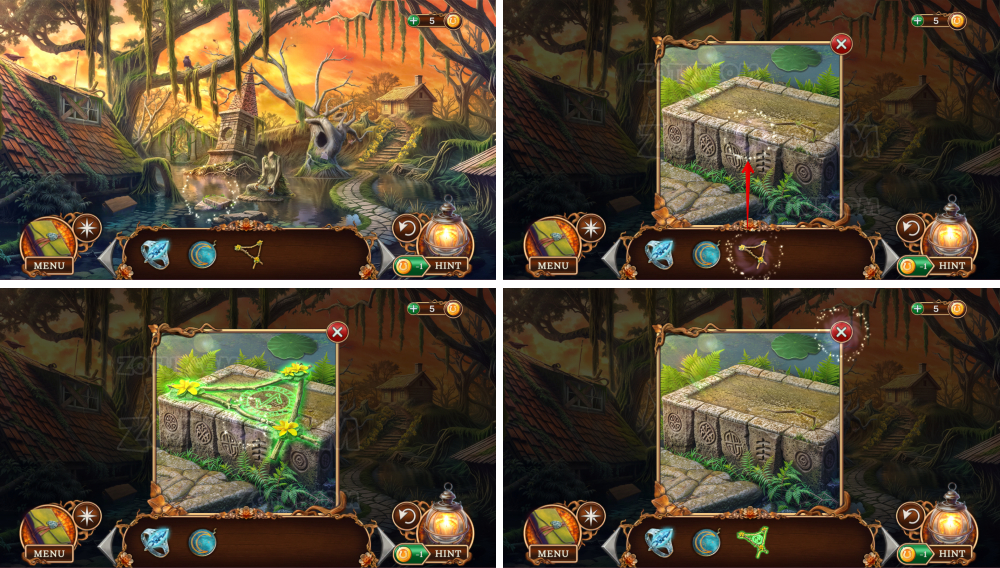
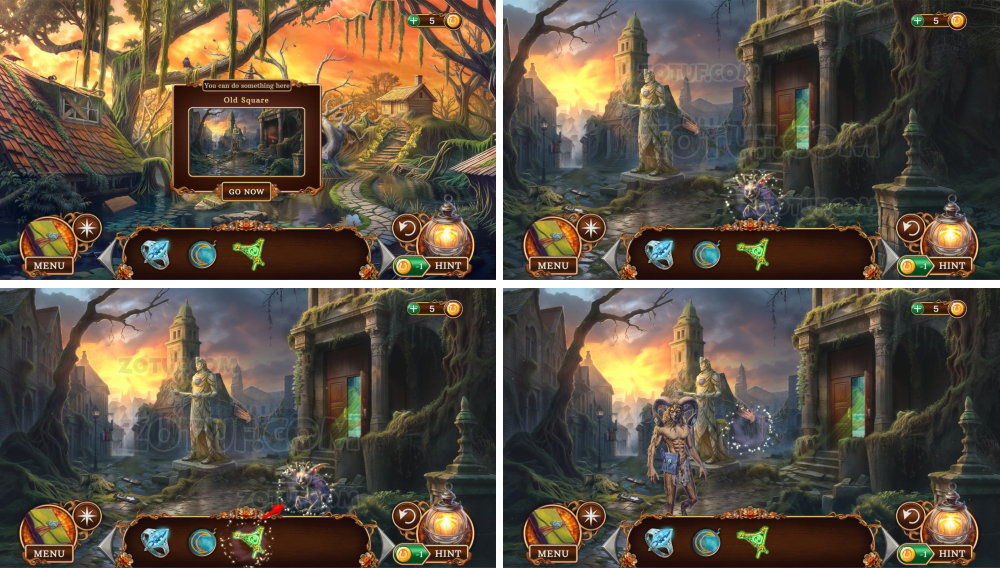
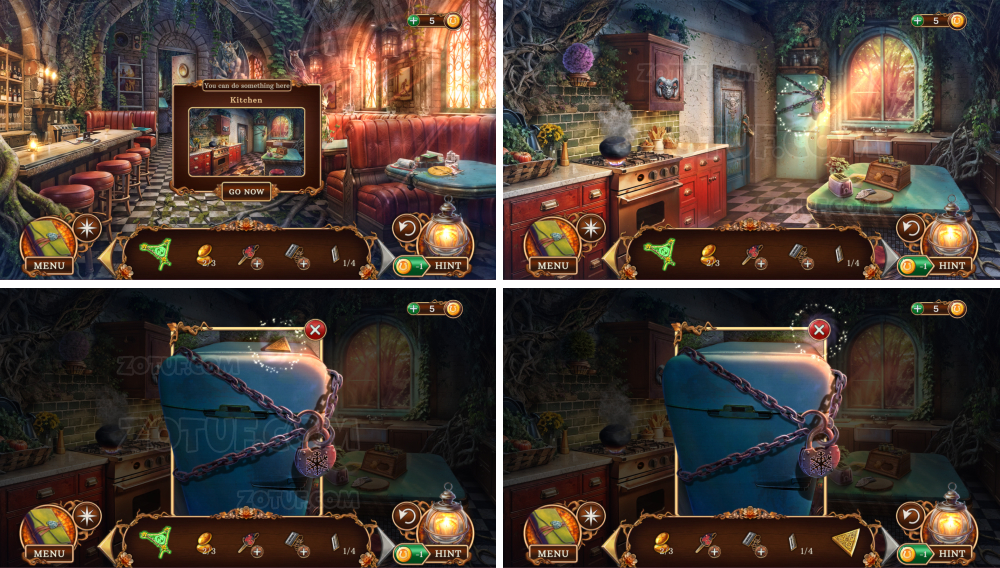
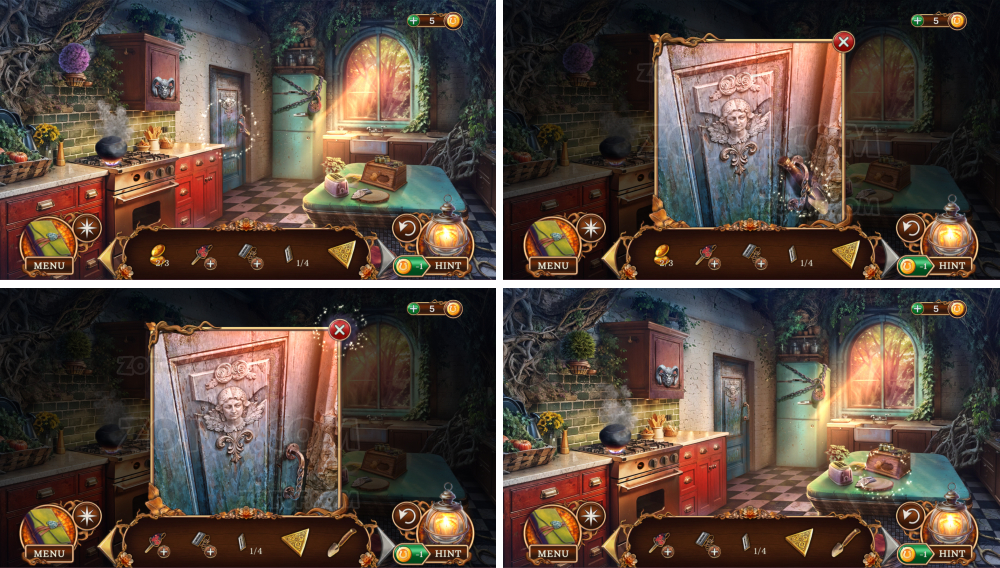
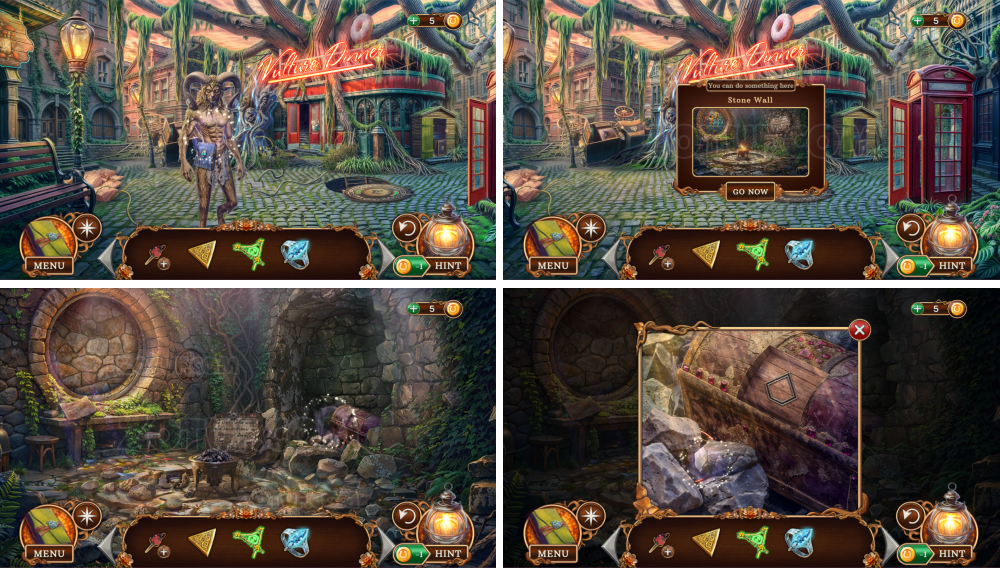
- Read the sign.
- Use the royal ring.
- Take the flame control panel.
- Use the charged reverse talisman.
- Take the key.
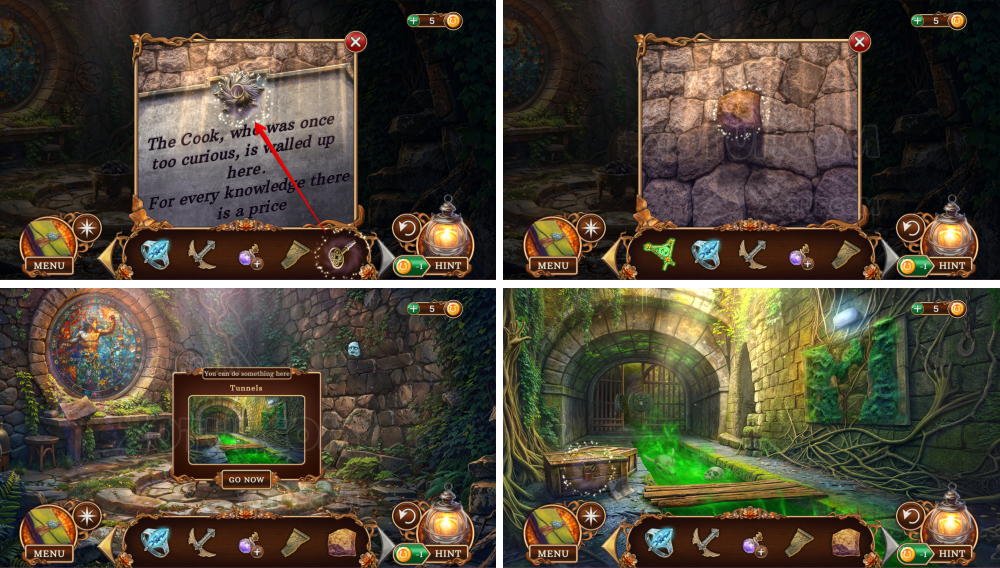
- Use the key.
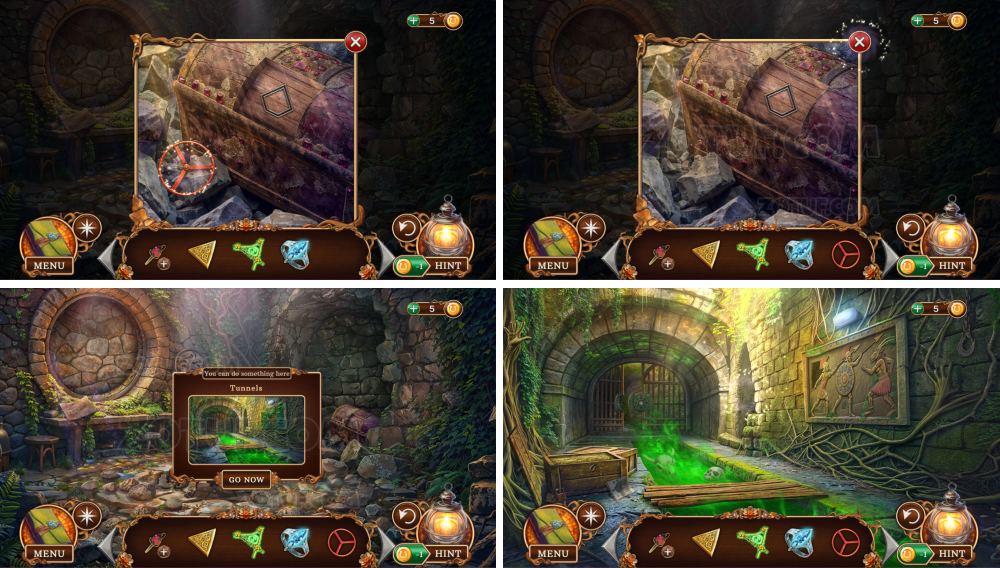
- Take the loose brick.

- Use the loose brick.
- Take the dynamite and the brush.

- Use the brush and the flame control panel.
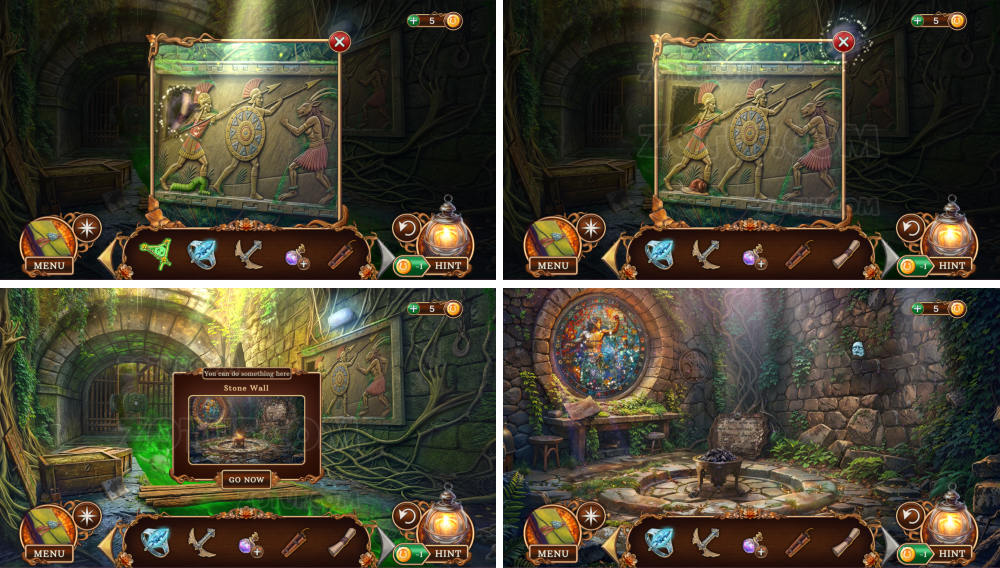
- Take the ancient scroll.
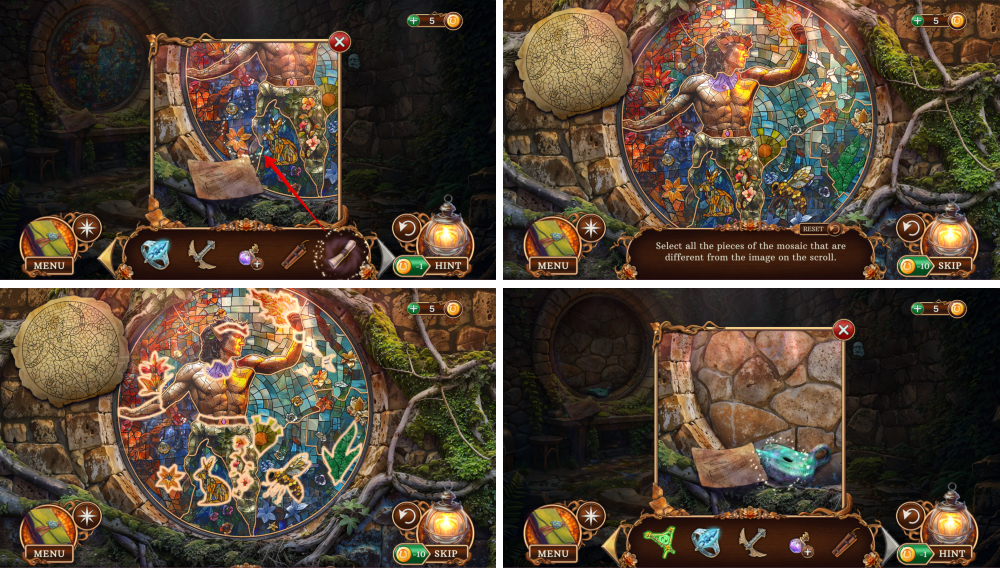
- Use the ancient scroll.
- Solve the puzzle: Select all the pieces of the mosaic that are different from the image on the scroll.
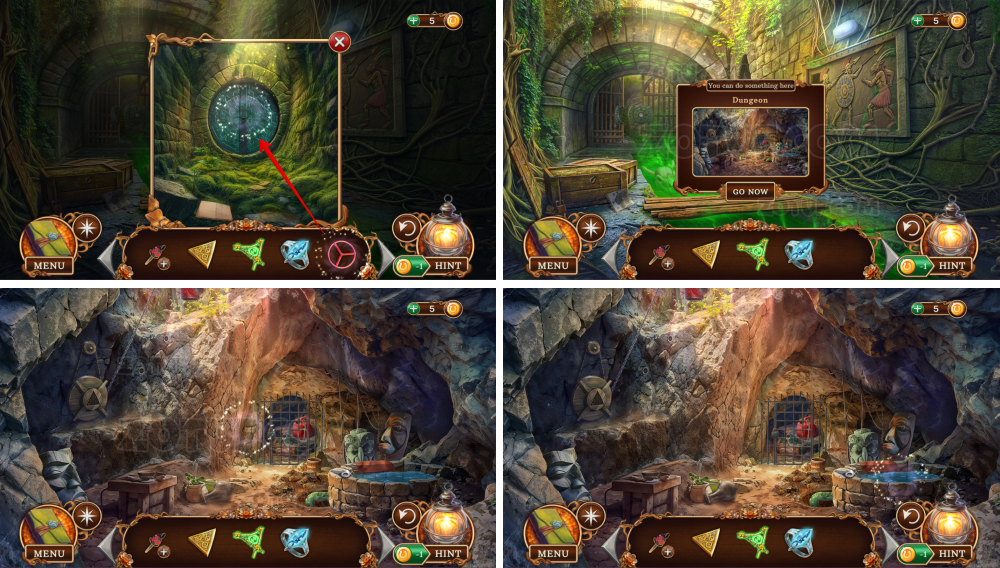
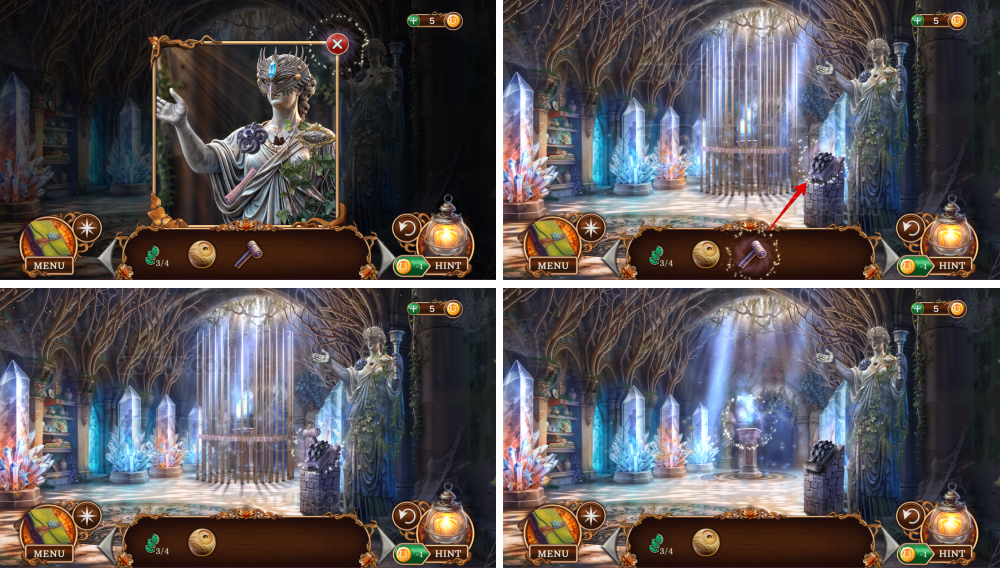
- Take the extinguished beacon.
- Use the extinguished beacon, get the burning beacon.
- Use the burning beacon and the dynamite.
- Take the dagger shards.
- Use the dagger shards and the dagger handle.
- Take the dagger.
- Use the dagger, get the black root.
- Click on the unfinished antidote, use the black root.
- Talk.
- Take the valve.
- Use the valve.
- Take the climbing wedges 1/2 and the rubber band.
- Take the safety rope.
- Use the triangular amulet, get the lantern.
- Use the lantern, take the climbing wedges 2/2.
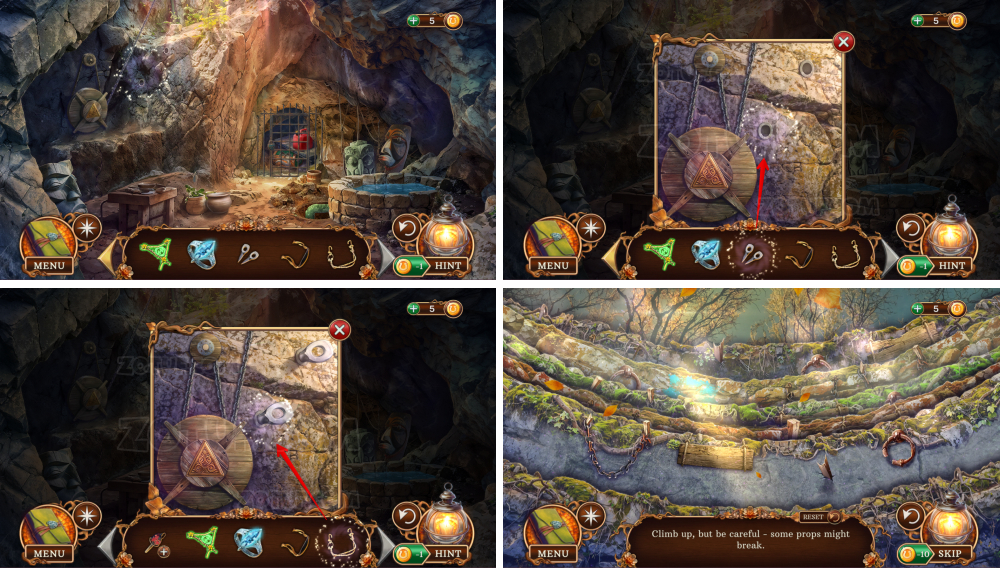
- Use the two climbing wedges.
- Use the safety rope.
- Solve the puzzle: Climb up, but be careful – some props might break.
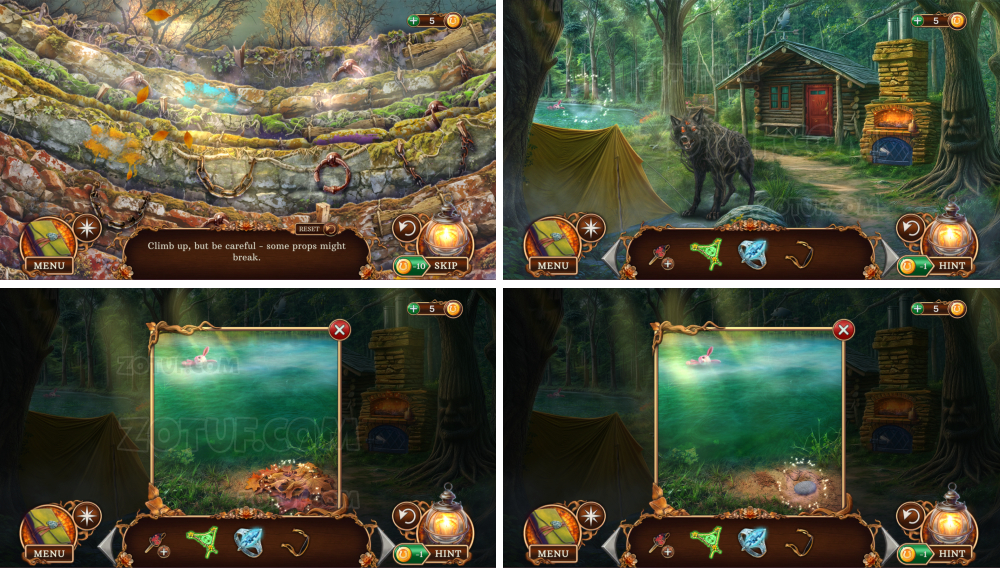
- Take the smooth stone.
- Take the slingshot part.
- Take the flask.
- Click on the slingshot part.
- Use the rubber band and the smooth stone, get the slingshot.
- Take the figurine.
- Click on the figurine.
- Take the pin.
- Use the pin.
- Take the colored balls.
- Take the pliers and the plaster.
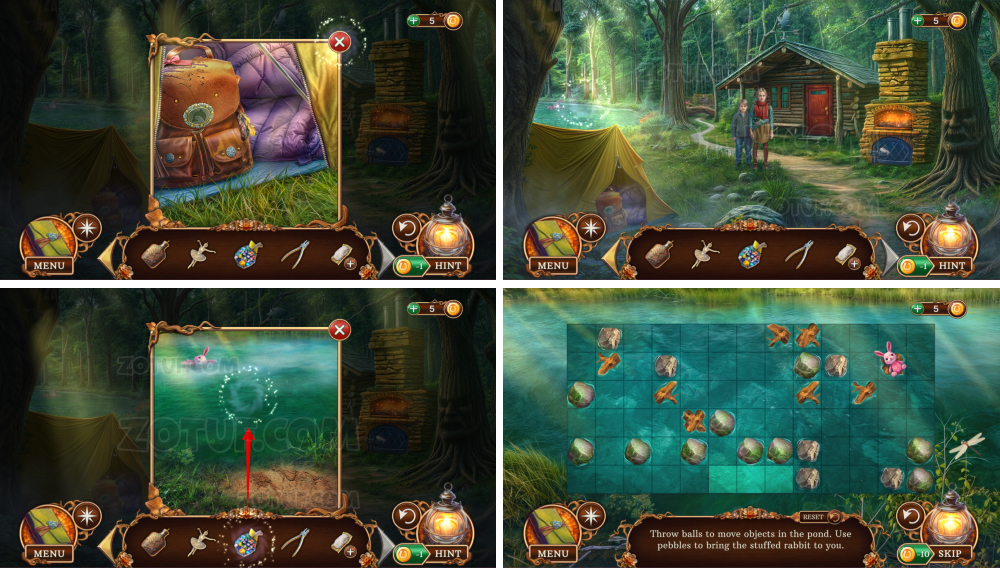
- Use the colored balls.
- Solve the puzzle: Throw balls to move objects in the pond. Use pebbles to bring the stuffed rabbit to you.
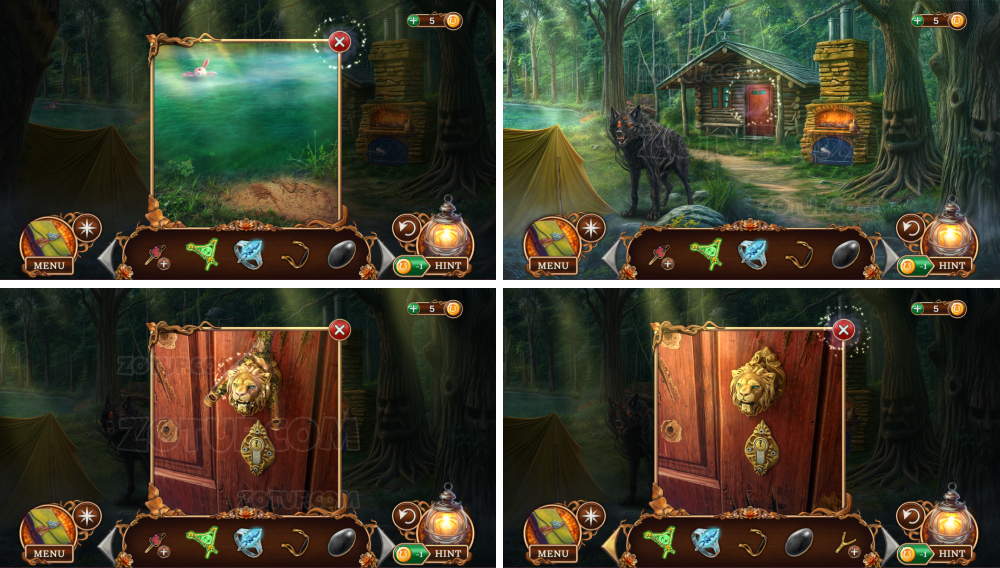
- Get the toy.
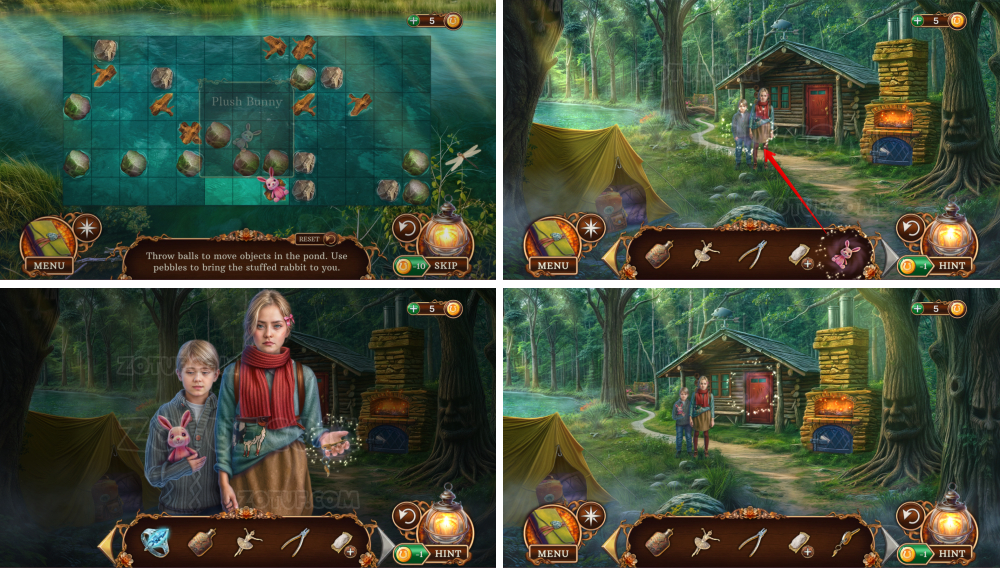
- Use the toy.
- Take the key.
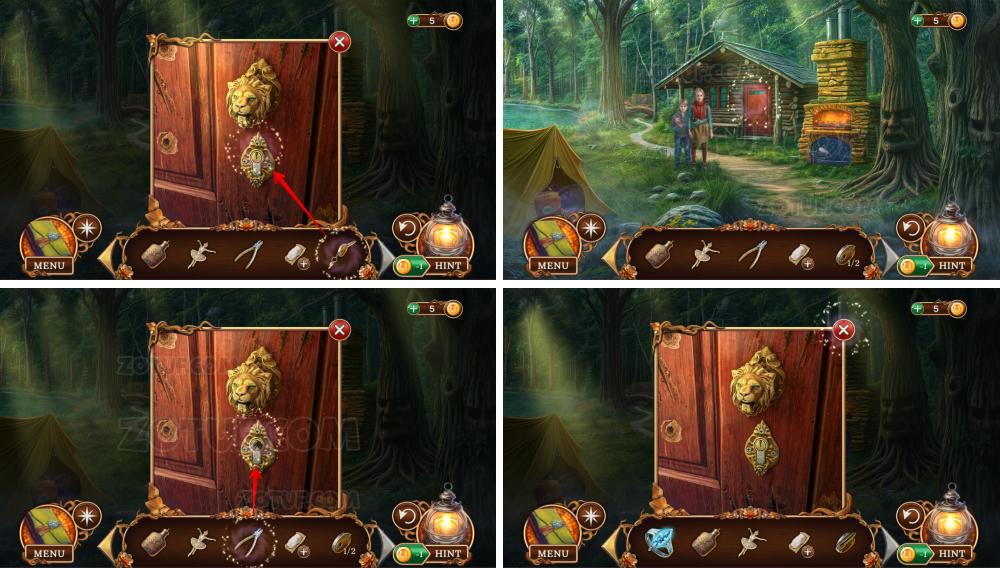
- Use the key, get the key part 1/2.
- Use the pliers, get the key part 2/2.
- Use the flask, get the flask with water.
- Click on the plaster, use the flask with water and the two key parts.
- Get the key mold.
- Use the key mold and the figurine.
- Take the key.
- Use the key.
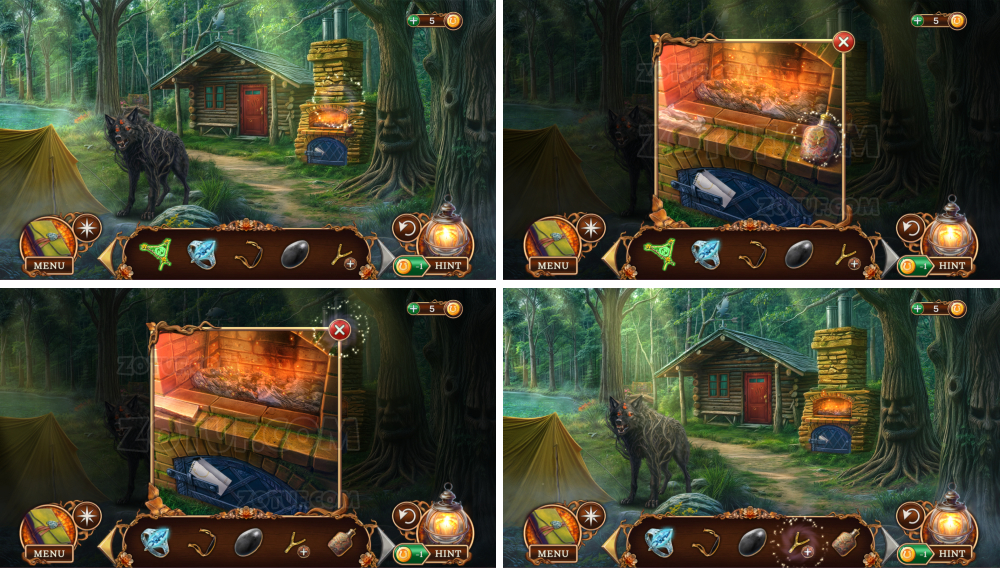
- Take the puzzle piece.
- Take the opener.
- Use the puzzle piece.
- Take the puzzle piece.
- Use the puzzle piece.
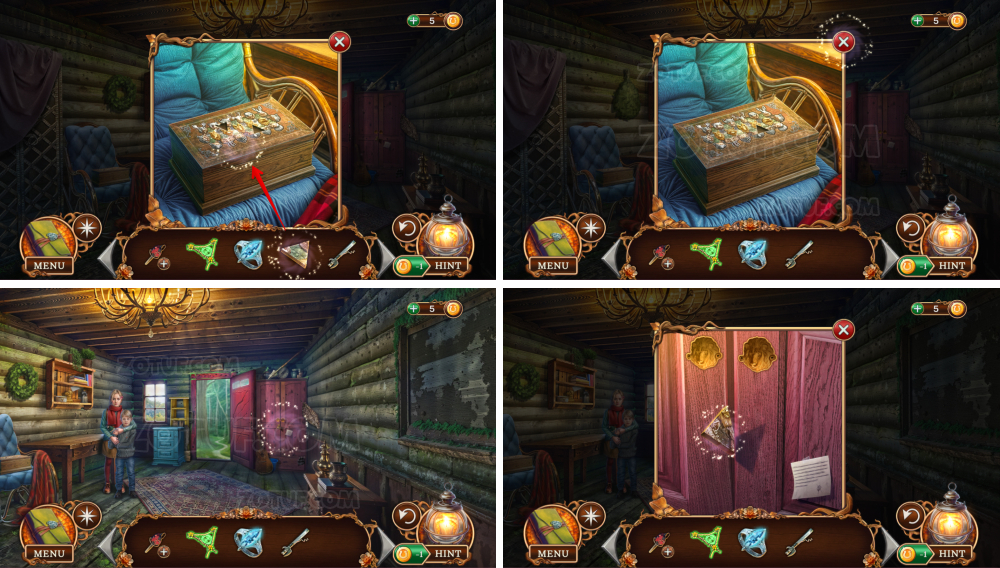
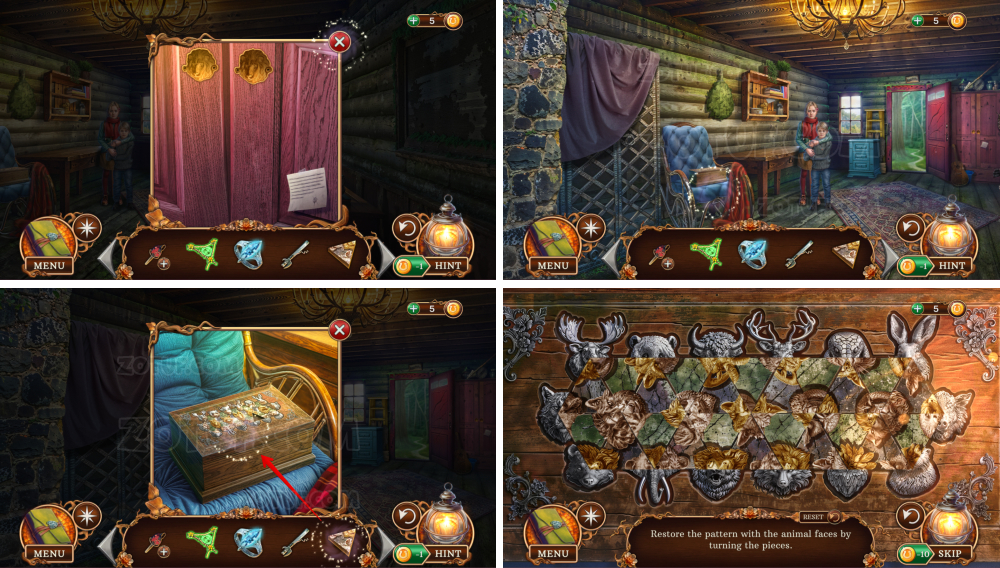
- Solve the puzzle: Restore the pattern with the animal faces by turning the pieces.
- Take the deer figurine.
- Use the deer figurine.
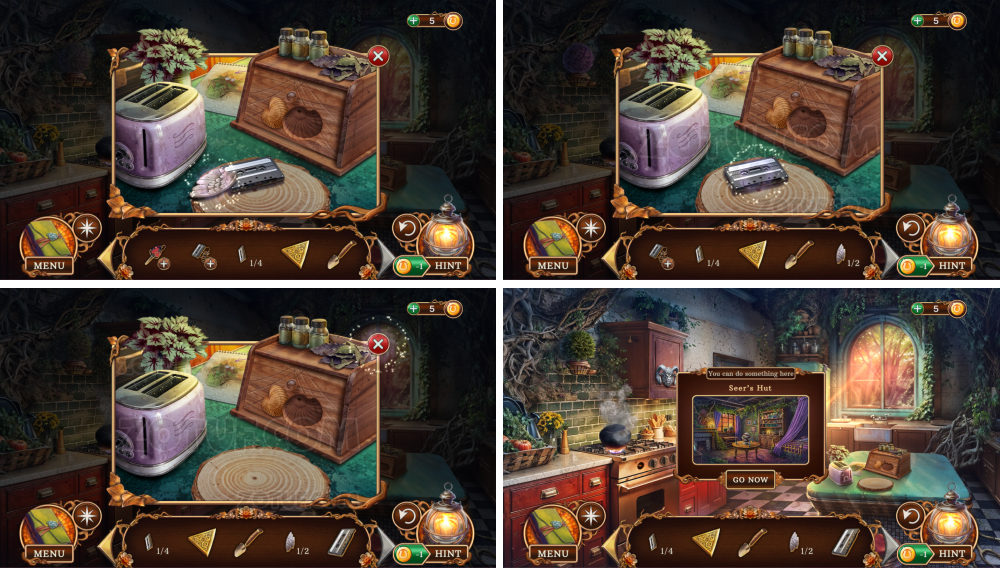
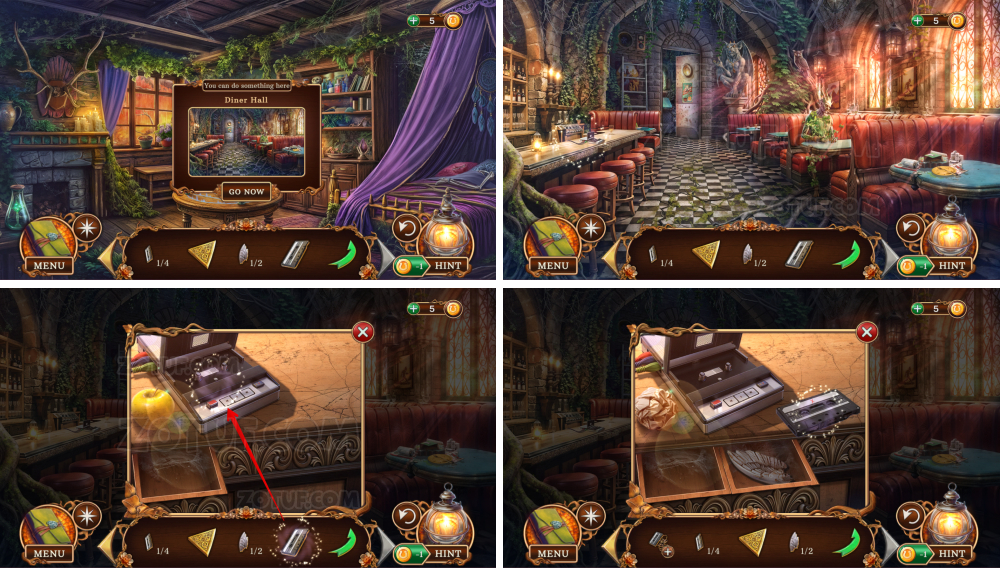
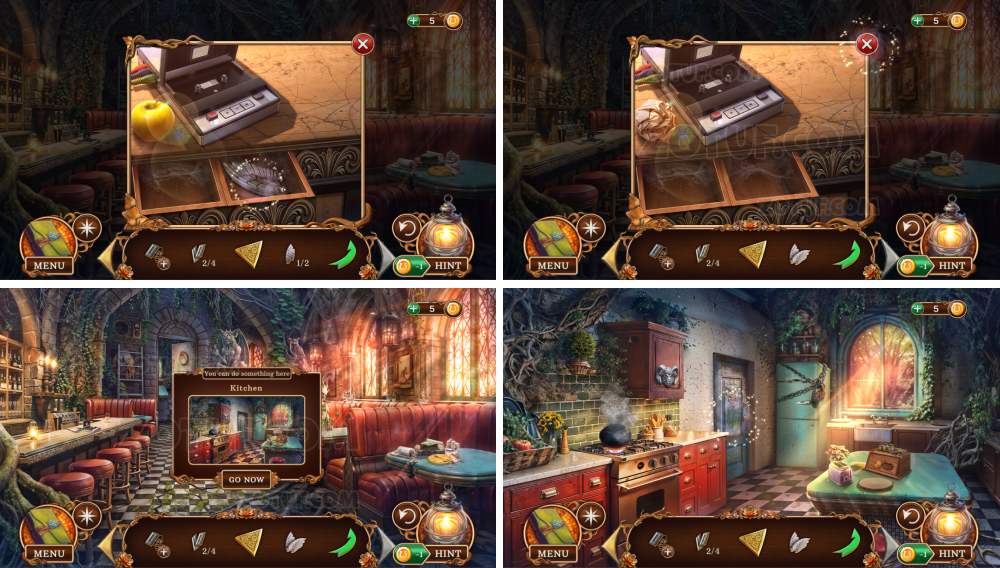
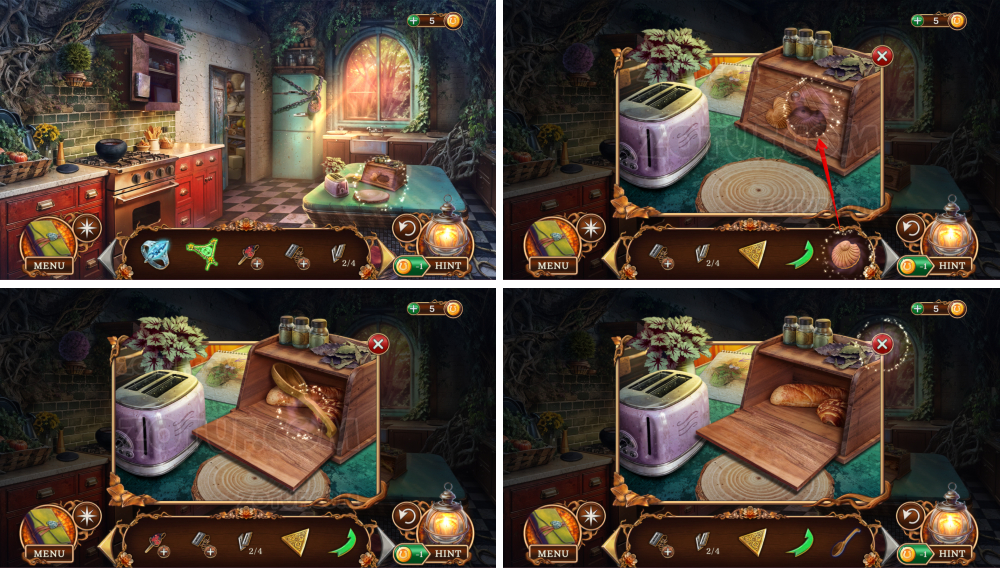
- Take the lion handle and the toaster lever.
- Use the toaster lever.
- Take the lion handle.
- Use the corkscrew, get the canned peaches.
- Use the two lion handles.
- Find all the items.
- Items 1-3/18.
- Items 4-7/18.
- Items 8-11/18.
- Items 12-15/18.
- Items 16-18/18.
- Get the warm blankets.
- Use the warm blankets and the canned peaches.
- Take the half amulet and the key.
- Use the key, take the canister.
- Click on the empty chainsaw.
- Use the canister, get the chainsaw.
- Use the chainsaw.
- Take the ruby panel.
- Use the ruby panel.
- Take the decorated rod and the mechanism switch.
- Use the mechanism switch.

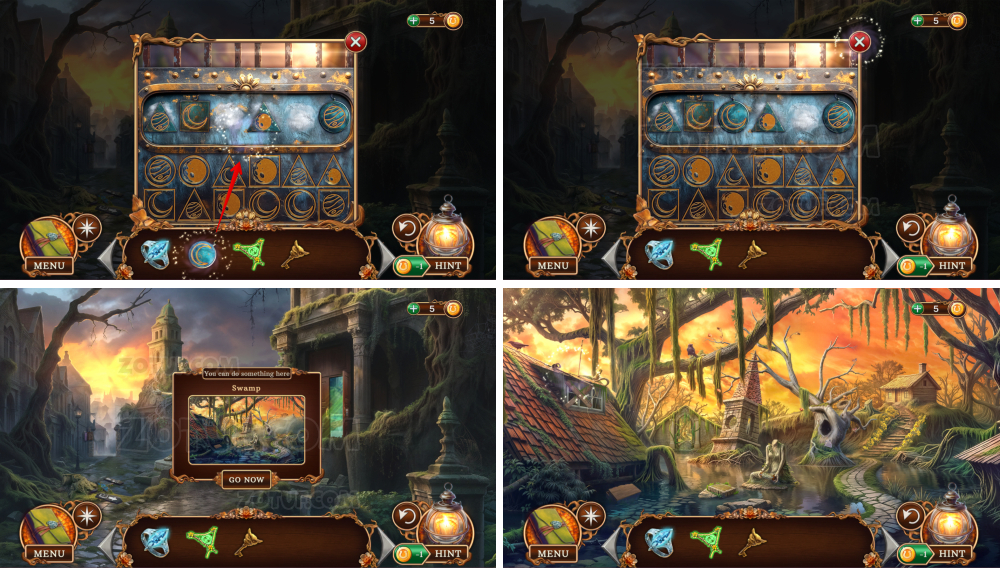
- Solve the puzzle: Move all chips to the right places.

- Take the key.
- Use the chainsaw, get the monster’s paw.
- Take the mosaic fragment.
- Take the totem 1/2.
- Use the mosaic fragment.
- Use the key.
- Take the totem 2/2.
- Use the monster’s paw, get the apple.
- Click on the apple, take the flower emblem and the apple.
- Use the flower emblem.
- Take the key.
- Use the two totems.
- Take the pistol.
- Use the key.
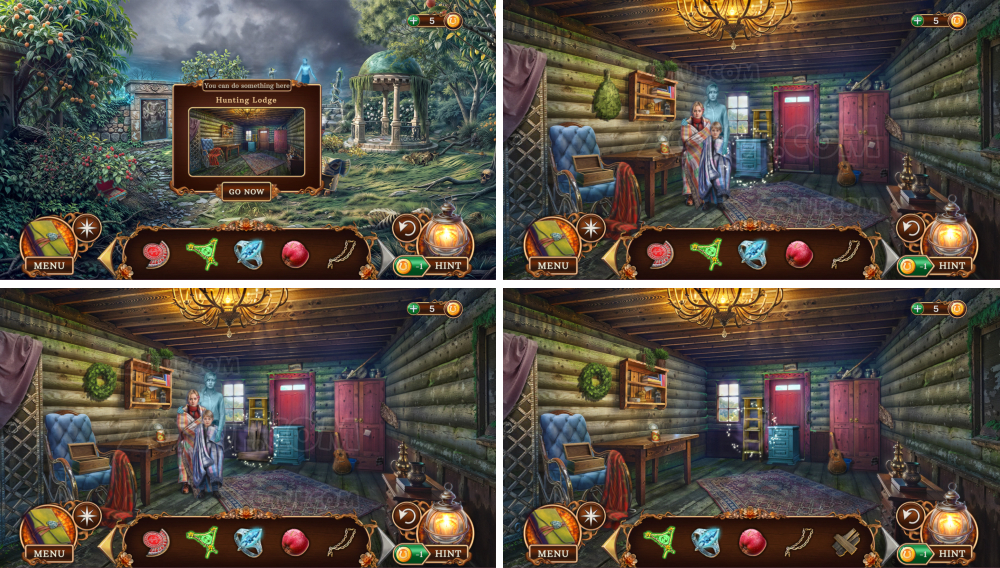
- Take the mosaic.
- Use the pistol.
- Take the mosaic.
- Use the mosaic.
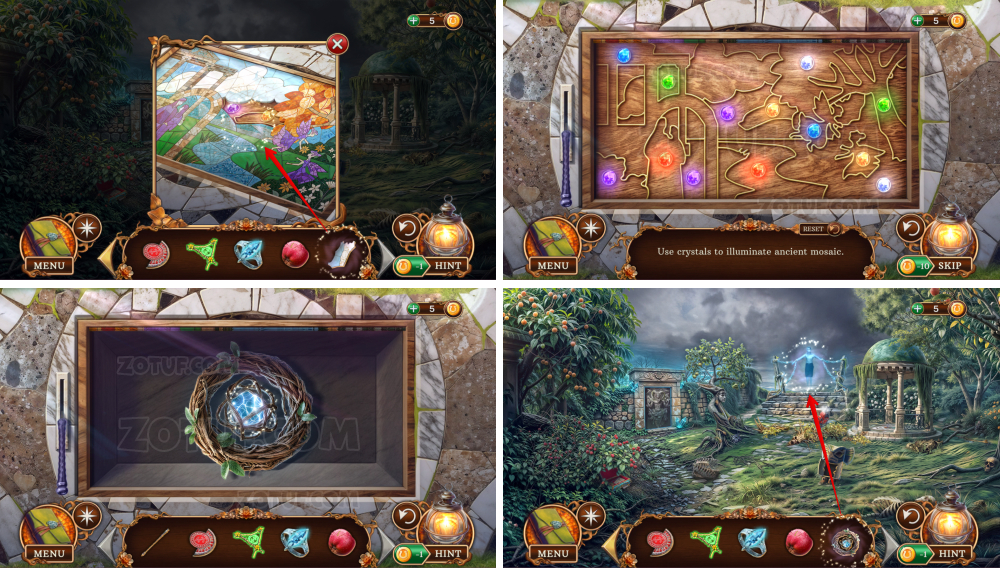
- Use the mosaic.
- Solve the puzzle: Use crystals to illuminate ancient mosaic.
- Take the talisman.
- Use the talisman, get the golden chain.
- Take the boards.
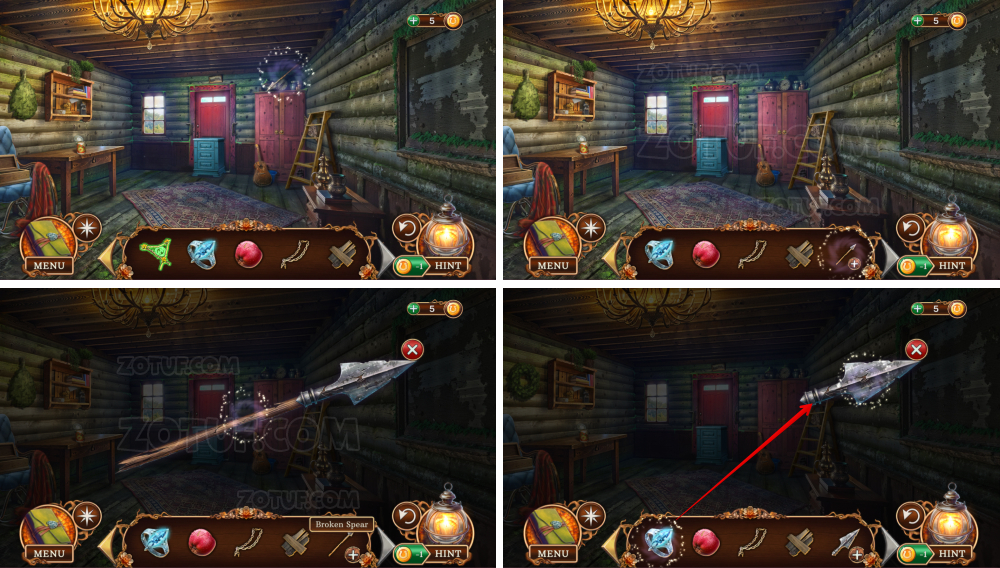
- Take the broken spear.
- Click on the broken spear.
- Use the royal wheel.
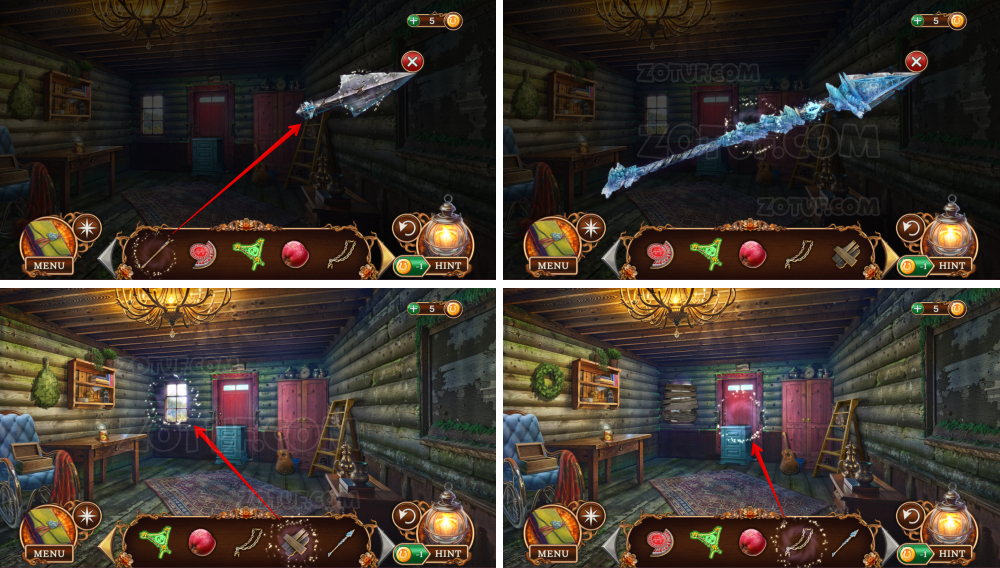
- Use the decorated rod.
- Take the ice spear.
- Use the boards.
- Use the golden chain.
- Use the ice spear.
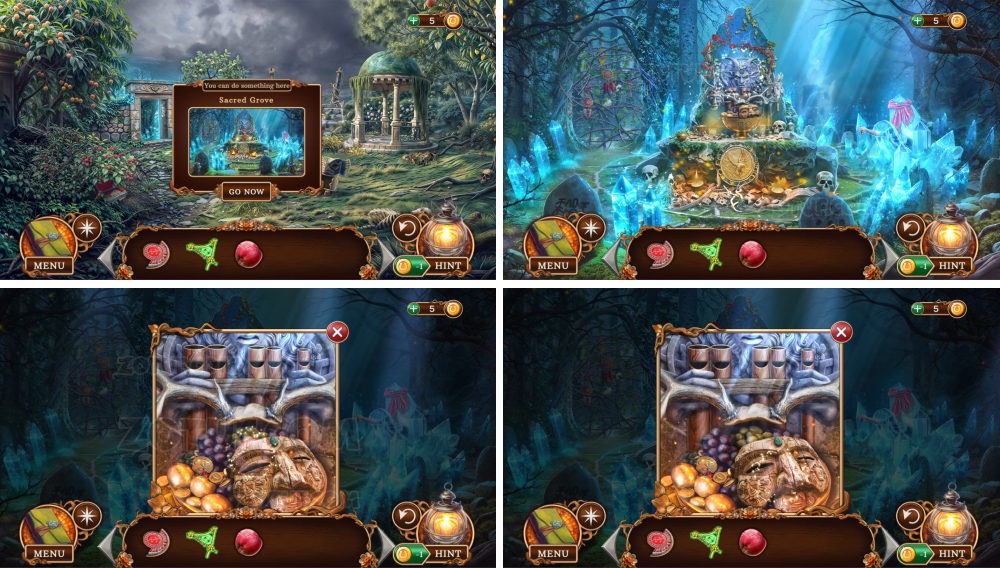
- Take the bas-relief fragment.
- Use the bas-relief fragment.
- Solve the puzzle: Press the right parts of the bas-relief the right amount of times.
- Take the mask.
- Use the apple.
- Take the ring and the ritual bowl.
- Take the silver comb and the dolphin figurine.
- Use the ring, get the flute 1/2.
- Use the dolphin figurine.
- Take the flute 2/2.
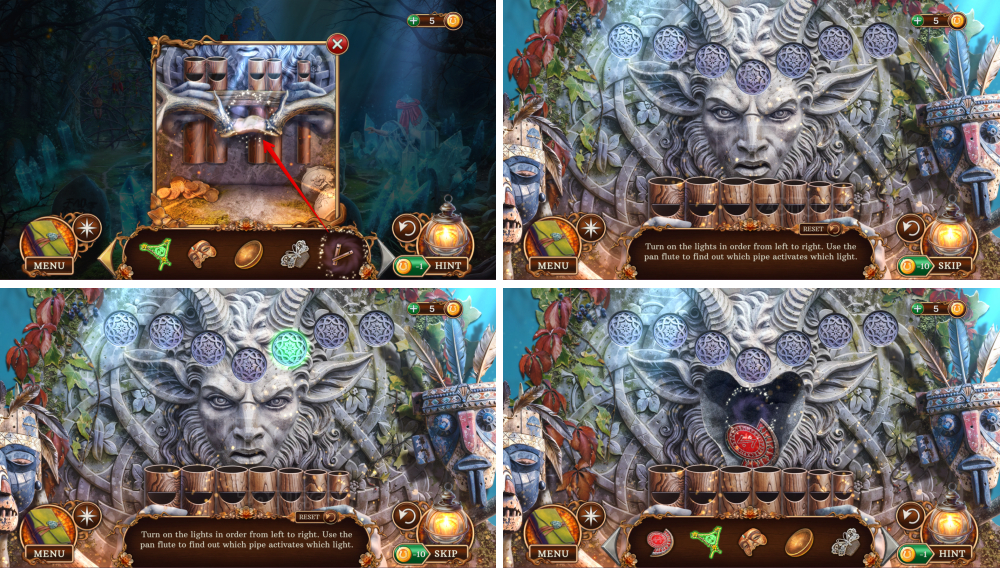
- Use the two flutes.
- Solve the puzzle: Turn on the lights in order from left to right. Use the pan flute to find out which pipe activates which light.
- Take the half amulet.
- Use the half amulet.

- Use the second half amulet, get the amulet.
- Click on the amulet, use the charged reverse talisman.
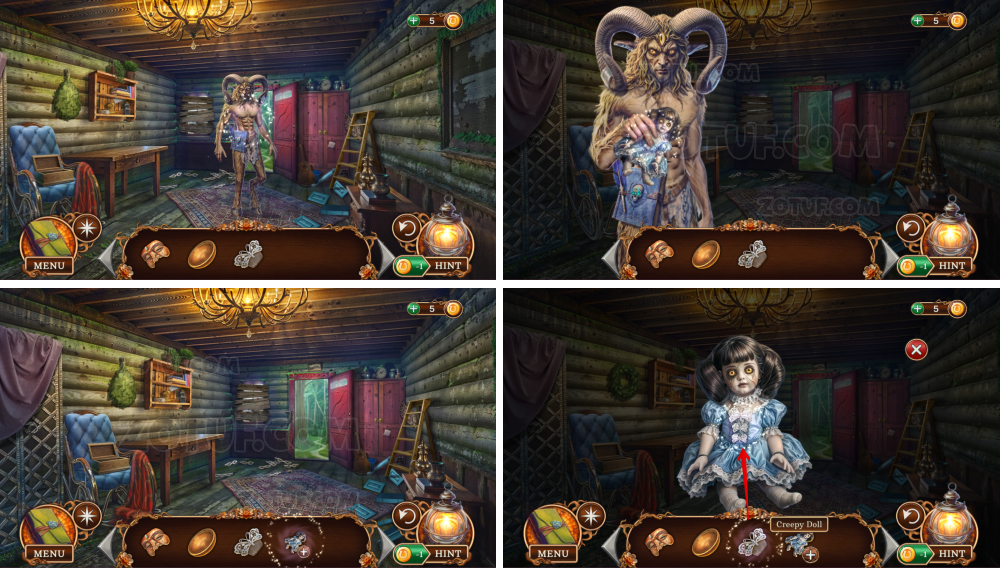
- Take the creepy doll.
- Click on the creepy doll.
- Use the silver comb.
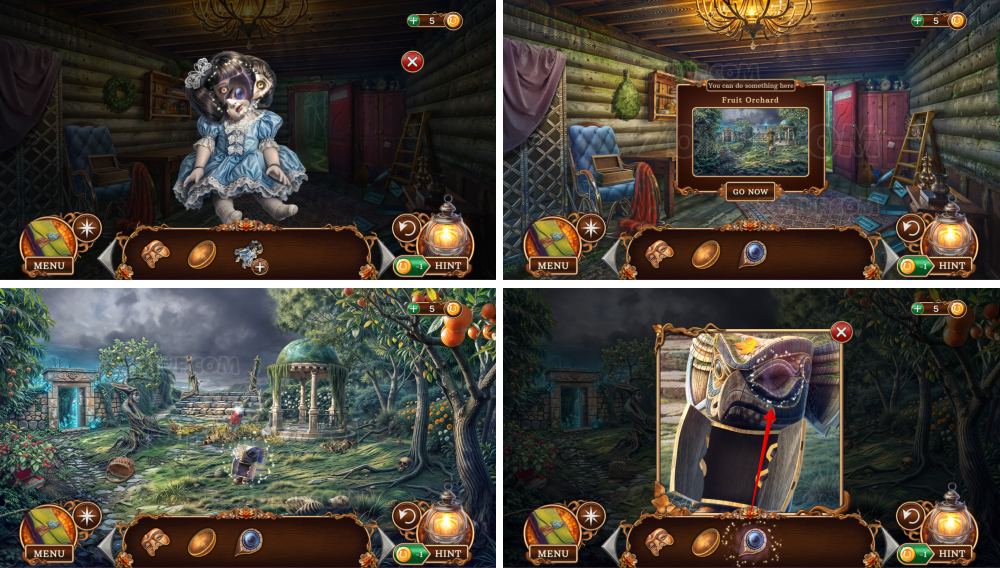
- Take the wooden eye.
- Use the wooden eye.
- Take the pendant amulet.
- Use the pendant amulet.
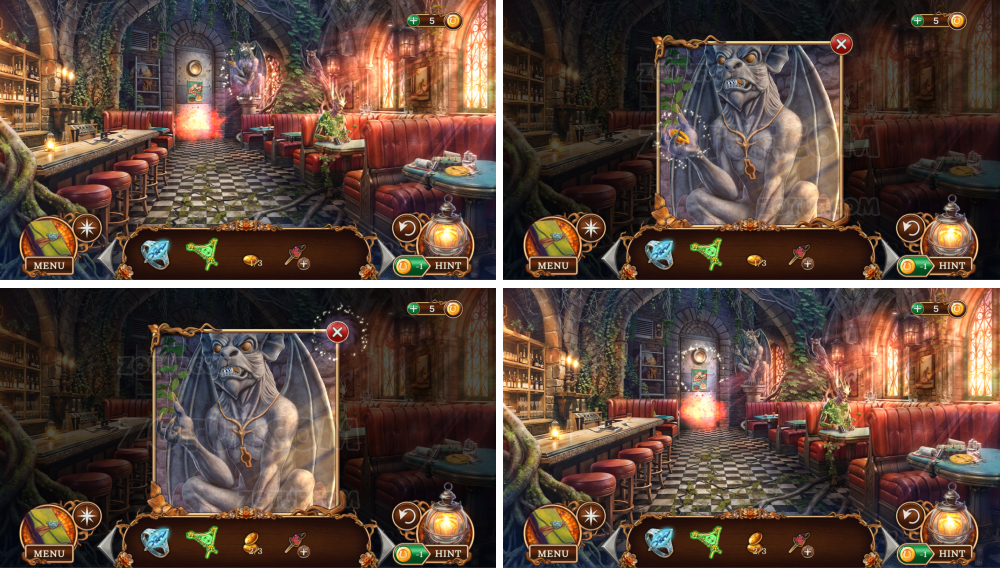
- Take the column discs 1/3.
- Take the torch.
- Take the column discs 2/3.
- Use the torch, get the hand.
- Take the bronze wing.
- Use the hand and the ritual bowl.
- Take the column discs 3/3.
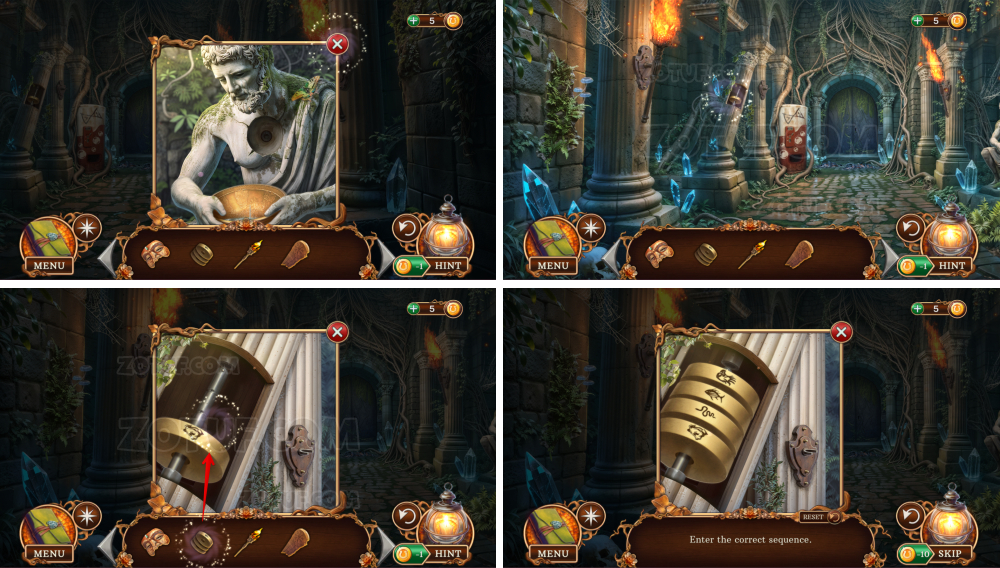
- Use the three column discs.
- Solve the puzzle: Enter the correct sequence.
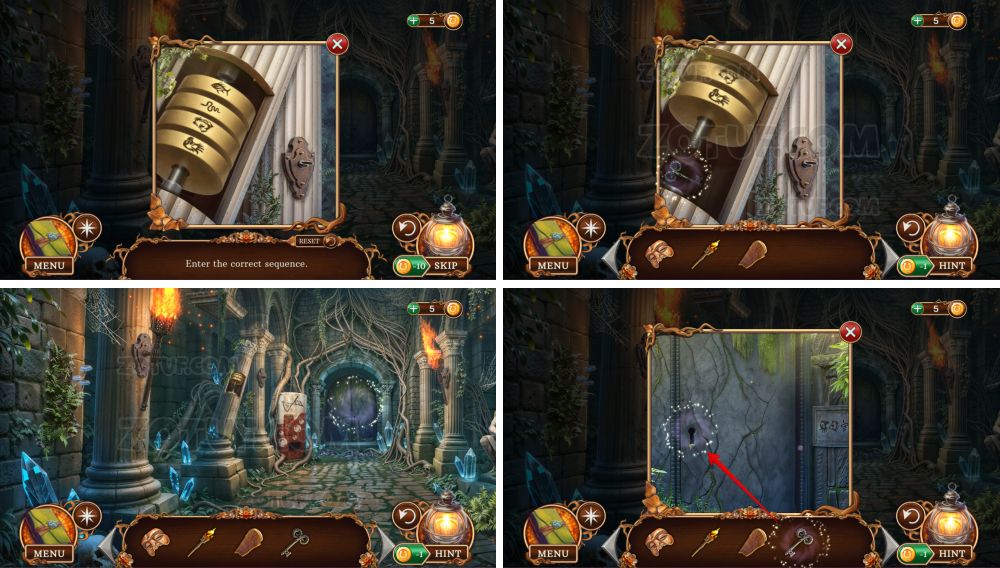
- Solution in the picture.
- Take the key.
- Use the key.
- Use the torch.
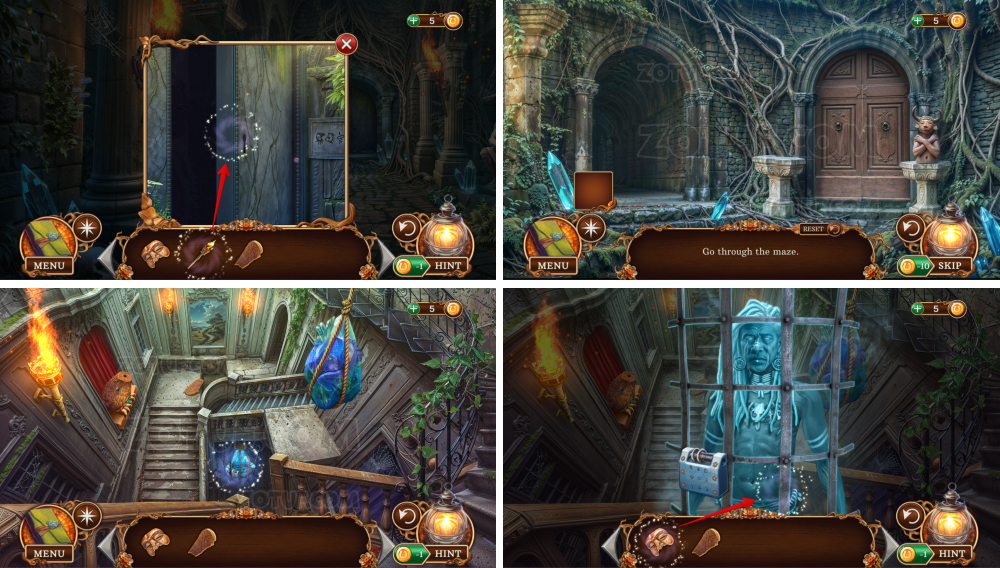
- Navigate through the maze.
- Use the mask.
- Take the jagged stone and the bronze wing.
- Take the shimmering emerald 1/4.
- Use the two bronze wings.
- Take the hydra figurine.
- Use the jagged stone.
- Take the eagle’s head.
- Take the decorated stones 1/2.
- Use the eagle’s head.
- Take the hydra figurine.

- Use the two hydra figurines.
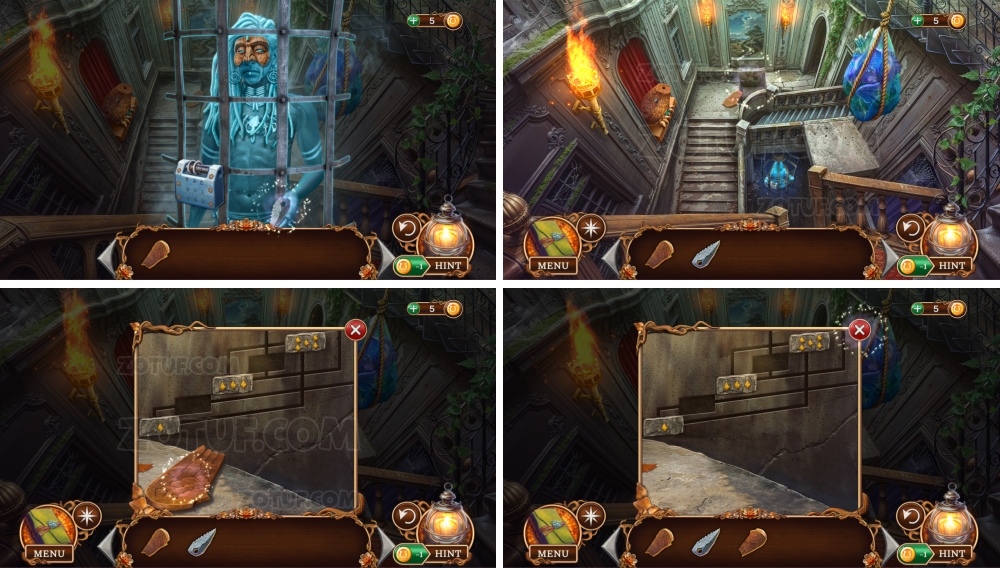
- Take the decorated stones 2/2 and the broken magnifying glass.
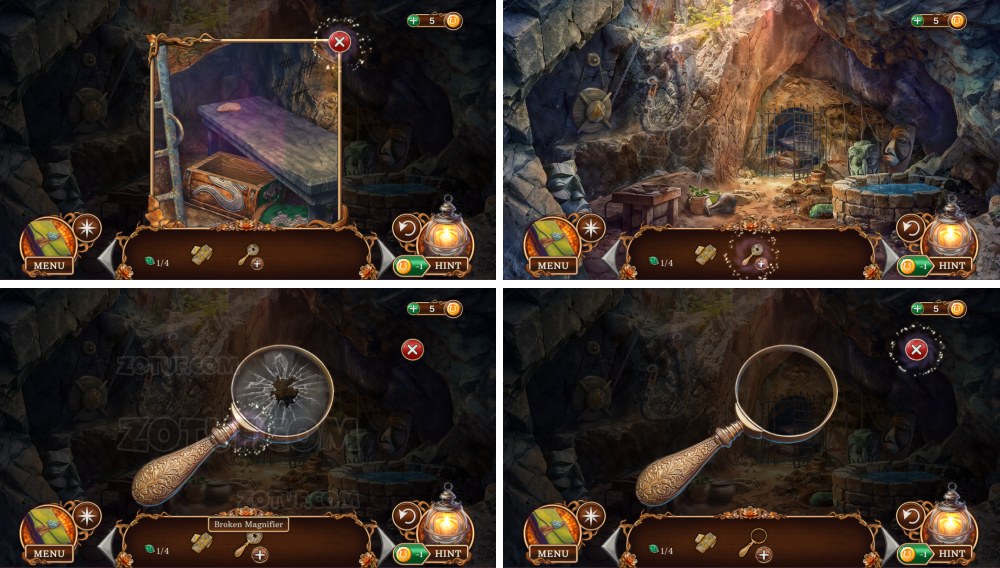
- Click on the broken magnifying glass.
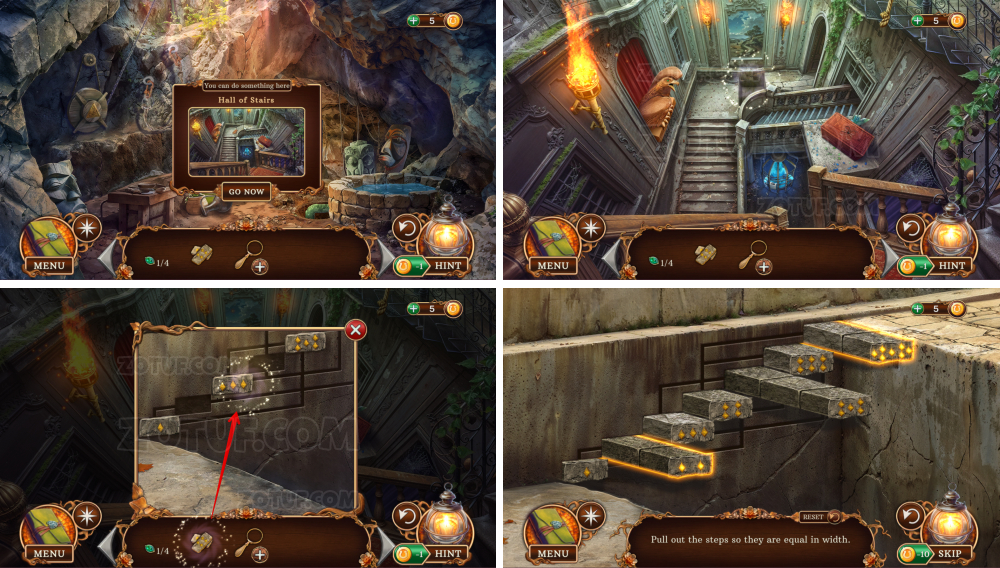
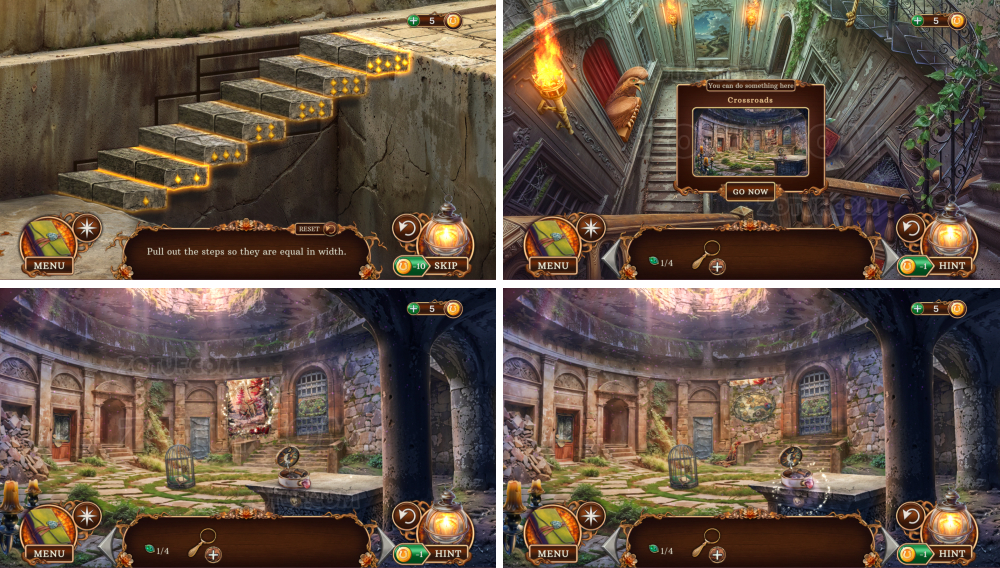
- Use the two decorated stones.
- Solve the puzzle: Pull out the steps so they are equal in width.
- Approach the table.
- Take the music box.
- Take the eye.
- Take the kraken coin.
- Click on the music box.
- Take the pink curved petal.
- Use the pink curved petal, get the blue curved petal.
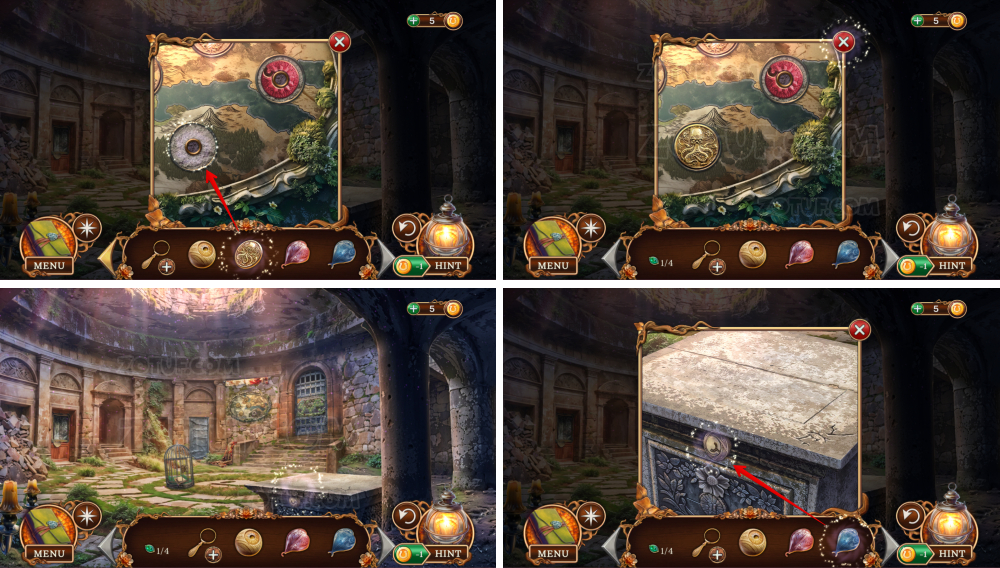
- Use the kraken coin.
- Use the blue curved petal.

- Take the yellow curved petal.
- Use the yellow curved petal.
- Take the piece of paper.
- Use the piece of paper.
- Solve the puzzle: Activate the added lock buttons.
- Take the iron flower.
- Click on the iron flower.
- Use the pink, blue, and yellow curved petals.
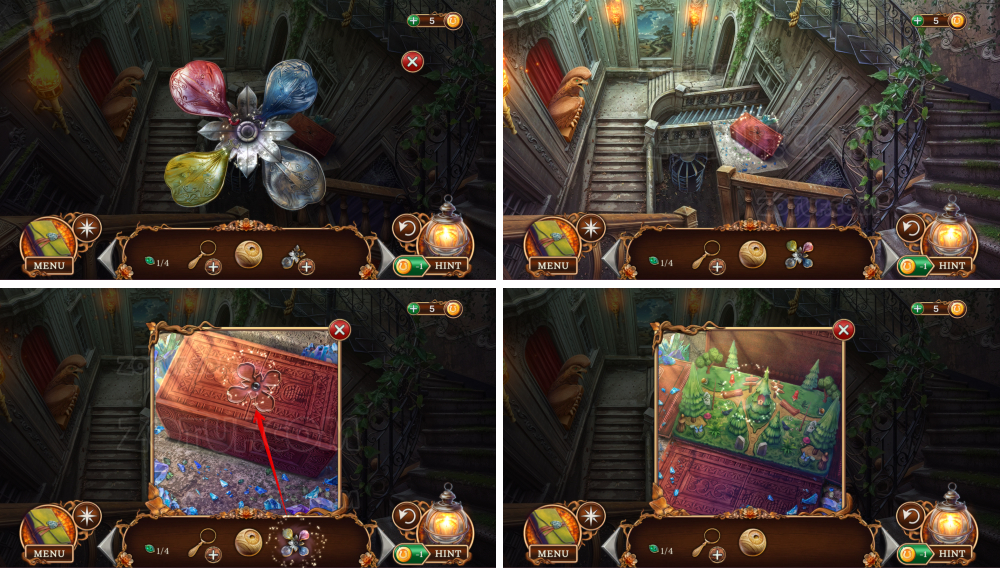
- Take the four-leaf flower.
- Use the four-leaf flower.
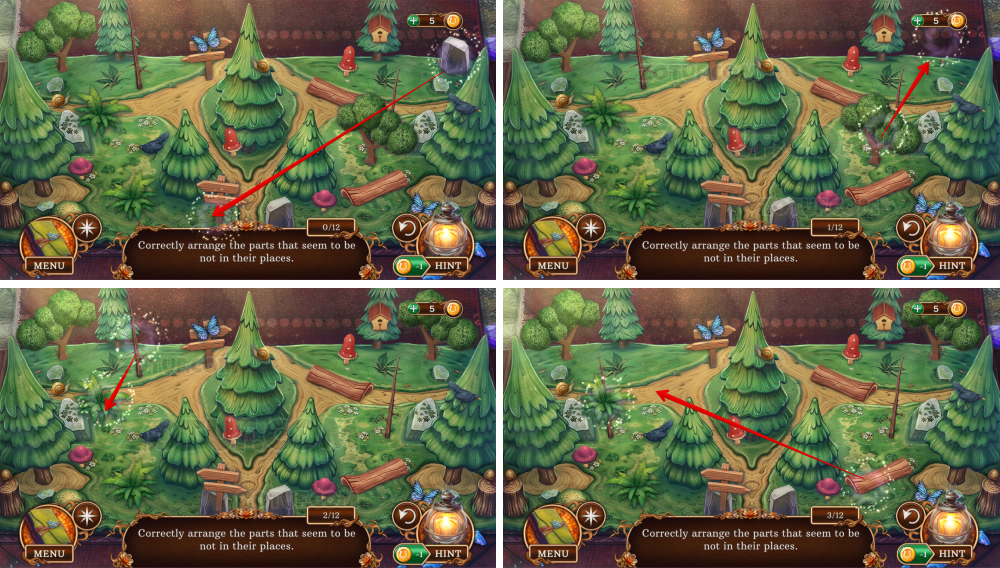
- Solve the puzzle: Correctly arrange the parts that seem to be not in their places.
- Solution 1.

- Solution 2.

- Solution 3.
- Get the cyclops token.
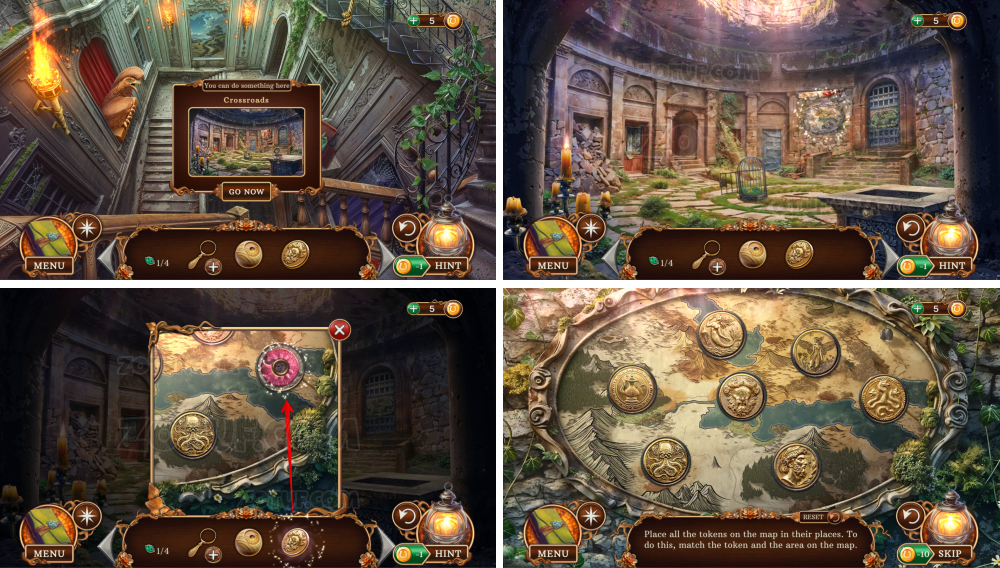
- Use the cyclops token.
- Solve the puzzle: Place all the tokens on the map in their places. To do this, match the token and the area on the map.
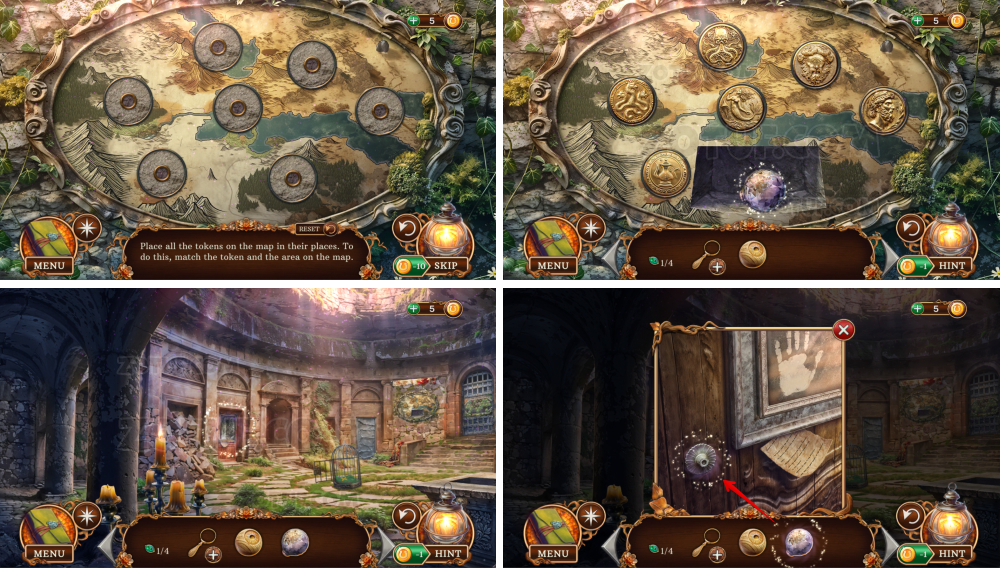
- Take the diamond pen.
- Use the diamond pen.
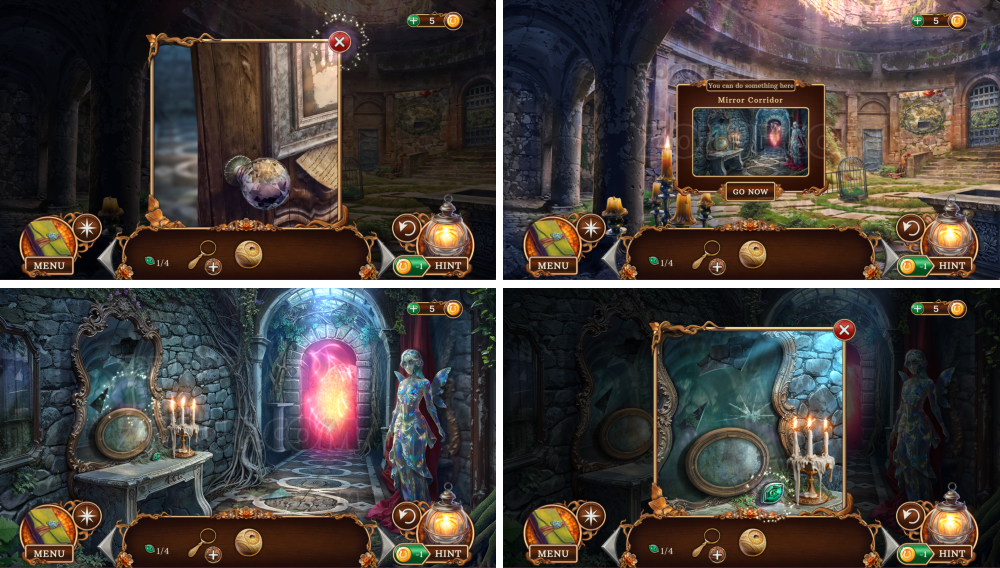
- Take the shimmering emerald 2/4.

- Take the sturdy cane.
- Take the large shard.
- Take the triangular shard.
- Use the large shard and the triangular shard.
- Take the knitting needle.
- Use the knitting needle.

- Take the seer’s lens.
- Click on the broken magnifying glass.
- Use the seer’s lens, get the enchanted magnifying glass.
- Use the sturdy cane, take the shimmering emerald 3/4 and the rune staff.
- Use the enchanted magnifying glass, get the Faun rune 1/5.
- Use the enchanted magnifying glass, get the Faun rune 2/5.
- Use the enchanted magnifying glass, get the Faun runes 3-4/5.
- Use the enchanted magnifying glass, get the Faun rune 5/5.
- Use the five Faun runes.
- Take the runestone.
- Use the runestone.
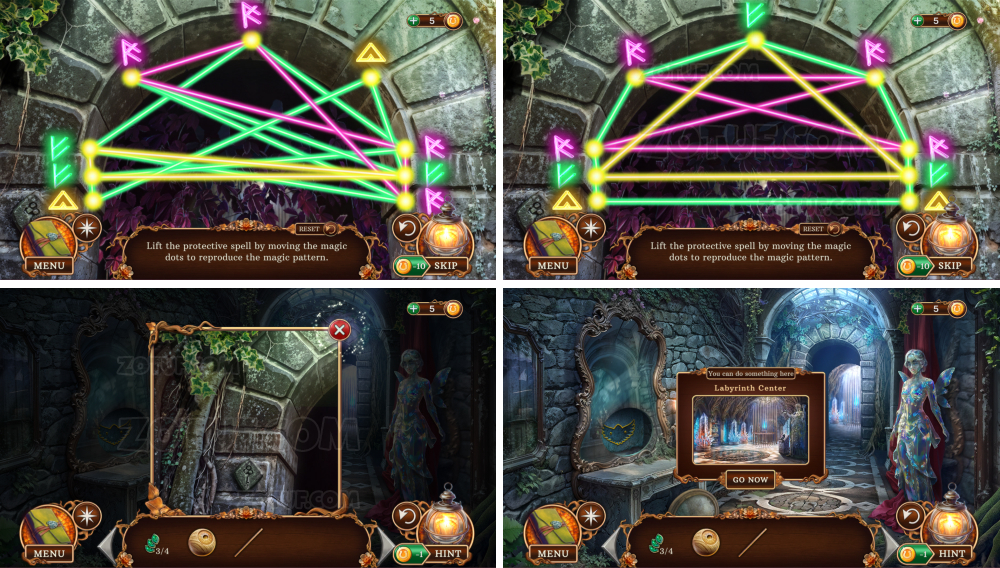
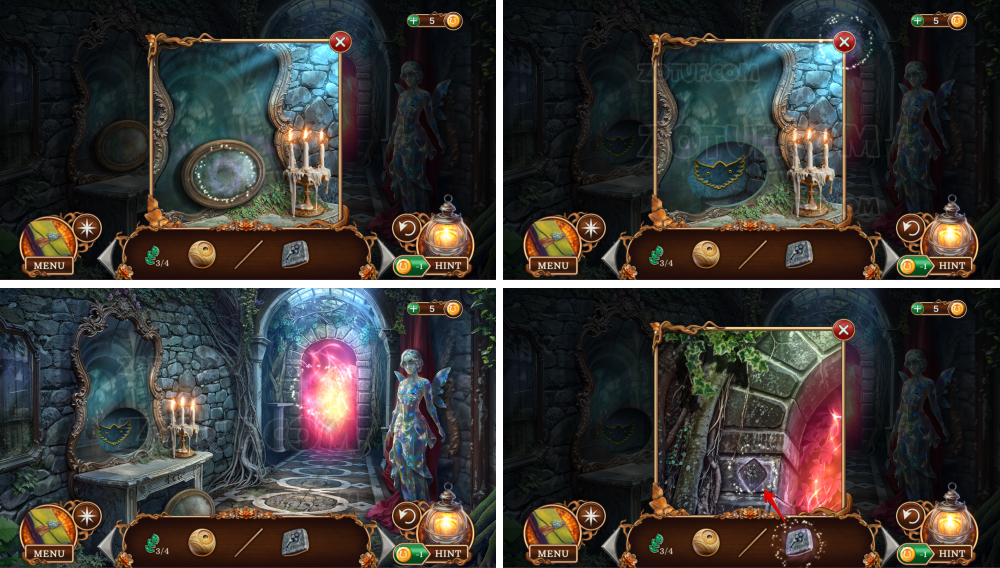
- Solve the puzzle: Lift the protective spell by moving the magic dots to reproduce the magic pattern.
- Solution in the picture.
- Take the rune staff.
- Take the gemstone.
- Take the winged amulet.
- Use the two rune staffs.
- Use the winged amulet and the gemstone.
- Take the amulet of darkness and the golden hoop.
- Use the golden hoop.
- Take the amulet of sleep.
- Use the amulet of darkness and the amulet of sleep.
- Take the cage lever.
- Use the cage lever.
- Click on the lever.
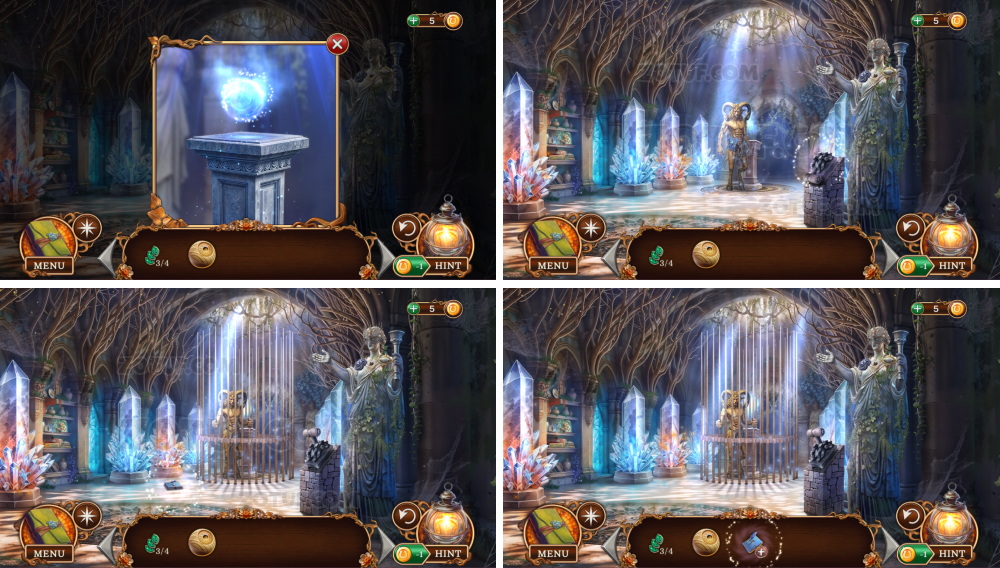
- Click on the lever.
- Take the Faun’s grimoire.
- Click on the Faun’s grimoire.
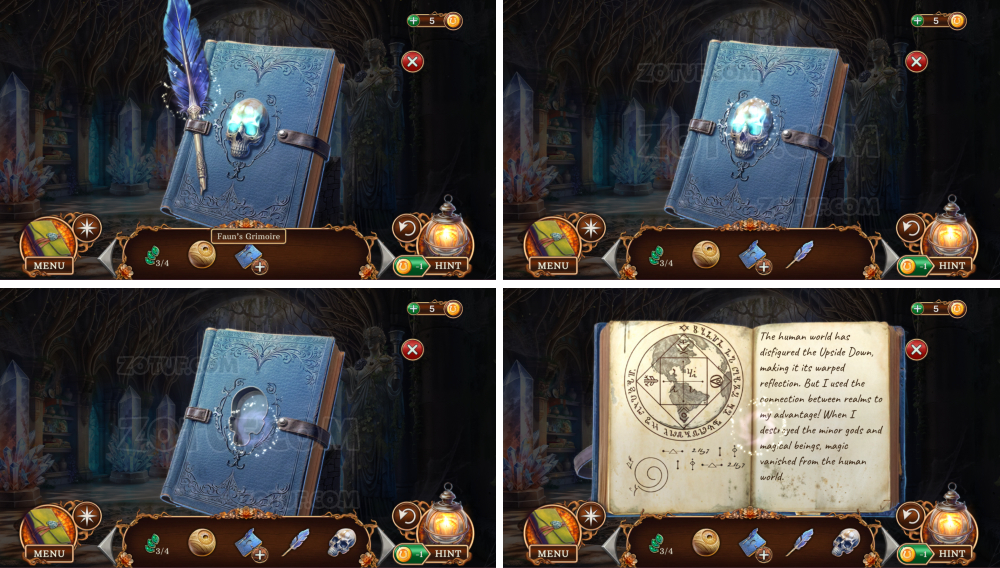
- Take the feather and the skull emblem.

- Take the portal key.
- Use the skull emblem.
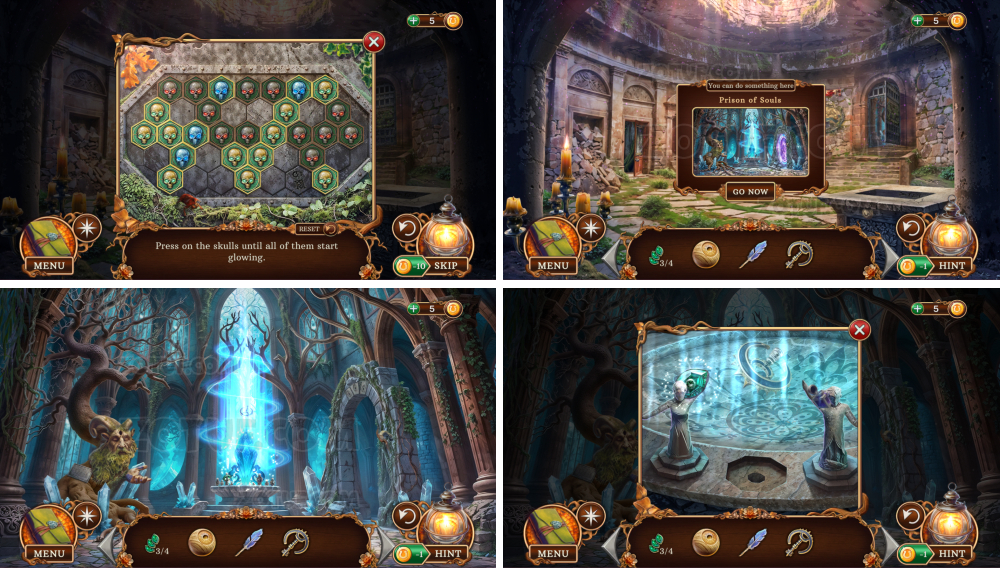
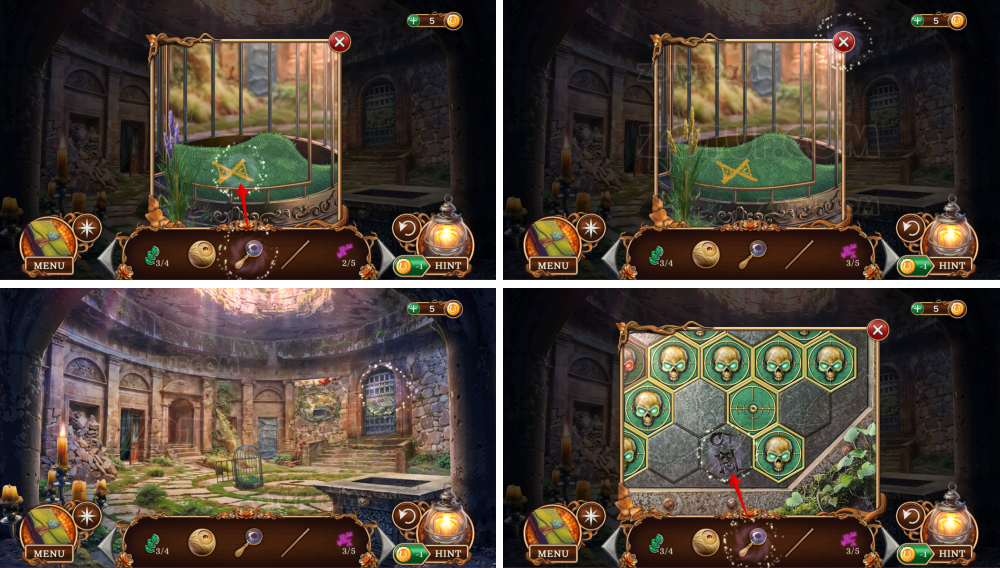
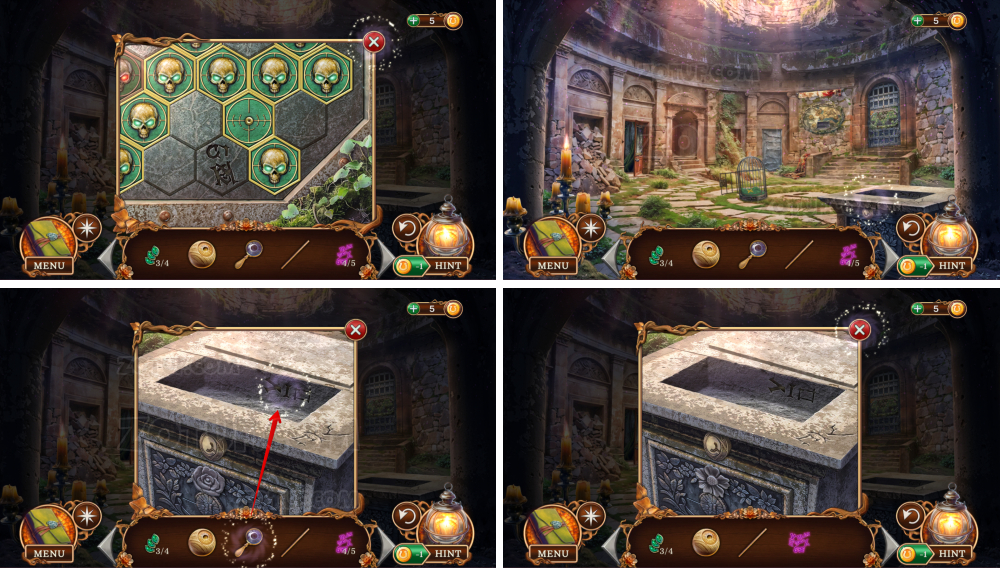
- Solve the puzzle: Press on the skulls until all of them start glowing.
- Take the shimmering emerald 4/4.
- Use the feather, get the writing set.
- Take the wooden horn.
- Use the portal key.
- Use the wooden horn, eye, and writing set.
- Take the puppet head.
- Use the four emeralds.
- Take the portal key.
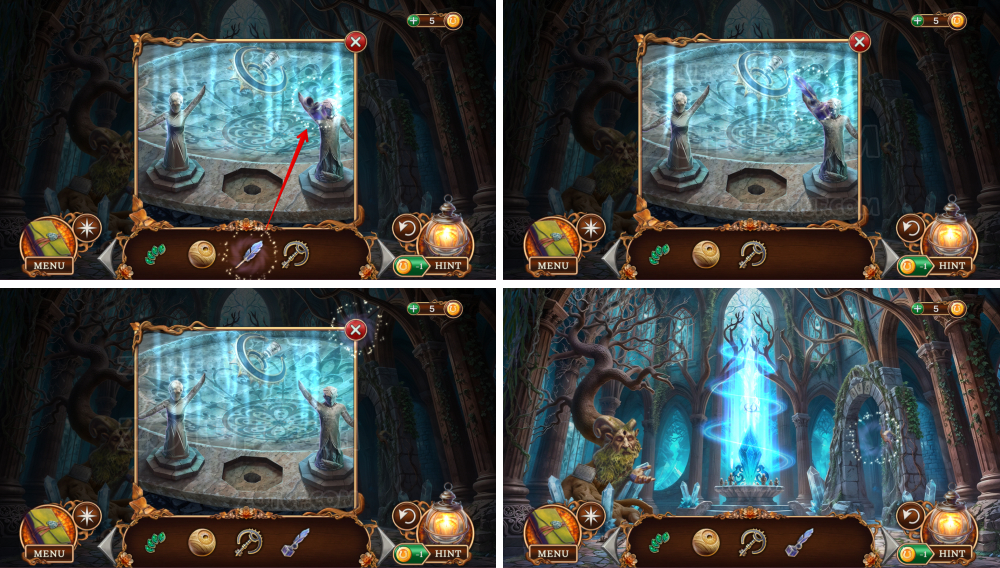
- Use the puppet head, get the petrified spirit figurine.
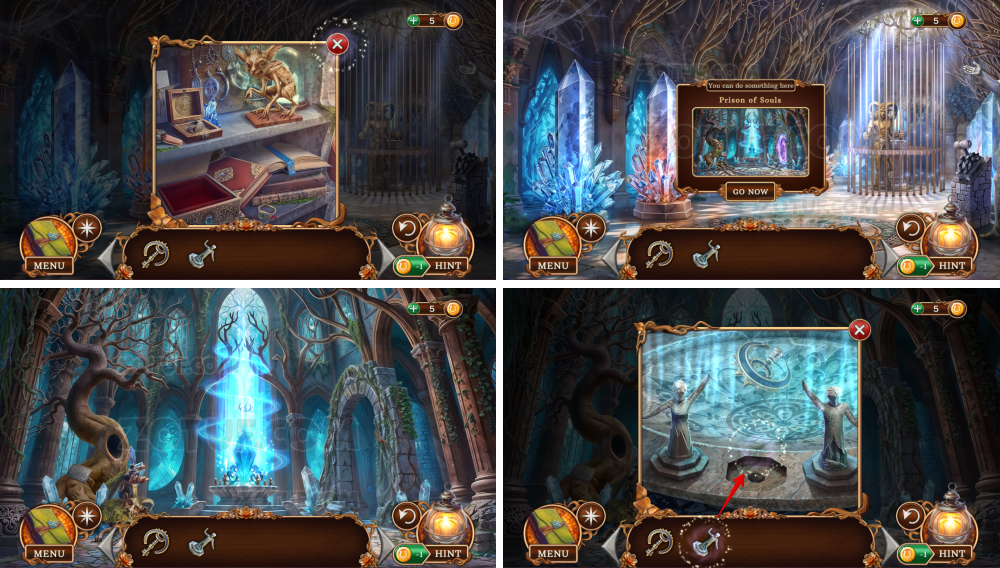
- Use the petrified spirit figurine.
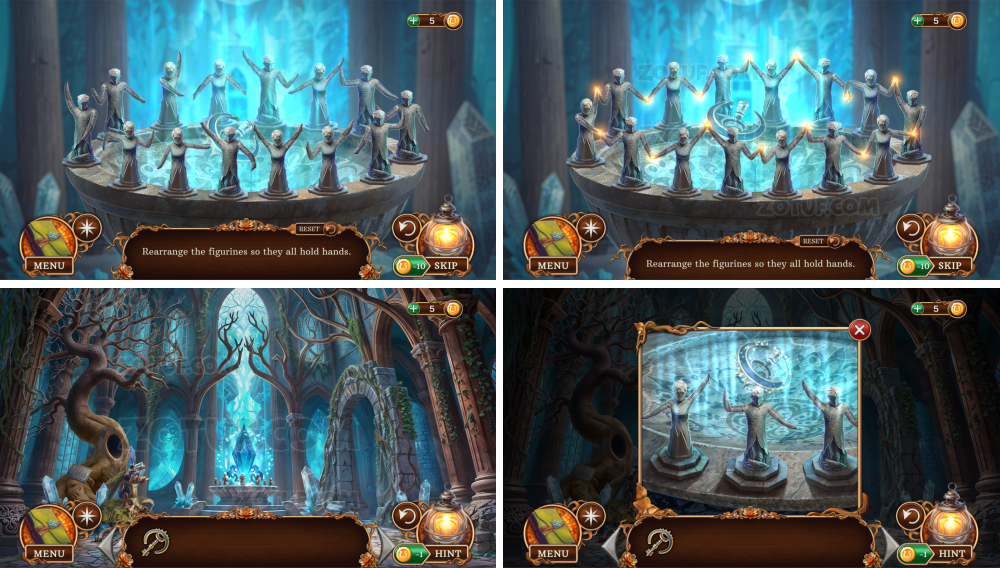
- Solve the puzzle: Rearrange the figurines so they all hold hands.
- Take the portal key.
- Use the portal keys.
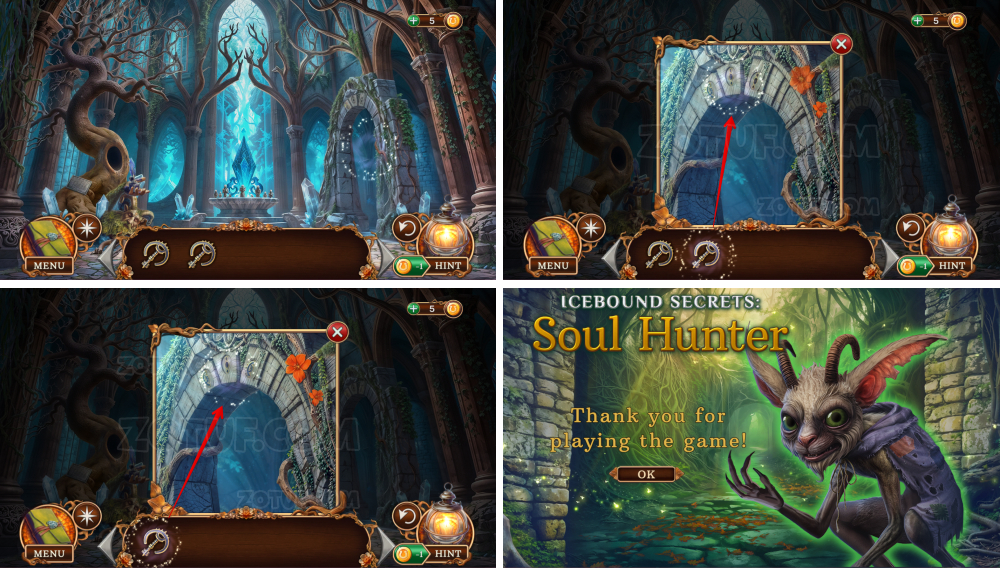
Congratulations! You have completed the game Icebound Secrets 2: Soul Hunter.


Excellent walkthrough