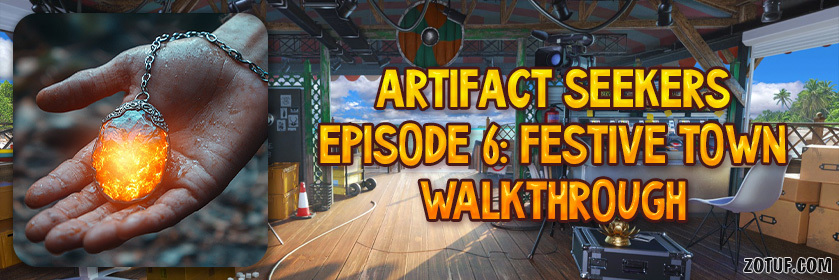
Artifact Seekers Episode 6: Festive Town – Together with Kate and her video blog, you go to a town where everything is getting ready for a big festival. The streets are decorated and festive lights are everywhere, but as is often the case, the pretty picture hides urgent worries. At first it seems simple: you’re guests and you’re just there to have fun. But it quickly becomes clear that without your help the holiday may not take place. The inhabitants have disappeared from the streets, they are busy making preparations. You will need to talk to the townspeople, find out what you can be useful, and gradually return the town to a festive mood. The first task is to find the missing red lanterns, without which the city loses all its festive appearance. Then you meet the cook, who has an urgent problem: a local fisherman forgot to bring freshly caught carp, without which you can’t cook the main dish of the festival. But that’s not all, the recipe is also lost, and time is running out. You will have to find it in the library and then take on the cooking itself. There is a warm humor and lightness in the dialogues: from jokes about mechatronic animals, which are sometimes replaced by Kate herself, to arguments about how tired of salads from catering. Even the usual heroic feats here give way to more domestic but no less important endeavors, because sometimes the hardest challenge is throwing a real party. This episode is full of coziness, holiday cheer, and lively, memorable scenes. Get ready to not just explore, but to really get into the atmosphere of anticipation and help the city find its holiday magic.
Artifact Seekers Episode 6: Festive Town – Walkthrough
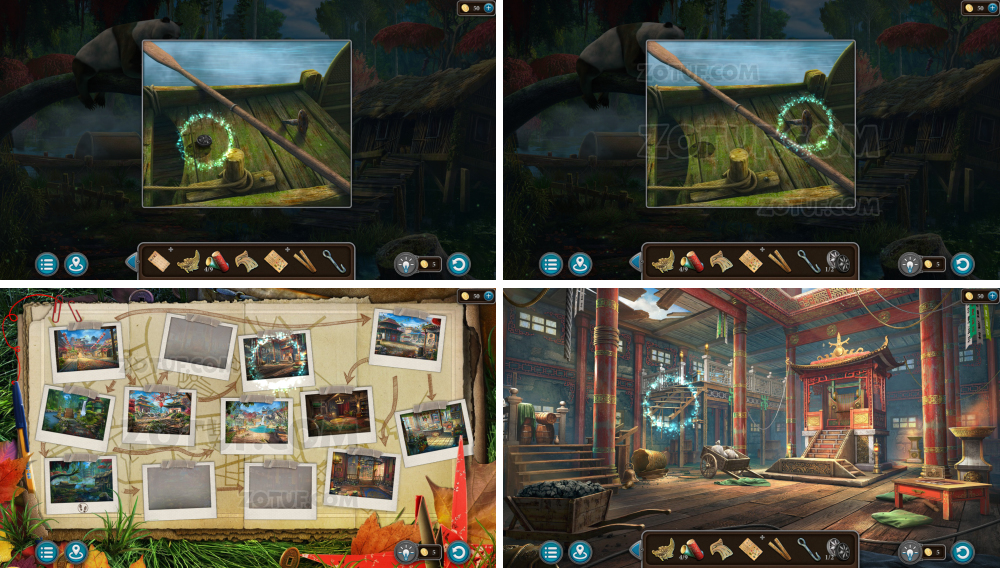
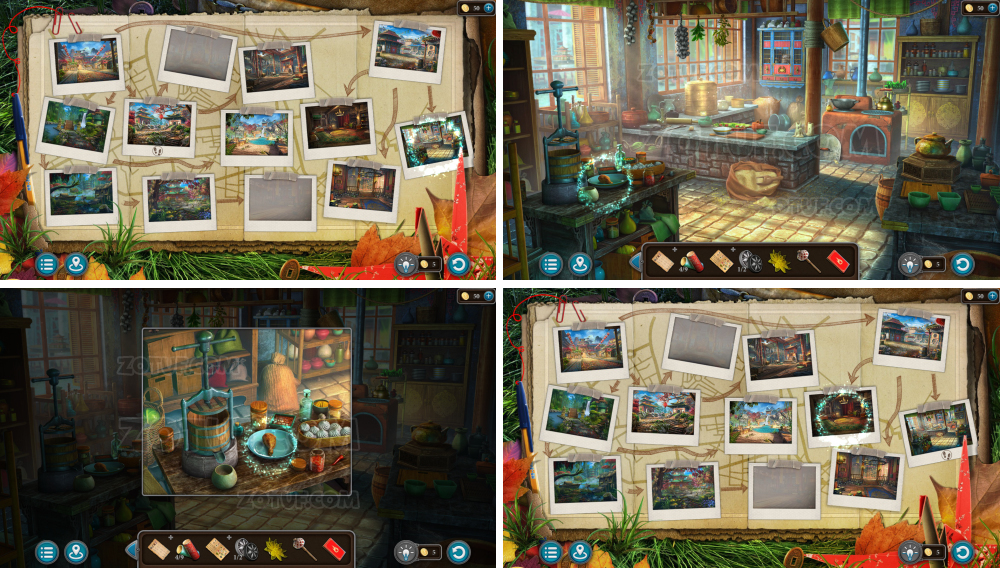
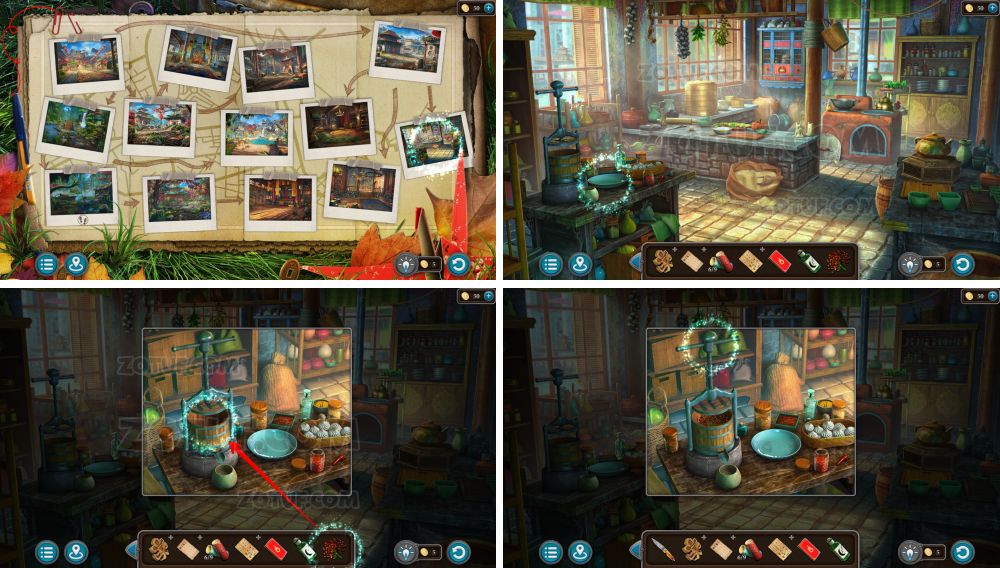
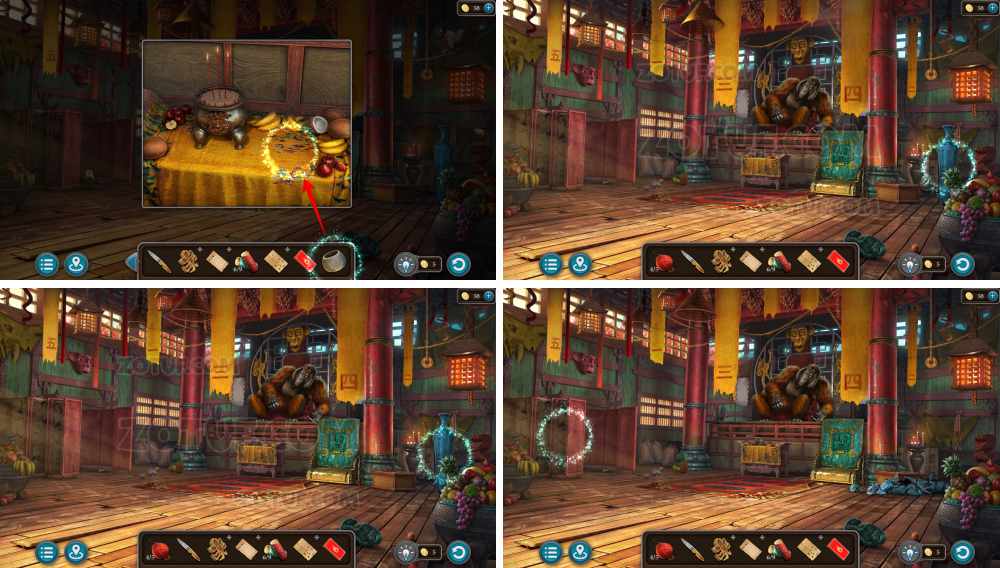
Here you can watch the full walkthrough for Episode 6: Festive Town in Artifact Seekers and do your part to make the holiday happen.
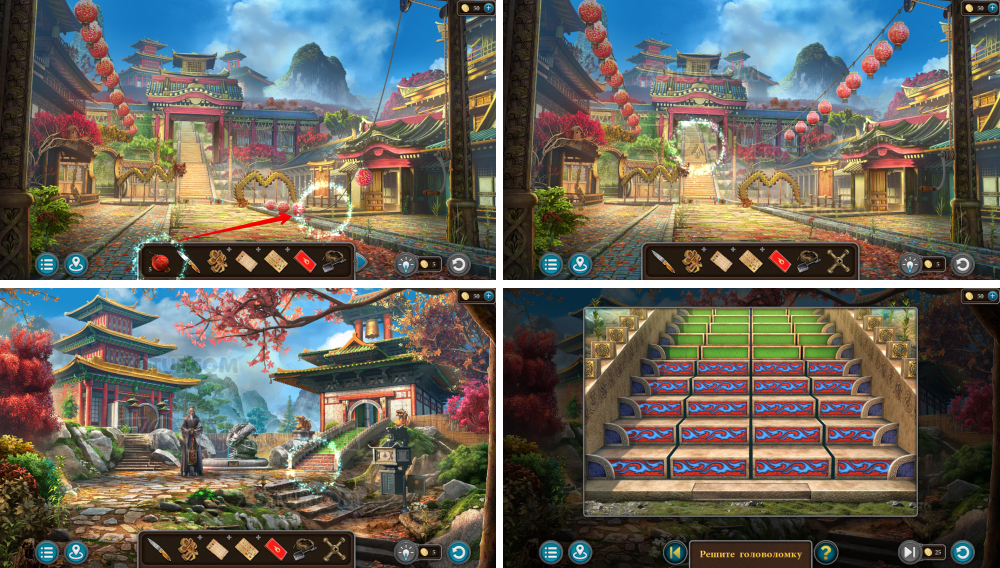
- Talk.
- Lower the kite.
- Go right.
- Talk to the woman.
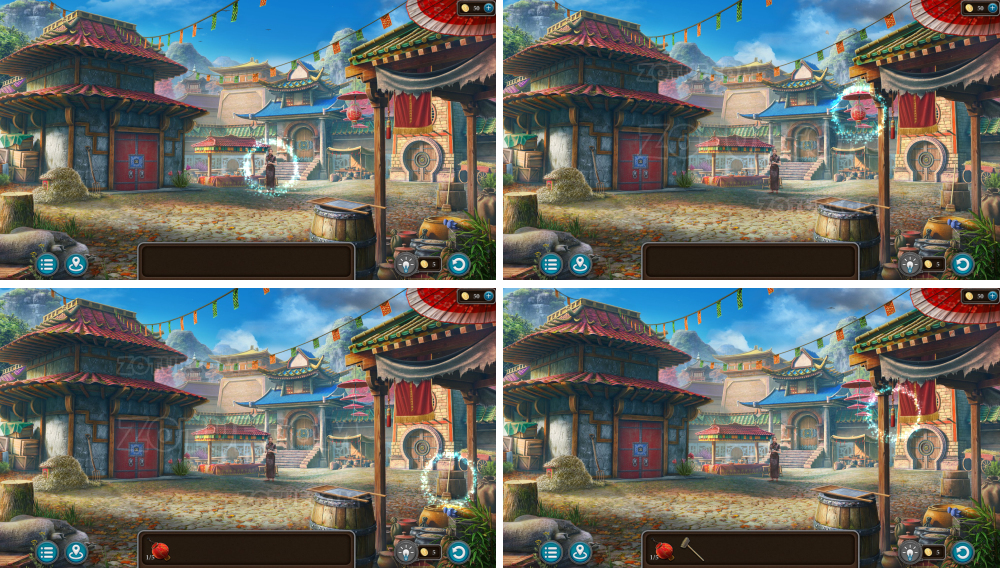
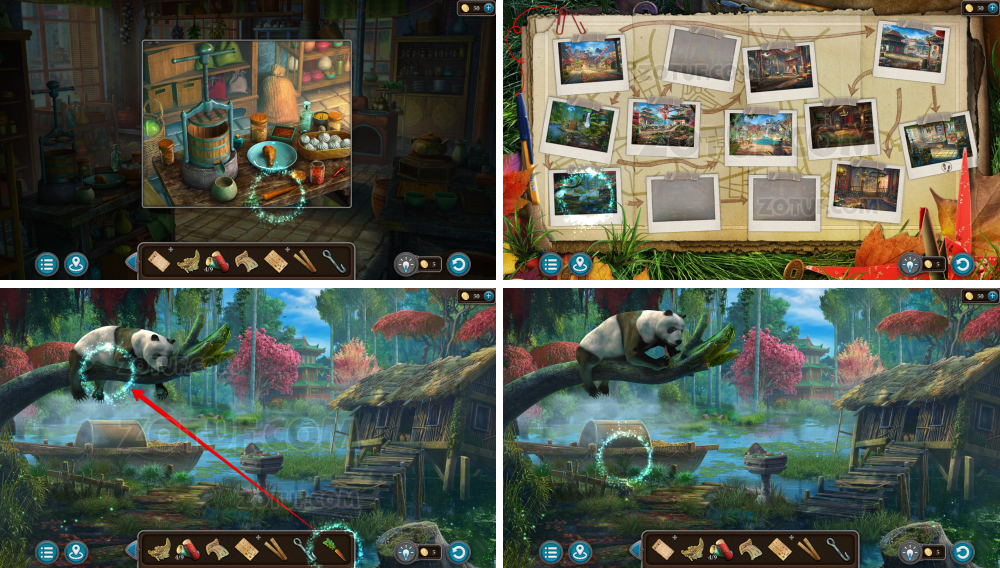
- Take flashlight 1/5.
- Take the broom.
- Take the knife.
- Take the stone pineapple.
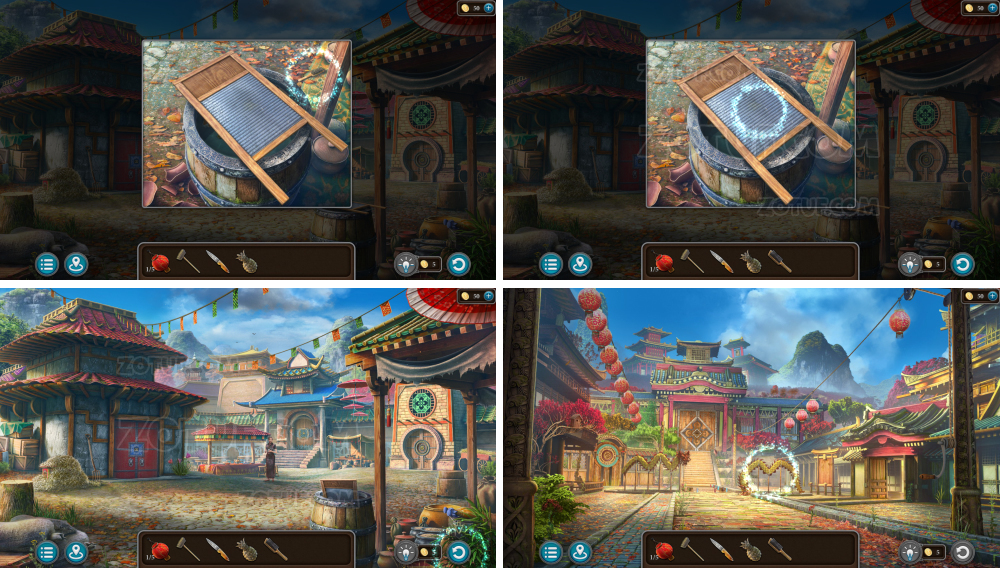
- Take the brush.
- Put the washboard into the barrel.
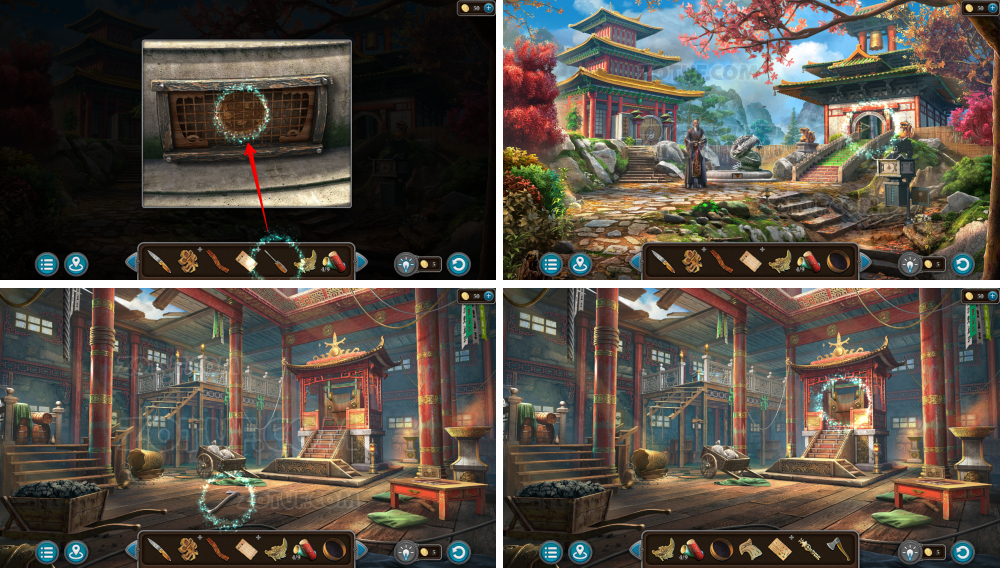
- Use the knife to get a key.
- Use the pitchfork to remove the hay.
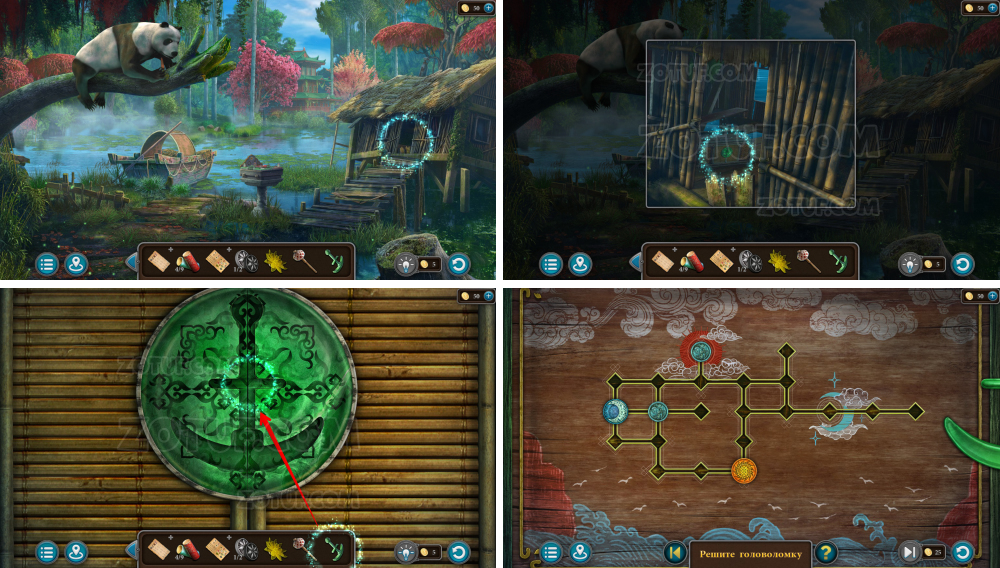
- Use the key.
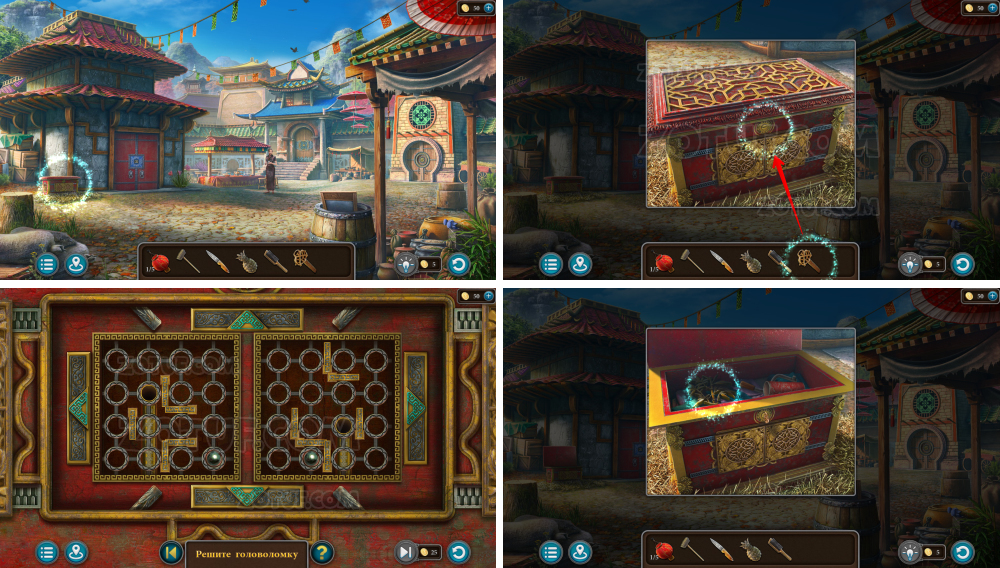
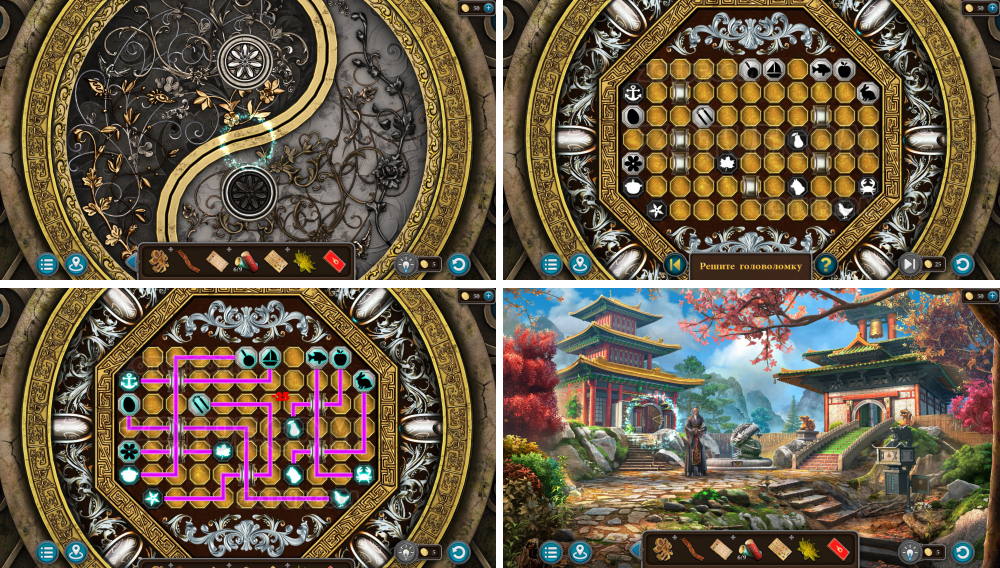
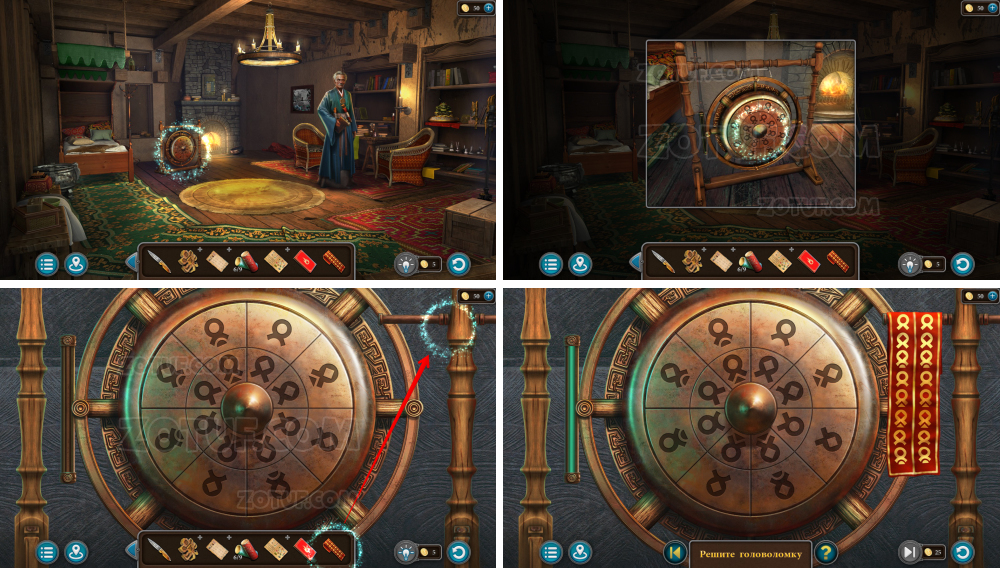
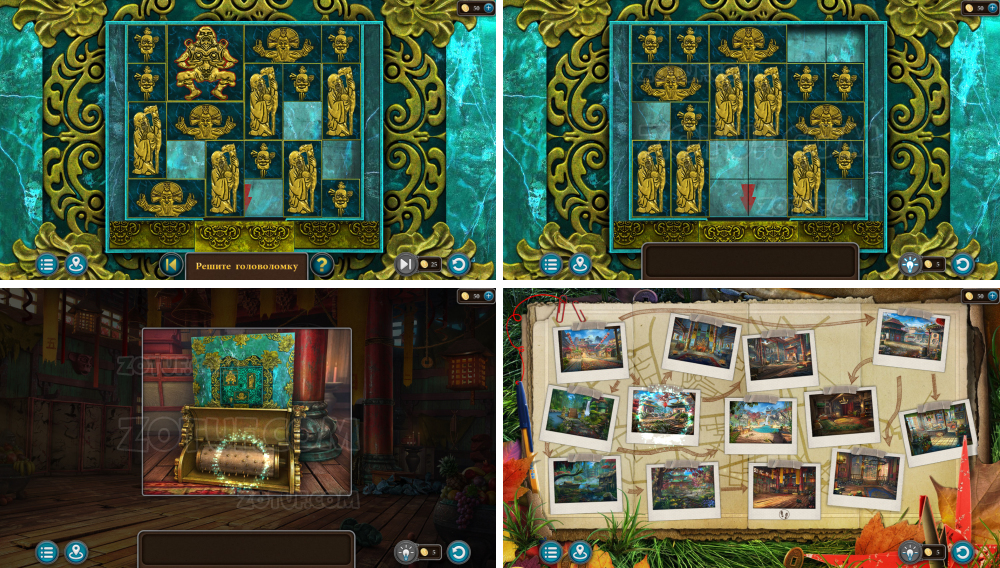
- Solve the puzzle: Move the balls into the empty holes by shifting the grid with arrows and moving them.
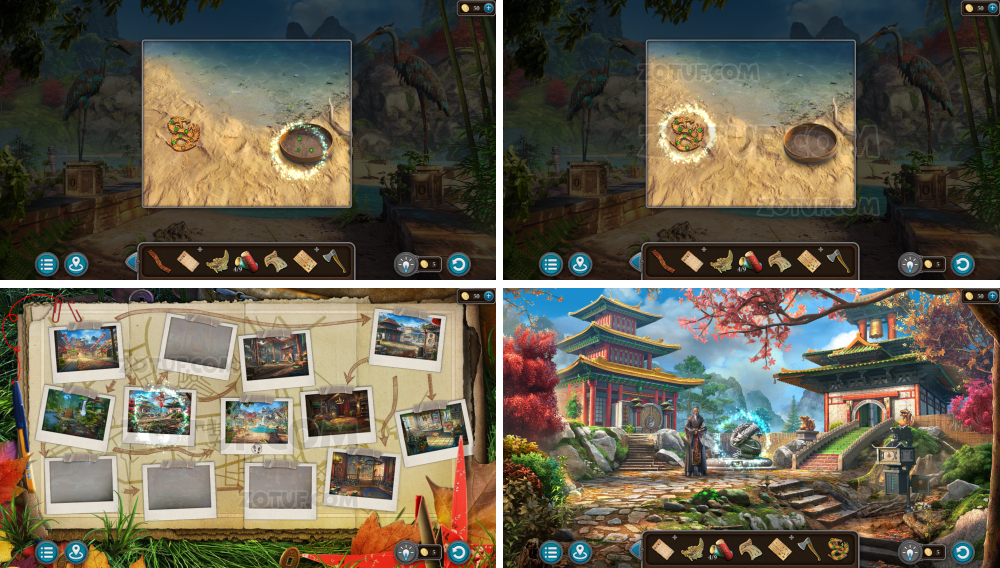
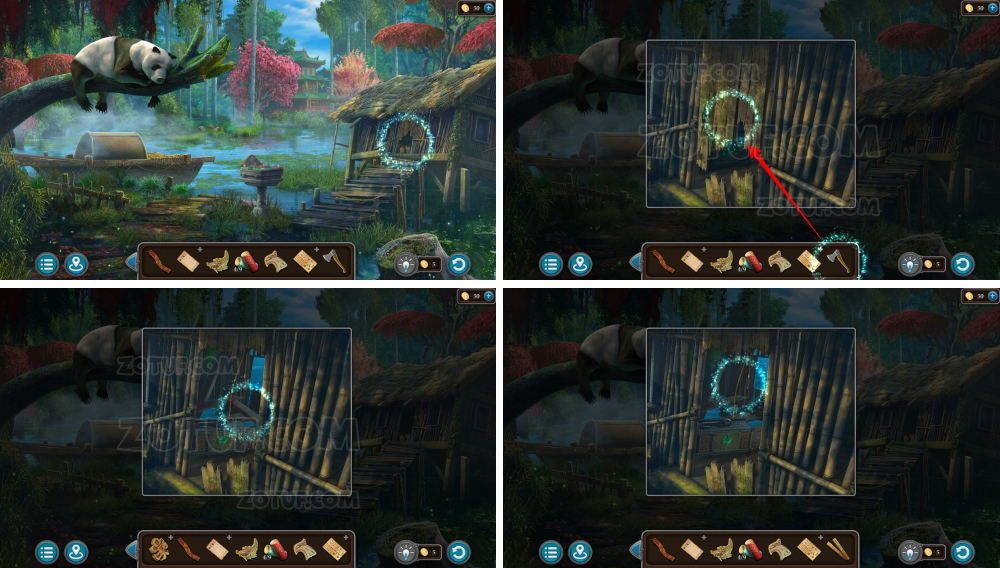
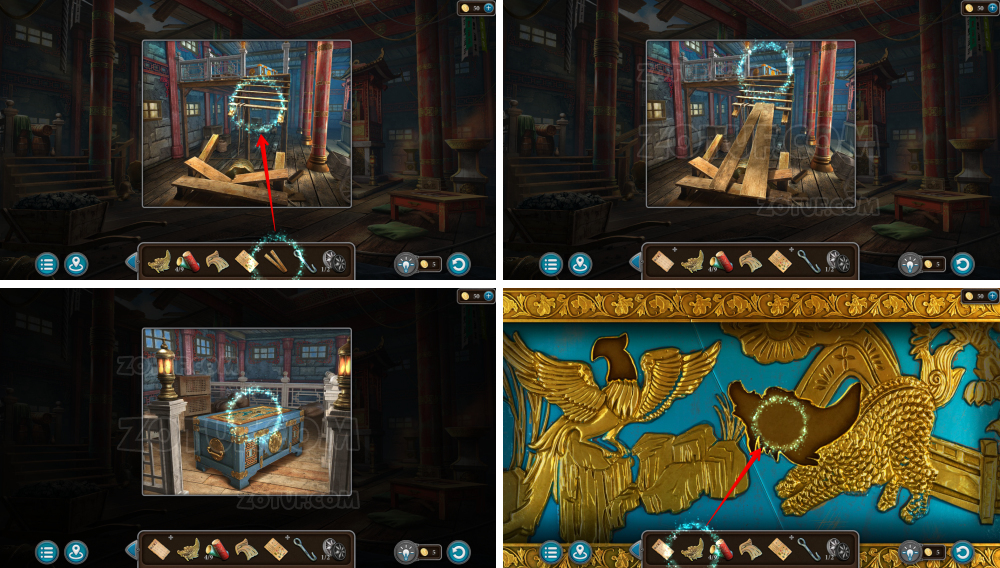
- Take the bamboo.
- Take the handle.

- Use the bamboo.
- Solve the puzzle: Remove all bamboo sticks from the board by dragging them into the holes on the rim.
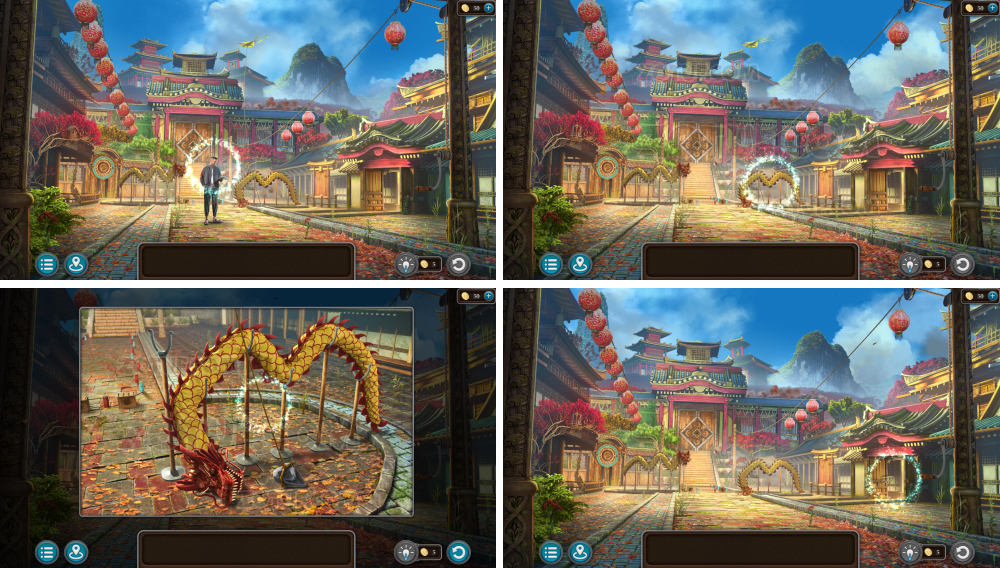
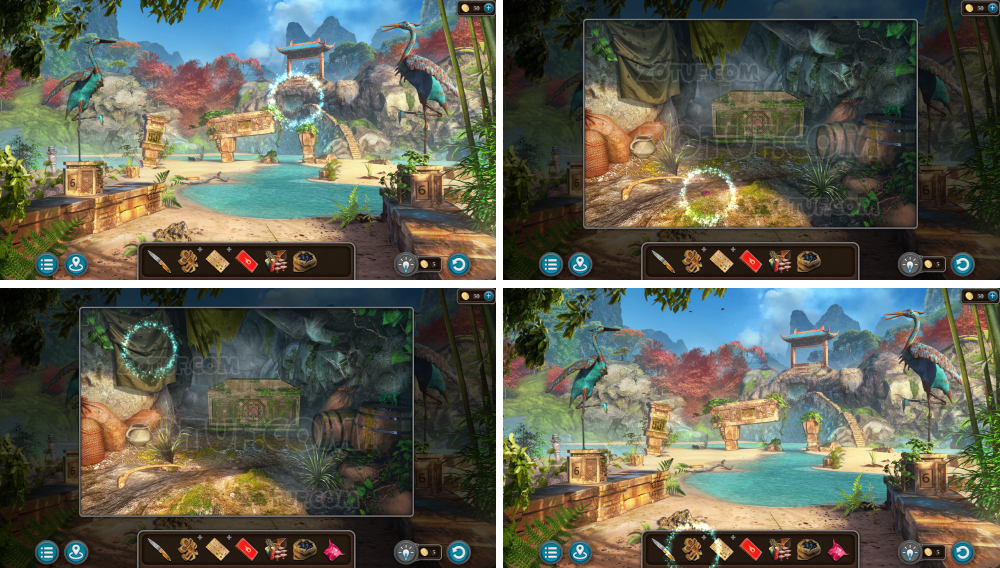
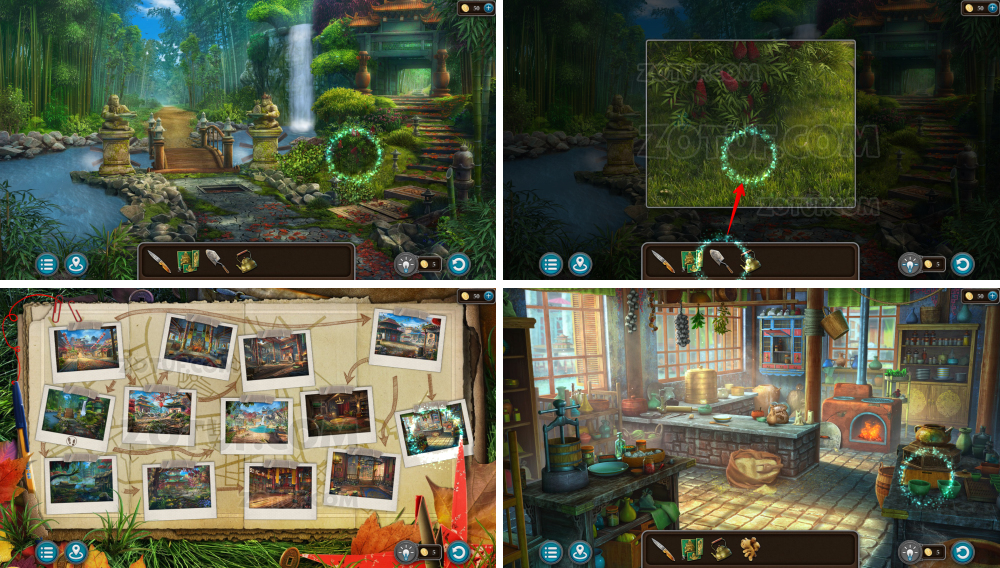
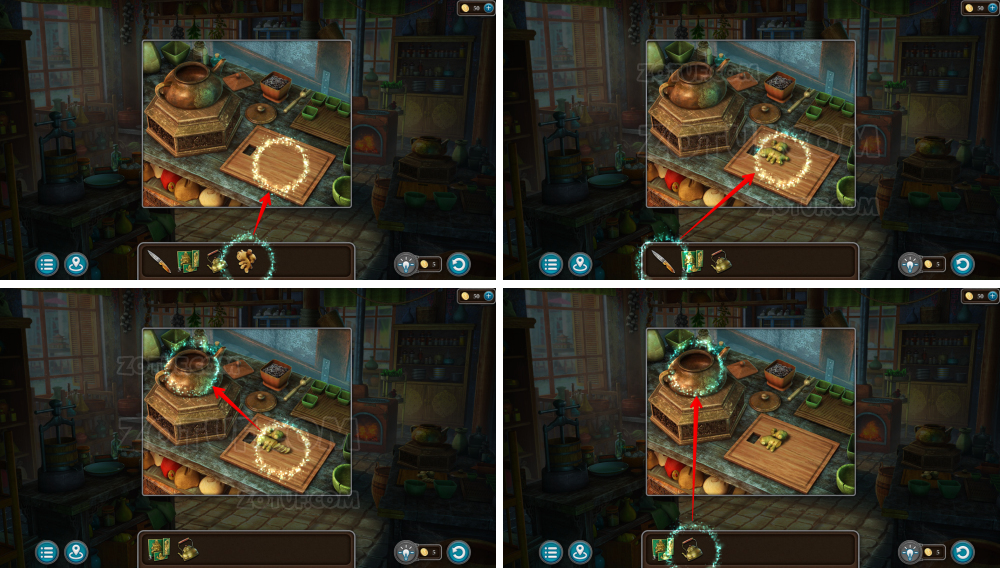
- Go forward.
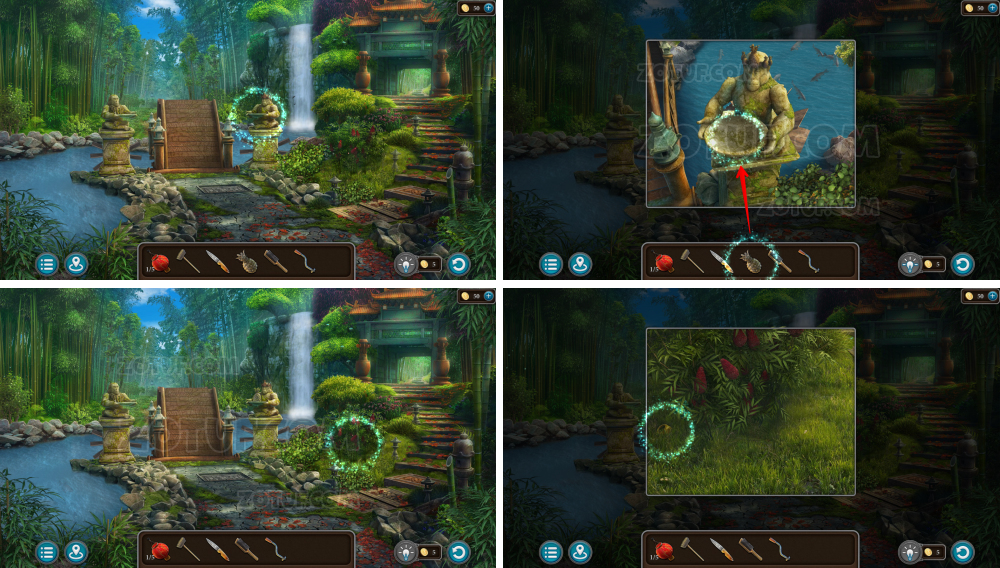
- Use the stone pineapple.
- Take the seal.
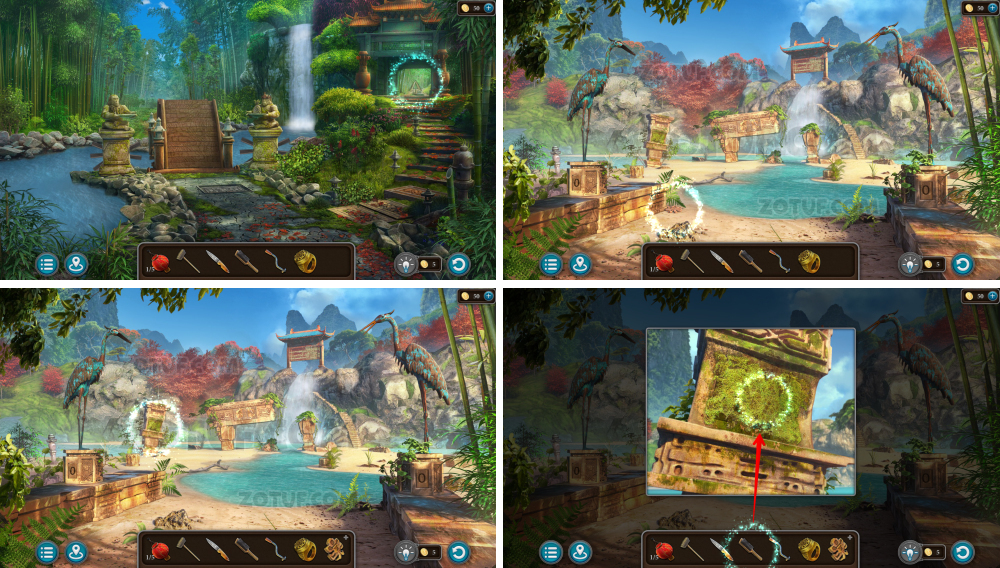
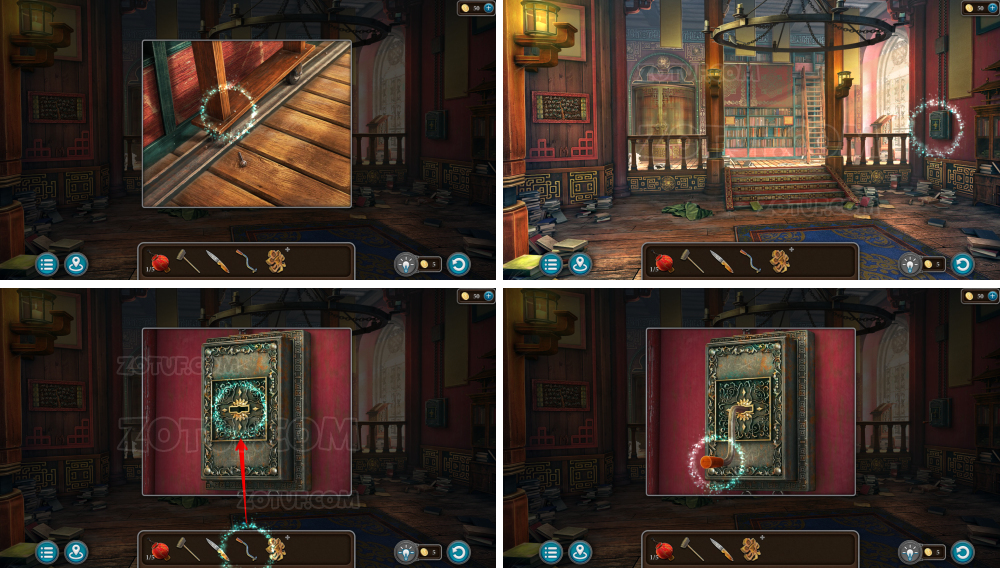
- Take the stone tablet.
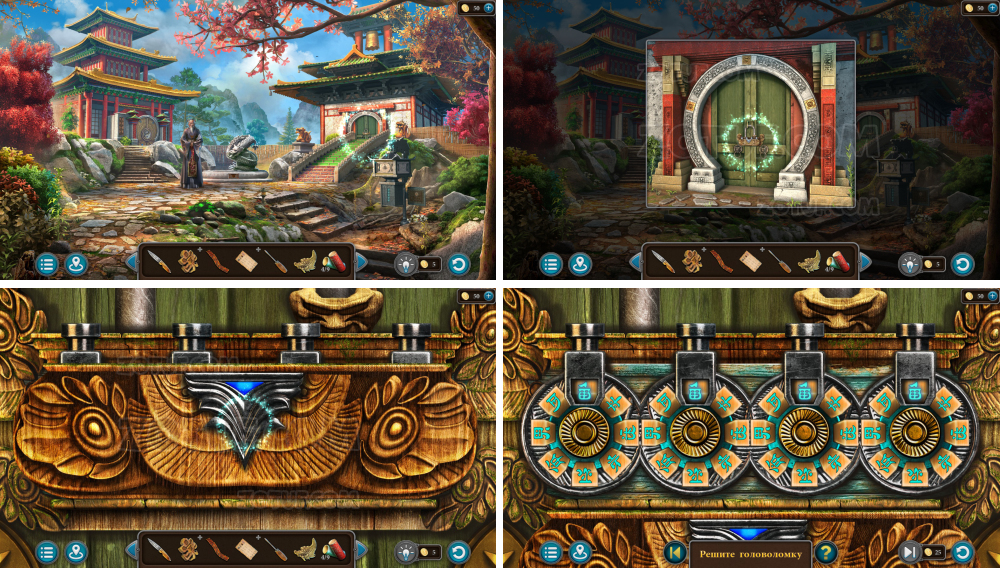
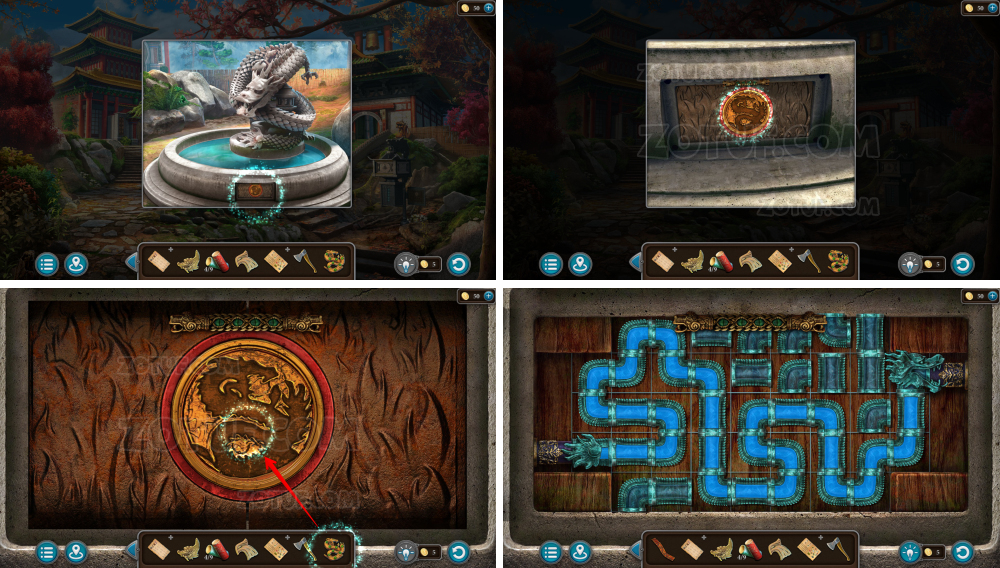
- Use the brush, memorize the symbol for a future puzzle.
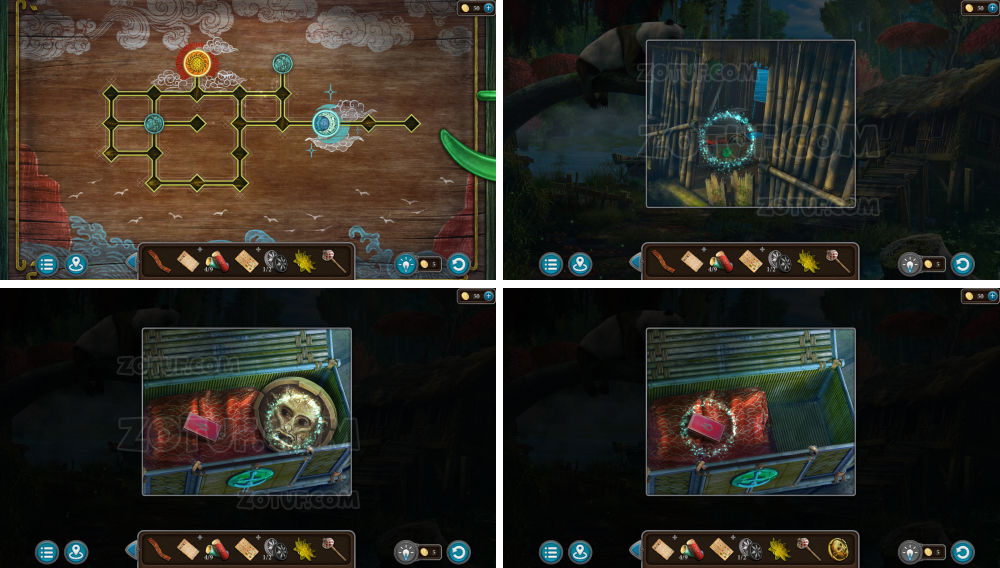
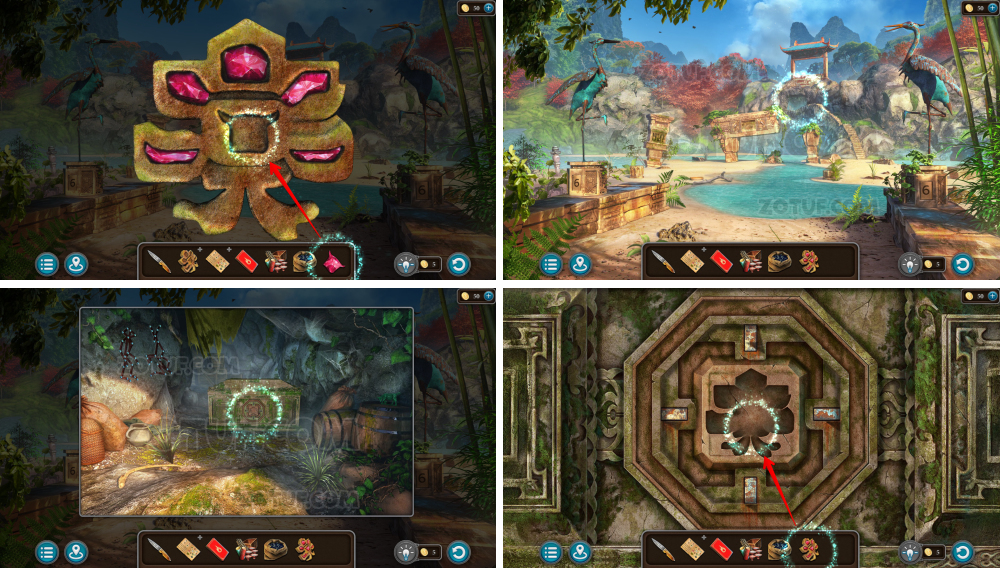
- Insert the fallen stones into the pendant.
- Use the seal.
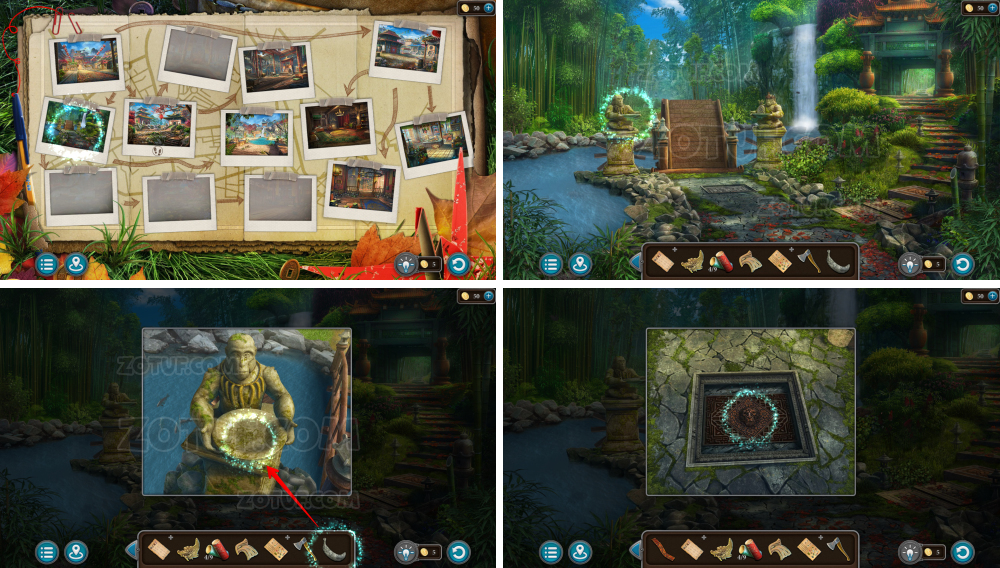
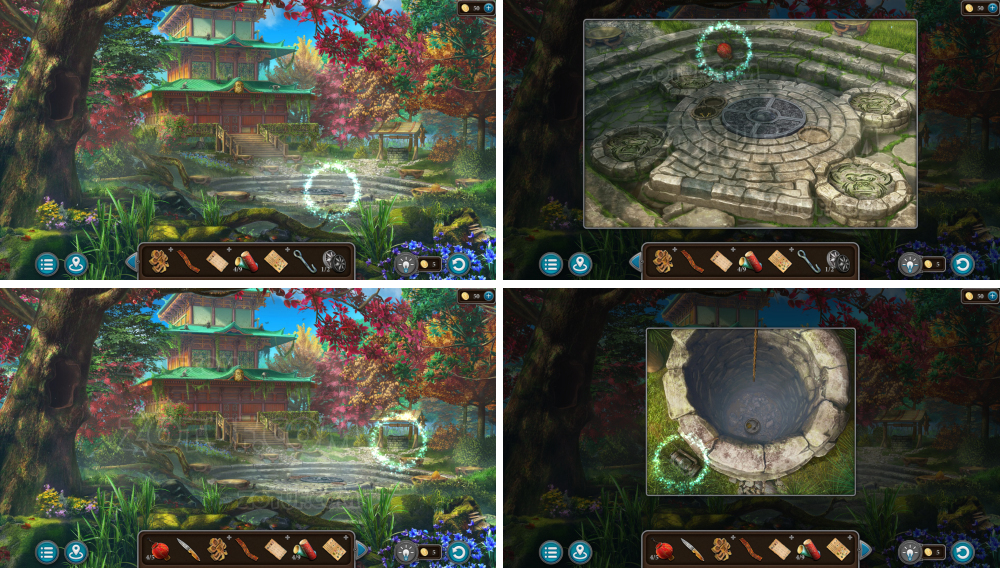
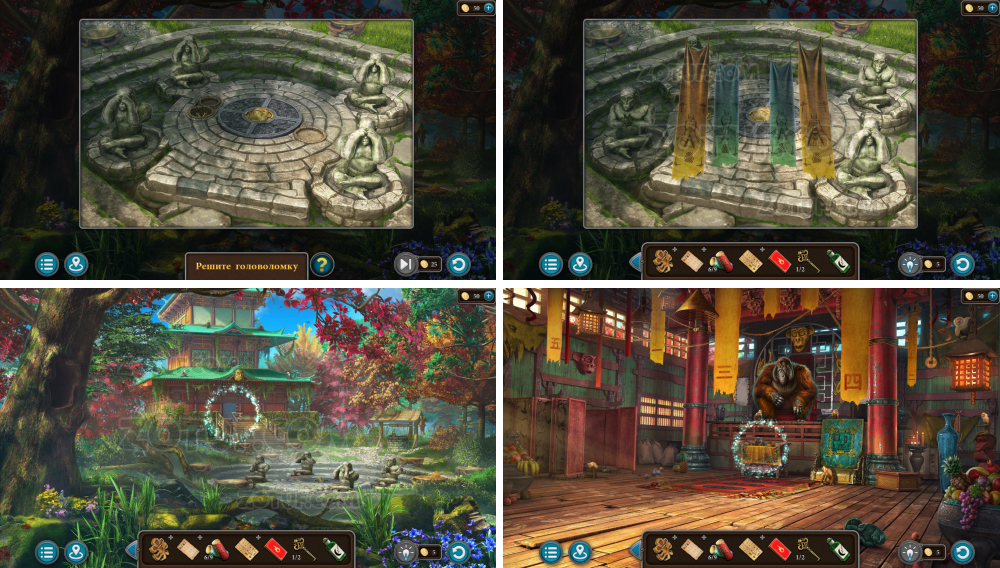
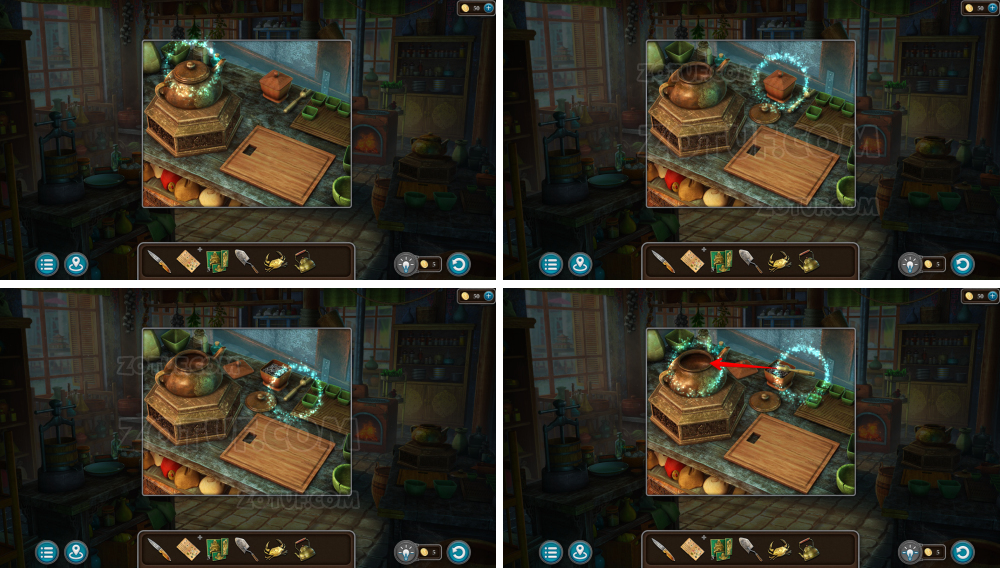
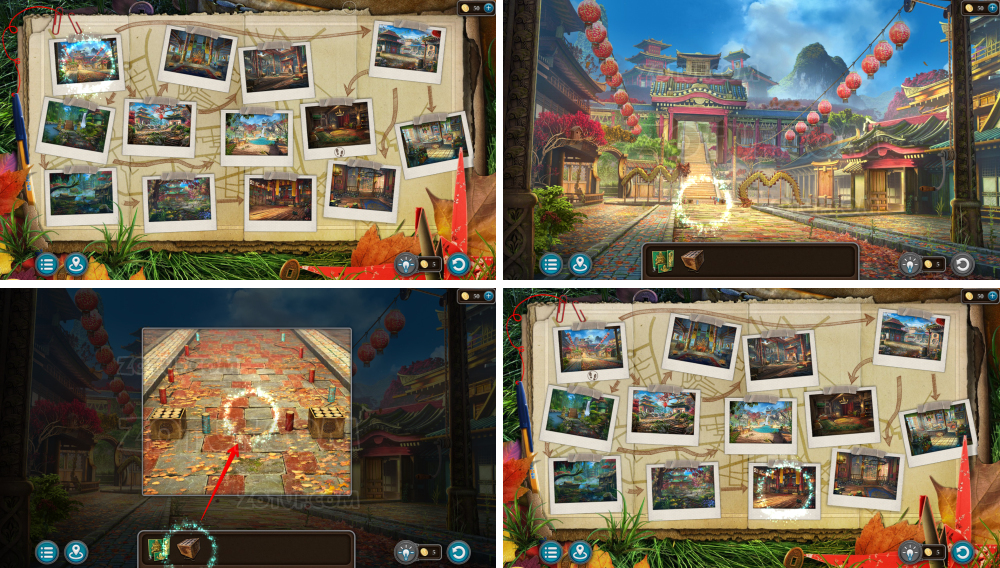
- Solve the puzzle: Rearrange the tiles to form the correct pattern. This image has appeared earlier in the game.

- Solution in the photo.
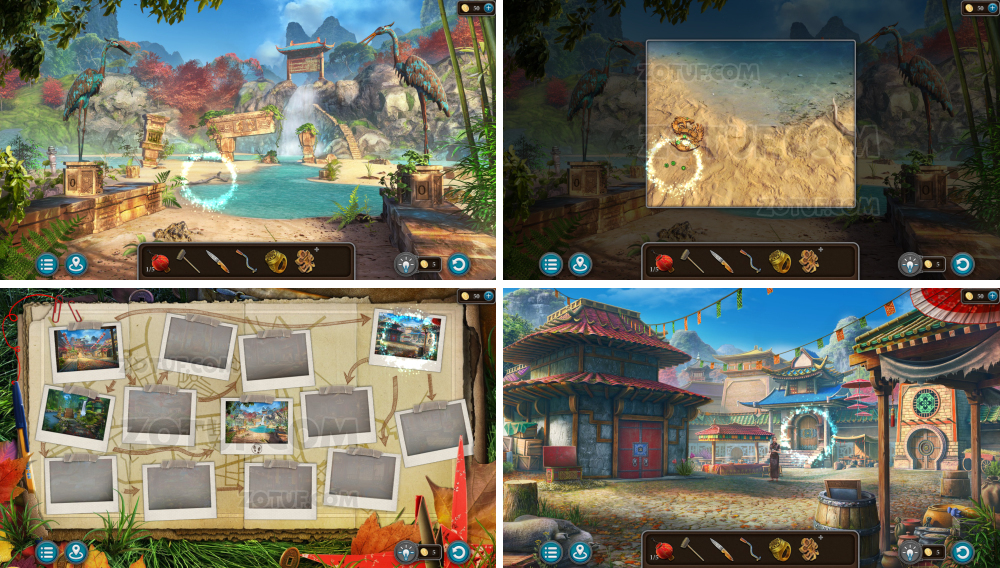
- Go forward.
- Fix the bottom of the ladder.
- Use the handle.
- Press the handle.

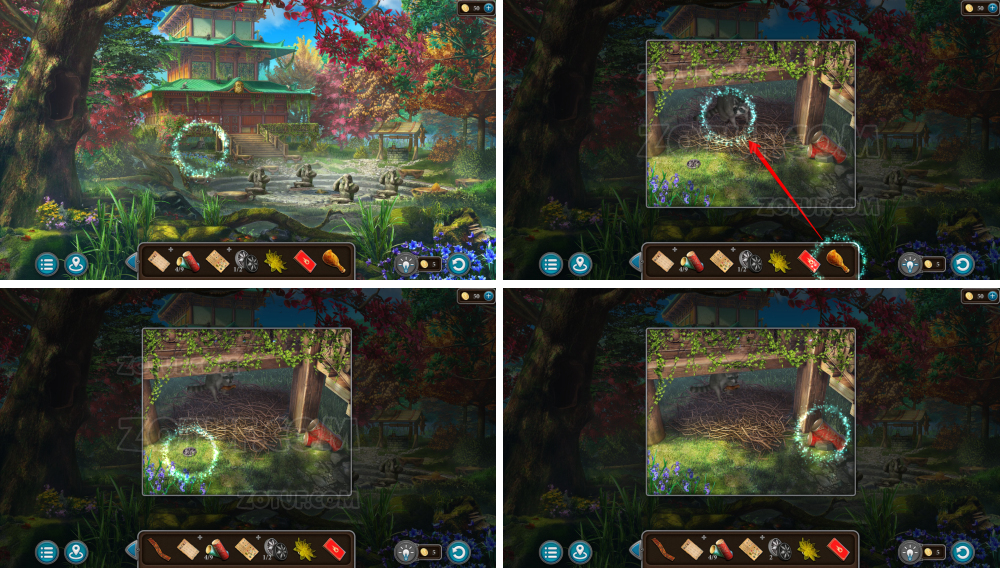
- Take the heron.
- Use the heron.
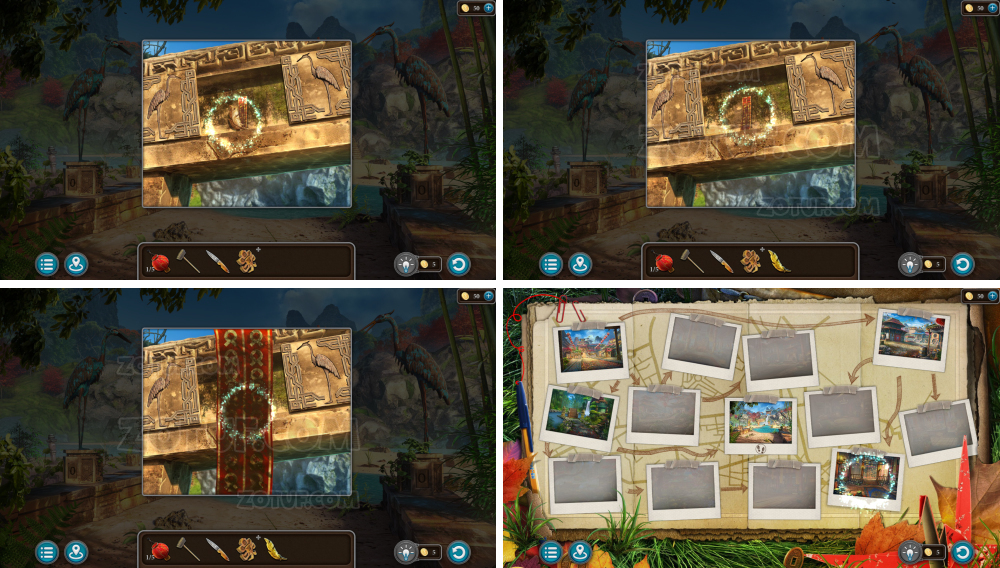
- Take the feather.
- Take the dirty cloth.
- Use the feather.
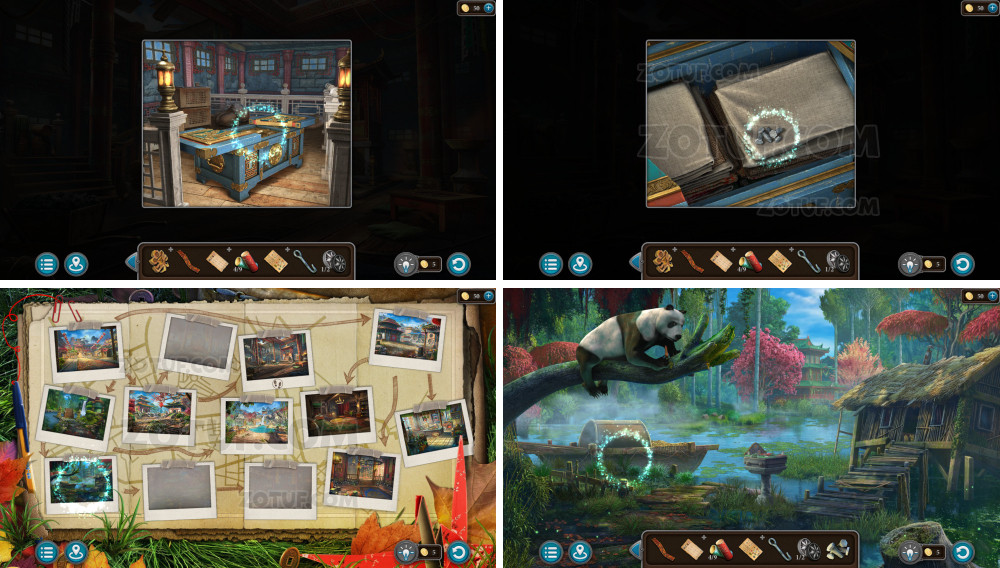
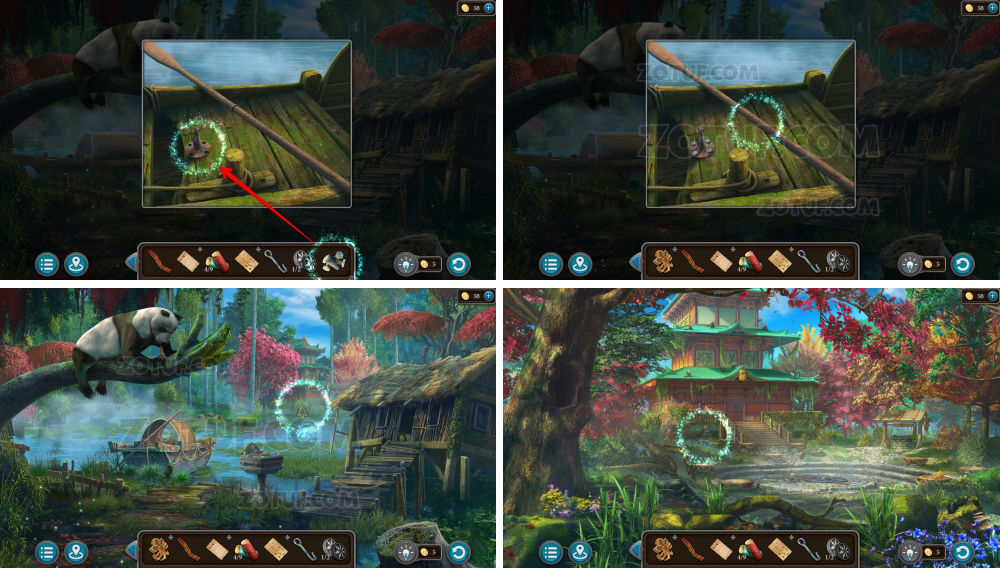
- Open the book.
- Take the book figurine.

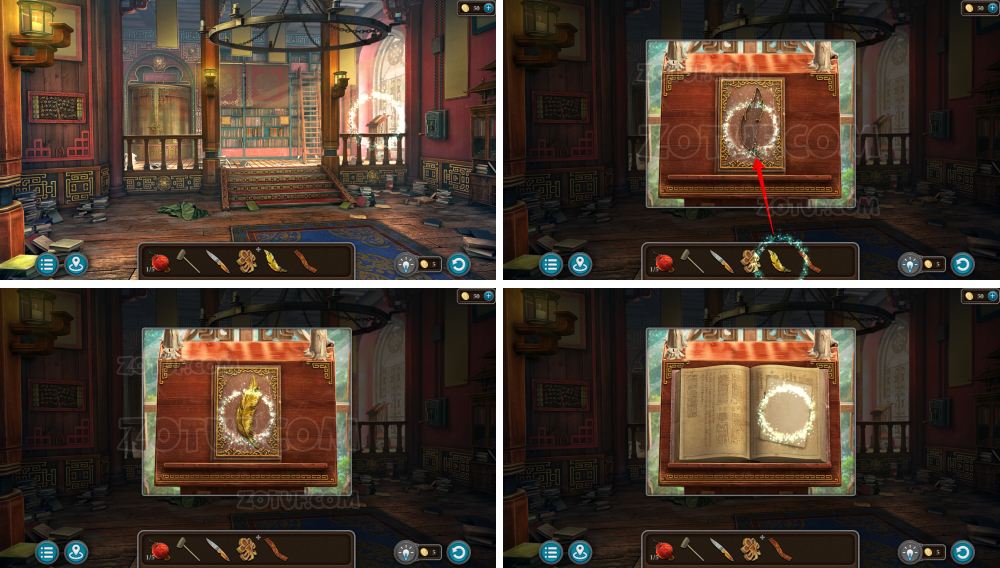
- Use the book figurine.
- Solve the puzzle: Set the correct numbers on the tiles by pressing them. You’ve seen the hint earlier.
- Solution in the photo 5137 (animals with numbers were shown in a previous painting, match them in the puzzle).
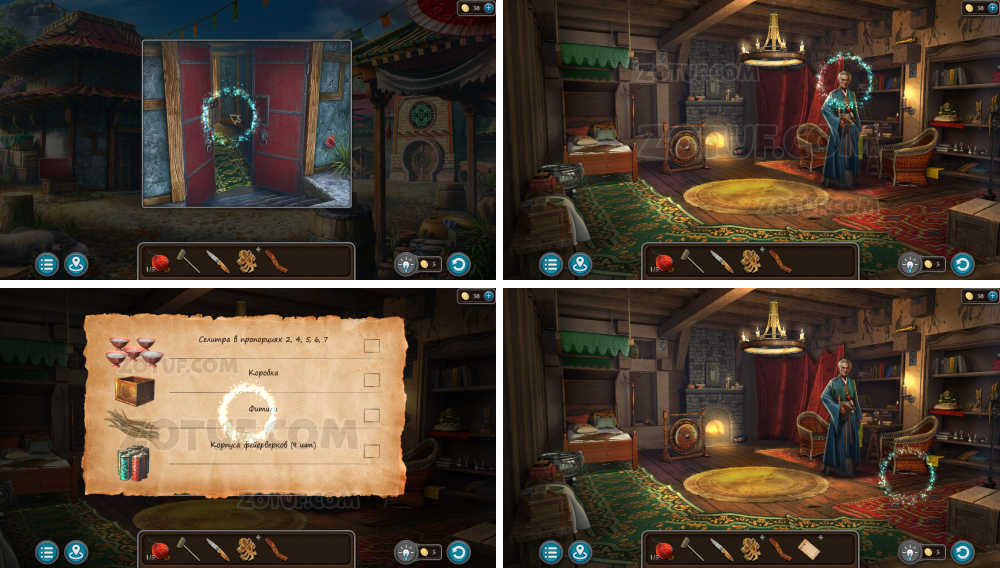
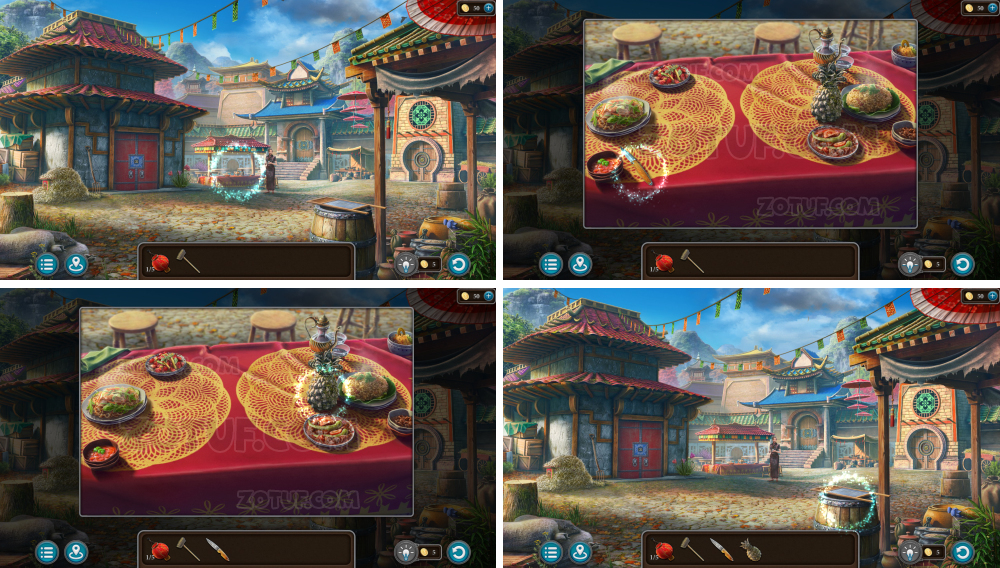
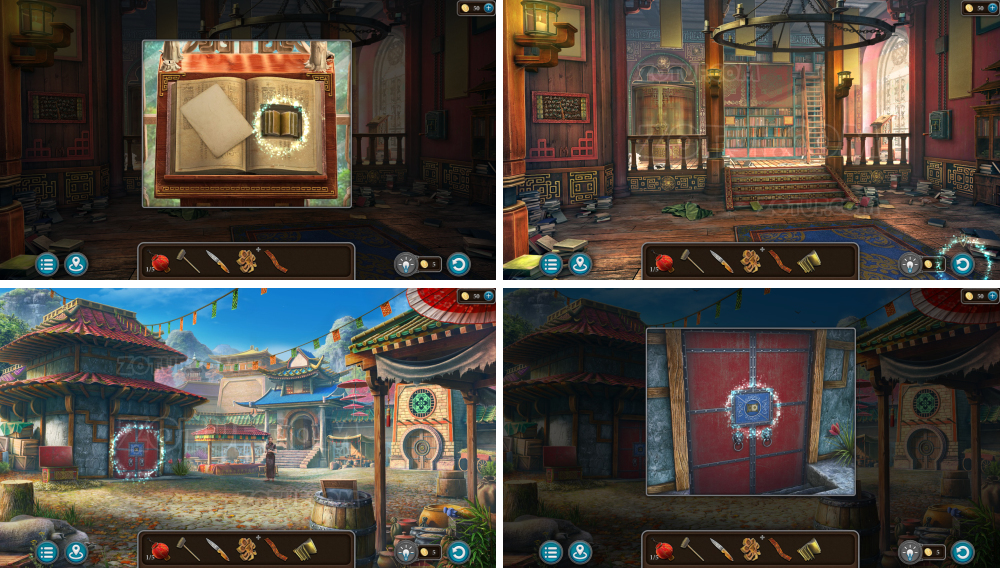
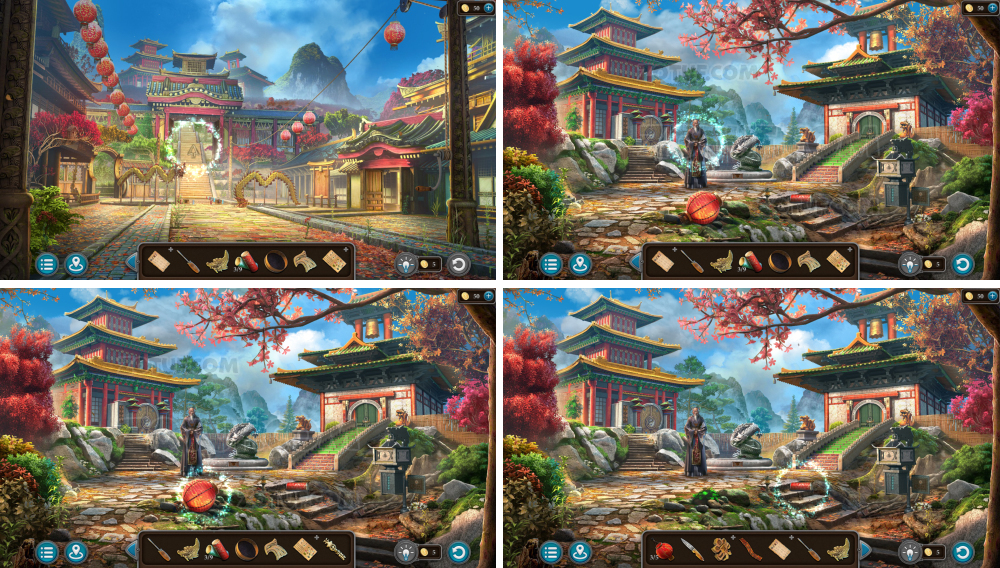
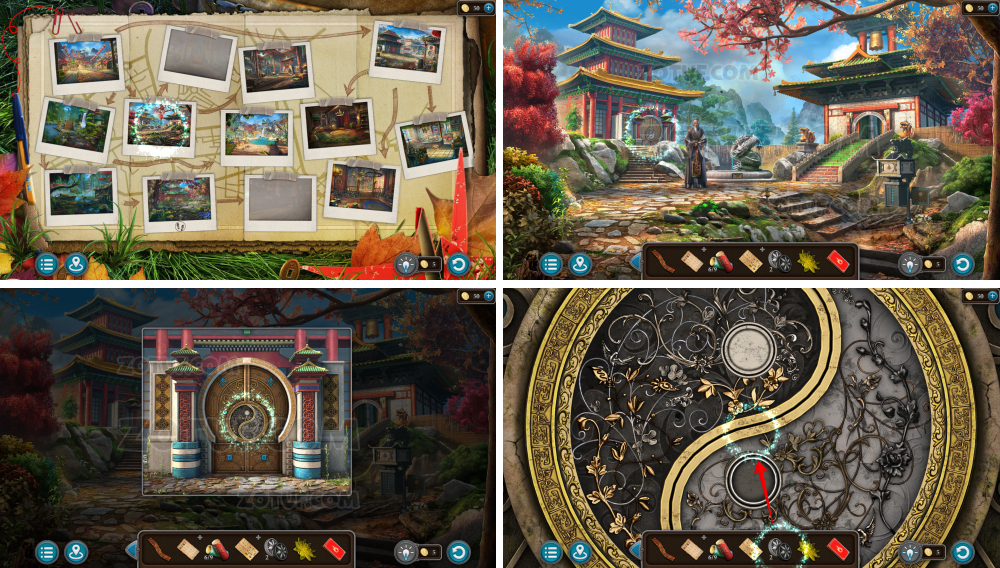
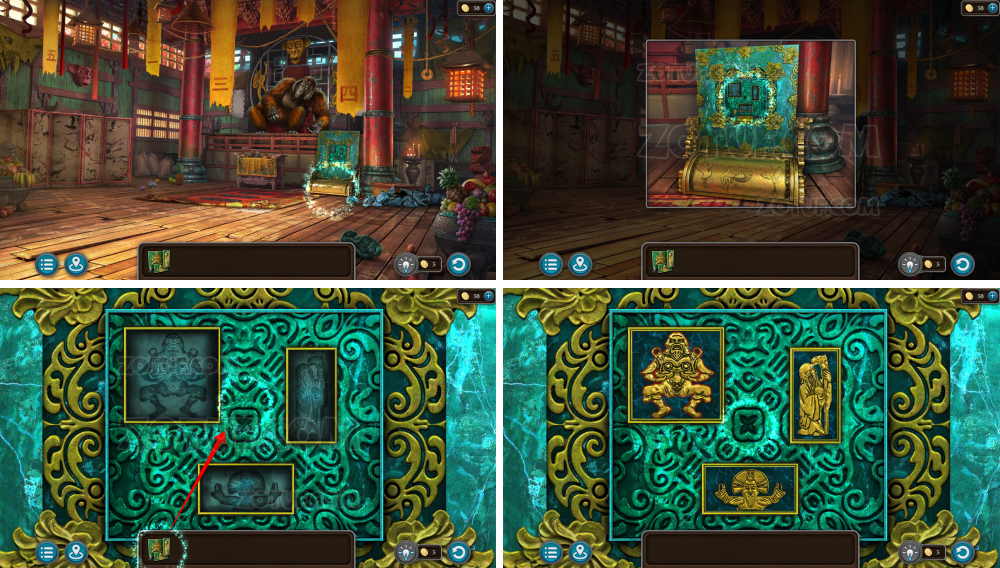
- Enter the building.
- Talk, receive a list of firework components.
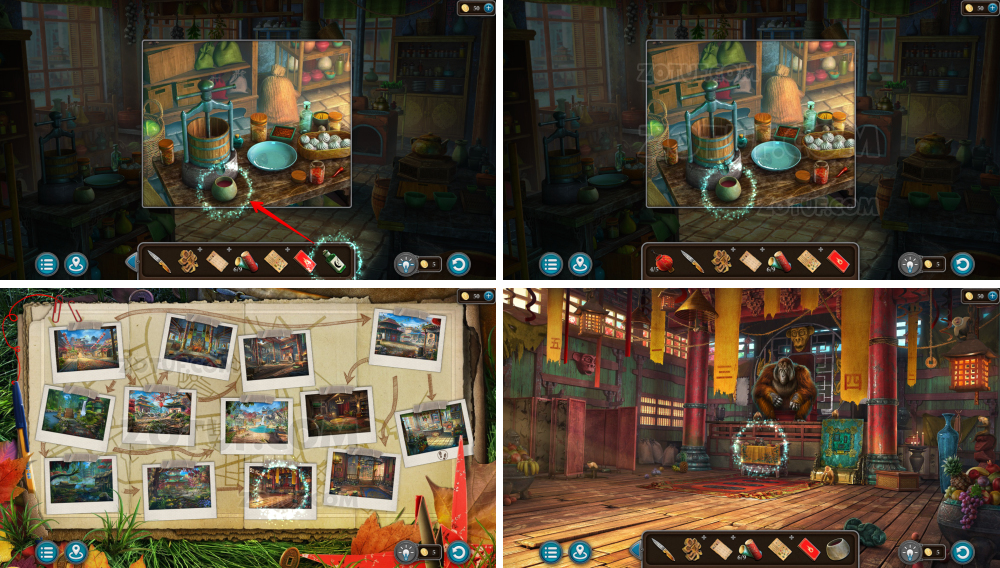
- Take the screwdriver.

- Use the broom, get a metal carrot.
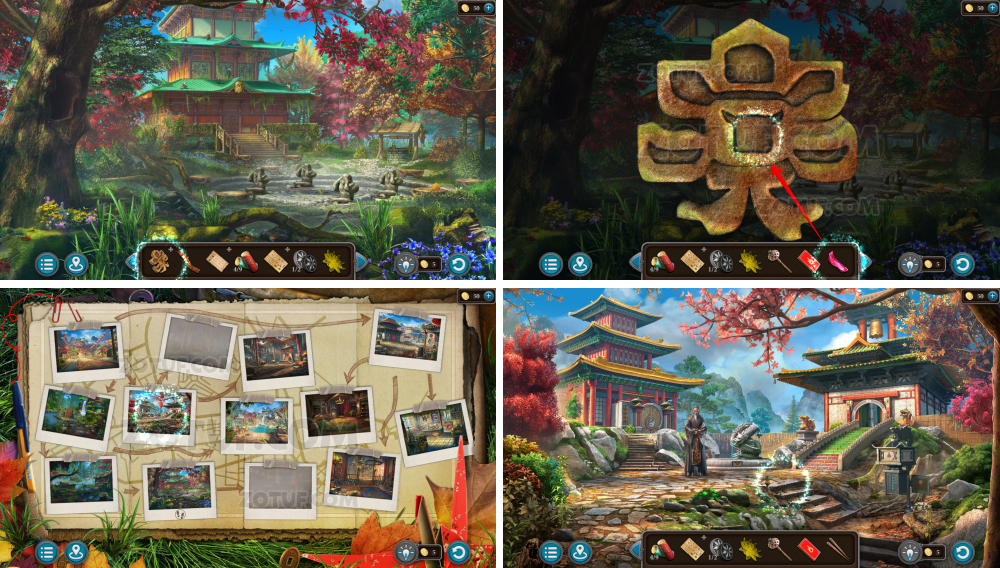
- Memorize the painting for a future puzzle.
- Use the broom, get the dragon head.
- Take the handle.
- Go back.

- Take firework bodies 1/9.

- Use the metal carrot.
- Solve the puzzle: Press the carrot tiles in the correct sequence to activate them all. The grater must be the last.
- Go forward.
- Take flashlight 2/5.
- Take the wheel.
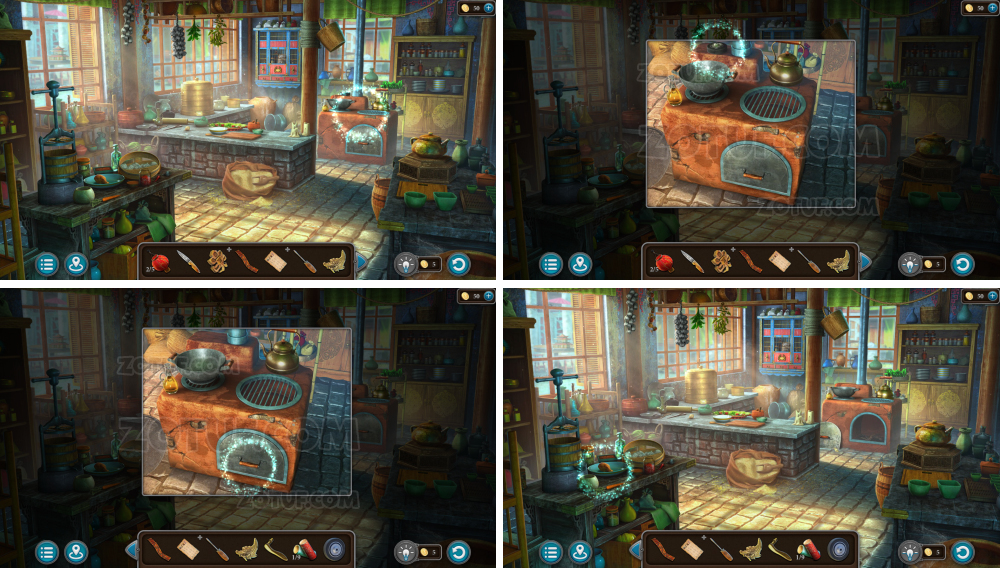
- Open the stove.

- Take the sieve.
- Use the handle.
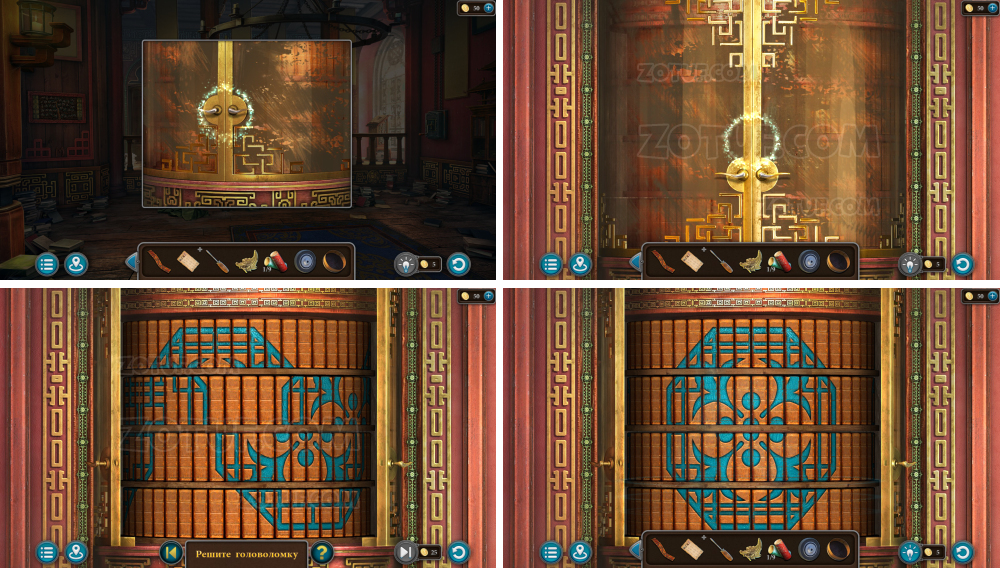
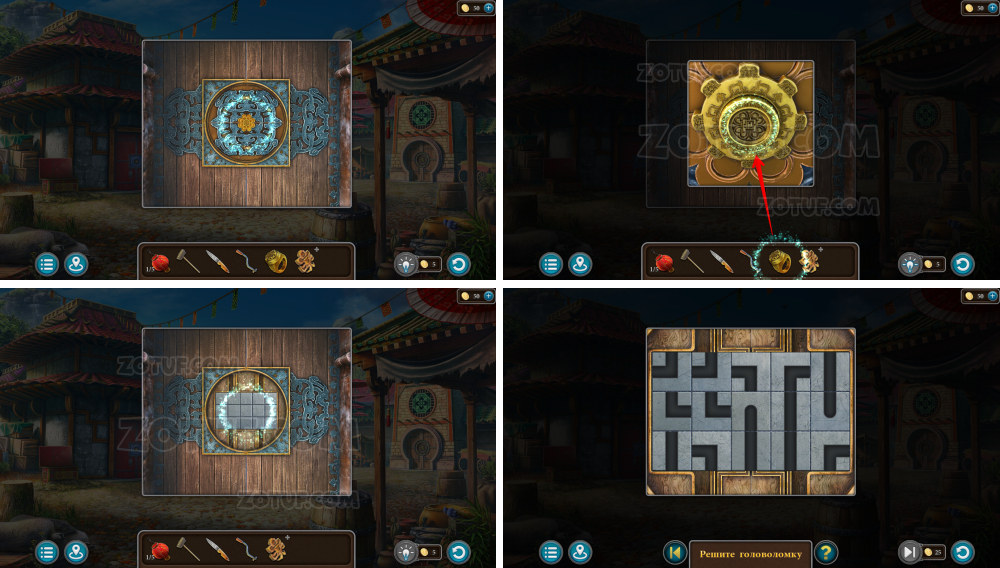
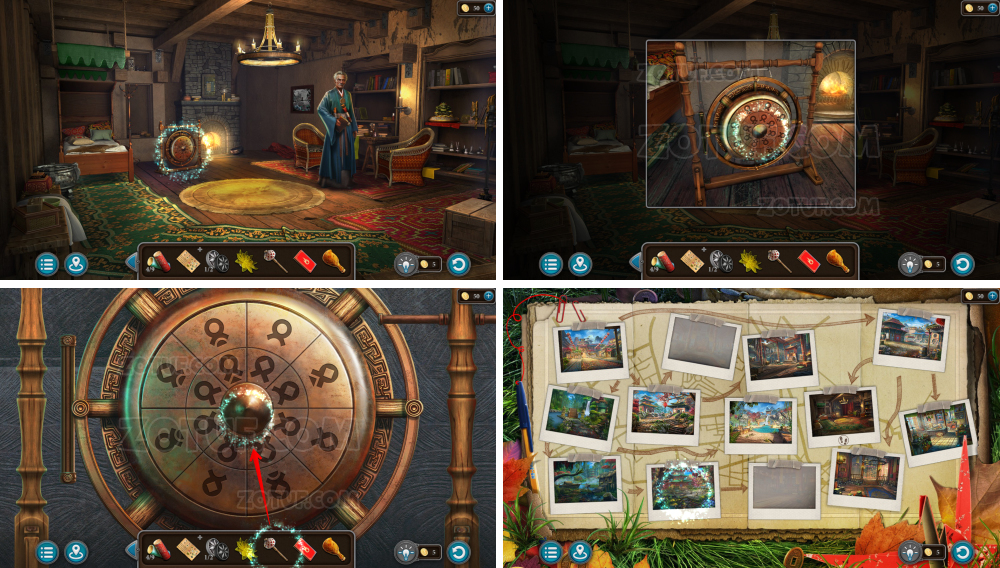
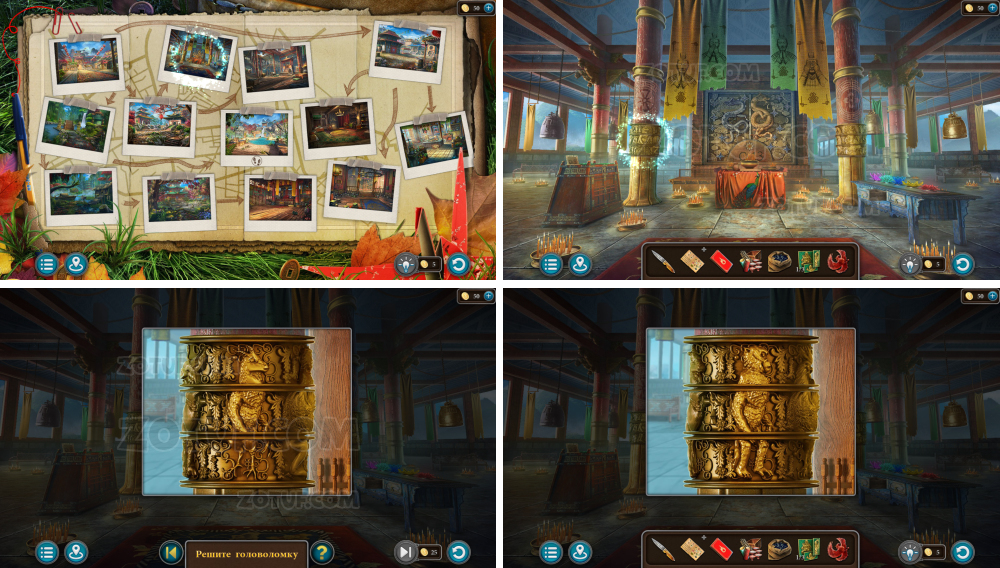
- Solve the puzzle: Rotate the rows of books to form the correct symbol. You’ve seen this symbol earlier.
- Solution in the photo.

- Use the wheel.
- Insert the screw.
- Use the screwdriver.

- Move the ladder.
- Take the phoenix head.
- Move the books, memorize symbols for a future puzzle.
- Take the cross-shaped key.
- Take the carp recipe.

- Take the box and firework bodies 2-3/9.
- Open the firework component list.

- Use the box.
- Use the cross-shaped key.
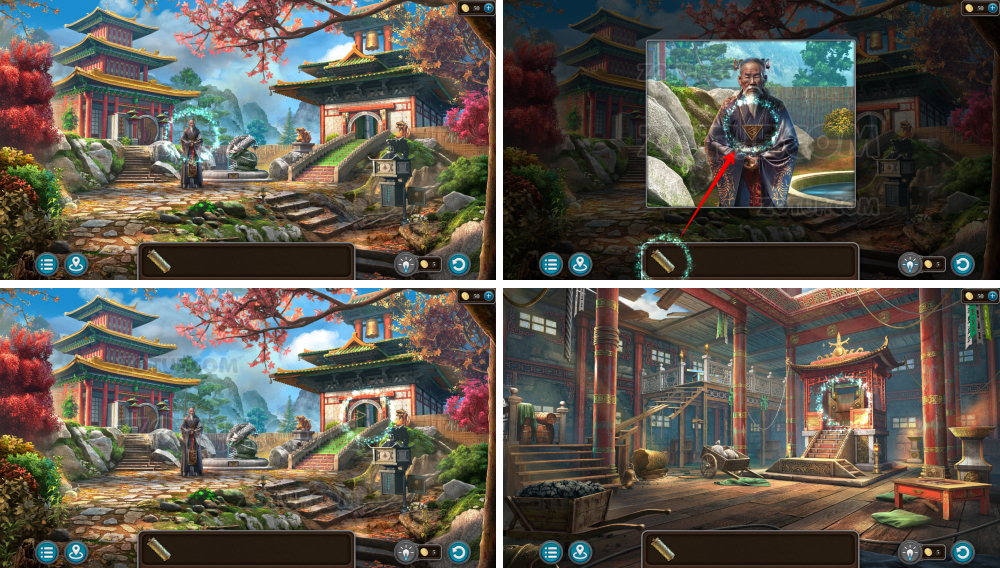
- Go forward.
- Talk, receive the wind-up key.
- Take flashlight 3/5.
- Take firework bodies 4/9.
- Solve the puzzle: Rotate the drums and place the correct symbols into the frames. You’ve seen the hint before.
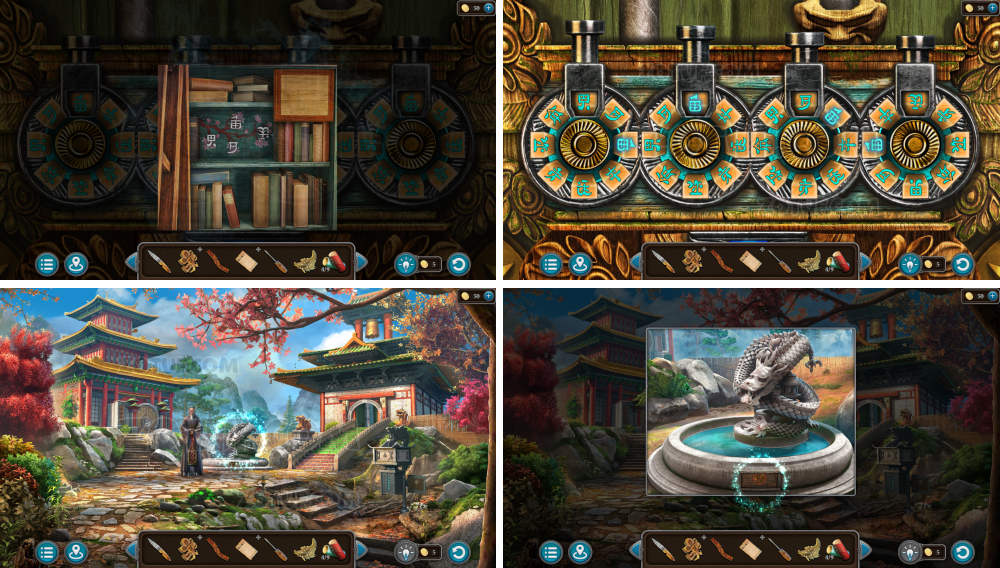
- Solution in the photo.
- Approach the fountain.
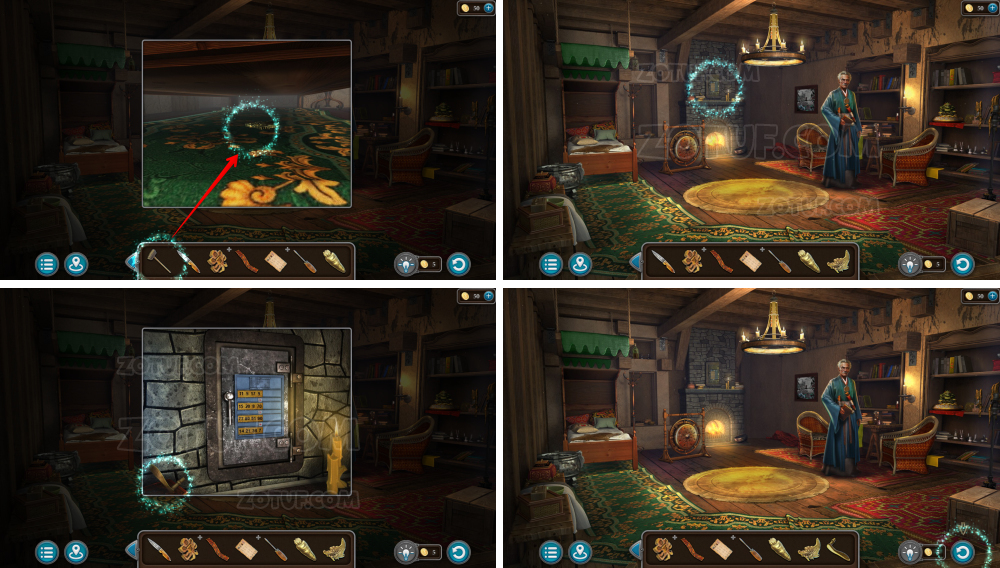
- Use the screwdriver.
- Take the axe.

- Use the wind-up key.
- Take the pouch of saltpeter.

- Use the pouch of saltpeter.
- Solve the puzzle: Distribute saltpeter into bowls in the correct proportions by balancing weights and bowls on the scale.
- Get the saltpeter.
- Open the firework component list.

- Use the saltpeter.
- Use the sieve.
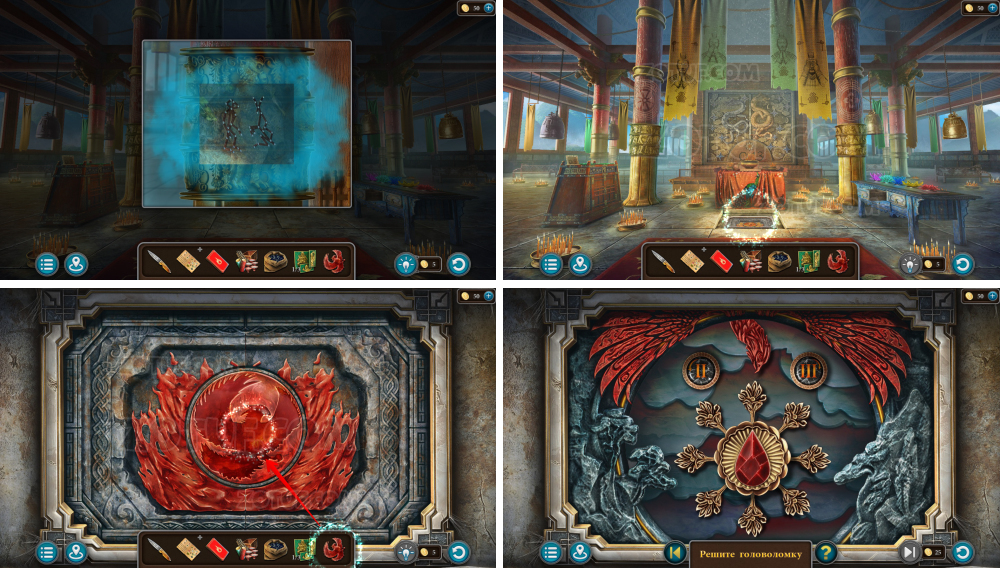
- Insert stones into the pendant, receive the dragon.
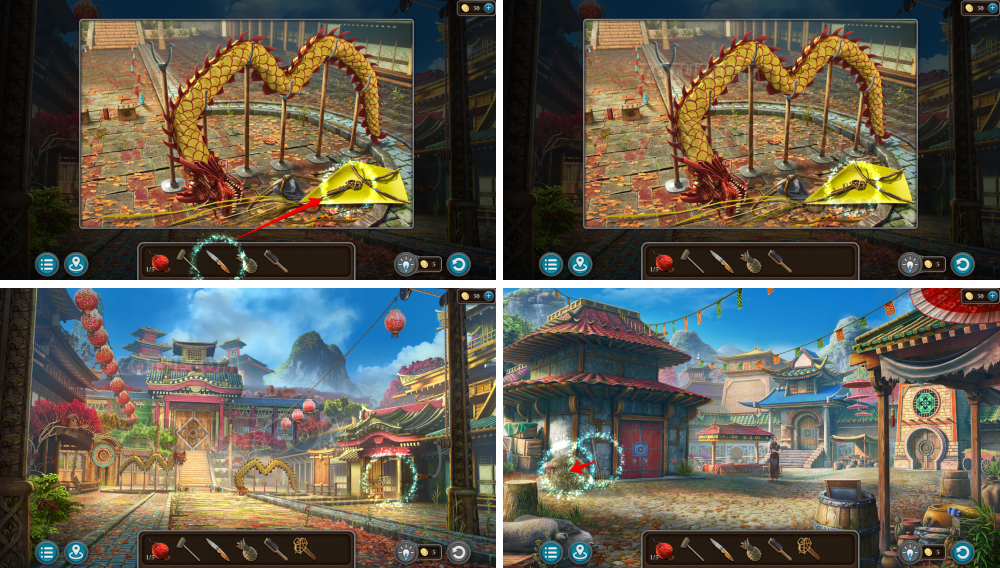
- Use the dragon.
- Solve the puzzle: Rotate sections to connect the dragon’s head and tail. Use as many sections as needed.
- Solution 1.
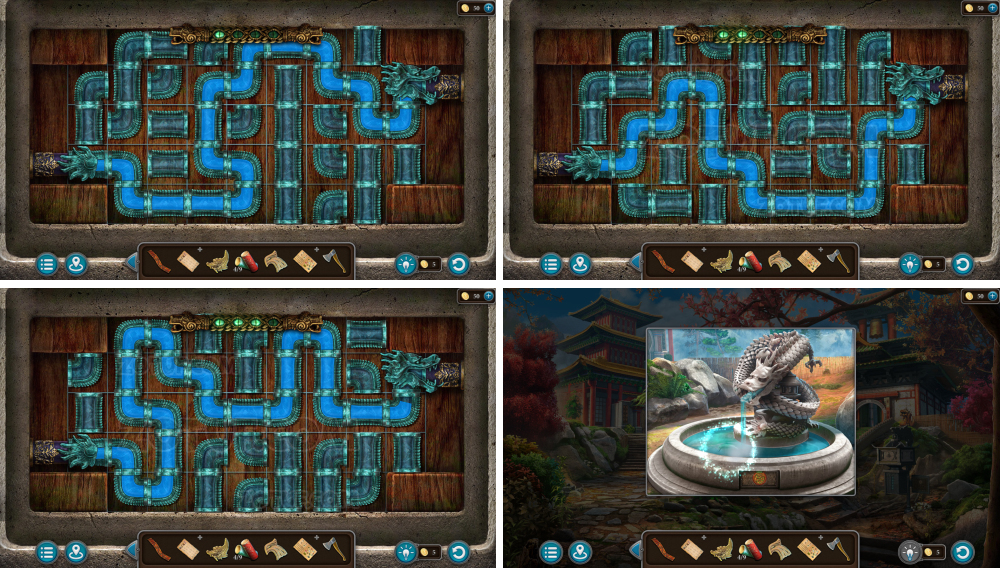
- Solution 2, 3 and 4.
- Take the stone banana.
- Use the stone banana.

- Solve the puzzle: Move the gears to connect both ends of the mechanism and make it move. All gears must be engaged.
- Solution in the photo.
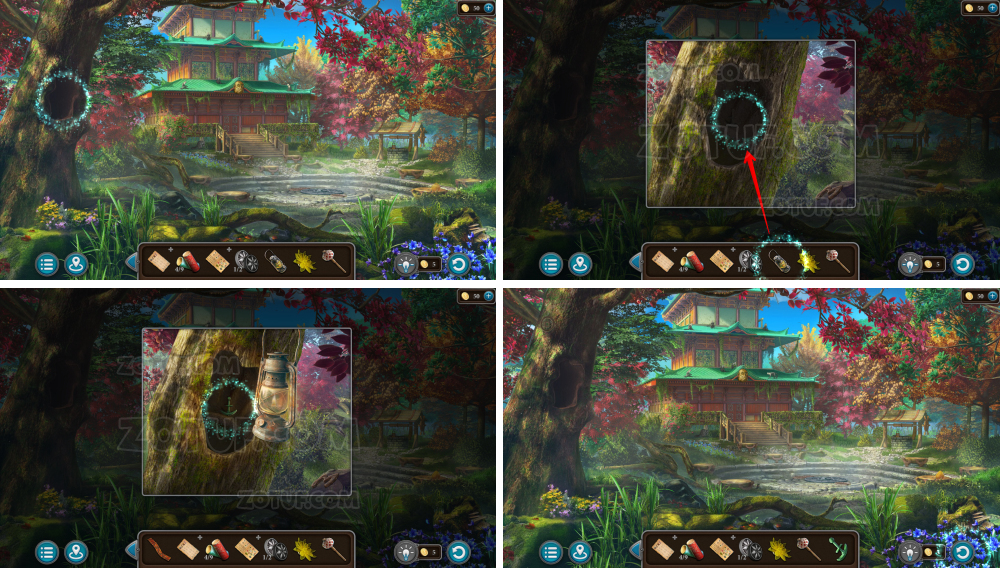
- Go forward.
- Use the axe.
- Take the boards and the fishing rod.
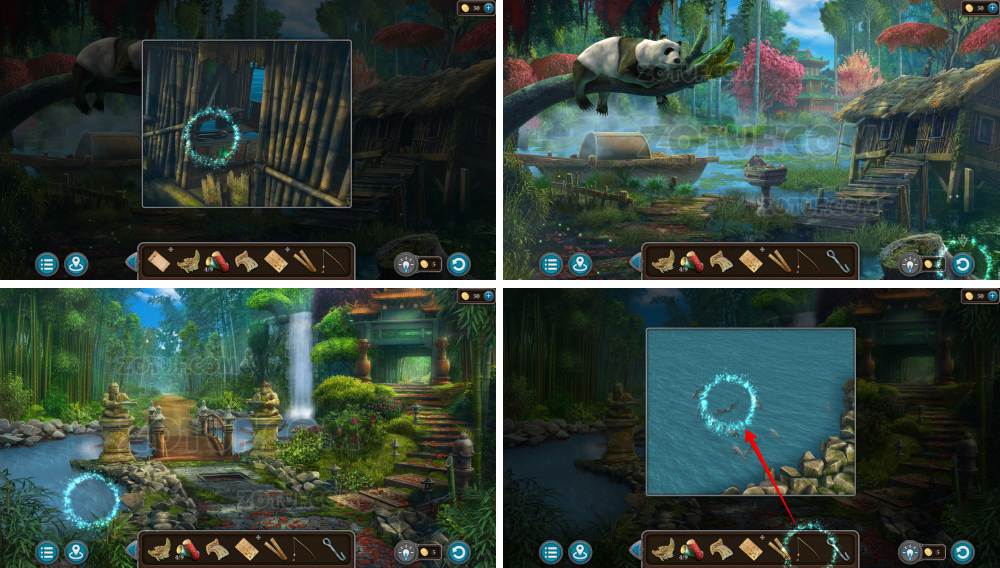
- Take the hook.
- Use the fishing rod, get the carp.
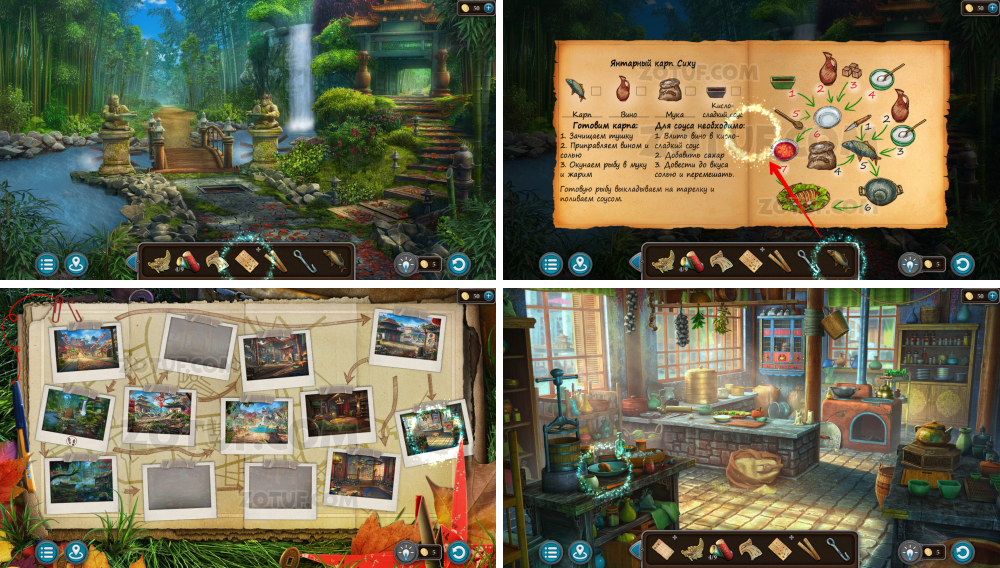
- Open the carp recipe, use the carp.
- Take the carrot.
- Use the carrot.
- Take token 1/2.
- Install the oar holder.
- Use the boards.
- Use the dragon head.
- Use the phoenix head.
- Solve the puzzle: Rotate the circles so that identical images in each row match.
- Solution in the photo.
- Take the bolts.
- Use the bolts.
- Install the oar.
- Sail forward.
- Take flashlight 4/5.
- Take the lantern.

- Use the hook.
- Take the glass lotus and mallet.
- Use the lantern.
- Take the anchor figurine.
- Use the anchor figurine.
- Solve the puzzle: Move the sun and moon symbols to their places.
- Take the disk and matches.

- Use the disk.

- Solve the puzzle: Arrange the tokens as shown in the diagram on the right. Move them along lines and rotate circles.
- Take the ruby.
- Take the chopsticks.
- Click on the stone tablet, use the ruby.
- Use the chopsticks, get the ruby.
- Click on the stone tablet, use the ruby.
- Take the chicken leg.
- Use the mallet.
- Use the chicken leg.
- Take token 2/2.
- Take firework bodies 5-6/9.
- Use the two tokens.
- Solve the puzzle: Connect logically related images with rays. Rays must not cross.
- Solution in the photo.
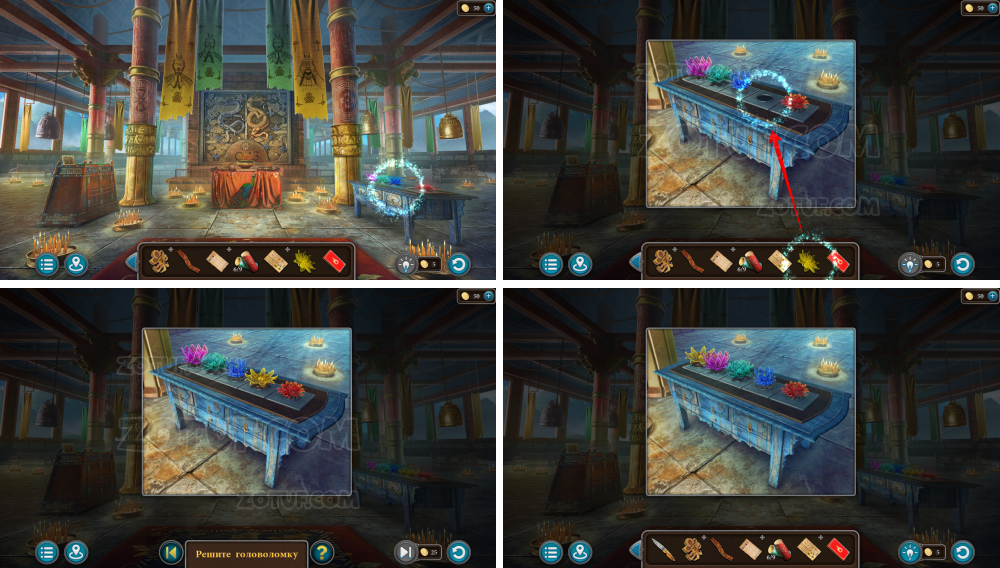
- Use the glass lotus.
- Solve the puzzle: Place the lotuses in the correct order – you’ve seen the hint earlier in the game.
- Solution in the photo.
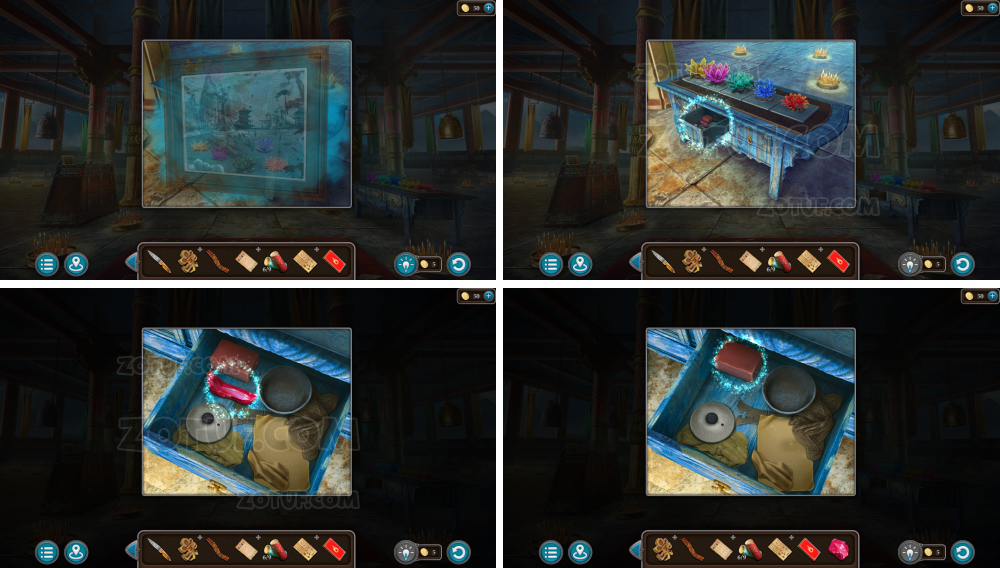
- Take the ruby and soap.

- Click on the stone tablet, use the ruby.
- Use the soap.
- Use the dirty cloth, get cloth with a hint.
- Use the cloth with a hint.
- Solve the puzzle: Use the hint to hit the gong and activate the symbols in the correct sequence until the scale is empty.

- Take small key 1/2 and sleeping potion.
- Solve the puzzle: Tap the sculptures to give them the correct appearance. You’ve seen the hint earlier.
- Solution in the photo.

- Take small key 2/2.
- Take the ruby.
- Click on the stone tablet, use the ruby.

- Use the two small keys.
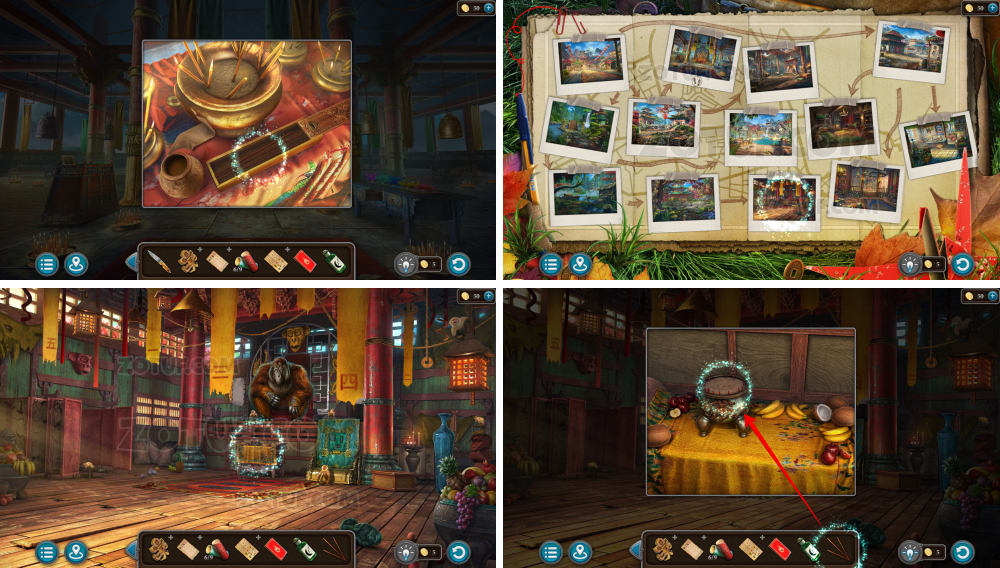
- Take the incense.
- Use the incense.
- Use the matches.
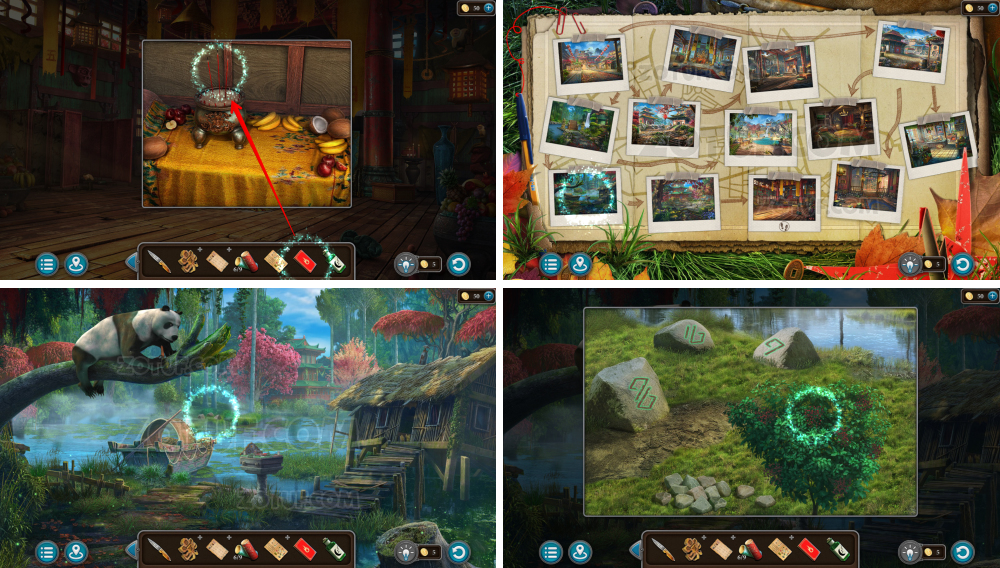
- Take the wolfberries.
- Use the wolfberries.
- Use the sleeping potion.
- Take the sleeping potion juice.
- Use the sleeping potion juice.
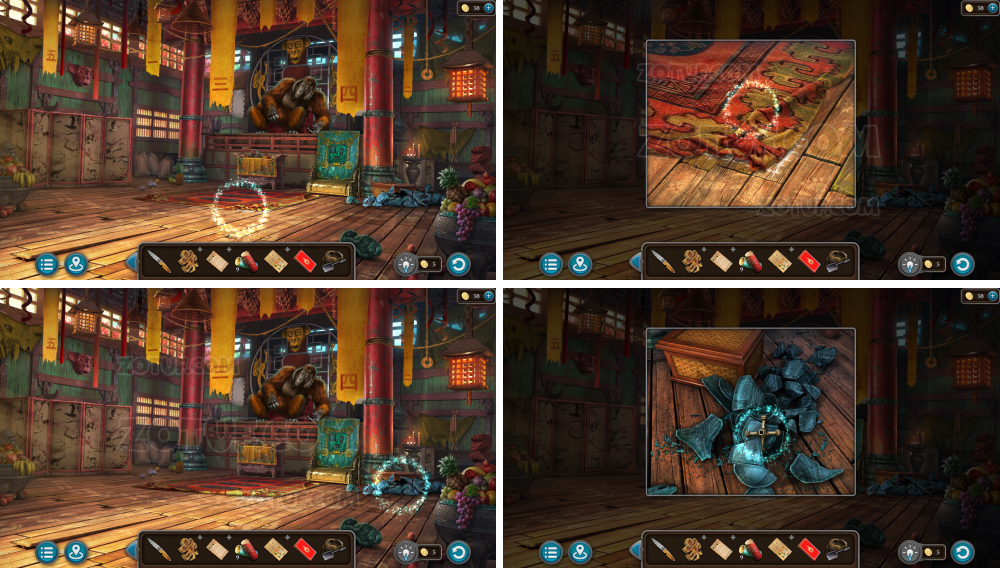
- Break the vase.

- Take firework bodies 7-8-9/9.
- Take flashlight 5/5.
- Take the sack with scoop.
- Memorize the pattern on the floor for a future puzzle.
- Take the faucet.

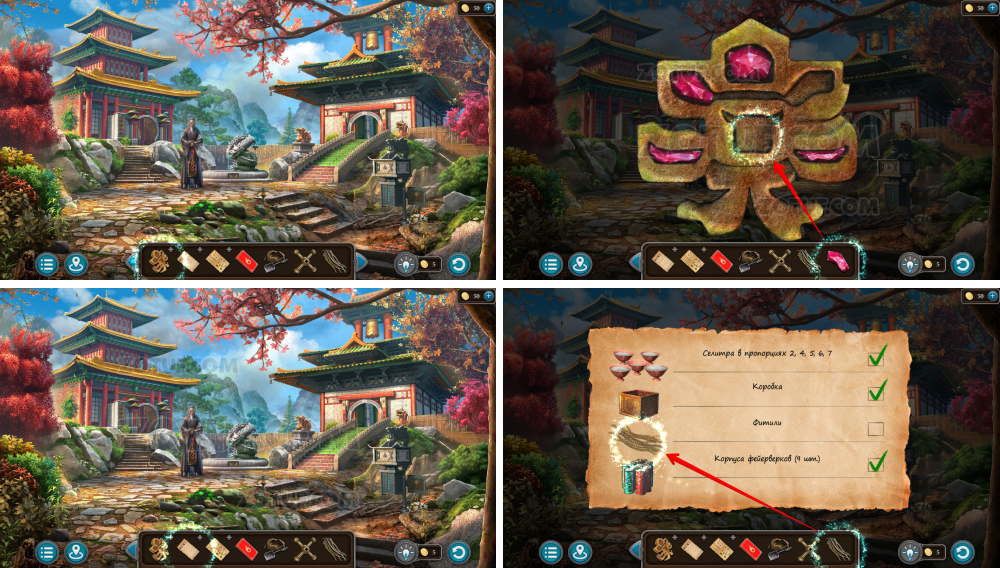
- Open the firework component list.
- Use the nine firework bodies.
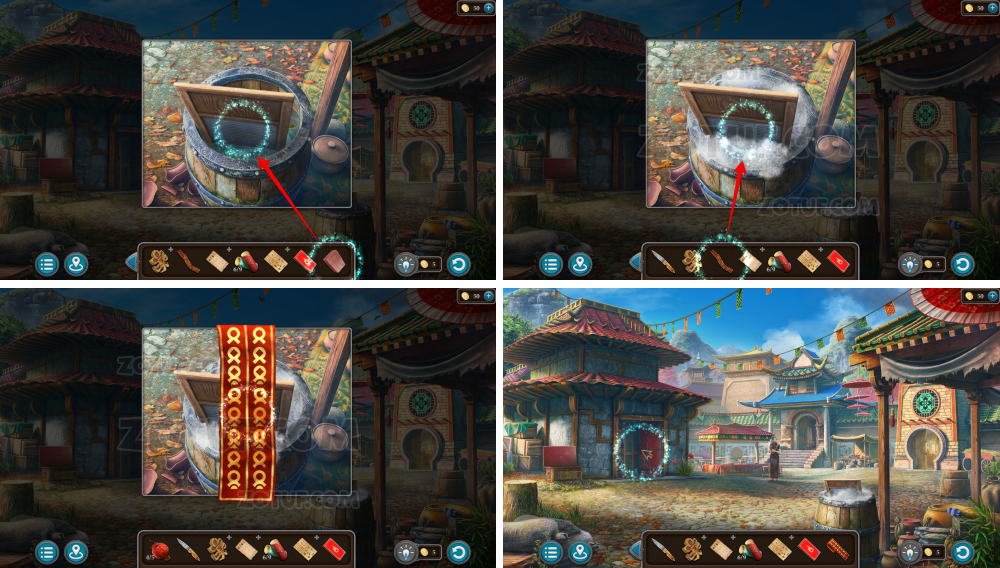
- Lower the rope with lanterns.
- Use the five flashlights.
- Go forward.
- Solve the puzzle: Activate the correct steps by pressing them. You’ve seen the hint earlier.
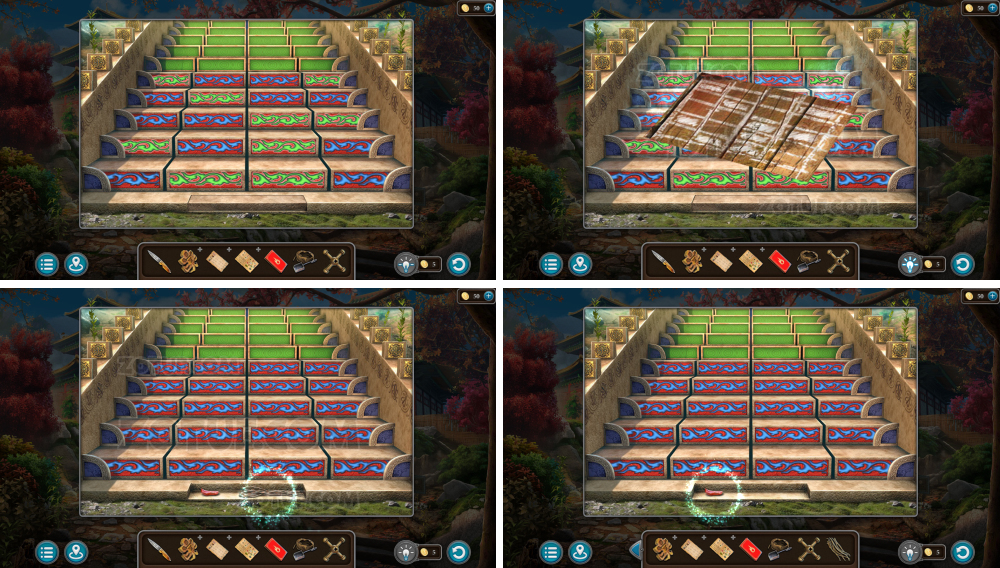
- Solution in the photo.
- Take the fuses and the ruby.
- Click on the stone tablet, use the ruby.
- Open the firework component list.
- Use the fuses, get the firework materials.

- Use the sack with scoop.
- Take the coal.

- Use the faucet.
- Fill the jug, get wine.
- Open the carp recipe, use the wine.
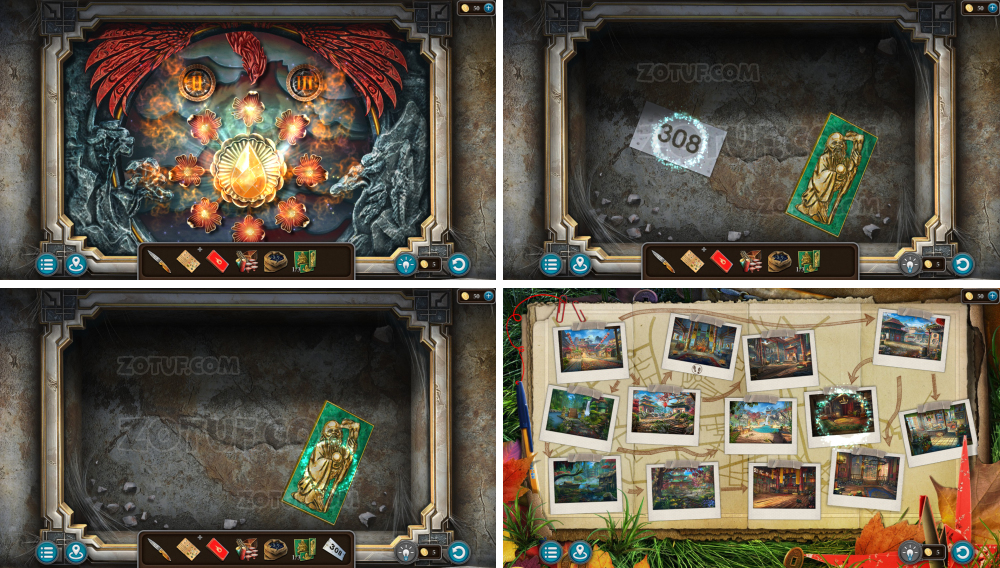
- Solve the puzzle: Rotate the stone to set the correct number. You’ve seen the hint earlier.
- Solution in the photo (count the closed beaks on the screen with cranes, in the orangutan room).
- Take the ruby.
- Memorize the pattern on the stone.
- Click on the stone tablet.
- Use the ruby, get the stone flower.
- Memorize the animal drawings for the puzzle.
- Use the stone flower.

- Solve the puzzle: Rotate triangular sections to connect pipes of the same color.
- Solution in the photo.
- Take jade tokens 1/3 and the phoenix.
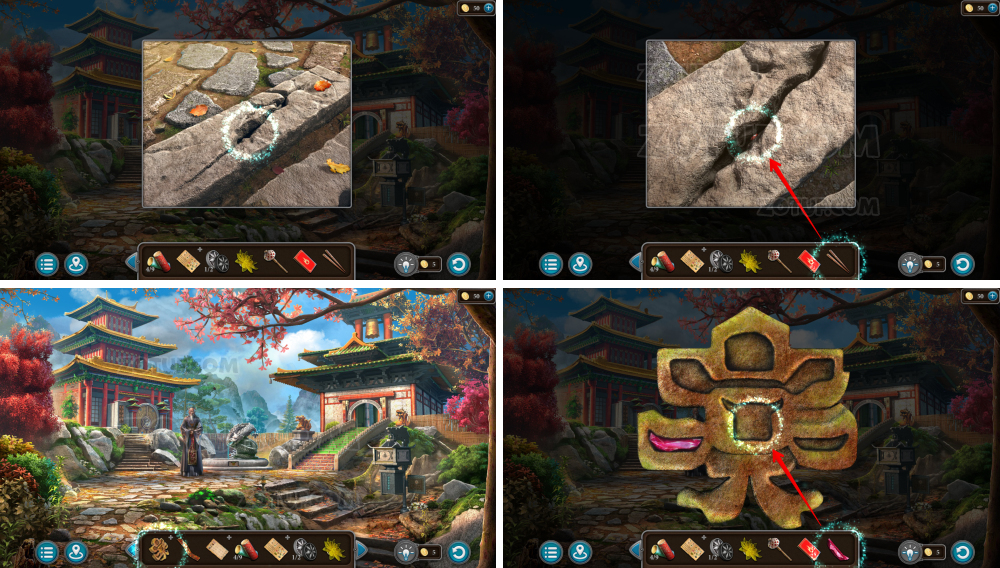
- Solve the puzzle: Rotate the relief on the column to set the correct image. You’ve seen it earlier.
- Solution in the photo (the animal drawings are located in the cave to the left of the chest).
- Use the phoenix.
- Solve the puzzle: Press the buttons on top to rotate the stone and reveal all the flowers.
- Take the leaf.
- Take jade tokens 2/3.

- Use the firework materials, get the spatula.

- Use the leaf.
- Solve the puzzle: Rearrange the number tiles so that all calculations result in the number shown on the paper.
- Solution in the photo.
- Take the crab.

- Take jade tokens 3/3.
- Use the coal.

- Use the matches.
- Take the teapot with boiling water.
- Add tea to the teapot.
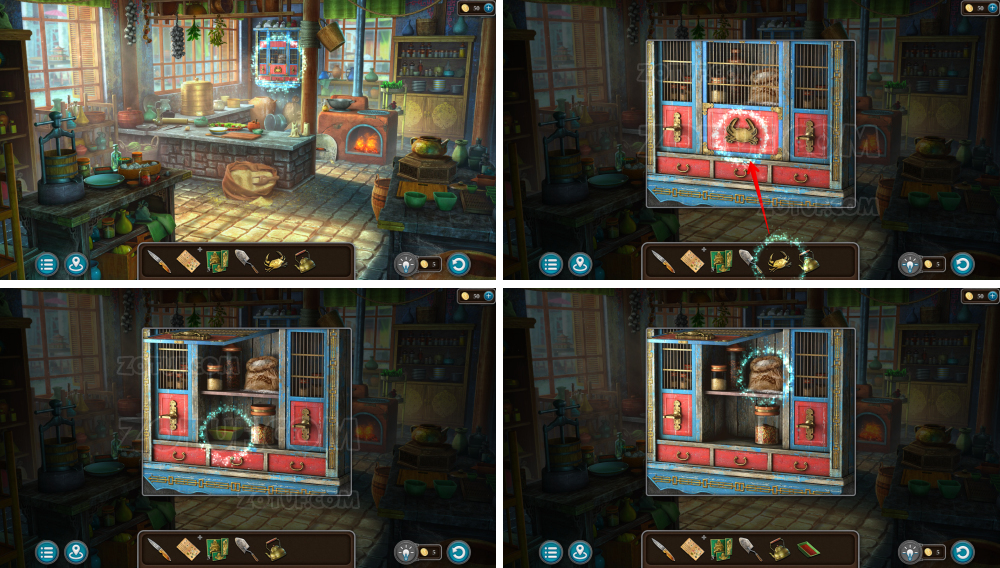
- Use the crab.
- Take sweet-and-sour sauce and flour.
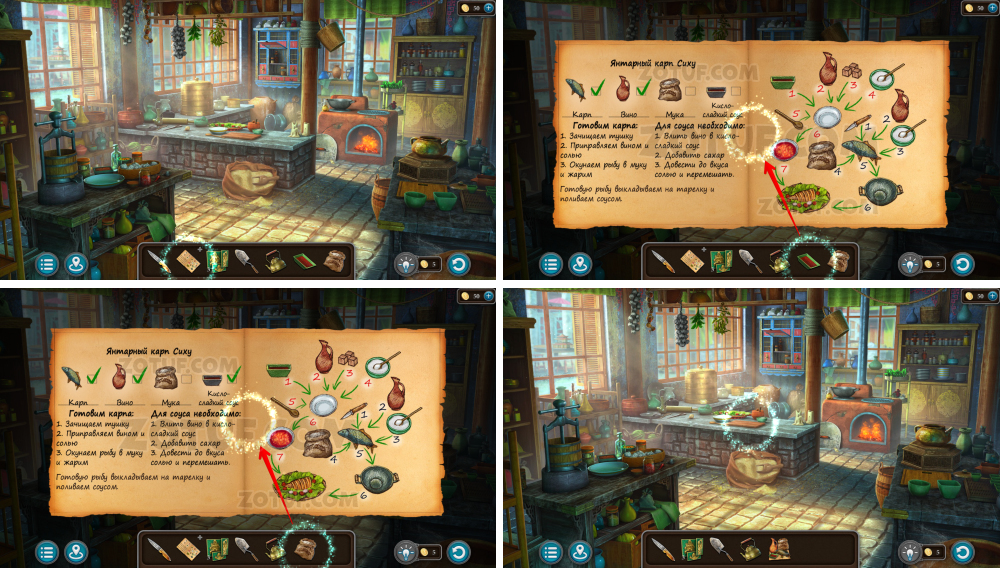
- Open the carp recipe, use sweet-and-sour sauce and flour.
- Get the ingredients.
- Use the ingredients.
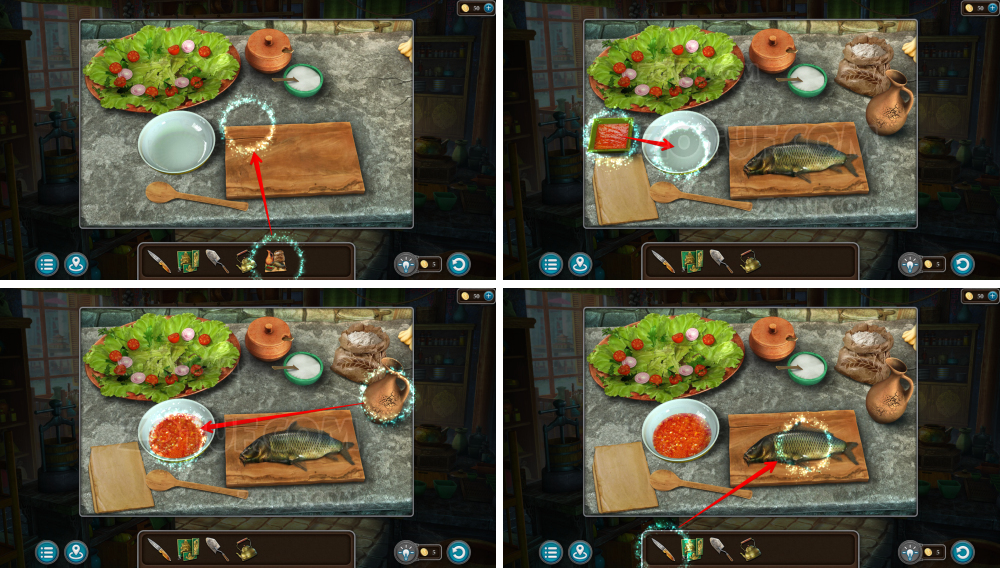
- Pour sweet-and-sour sauce into the bowl.
- Add wine.
- Clean the fish.
- Pour wine on the fish.
- Add salt and flour.
- Take the fish carcass.

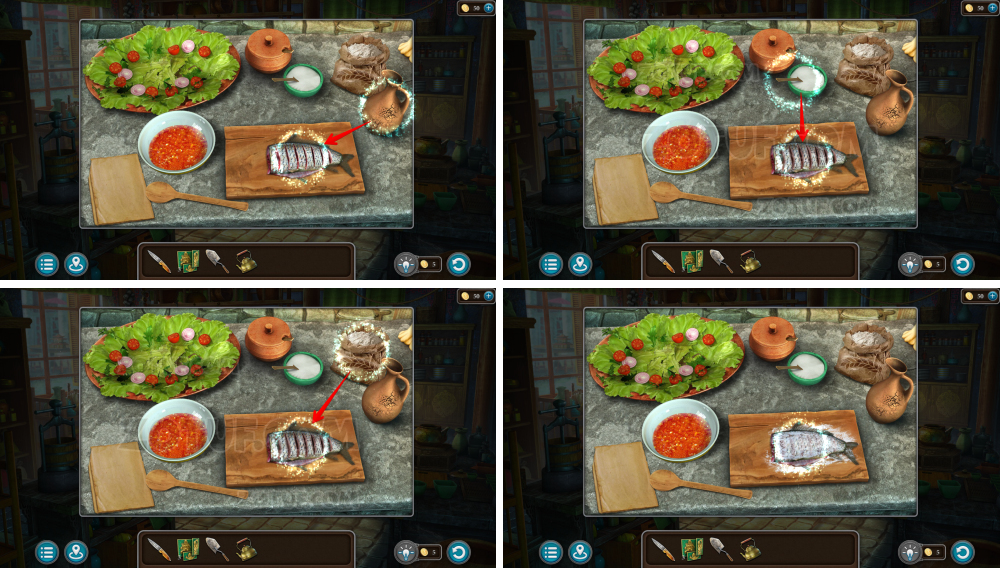
- Add sugar and salt to the sauce.
- Mix the sauce.
- Use the fish carcass, get fried fish.
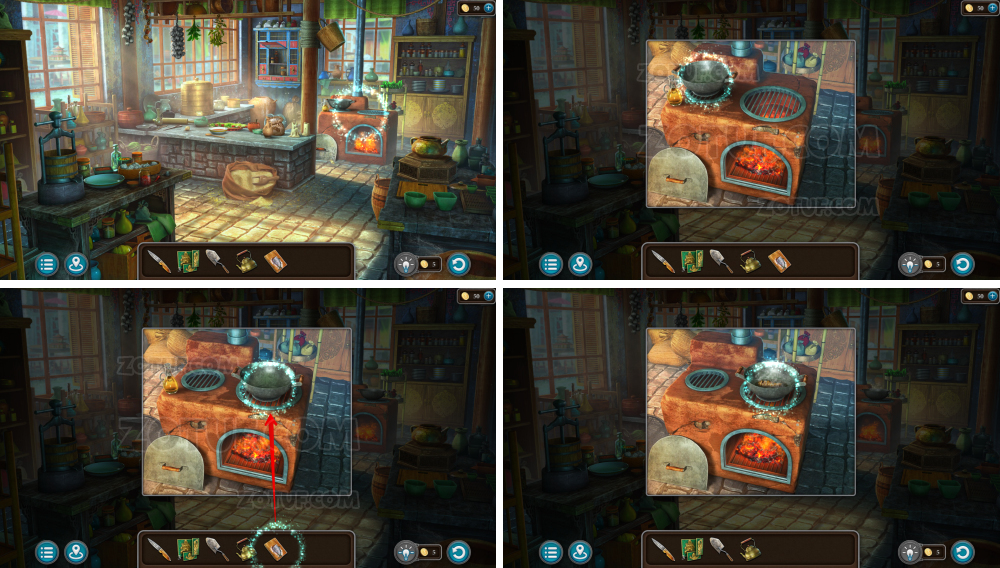
- Use the fried fish.
- Add the sauce.
- Get the festive carp.

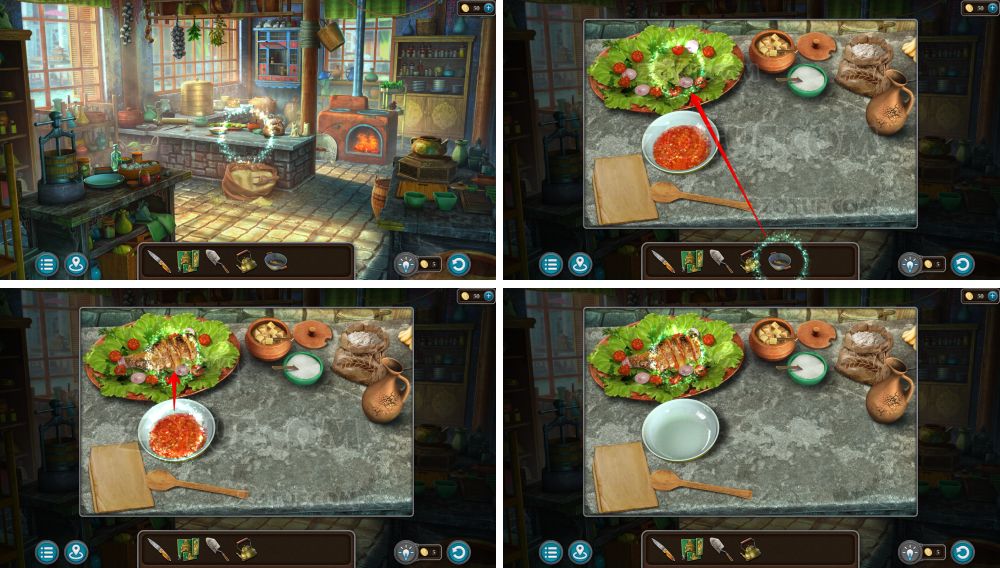
- Use the festive carp.
- Use the spatula, get the ginger.
- Use the ginger.
- Use the knife.
- Add the ginger.
- Use the teapot with boiling water.

- Take the brewed tea.
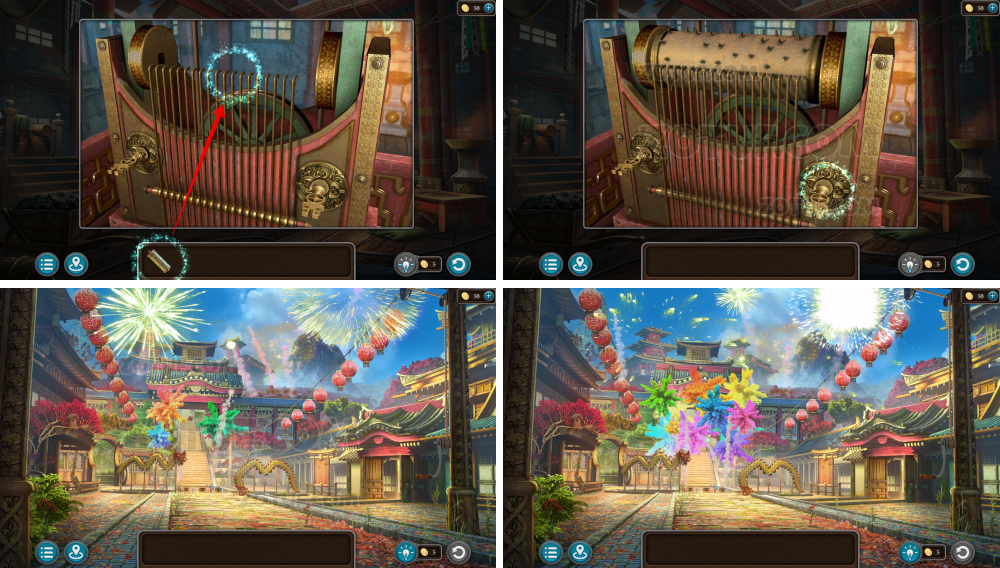
- Use the brewed tea, get the fireworks.
- Use the fireworks.
- Use the three jade tokens.
- Solve the puzzle: Move the plates and pull the relief outlined in red into the hole below.
- Take the melody drum.
- Talk, use the melody drum.
- Use the melody drum.
- Press the keys.
Congratulations! You have successfully completed Artifact Seekers Episode 6: Festive Town.


