
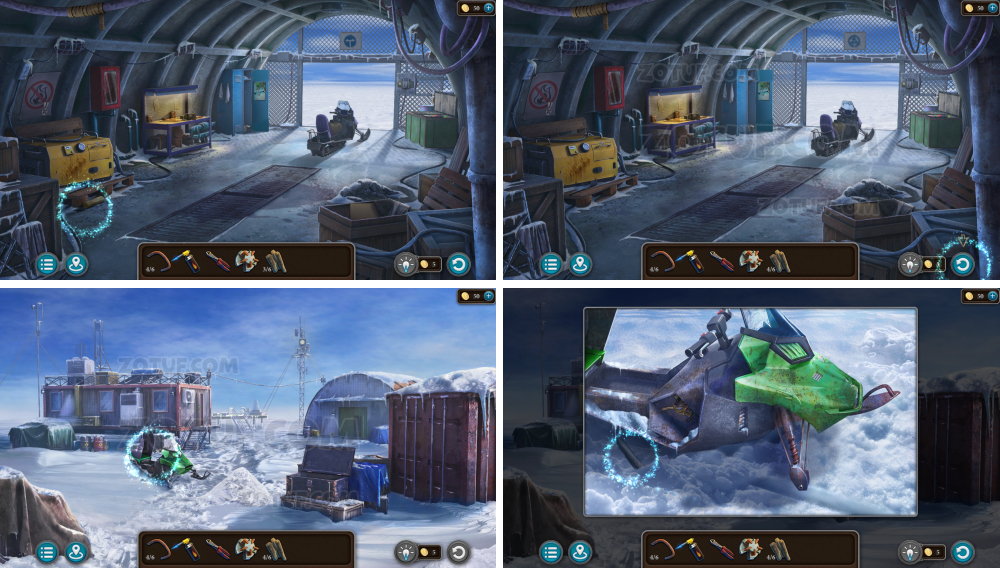
Artifact Seekers Episode 8: Polar Station – Instead of the scorching tropical sun, you will encounter the piercing cold and endless snow of Antarctica. This time, your exploration will take you to a small polar station surrounded by ice and secrets. Kate is with you again, and she now knows how to ride a snowmobile, albeit with some adventures. However, the cheerful mood quickly gives way to anxiety when the team members who went on a reconnaissance mission stop communicating. They reported some strange place or discovery, and then disappeared. When you arrive at the station, it turns out that their trail has gone cold. Unlike previous expeditions, the task now is not to search for ancient artifacts, but to understand what happened to your group. Where are they, what did they find, and why does the station seem so empty and silent? You will have to explore the snow-covered base, follow in the footsteps of the missing scientists, and make your way through the frost and wind to get to the bottom of the truth. For some in the team, the extreme conditions are a joy, for others, a difficult test. But there is no choice: the sooner you start searching, the more chances you have of finding answers. This is a dark and tense adventure in the permafrost, where not only secrets but also dangers may lie hidden beneath the ice.
Artifact Seekers Episode 8: Polar Station – Walkthrough
Here you can watch the full walkthrough for Episode 8: Polar Station in Artifact Seekers and complete the cold investigation.

- Talk.
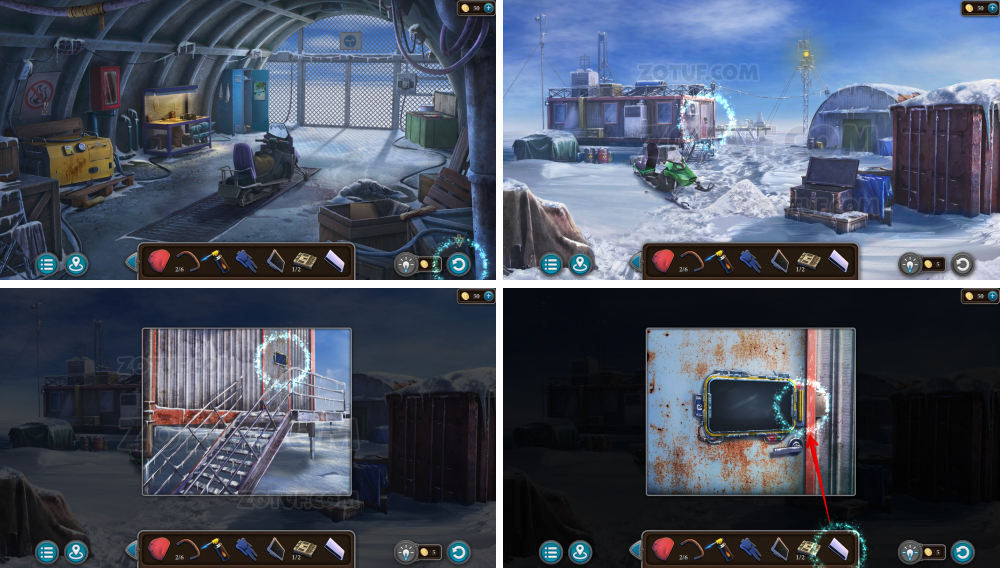
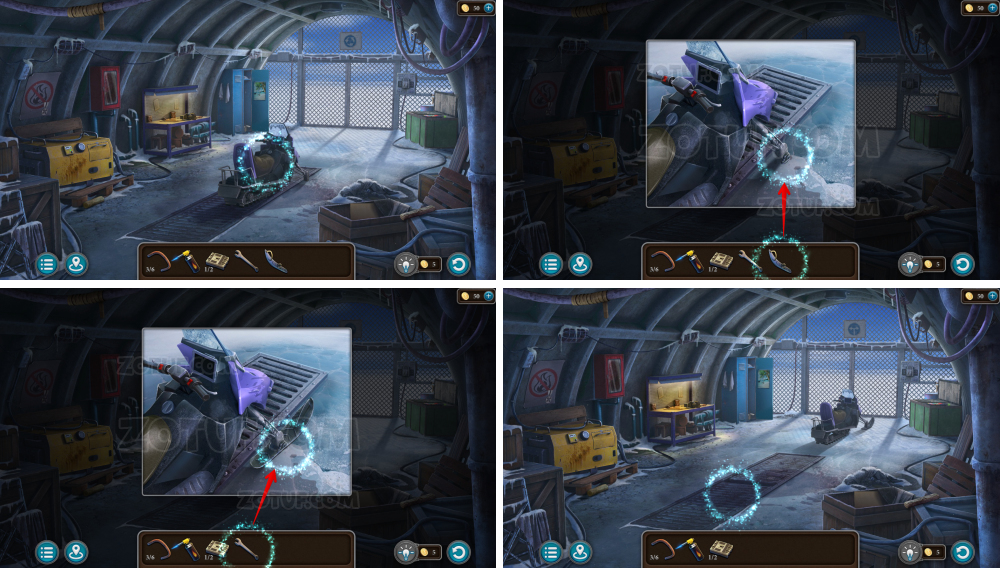
- Take the shovel.
- Take the ski mask.

- Use the shovel.
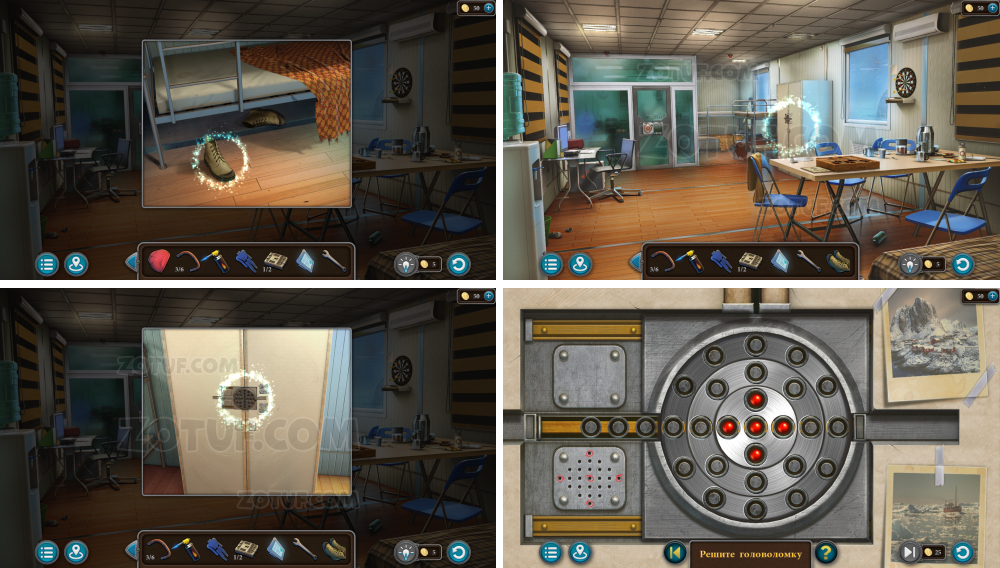
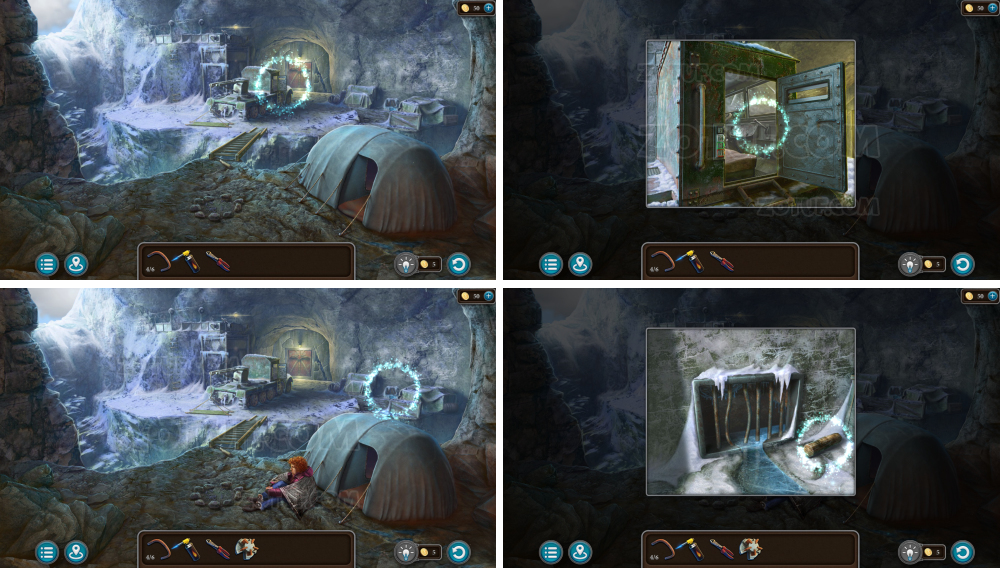
- Take the hat.

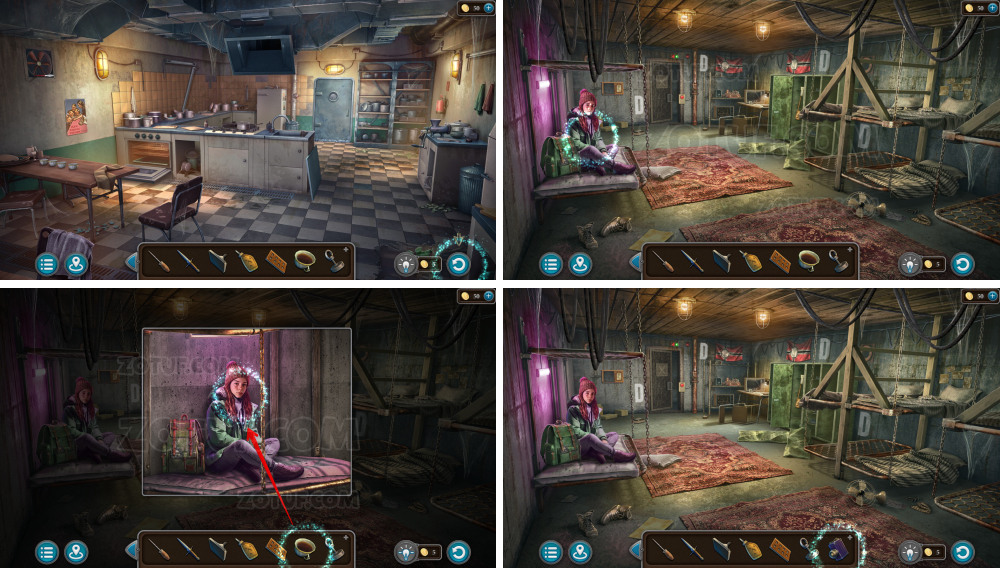
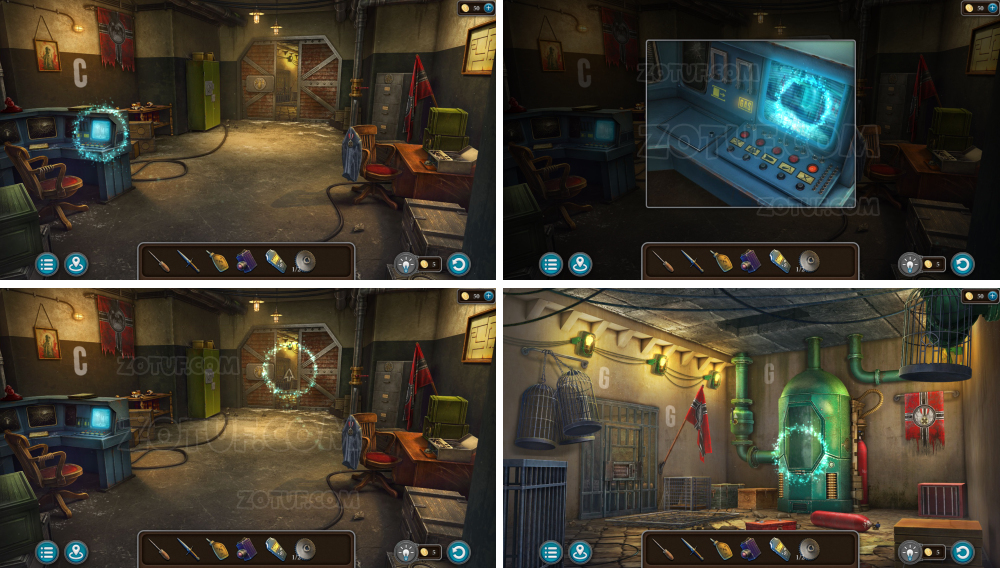
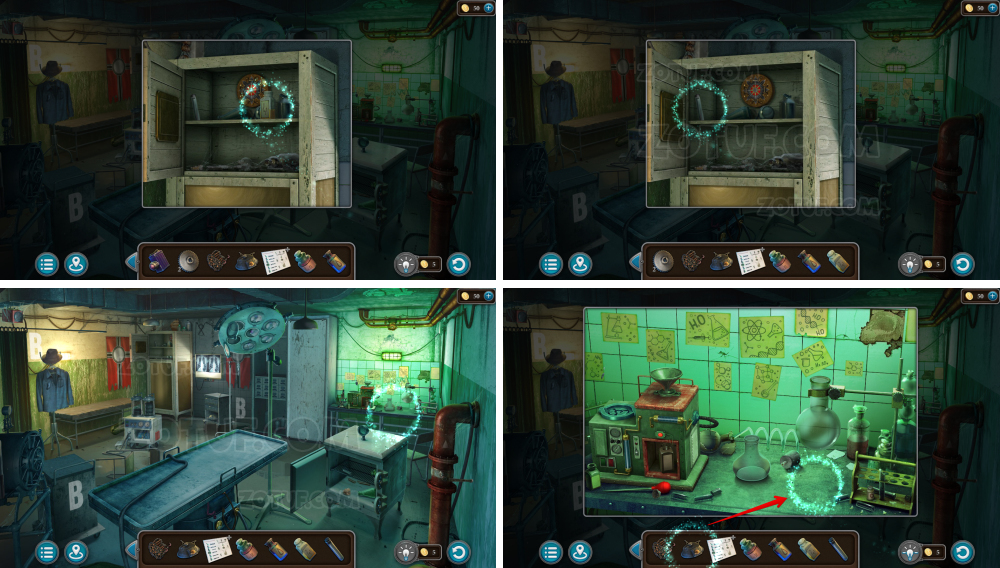
- Take the bracket 1/6.
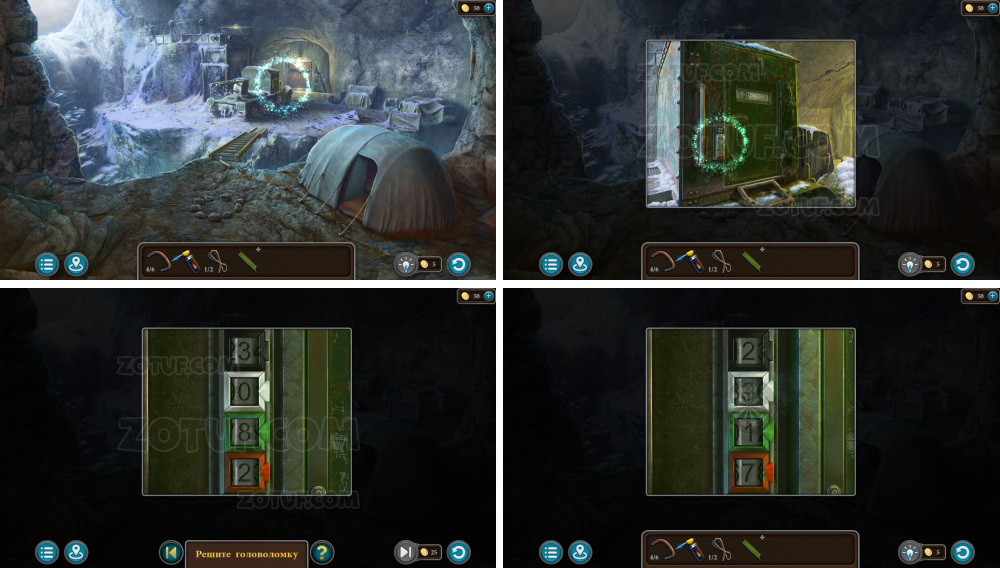
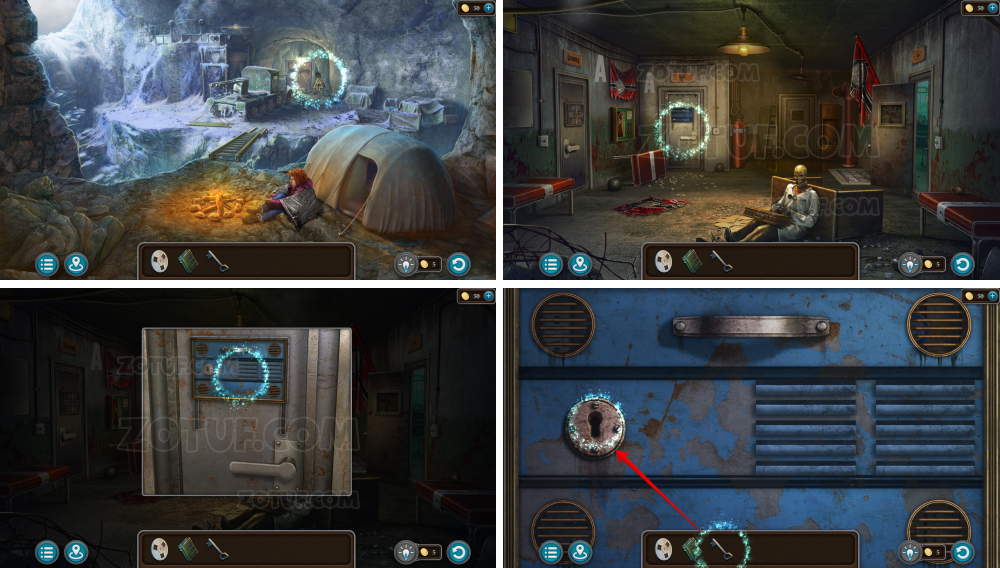
- Take the key.
- Take the empty gas burner.
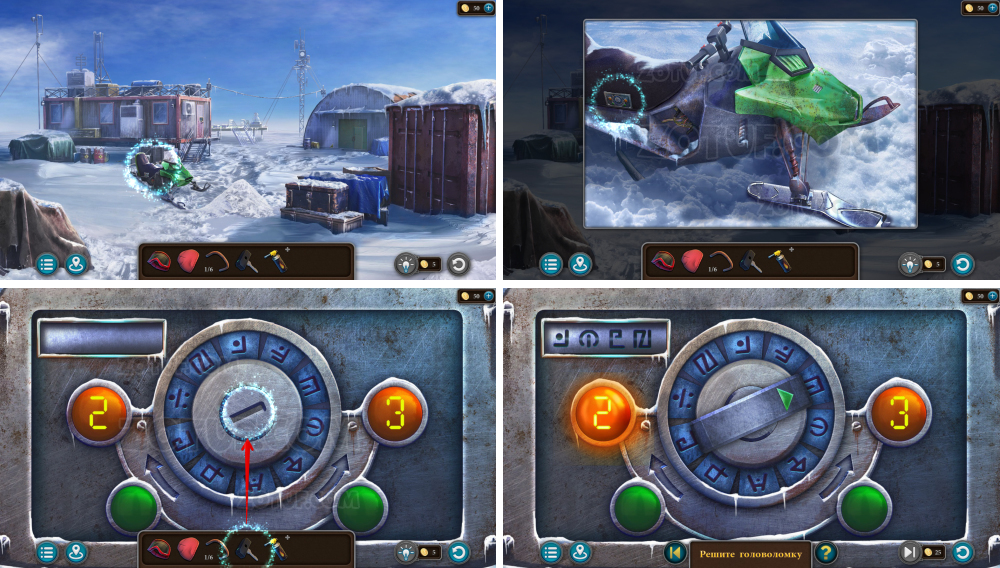
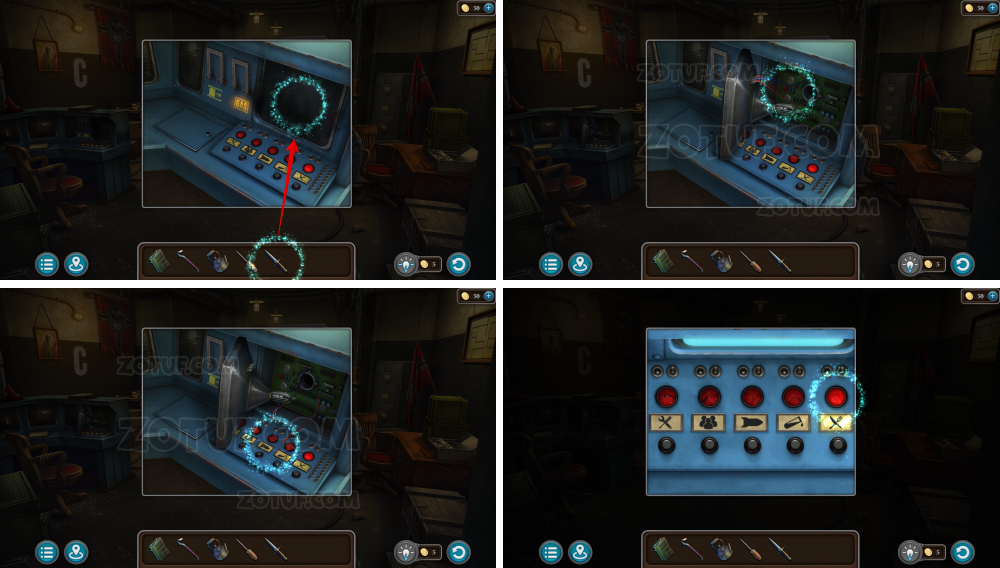
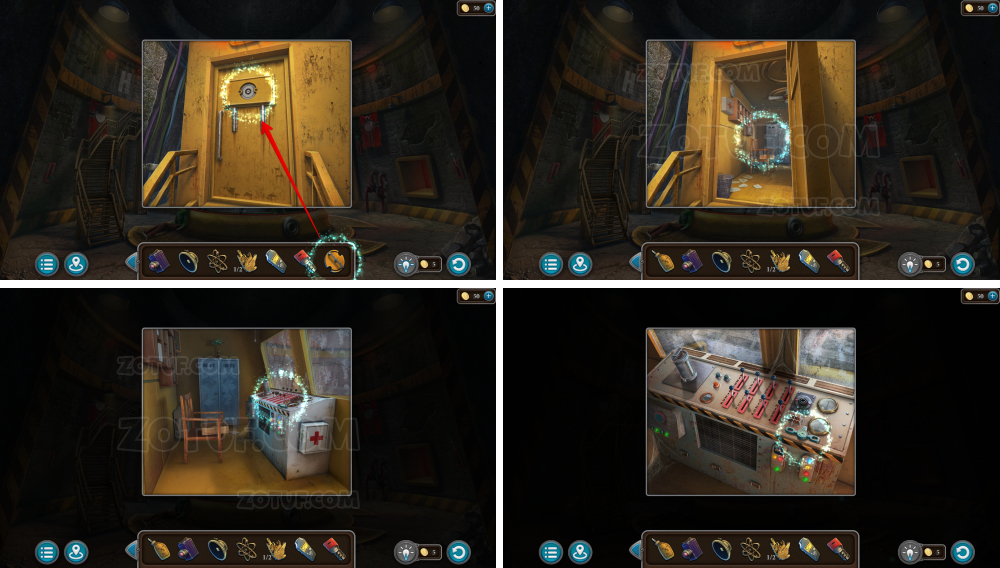
- Use the key.
- Solve the puzzle: Press the green buttons to rotate the key and activate the symbols indicated in the hint.

- Take the gas canister and the ignition candle.
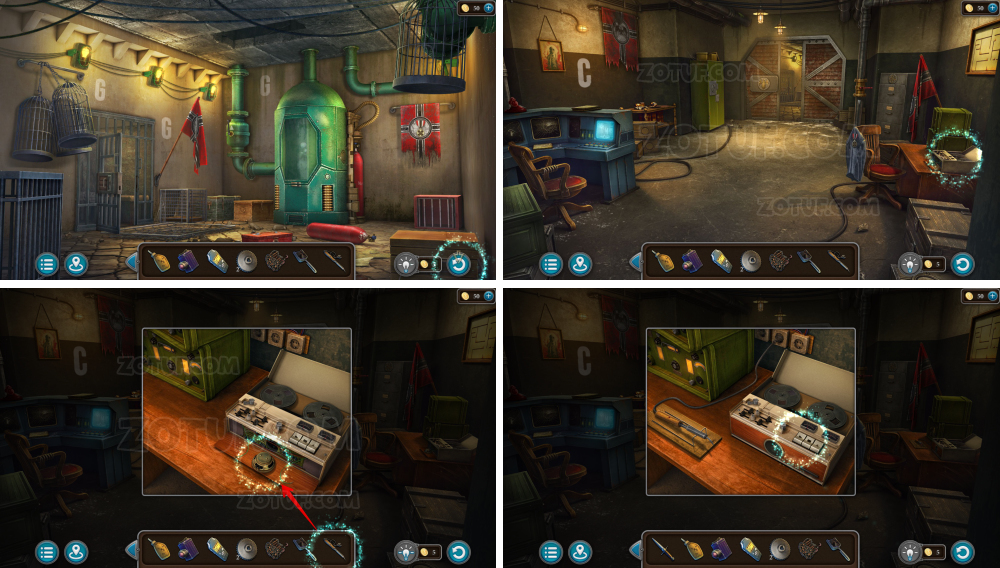
- Click on the empty gas burner.

- Use the gas canister, obtain the gas burner.
- Use the gas burner.

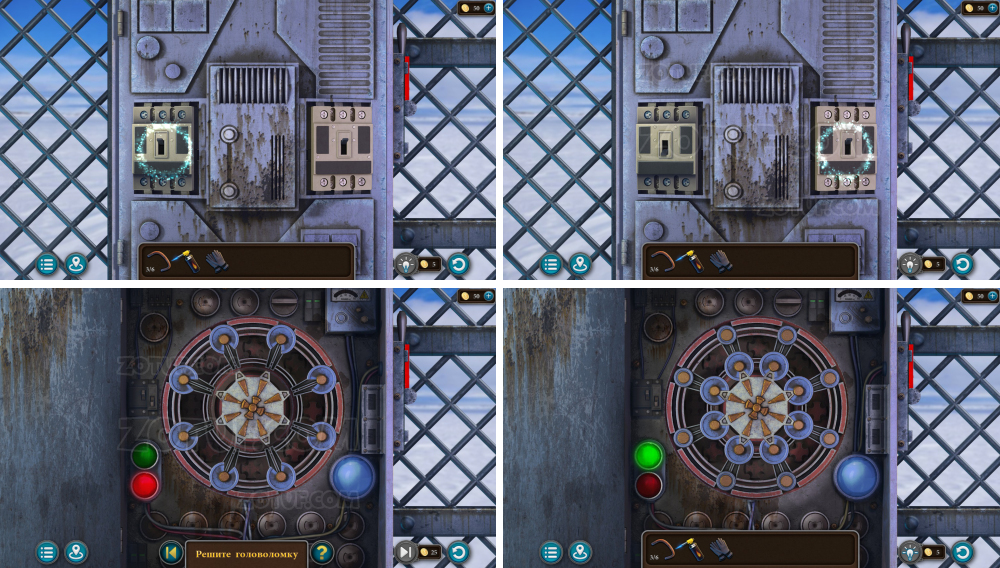
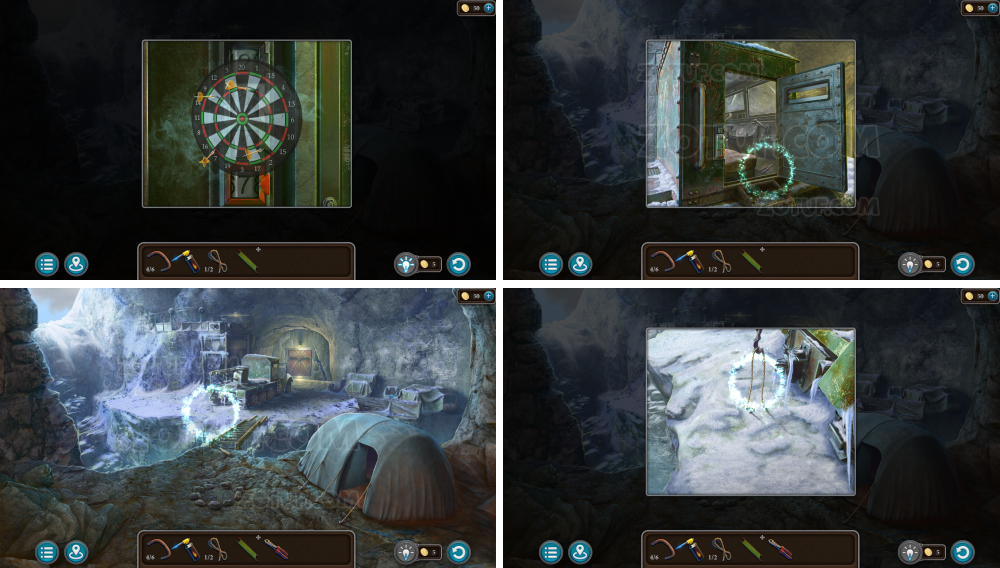
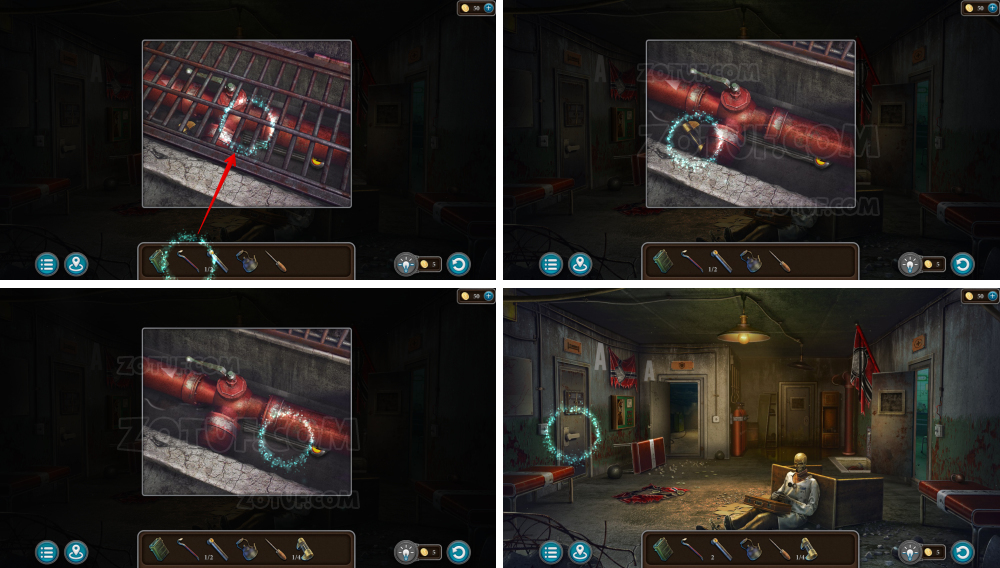
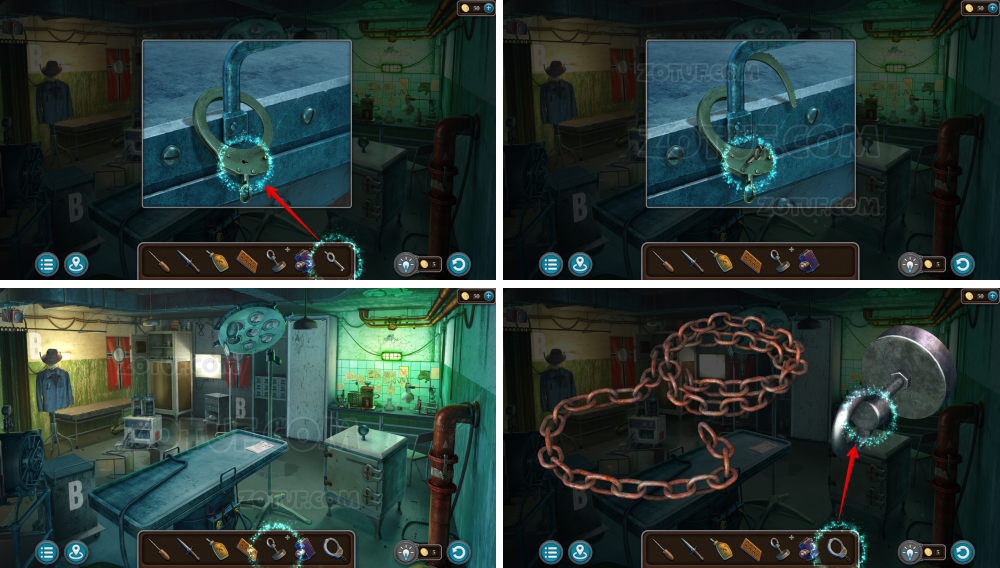
- Take the hose and the wire cutters.
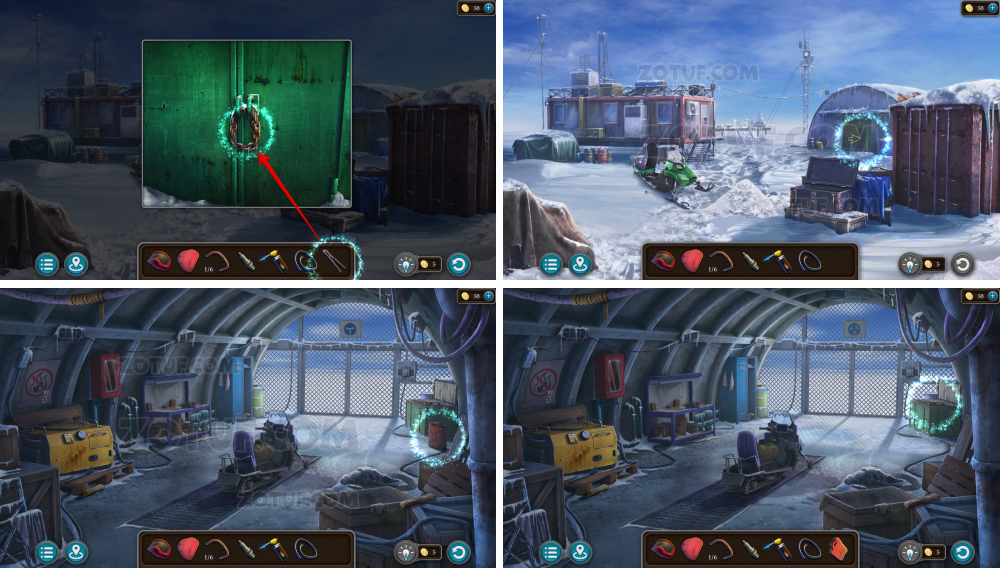
- Use the wire cutters.
- Take the canister.

- Take the spark plug wrench.
- Take the overalls.

- Take the bracket 2/6.

- Unscrew the tank cap.

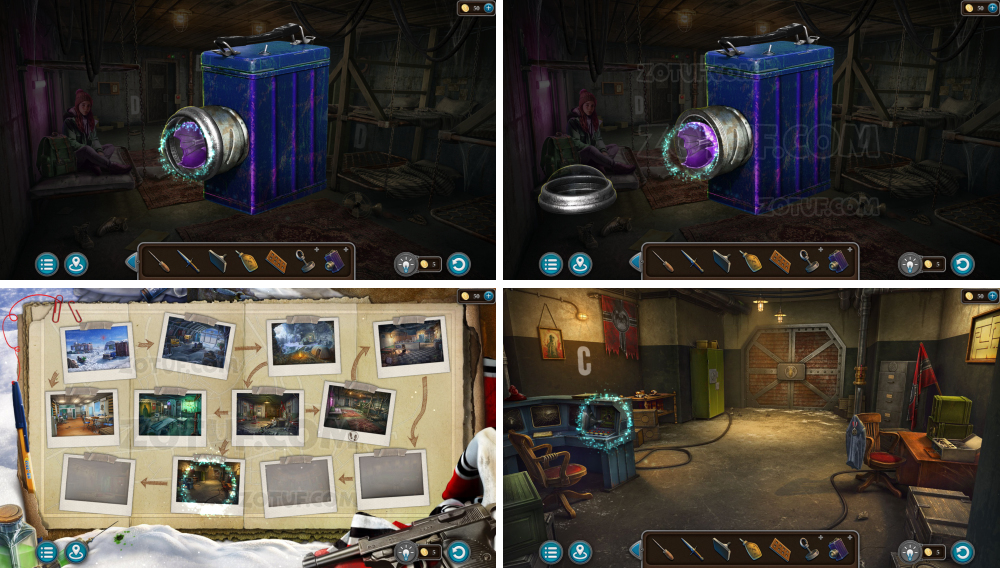
- Take the navigator.
- Use the canister.

- Use the hose, obtain the fuel canister.

- Use the fuel canister.

- Use the spark plug wrench.
- Use the ignition candle.

- Use the spark plug wrench.
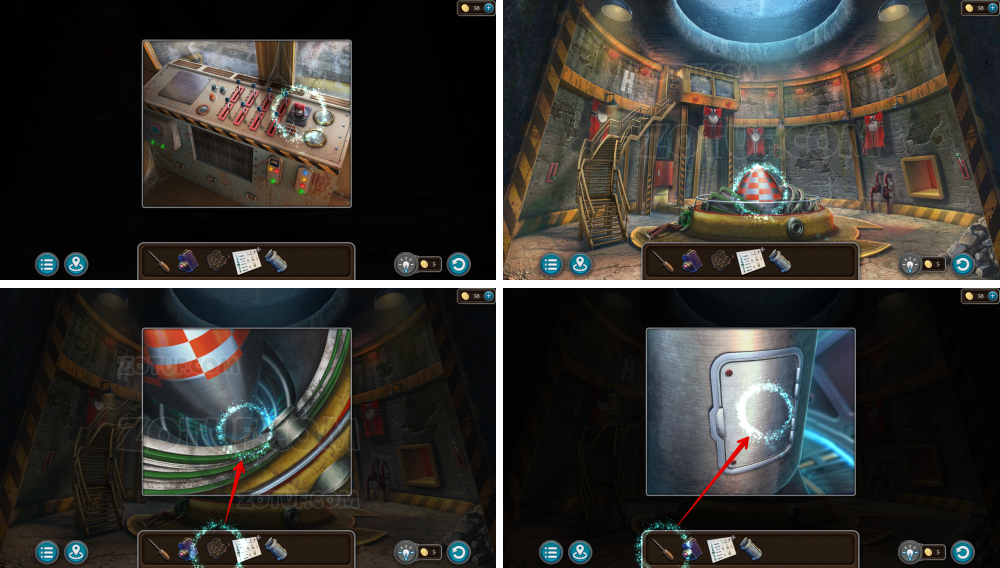
- Start the generator.
- Take the switch 1/2.
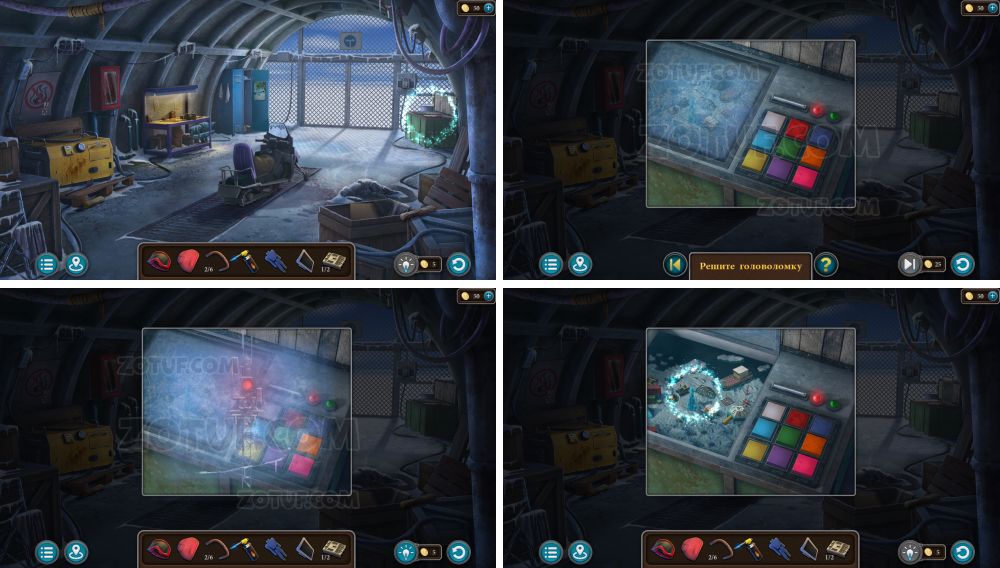
- Solve the puzzle: Press the colored squares in the correct sequence. The hint has appeared earlier in the game.
- Solution: Outside, there is a tower that blinks in different colors in the correct sequence.

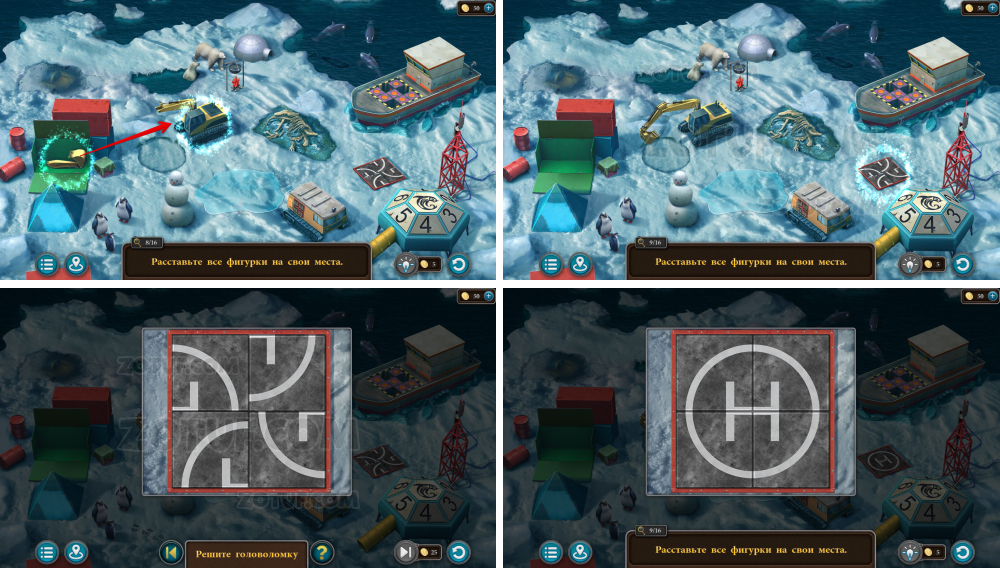
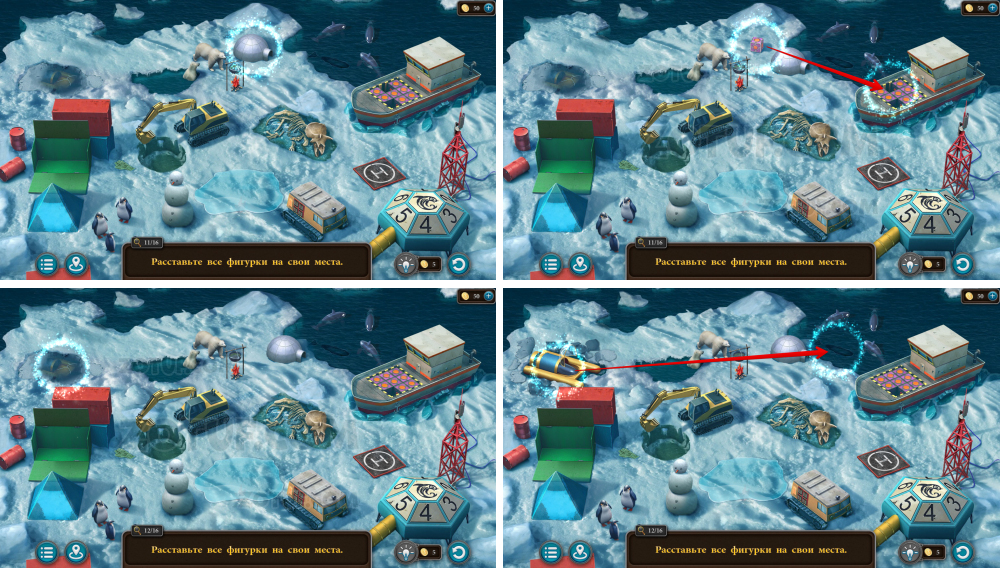
- Solve the puzzle: Place all the figurines in their correct positions.
- Figurines 1-4/16.

- Figurines 5-7/16.

- Solve the puzzle: Rotate the circle fragments to form the correct shapes.
- Solution in the picture: circle at the top, hexagon on the right, triangle on the left.
- Figurine 8/16.
- Figurine 9/16.
- Solve the puzzle: Swap the tiles to assemble the complete image.
- Solution in the picture.

- Figurines 10-11/16.
- Figurines 12-13/16.

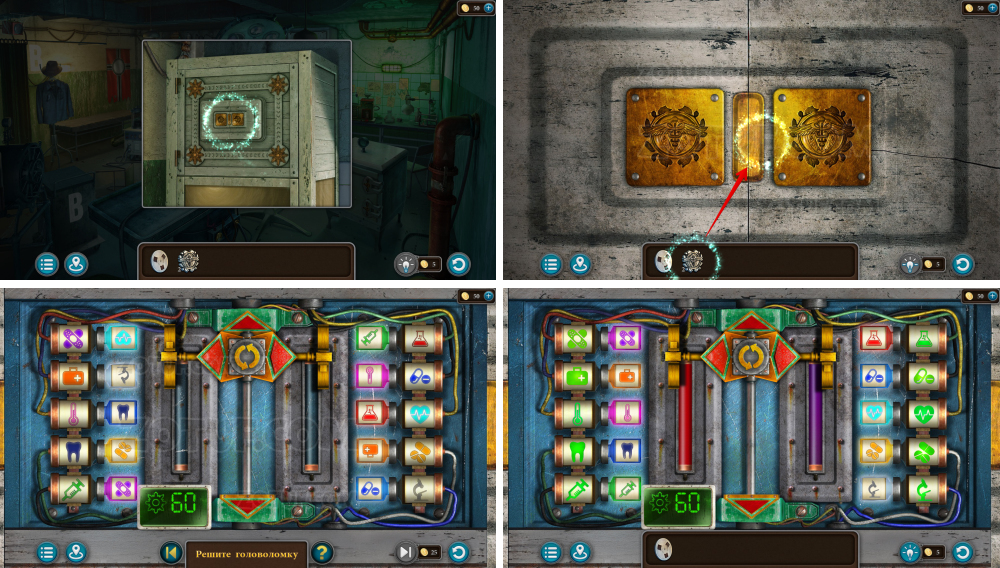
- Solve the puzzle: Rotate the cylinders to display the correct numbers. You’ve already seen the hint.
- Solution in the picture: 24 at the top, 36 at the bottom.

- Figurine 14/16.
- Solve the puzzle: Press the squares to make all the circles light up.
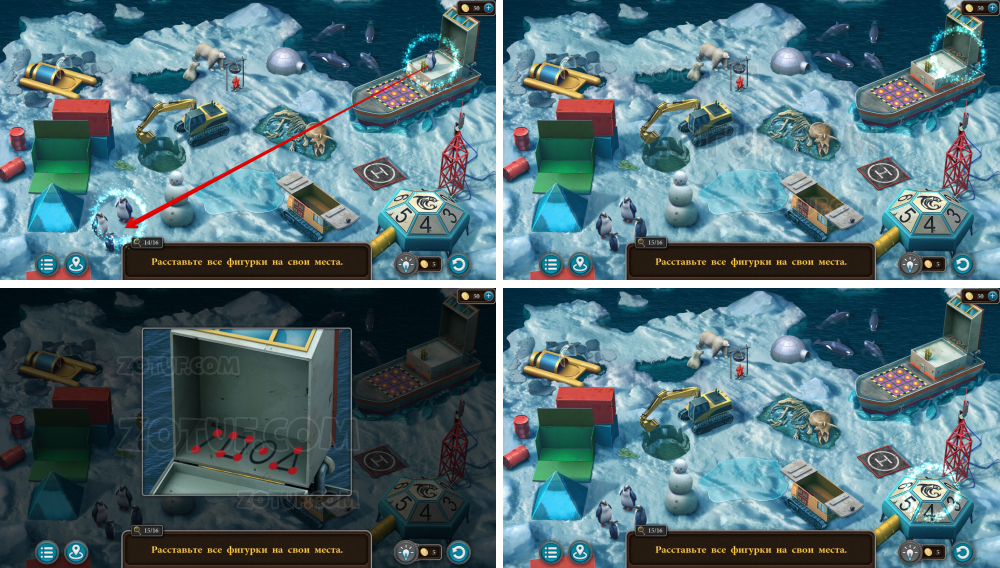
- Figurine 15/16.
- Count the red circles on each symbol.

- Solve the puzzle: Enter the correct numbers in a specific sequence. You’ve already encountered the hint.
- Solution in the picture: Each has a different code, in the picture, it’s 2413. To get the code, count the red circles on the symbols and enter the resulting four digits.
- Figurine 16/16.
- Take the access card.
- Use the access card.

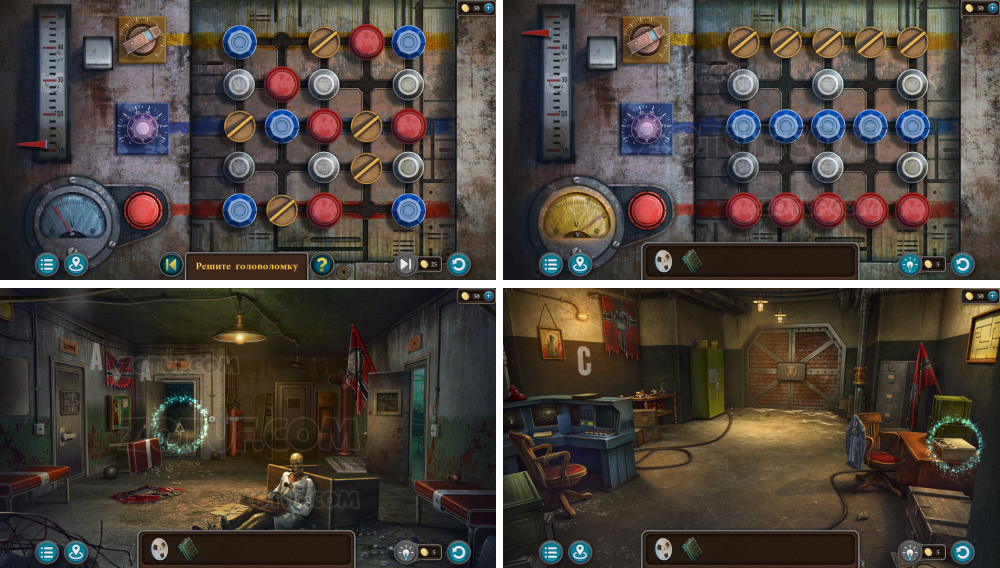
- Solve the puzzle: Rearrange the blue numbers so that the sum of each column and row matches the numbers around the perimeter.
- Solution in the picture.

- Take the bracket 3/6.
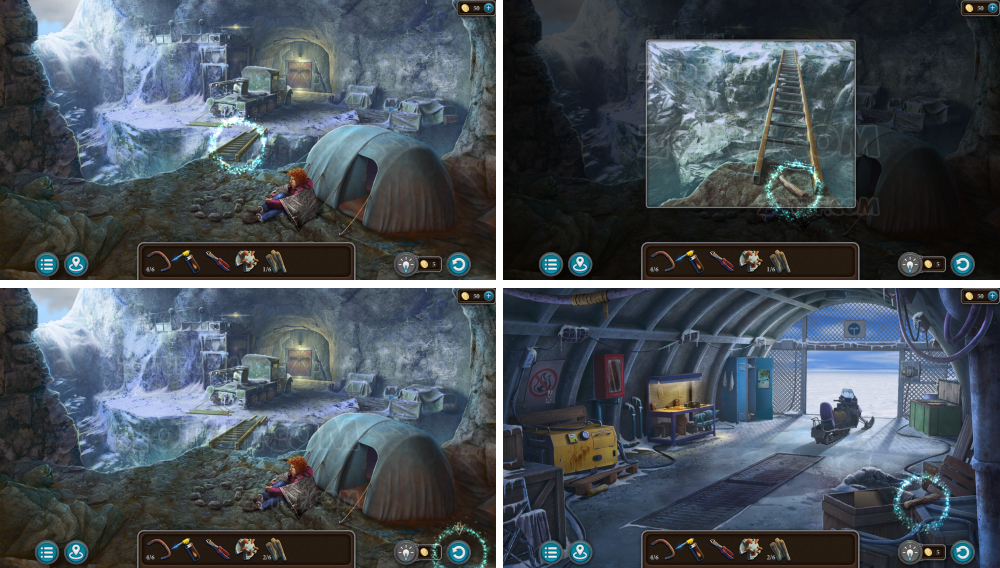
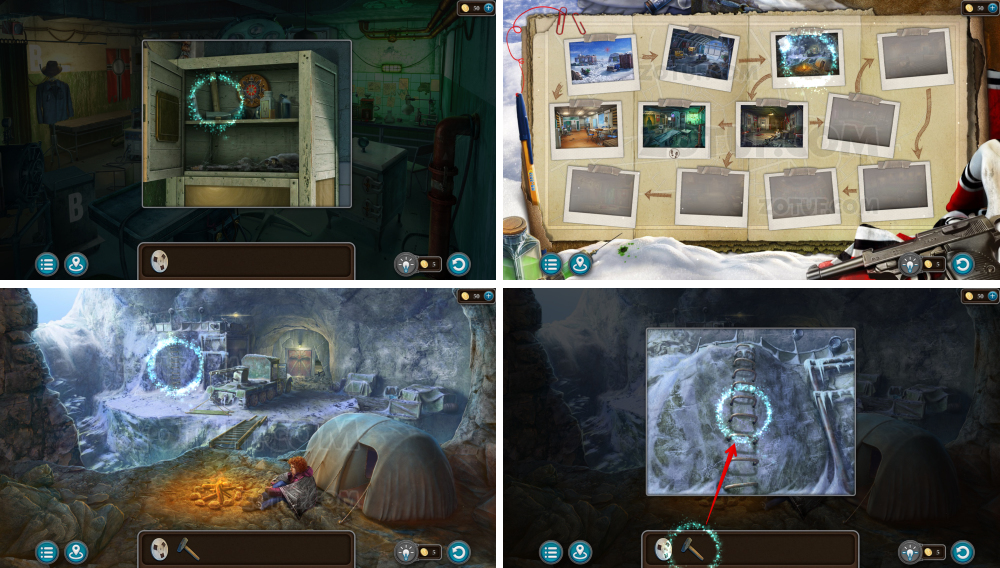
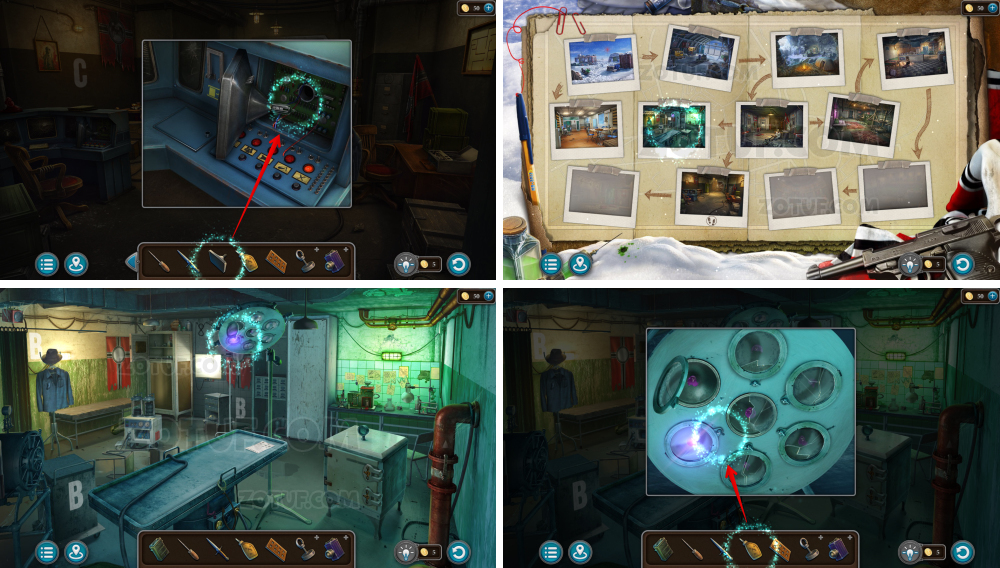
- Use the navigator.
- Take the navigator with the map.
- Take the wrench.
- Take the boots.
- Solve the puzzle: Move the mechanism parts and place the balls as shown in the hint.
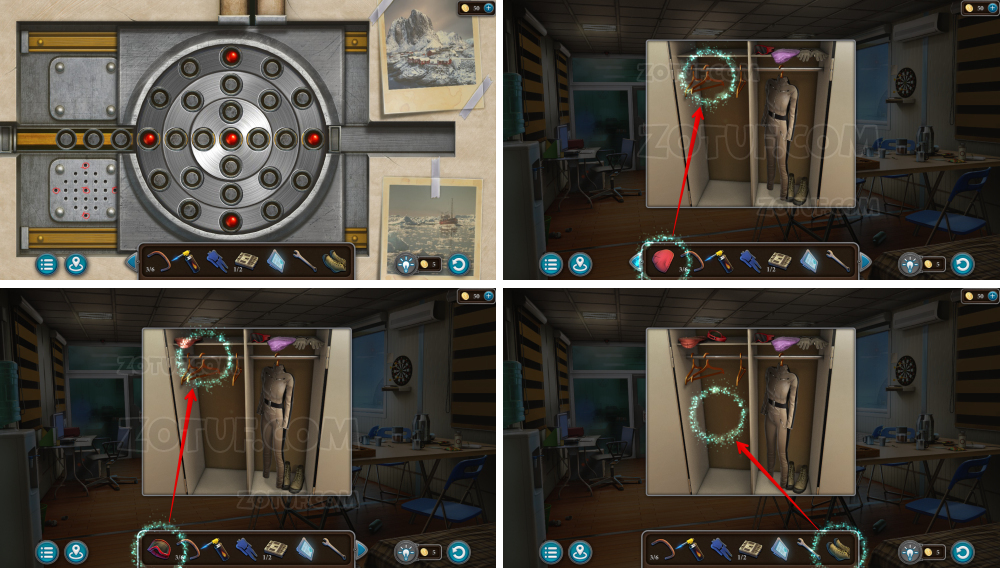
- Use the hat, ski mask, and boots.

- Use the overalls.
- Use the wrench.
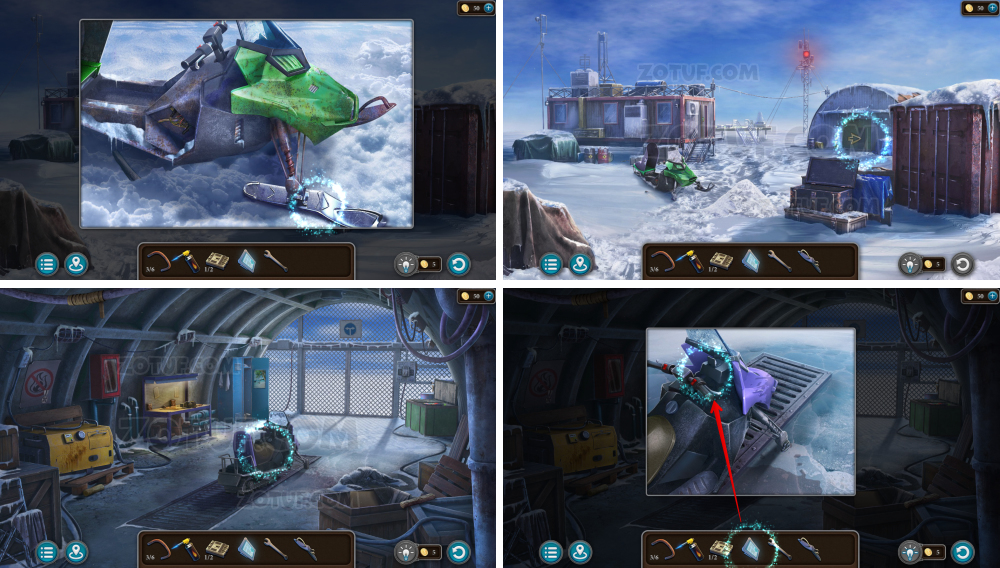
- Take the bent ski.
- Use the navigator with the map.
- Use the bent ski.
- Take the ski.
- Use the ski and the wrench.
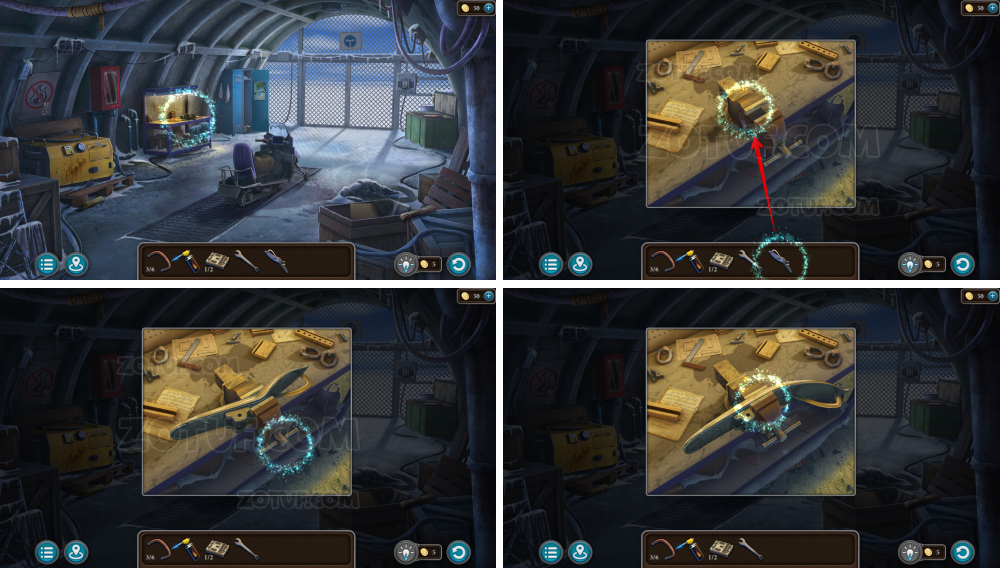
- Take the gloves and the switch 2/2.
- Use the two switches.
- Flip the toggles.
- Solve the puzzle: Press the circles to make them all latch.

- Use the gloves.
- Get dressed.

- Solve the puzzle: Reach the end of the path. Press the steering wheel left or right to avoid obstacles.
- Take the gaff.

- Take the rope 1/2.
- Go back.

- Use the gaff, obtain the stepladder.
- Use the stepladder.
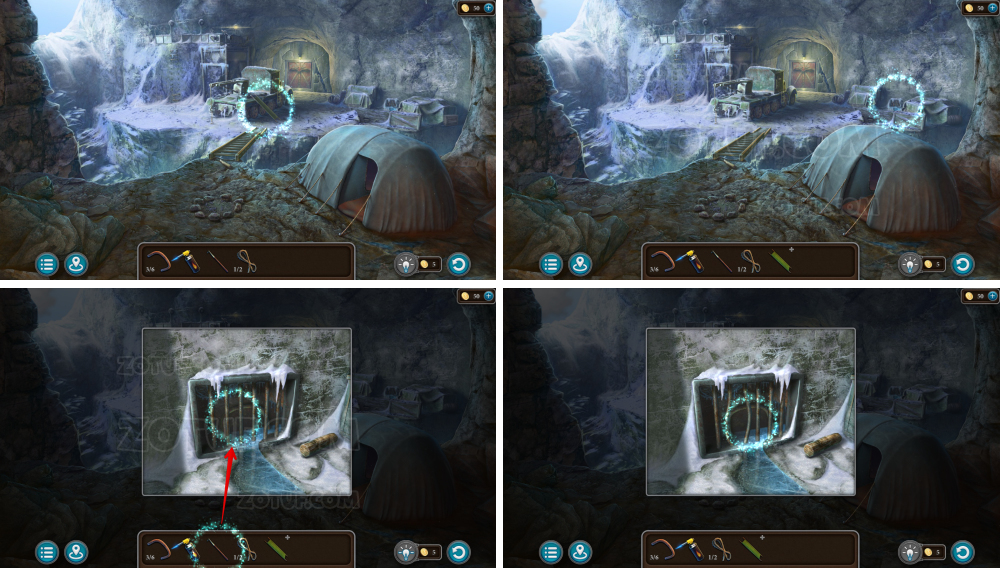
- Take the stretcher.
- Use the gaff.
- Take the bracket 4/6.
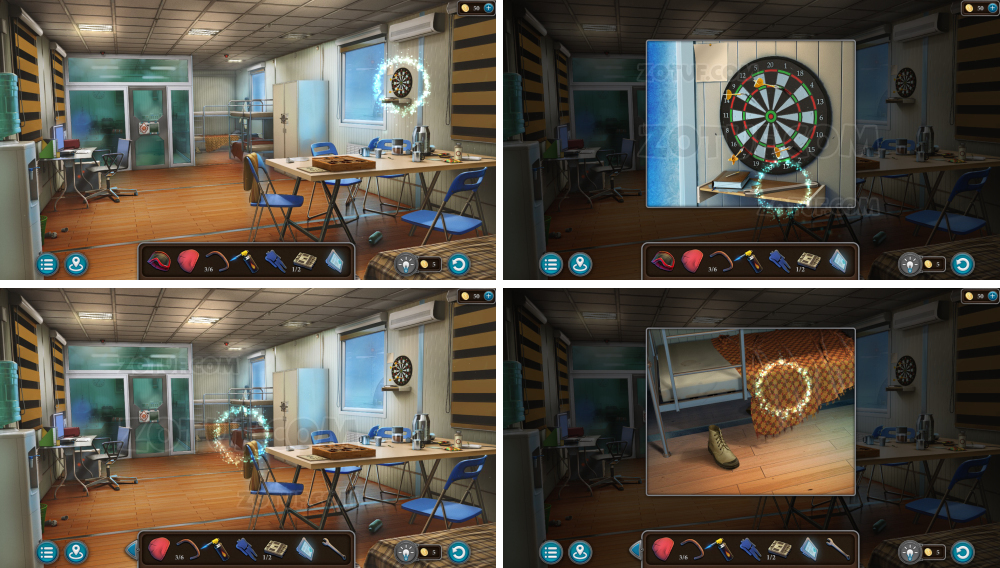
- Solve the puzzle: Press the lock parts and set the correct numbers. The hint has appeared earlier in the game.
- The code is different for everyone.
- Solution in the picture: Each dart in darts is on its own color and has its own number. The lock code also has colors next to the numbers. Substitute the corresponding numbers in the code.
- Take the side cutters.
- Take the rope 2/2.

- Click on the stretcher.
- Use the two ropes, obtain the stretcher.
- Use the stretcher.
- Press the lever, talk, obtain the insert key.
- Take the firewood 1/6.
- Take the firewood 2-3/6.
- Take the firewood 4-5/6.

- Use the side cutters, obtain the wires.
- Take the firewood 6/6.

- Use the insert key.
- Solve the puzzle: Rearrange the chips so the rays form the pattern shown in the hint.
- Solution in the picture.

- Take the dynamite.
- Take the painkillers.

- Use the six firewood and the gas burner.
- Use the painkillers.
- Use the dynamite and the gas burner.
- Go forward.

- Take the bracket 5/6.
- Use the wires.

- Go forward.
- Open the curtain.
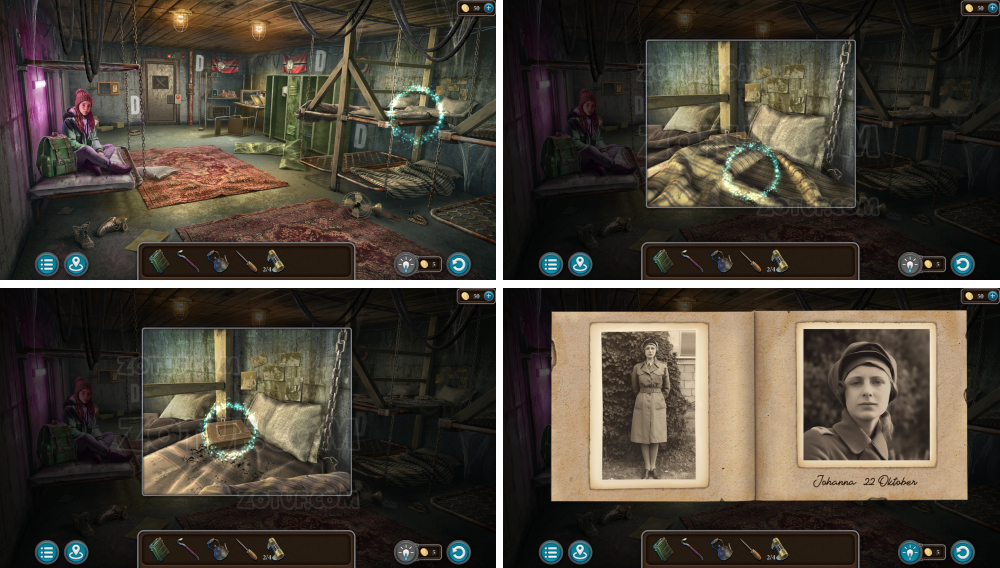
- Take the audio cassette.
- Take the locket 1/2.
- Take the bracket 6/6.
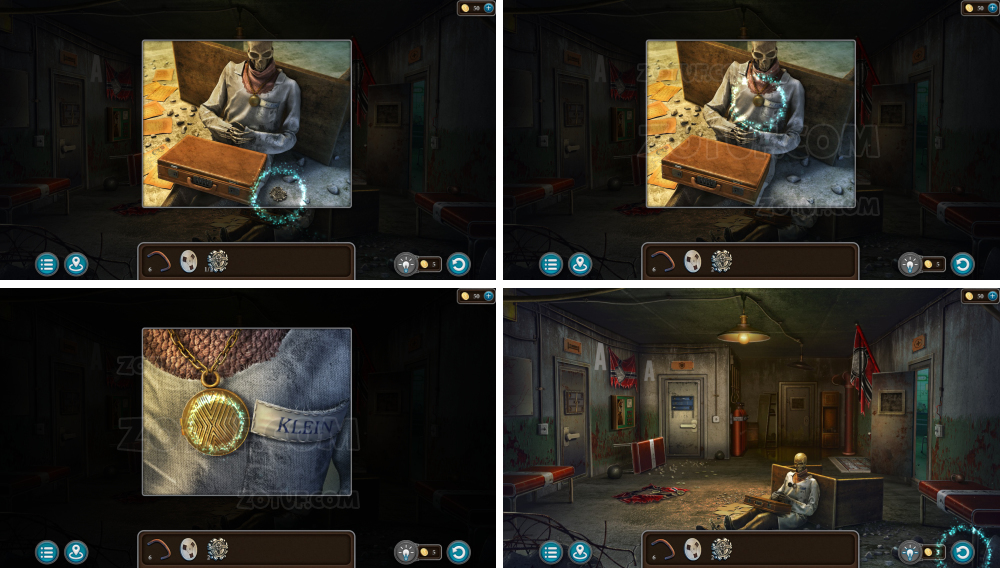
- Take the locket 2/2.
- Remember the photo in the locket.

- Use the six brackets.
- Use the two lockets.
- Solve the puzzle: Activate the mechanism in the center to pair all identical symbols.
- Take the hammer.
- Use the hammer.
- Take the battery.
- Take the key.
- Use the key.
- Solve the puzzle: Move the chips onto the lines of their corresponding colors.
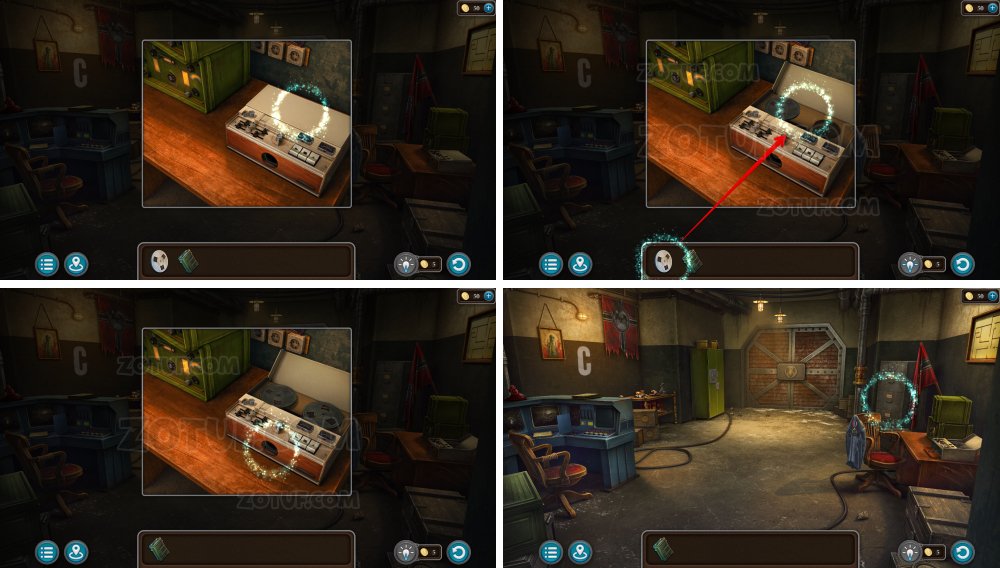
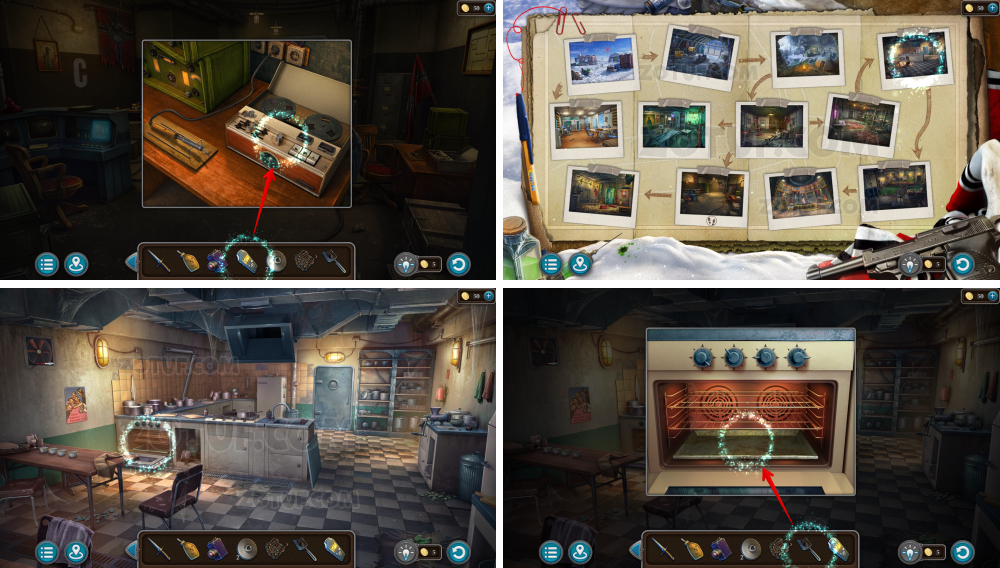
- Use the audio cassette.

- Take the crowbar.
- Take the handle 1/2 and the kettle.
- Take the screwdriver.
- Use the crowbar.
- Take the fuse 1/4 and the handle 2/2.

- Use the two handles.
- Solve the puzzle: Rotate the disk using the arrows to place the red chip in its correct position.

- Talk.
- Take the fuse 2/4.
- Find the photo and remember the date: 22.10.

- Solve the puzzle: Rotate the drum sections to display the required number. This number has appeared earlier in the game.
- Solution in the picture: code 2210.

- Take the dagger.

- Use the screwdriver.
- Take the fuse 3/4.
- Use the screwdriver.
- Take the fuse 4/4.
- Use the four fuses.
- Use the dagger.
- Press the fork and knife button.

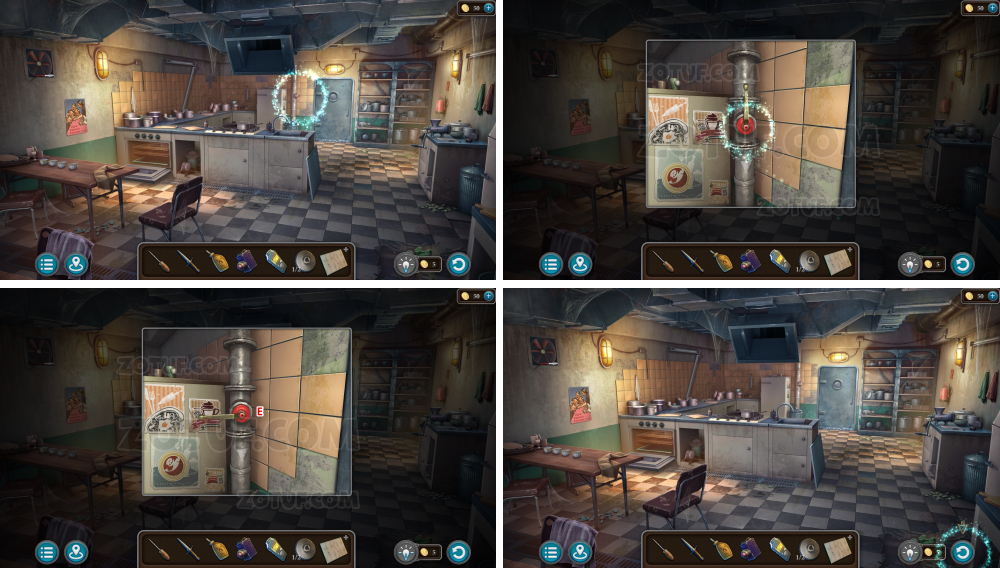
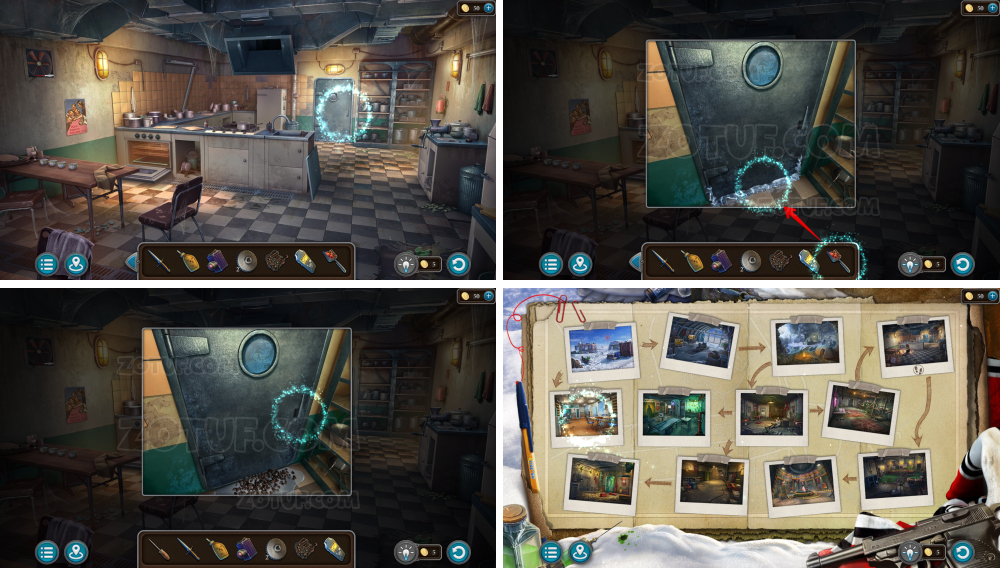
- Take the screen.
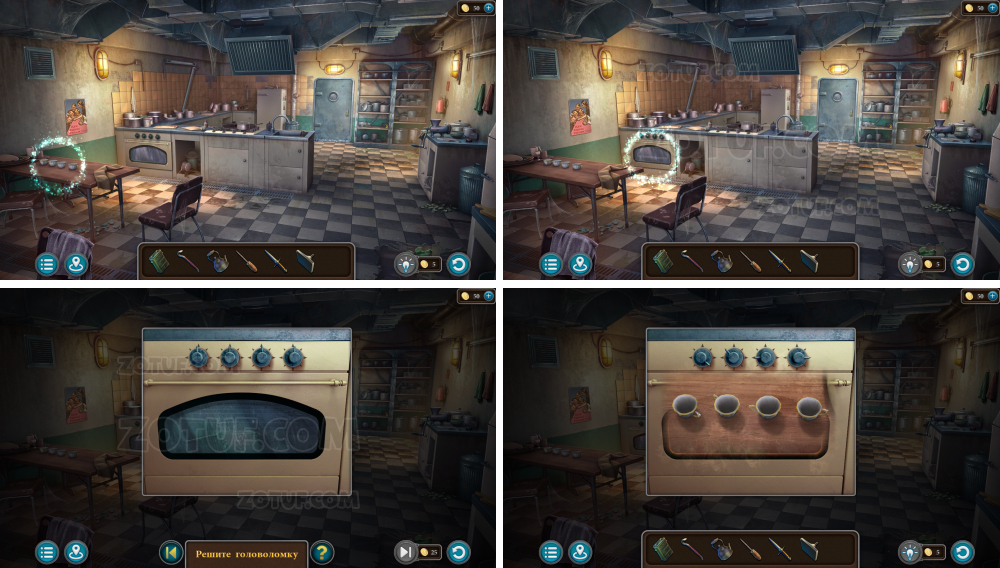
- Solve the puzzle: Set the buttons in the correct positions. You’ve already seen the hint.
- Solution in the picture: The knobs on the circles indicate the positions of the oven knobs.
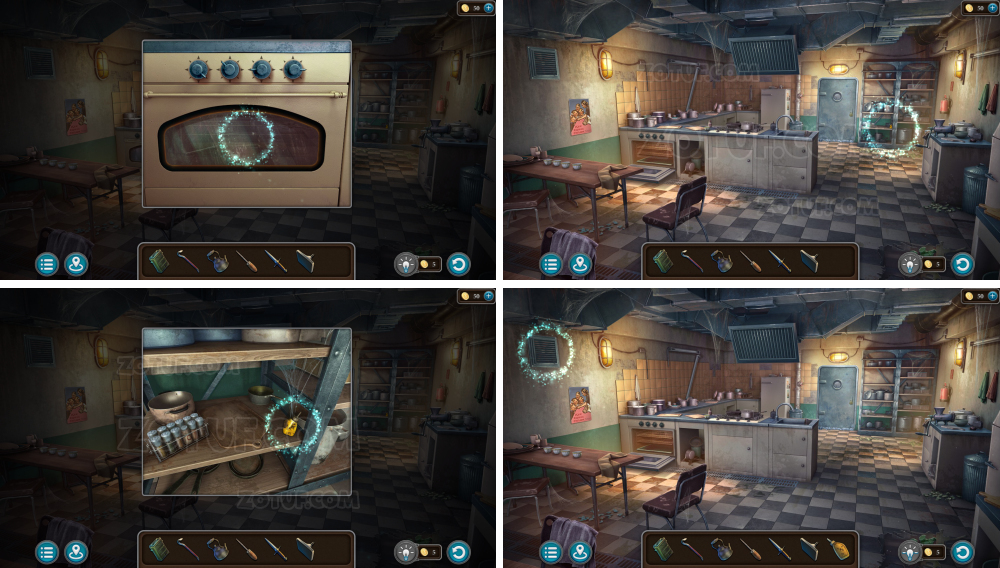
- Take the oil can.

- Use the screwdriver and the crowbar.
- Take the panel.
- Take the valve.
- Use the kettle.

- Use the valve.
- Take the kettle with water.
- Use the kettle with water.

- Take the tea.
- Take the magnet.
- Use the tea, talk, obtain the flashlight.
- Click on the flashlight.
- Unscrew the broken bulb.
- Use the screen.
- Use the oil can.

- Take the UV lamp.
- Click on the flashlight.
- Use the UV lamp.

- Use the battery, obtain the UV flashlight.

- Use the UV flashlight.
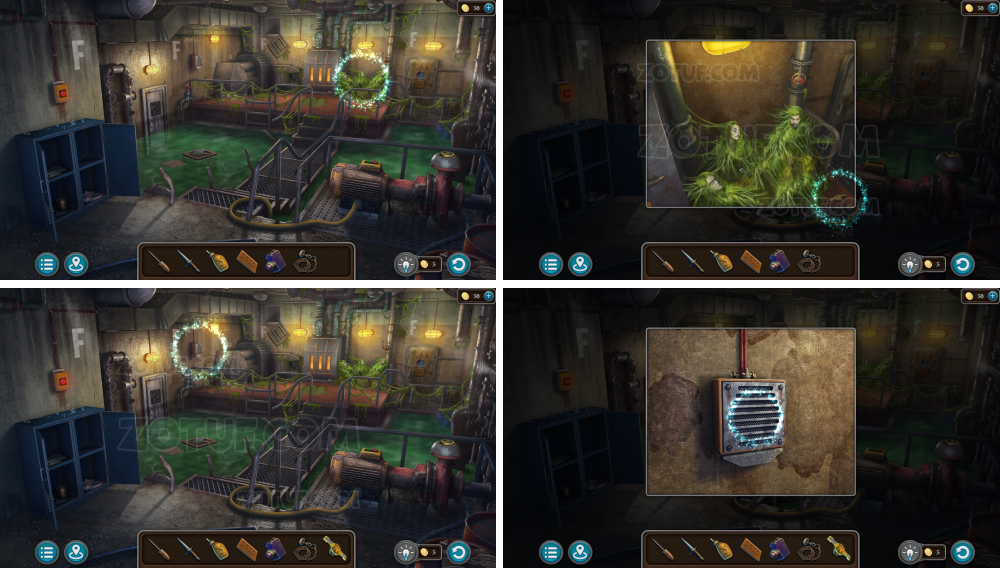
- Solve the puzzle: Navigate through the vents and find the exit from the maze.
- Take the small key and the chain.

- Click on the magnet, use the chain.
- Use the small key.
- Take the handcuffs.
- Click on the magnet, use the handcuffs, obtain the chain with the magnet.

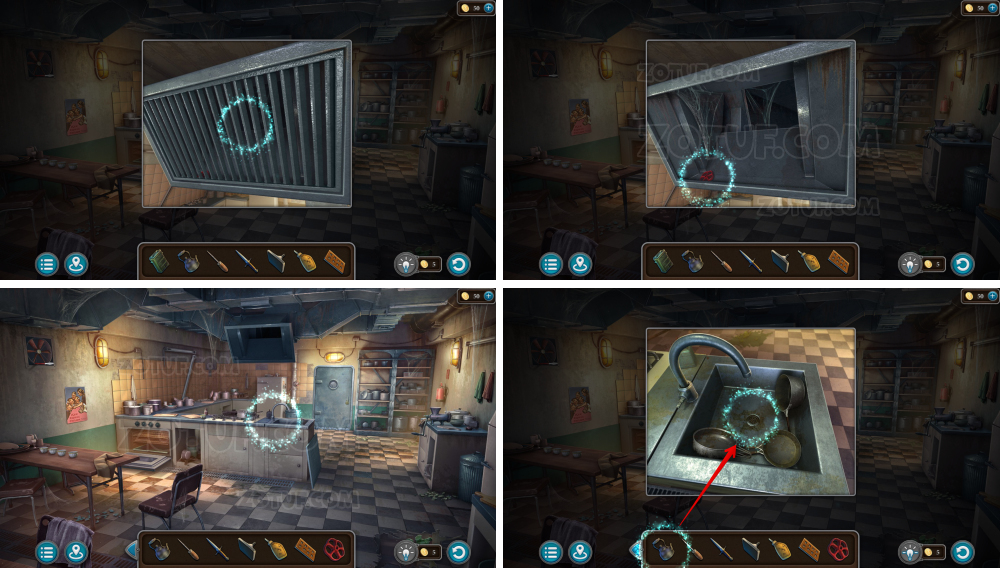
- Take the hose.

- Use the hose.
- Take the valve.

- Use the dagger.
- Take the speaker.
- Use the chain with the magnet, obtain the box.
- Use the valve.
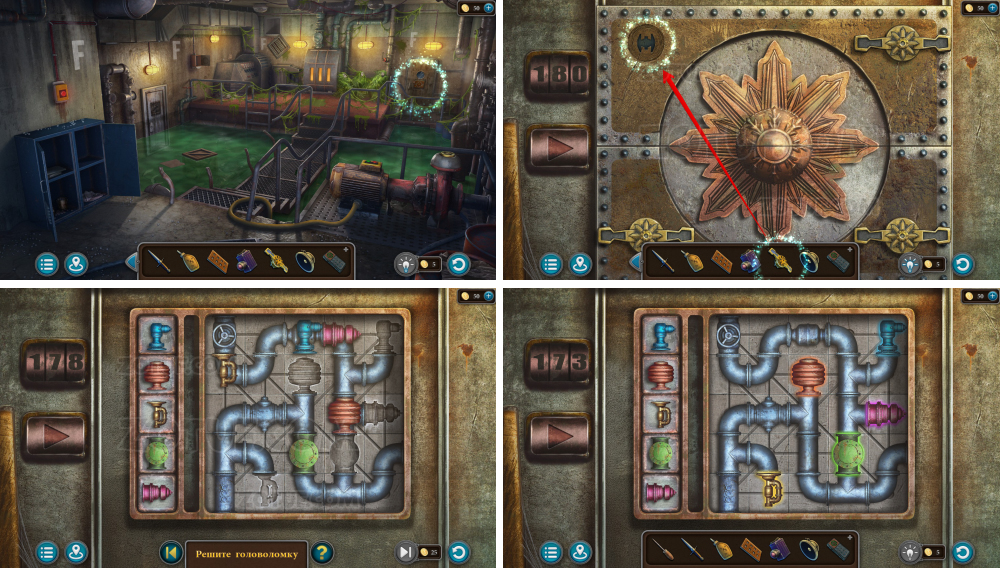
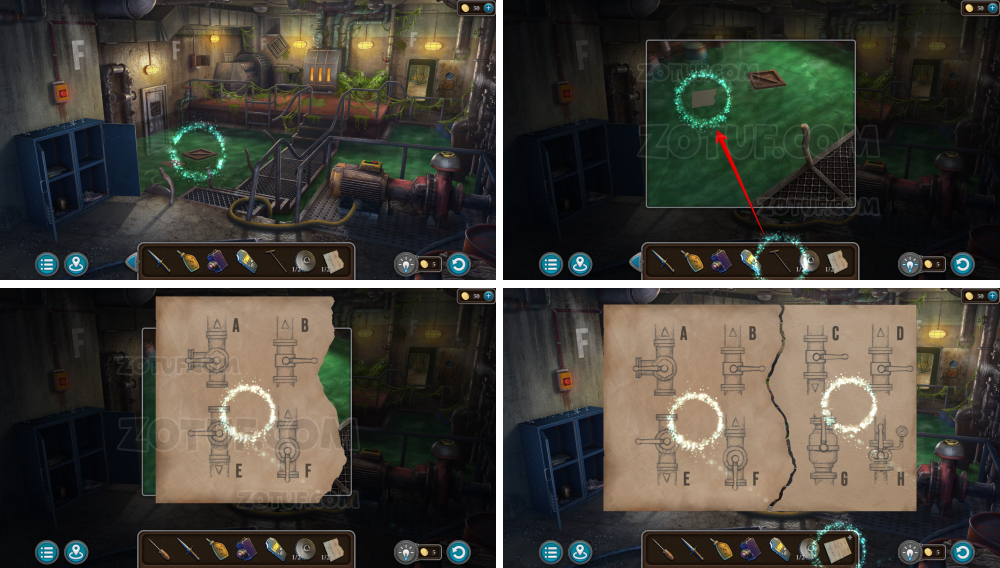
- Solve the puzzle: Place the pipes in their correct positions. Use the fragments on the left to highlight the regions and press the arrow to move the pipes on the board.

- Click on the box, use the panel.
- Solve the puzzle: Press the squares in such a sequence that all the shapes on the right light up.

- Take the pattern.
- Take the wing 1/2.
- Take the recorder.

- Take the ignition key.
- Take the shutter key.
- Use the shutter key.
- Take the rivet 1/2.

- Use the ignition key.
- Use the speaker.

- Use the pattern.

- Take the scan.
- Use the scan.

- Count the fractures on each half for the upcoming puzzle to get four digits.

- Solve the puzzle: Enter the correct numbers. The code is the number of fractures on each side of the edges.
- Solution in the picture.
- Read the note.

- Take the pressure plan and the wing 2/2.

- Use the two wings.
- Solve the puzzle: Move the parts using the blue arrows and place them in their correct positions.
- Go forward.

- Take the mop.
- Take the gear 1/2.
- Take the file.

- Take the rivet 2/2.
- Use the file.

- Take the cylinder.
- Use the two rivets.

- Take the diagram 1/2.

- Use the cylinder.
- Use the pressure plan.
- Use the mop, obtain the diagram 2/2, obtain the complete diagram.
- Solve the puzzle: Run around the rooms and adjust the valves to the positions indicated on the diagram.
- Solution 1.
- Solution 2.

- Solution 3.

- Solution 4.

- Solution 5.

- Solution 6.

- Solve the puzzle: Set the switches so the arrows display the numbers shown in the hint.
- Solution in the picture.
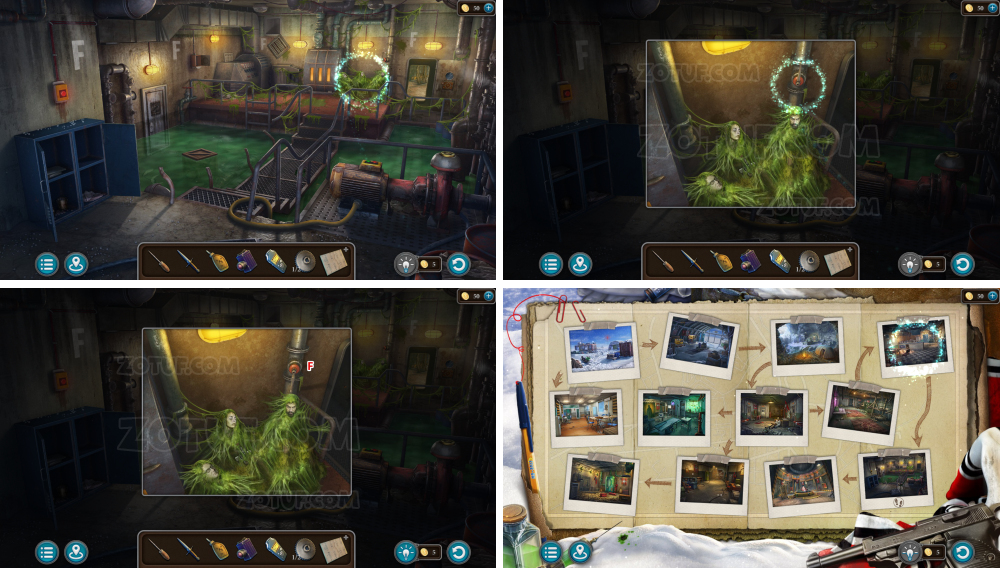
- Look at the screen behind the monster.
- Click on the green camera with the monster, obtain the key.

- Use the key.
- Solve the puzzle: Move the blocks to place the shapes into the indentations of the same shape.

- Take the ladder.
- Take the gear 2/2.
- Take the coal.
- Take the soldering iron.
- Use the soldering iron.
- Turn on the tape recorder.
- Use the recorder, obtain the voice recording.
- Use the coal, obtain the hot coal.
- Use the hot coal.
- Talk to the man in the closet, obtain the alcohol burner.

- Use the voice recording.
- Take the antidote recipe.

- Take the red phosphorus and copper sulfate.
- Take the acetic acid and the test tube.
- Use the alcohol burner.

- Open the antidote recipe, use the acetic acid, red phosphorus, and copper sulfate.

- Take the bone.

- Use the bone.
- Take the ground bone.

- Open the antidote recipe, use the ground bone.

- Use the test tube and the dagger, obtain the slime.
- Open the antidote recipe, use the slime.

- Use the two gears and the oil can.

- Take the container.
- Click on the ignition key.
- Use the ladder.
- Use the screwdriver.

- Use the container, obtain the hydrazine.
- Open the antidote recipe, use the hydrazine, obtain the reagents.
- Use the reagents.
- Solution 1.

- Solution 2.
- Solution 3.

- Solution 4.

- Take the antidote.
- Use the antidote.

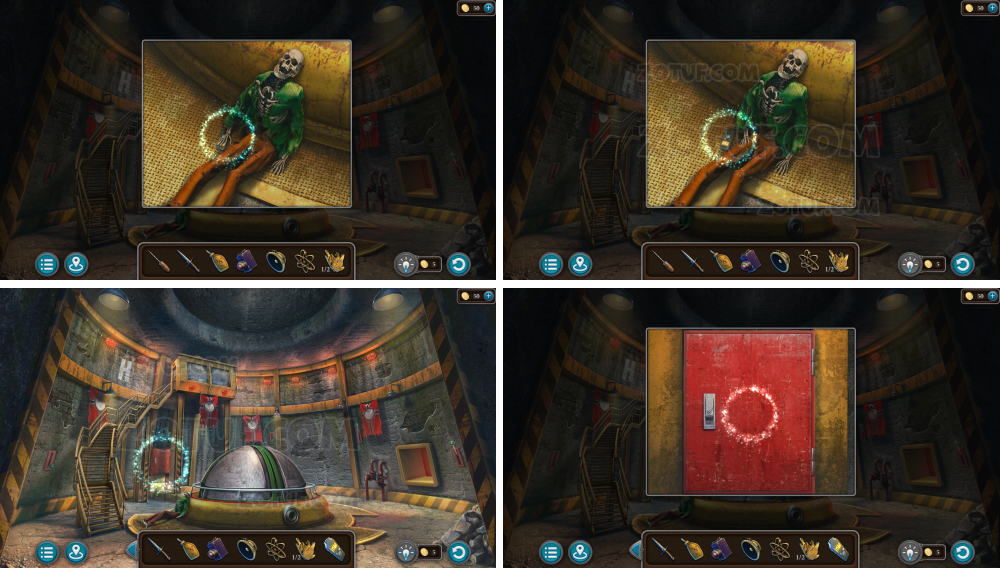
- Take the cross.
- Use the cross.

- Solve the puzzle: Activate the round chip by placing it in the bottom left corner, then guide it to the indentation at the top right. The chip can only move along the blocks.
- Take the flare.

- Use the flare.
- Board the helicopter.
Congratulations! You have successfully completed Artifact Seekers Episode 8: Polar Station.


