
Cursed Fables 3: A Voice to Die For (Bonus Chapter) – Help Marianne find out what is causing chaos in the royal castle. The castle is forced to stop preparations for a wedding. Princess Cassandra hears strange noises, but sees no one. Perhaps they are small creatures.
Bonus Chapter Walkthrough

- Take OCTOPUS (A).
- Use OCTOPUS, read note, take GLASS BOWL, SAND, and SEAL BREAKER (B).
- Use GLASS BOWL, earn FISH and SEA WATER (C).

- Use FISH and SEAL BREAKER (D), play puzzle, earn BADGE.
- Use BADGE, take SPRING and WATER CRYSTAL (E).
- Use WATER CRYSTAL, take INCENSE and DRYING HORN (F).

- Use INCENSE, earn PURPLE FLAME (G).
- Use SAND (H), SEA WATER (I), and PURPLE FLAME (J).
- Play puzzle, earn REVEALING AMULET (K).

- Talk, earn BRACELET (L).
- Take 1/4 TERRITORY (M).
- Take SOFT PAINTBRUSH (N).
- Use SOFT PAINTBRUSH, take WING (O).

- WING on REVEALING AMULET, take ACTIVE AMULET.
- Use ACTIVE AMULET (P).
- Take SEAHORSE (Q).
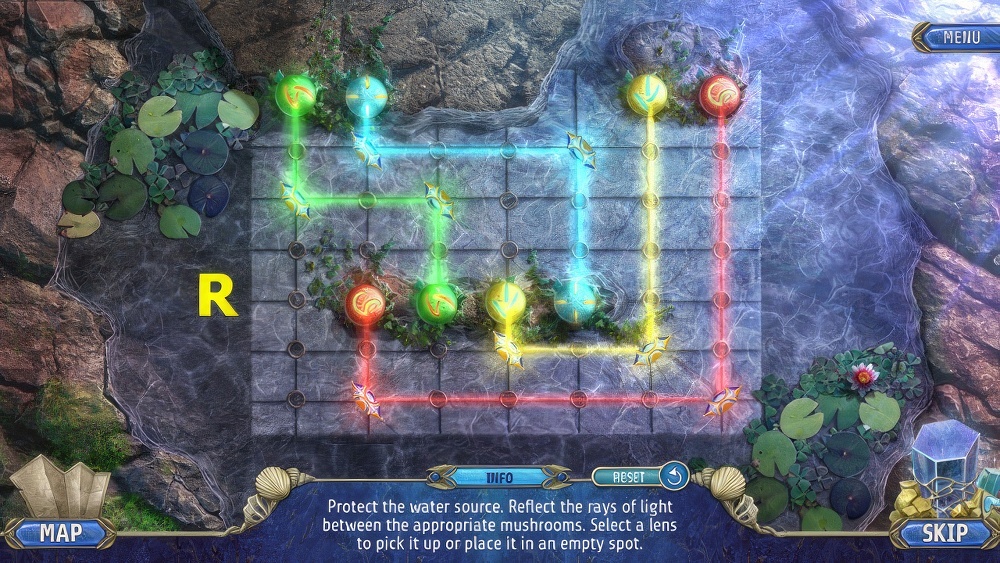
- Use SPRING and SEAHORSE, take BOOK (R).
- Place BOOK, take 2/4 TERRITORY and BONE SCISSORS (S).
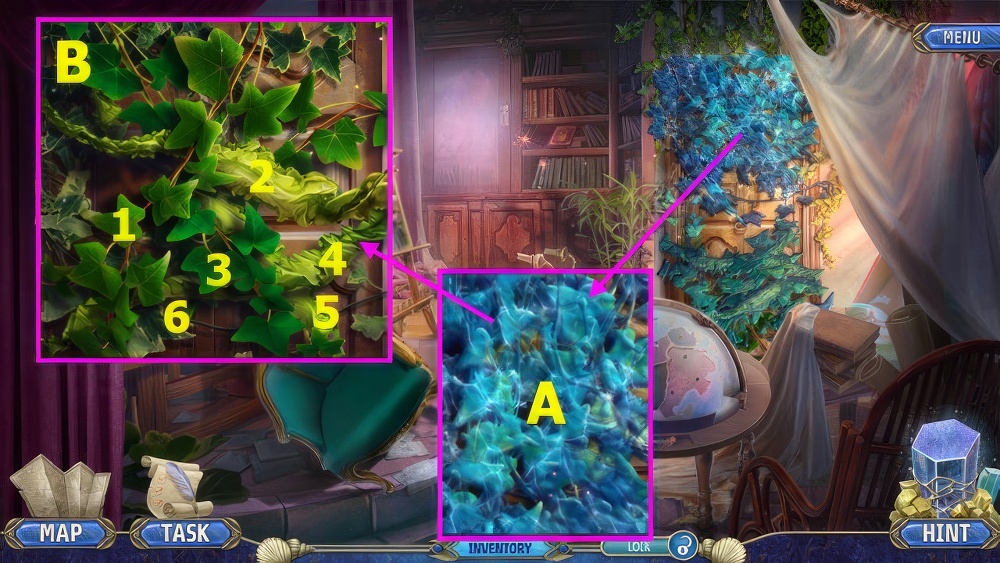
- Use DRYING HORN and BONE SCISSORS (A).
- Select 1-6 (B).
- Go right.

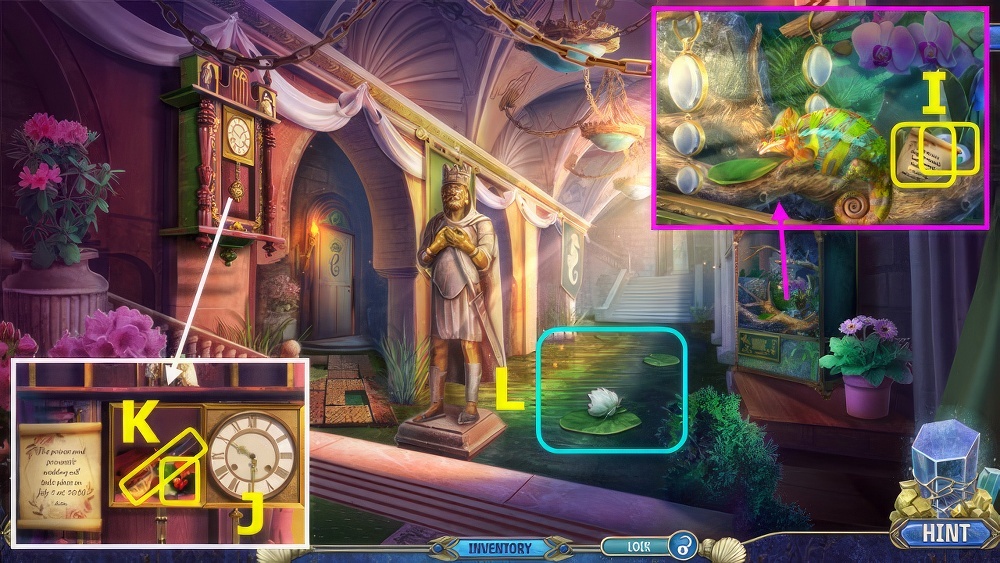
- Take PENDULUM, read sign (C).
- Place PENDULUM, take 3/4 TERRITORY and GOLDEN THUMB (D).
- Place GOLDEN THUMB, take PUZZLE BOX, place BRACELET, take 4/4 TERRITORIES and BRONZE GEAR (E).
- Walk down.

- Place TERRITORIES, take OIL BOTTLE and TWO-PRONGED FORK (F).
- Use TWO-PRONGED FORK, take PLANKS (G).
- Go right.
- Place PLANKS (H).

- Solution (I).

- Talk, earn BOOKCASE KEY (J).
- Take FEATHERS (K).
- Take THIN CHAIN (L).
- Place BRONZE GEAR and THIN CHAIN, read note, take TULIP, COMBINATION and 1/3 OWL PART (M).
- Place TULIP, take SHOE and FOG CATCHER (N).
- Go right, walk down.

- Use FOG CATCHER and BOOKCASE KEY (O), play puzzle, earn PIXIE TOKEN.
- COMBINATION and PIXIE TOKEN on PUZZLE BOX, select 1-2-3 (P), read note, take CHALK and 2/3 OWL PART.
- Use CHALK, take LENSES and 3/3 OWL PARTS (Q).
- Place OIL BOTTLE, FEATHERS, and OWL PARTS, take MECHANICAL OWL (R).
- Go right, left.

- Use MECHANICAL OWL (A), play puzzle, earn CASSANDRA’S RING.
- Use SHOE and CASSANDRA’S RING, read note, take BOTTLE and ADHESIVE (B).
- Use ADHESIVE, take SPRAYER and CASSANDRA (C).
- Place CASSANDRA (D).

- Select G-F-E-E-F.
- Take SHINING LIQUID and MANGO (H).
- Go right.
- Place LENSES and MANGO, take INVITATION and BLUE HEART (I).
- Place INVITATION, set clock to 10:30 (J).
- Take HOLLY and CHAMELEON TWEEZERS (K).
- SHINING LIQUID, HOLLY, and SPRAYER on BOTTLE, take DRYING POTION.
- Use DRYING POTION (L).
- Go forward.

- Trace figures M-N-O-P.
- Earn STATIONERY SET.

- Take CROWN (Q).
- Place CROWN, take 1/3 JEWELED WHEEL and RED HEART (R).
- Take WATERING CAN, place BLUE HEART and RED HEART, take INK and VALVE (S).

- Use CHAMELEON TWEEZERS and VALVE (T), play puzzle, earn TORN COCOON.
- Give TORN COCOON (U), earn WEDDING ARCH.
- Walk down, left.
- Place WEDDING ARCH, take WINDING KEY and FLINT (V).
- Use WINDING KEY, take 2/3 JEWELED WHEEL and POLLEN (W).
- Go forward 2x.

- Use WATERING CAN and POLLEN, take SEALING WAX and PINK BUTTON (A).
- Use PINK BUTTON, take RED PEARL and 3/3 JEWELED WHEELS (B).
- Walk down, go left.

- Use JEWELED WHEELS (C).
- Play puzzle, earn PEACOCK QUILL (D).
- PEACOCK QUILL, INK, SEALING WAX, and FLINT on STATIONERY SET, take LETTER.
- Give LETTER (E).

- Talk (F), earn SEA RITUAL.
- Earn SEAWEED MAP.
- Use SEAWEED MAP, drag to match scene (G).

- Take LEMON (H).
- Take CARVED BELL, use RED PEARL and LEMON, take HOOKED ROPE and HOLLOW STICK (I).
- Use HOOKED ROPE (J).
- Take COAL and SUNRISE (K).

- Place SUNRISE, take FISH BLOOD and LEATHER (L).
- Place SEA RITUAL, COAL, and FISH BLOOD (M).

- Solution (N).
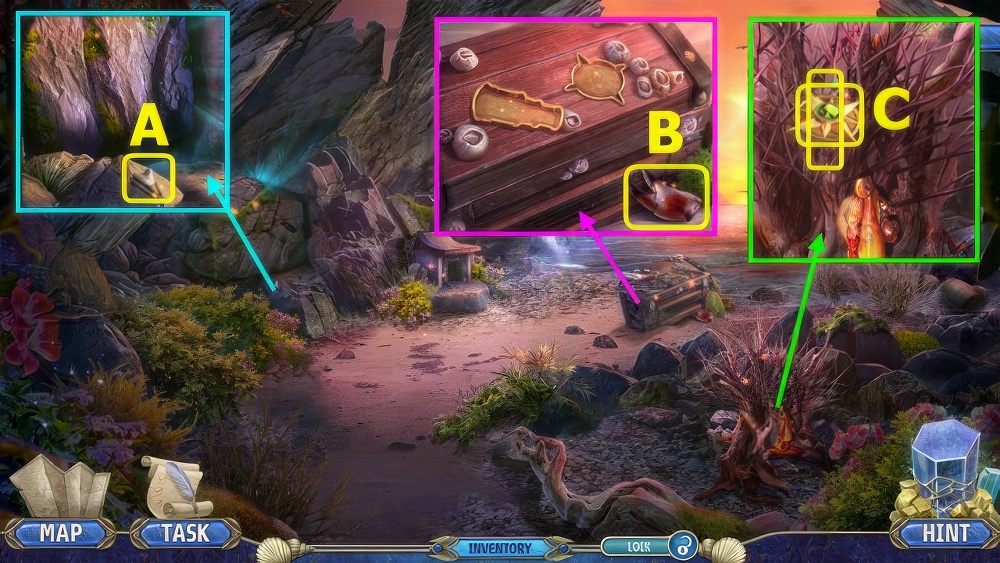
- Take SHARK TOOTH (A).
- Use SHARK TOOTH, take CLAW (B).
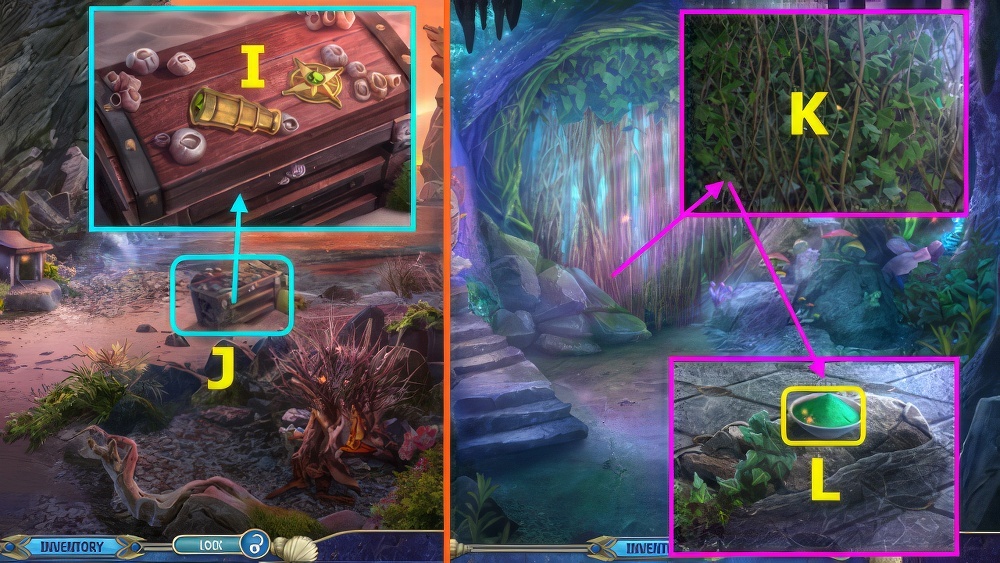
- Use CLAW, take COMPASS and BEADS (C).

- Read note, place BEADS and CARVED BELL, take FLUFFY CORAL and ZINC CYLINDER (D).
- ZINC CYLINDER and LEATHER on HOLLOW STICK, take LONG LEVER.
- Use LONG LEVER (E).
- Go left.

- Take LIGHT STONE (F).
- Use LIGHT STONE, take 1/2 PIGMENT, CUTTING SHELL, and OCTOPUS STONE (G).
- Use CUTTING SHELL, take SPYGLASS and PROTECTION RITUAL (H).
- Walk down.
- Place SPYGLASS and COMPASS (I).
- Play puzzle, earn WEED KILLER (J).
- Go left.
- Use WEED KILLER (K).
- Take 2/2 PIGMENTS (L).

- Place FLUFFY CORAL and PIGMENTS, take PAINTED BOWL and IVY (M).
- Walk down.
- Use PAINTED BOWL, take DRAGON STONE and PROTECTIVE RESIN (N).
- Place DRAGON STONE and OCTOPUS STONE, take EXPLORER’S GLOVE and WOODEN HAIRPIN (O).
- Go left.

- Use EXPLORER’S GLOVE, earn MAGIC MUSHROOM (P).
- MAGIC MUSHROOM, WOODEN HAIRPIN, PROTECTIVE RESIN, and IVY on PROTECTION RITUAL, take GUARD MUSHROOM.
- Place GUARD MUSHROOM (Q).
- Solution (R).
Congratulations! You have completed the game Cursed Fables 3: A Voice to Die For.


