
Edge of Reality 7: Call of the Hills (Bonus Chapter) – You return to the mysterious world of Seeds once again, this time to solve another family mystery. Grandpa, who has decided to stay in the magical Hills, is having a hard time separating from his loved ones. He finally decides to tell you the story he has been hiding all his life, he once met Eleanor, a representative of the Seed People, and she became your grandmother. Their life could have been happy, but everything changed when the Bronze Order attacked the world of magical creatures. The King of the Seeds, to save his people, ordered them to hide in the hills, and those who disobeyed were threatened with being turned to stone, as happened to Malean. Eleanor obeyed, hoping to return someday. Before she left, she had left her grandfather an artifact extending his life so he could wait for her. But there’s been no word of her since. Now your goal is to enlist the help of the Seed King and find your grandmother. But as you try to restore the lost connection between worlds, new forces come into play. A powerful orb captures the power of the king himself, and your enemies use your quest for their own purposes, using an ancient elixir to break out of the Hills and subjugate the human world. Your determination, ties of kinship and the magic of the past will all become weapons in the fight for the future of the two worlds.
Bonus Chapter Walkthrough

- Take DAGGER, remove armor (A).
- Read note, take CORD, use DAGGER, take BLADE (B).
- Read note, take BROKEN HALBERD (C).
- BLADE and CORD on BROKEN HALBERD, take HALBERD.
- Take HANDKERCHIEF (D).
- Use HALBERD (E).
- Go left.

- Take 1/2 RECIPE PARTS (F).
- Place HANDKERCHIEF (G), select (H), take WET HANDKERCHIEF.
- Use WET HANDKERCHIEF, take PANEL, read note (I).

- Place PANEL, solution (J), take HEALING ELIXIR and MAP (K).
- Give HEALING ELIXIR, take 1/2 SILVER LOCKS (L).
- Place MAP (M).
- Select (N).
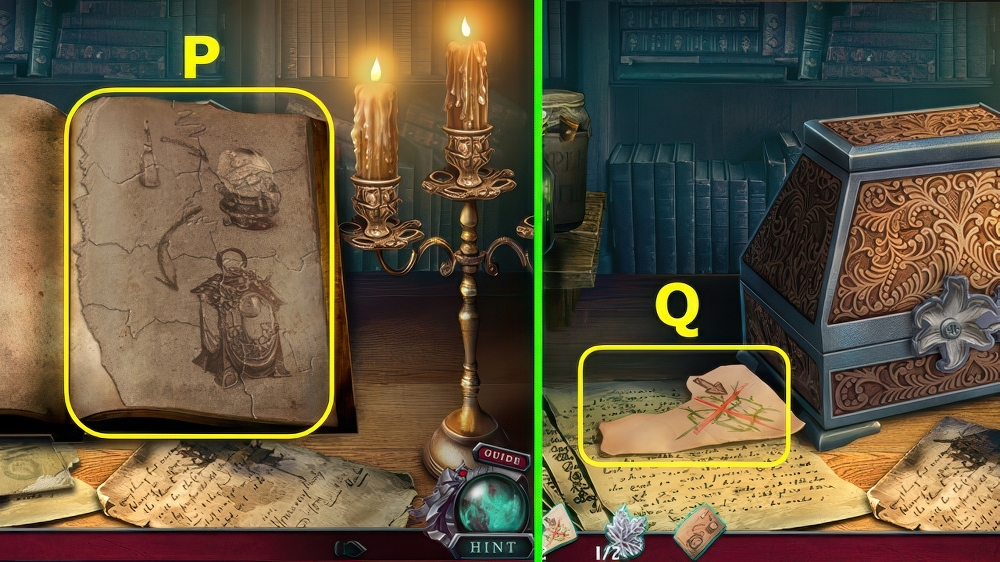
- Select book and turn page, solution (P), take INSTRUCTIONS.
- Remove book, read notes, take 2/2 RECIPE PARTS (Q).
- Exit close-up.

- Select Ax2.
- Place RECIPE PARTS (B).
- Select 1-3, take PLANT SOLUTION (C).

- Use PLANT SOLUTION, take 2/2 SILVER LOCKS (E).
- Place SILVER LOCKS, take MAGIC SOLUTION, BROKEN LANTERN, and MAGIC BULB (F).
- INSTRUCTIONS, MAGIC BULB, and MAGIC SOLUTION on BROKEN LANTERN, take MAGIC LANTERN.
- Use MAGIC LANTERN, select (G).

- Select A-B-C-D-E-C-F-G-H-I-J-K-H-L-G-M-N-L-O-K-P-O-Q-M.
- R-S-P-T-S-U-V-W-X-Y-M-Z-G-A, earn MAGIC LANTERN.
- Take THRONE INSIGNIA and GUARD’S ORDERS (@).
- Walk down.

- Place THRONE INSIGNIA (A).
- Solution (B).
- Take AMALON’S RING (C).
- Go left.
- Use AMALON’S RING (D).
- Go right.

- Talk, give GUARD’S ORDER and AMALON’S RING (E).
- Take STONE EMBLEM (F).
- Take RAG and CROSSBOW (G).
- Place and select STONE EMBLEM, take OIL, CRANK, and ROPE (H).

- Use CRANK and DAGGER, take SCREW (I).
- Take ARROW, use ROPE and DAGGER (J).
- ARROW and ROPE on CROSSBOW, earn LOADED CROSSBOW.
- Use LOADED CROSSBOW (K).
- Talk (L).
- Play puzzle (M), use MAGIC LANTERN, earn MEDALLION.
- Go forward.

- Talk (N).
- Take 1/2 PANEL PARTS and CANDLE, use RAG, take GLASS SHARD (O).
- Use GLASS SHARD, take ROPE (P).
- Use ROPE, take BROOM (Q).
- Select (R).

- Move the insects in sequence 1-7 (A-B-C-D).

- Continue moving insects 8-10 (E).

- Take 1/2 NESTLINGS, SAW HANDLE, and BRANCH (P).
- Place and select CANDLE, use BRANCH, take 2/2 NESTLINGS and RUSTY SAW (Q).
- SAW HANDLE, SCREW, RAG and OIL on RUSTY SAW, take SAW.
- Place NESTLINGS, take CRYSTAL (R).
- Use SAW (S).
- Go left.

- Use BROOM on cobwebs.
- Play puzzle, earn BROKEN MIRROR (A).
- CRYSTAL on BROKEN MIRROR, take MIRROR.
- Take 2/2 PANEL PARTS (B).
- Take FIRE POKER (C).
- Use FIRE POKER, take CIPHER (D).
- Place MEDALLION, then PANEL PARTS, solution (E), select chest.

- Place CIPHER, select 1-5 (F), take DIARY.
- Move runes on DIARY to lock (G), take TALISMAN.
- Play puzzle, earn RECOVERY RECIPE (H).
- Place RECOVERY RECIPE (I), select 1-3, take RECOVERY POTION (J).
- Use RECOVERY POTION on scene.
- Walk down.

- Play puzzle (K), receive CLUE.
- Go forward (L).

- Select, take STONE WREATH (M).
- Place MIRROR and CLUE, select 1-4 (N).
- Take GOBLET (O).

- Take ROPE, place STONE WREATH (A).
- Use GOBLET, earn MAGIC TEARS (B).
- Select, use MAGIC TEARS and TAKE KEY (C).
- Place TALISMAN, select pairs (D).
- Go forward.

- Read notes, take 1/2 SWORD HILTS, use KEY (E).
- Drag (F-G).
- Final solution (H).

- Select, take 2/2 SWORD HILTS (I).
- Take 1/2 LEAFLET SCRAPS (J).
- Place SWORD HILTS, select 3x, earn KEYS (K).

- Place KEYS, move each key to correct lock (L).
- Read notes as you take LEVER, PUZZLE TILE, and ORIGAMI PATTERN (M).

- Place PUZZLE TILE, solution Q-R-S-V-U-T-Q-R-S-P-O.
- R-U-V-S-P-O-N-Q-R-U-V-S-R-Q-T-U-V.
- Take 1/2 WHEELS, turn page, take STRANGE KEY (W).
- Place and select STRANGE KEY (X).
- Go right.

- Take 2/2 WHEELS (A).
- Select pairs (B).
- Take 2/2 LEAFLET SCRAPS, place WHEELS and LEVER (C).

- Place LEAFLET SCRAPS (D), use (E-D), take LEAFLET.
- Take COLORED STONES and MESSAGE DECODER (F).
- Place ORIGAMI PATTERN on DIARY, select folded paper 4x, place MESSAGE DECODER.
- Play puzzle, earn ELIXIR (G).
- Place COLORED STONES, take MECHANISM SCHEME (H).

- Place MECHANISM SCHEME, set solution, pull handle (I).
- Use ELIXIR, give LEAFLET (J).
- Select (K).

- Select pairs, take TELEPORTATION SCROLL (L).

- Give TELEPORTATION SCROLL (M).
- Select (N).

- Select color chains of 3 or more (O) to fill your meters (P).
- Making chains of the traitor’s colors (Q) will deplete some of your meters.
- This mini-game is randomly generated.

- Take SWORD (A).
- Use ROPE (B).
- Use SWORD (C).
- Talk (D).
Congratulations! You have completed the game Edge of Reality 7: Call of the Hills.


