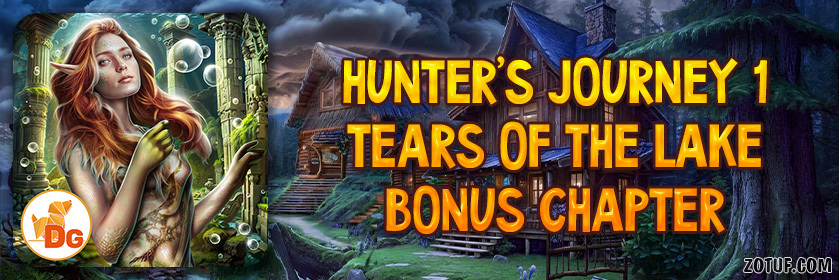
Hunter’s Journey 1: Tears of the Lake (Bonus Chapter) – The story of Velimir, a hunter who still strives to prove his worth not only to the Academy, but also to himself, continues. A new assignment takes him to Harrowhill, a small village lost in the woods, where the inhabitants are alarmed by the appearance of a monster. This time, the enemy is not the mermaids of the Lake of Tears, but something far more ancient and mysterious. A creature resembling a giant reptile with scales as hard as armor and eyes that glow in the dark is terrorizing the area, attacking livestock, and recently, one of the hunters has disappeared. The locals call the monster the Serpent Guardian. According to legend, it once protected the forest, but now its claws tear down trees, and its tracks lead closer and closer to the village. One of the residents, Edrain, a hunter from Harrowhill, was the first to sound the alarm and send a message to the Academy. He doesn’t just report on the beast, he draws, gathers information, and tells Velimir everything he knows, hoping for help. Velimir has to talk to various residents, some of whom believe in the danger, while others dismiss it, considering the Serpent a wild beast that does not deserve the intervention of hunters. One offers a map, but even that will have to be searched for himself.
Bonus Chapter Walkthrough
- Talk with the character, take LETTER.
- Examine LETTER, open it, take HORSE FIGURINE, play puzzle (A).
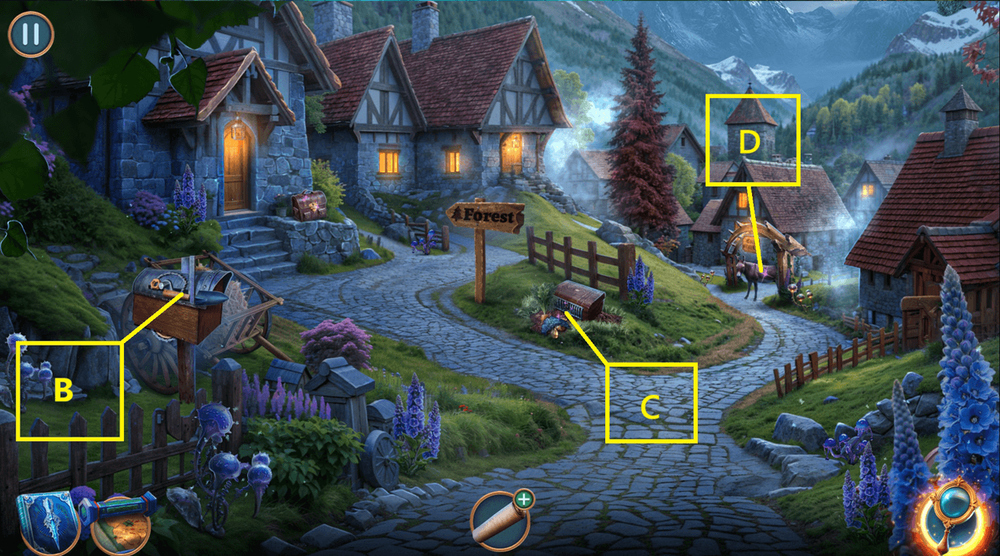
- Take TROWEL (B).
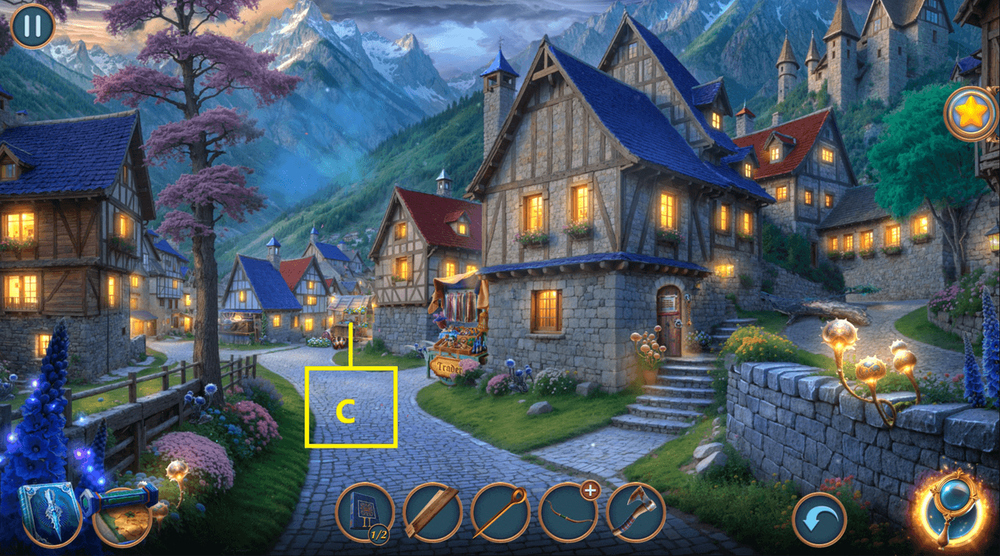
- Take STAINED GLASS SHARDS 1/2 and GOLDEN BEETLE, use TROWEL on the carrot, take CARROT (C).
- Use CARROT on the donkey (D).
- Go forward.
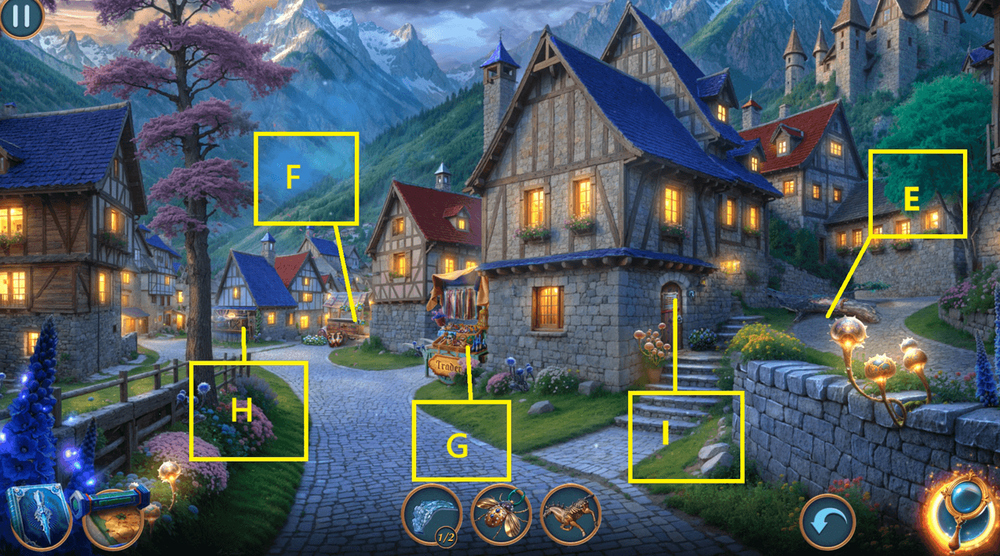
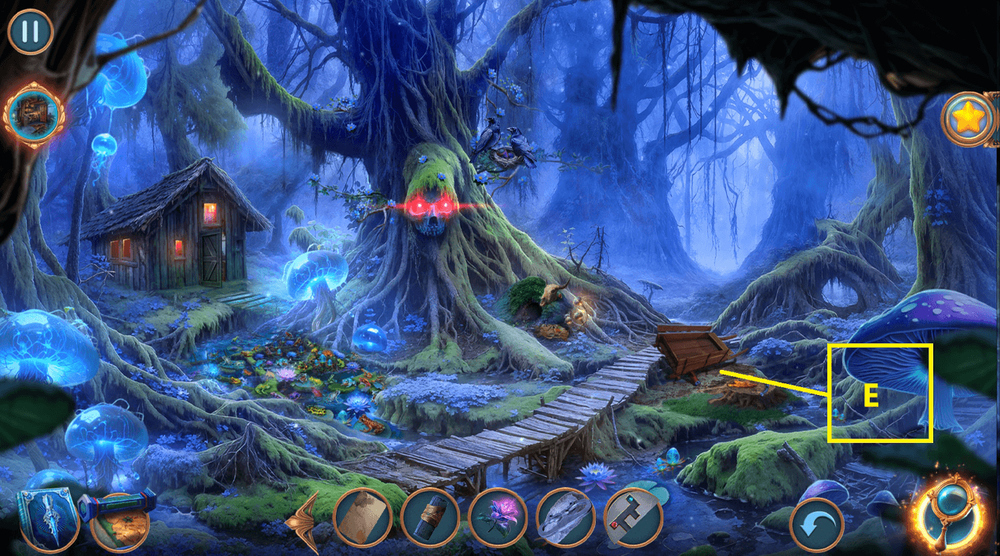
- Take CHAIN (E).
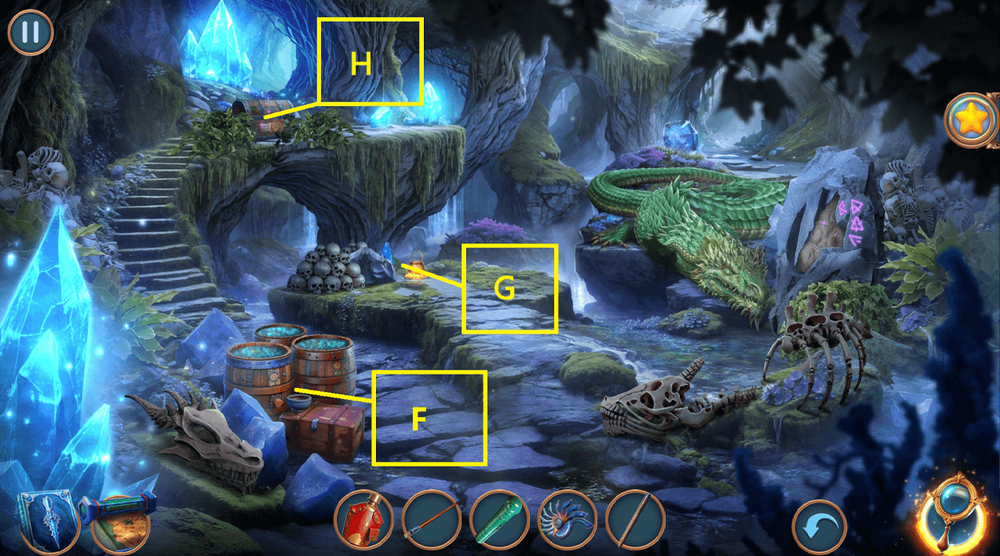
- Use HORSE FIGURINE on the hollow space, play puzzle, earn GOLD COIN (F).
- Use GOLD COIN on the hand, take PINCERS (G).
- Use PINCERS on the chains, take BOOKS 1/2 and BELL (H).
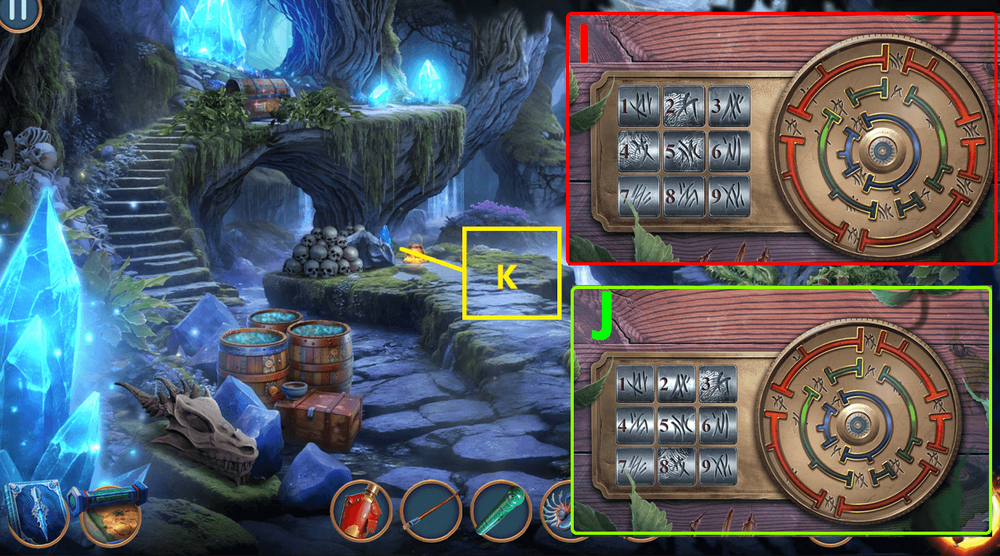
- Use CHAIN and BELL on the hook (I).
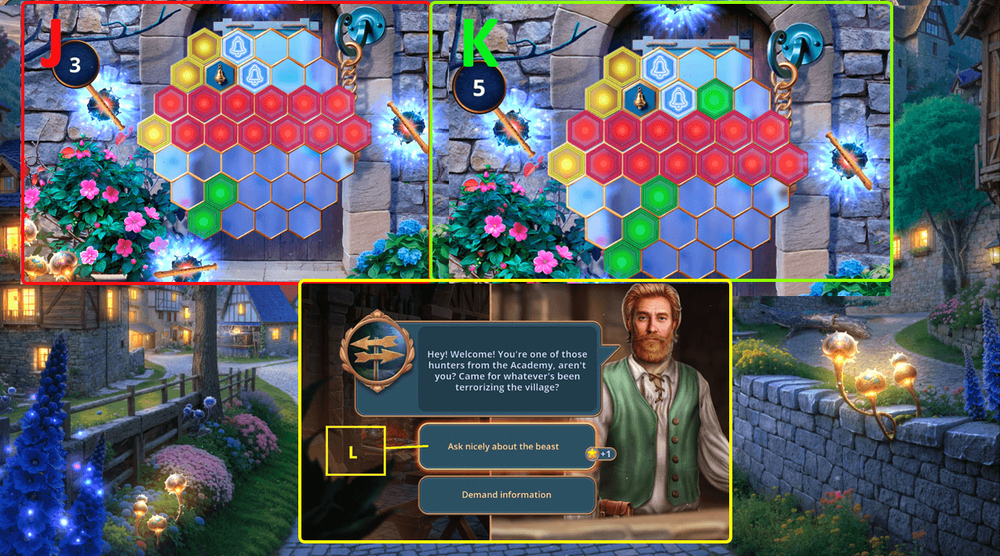
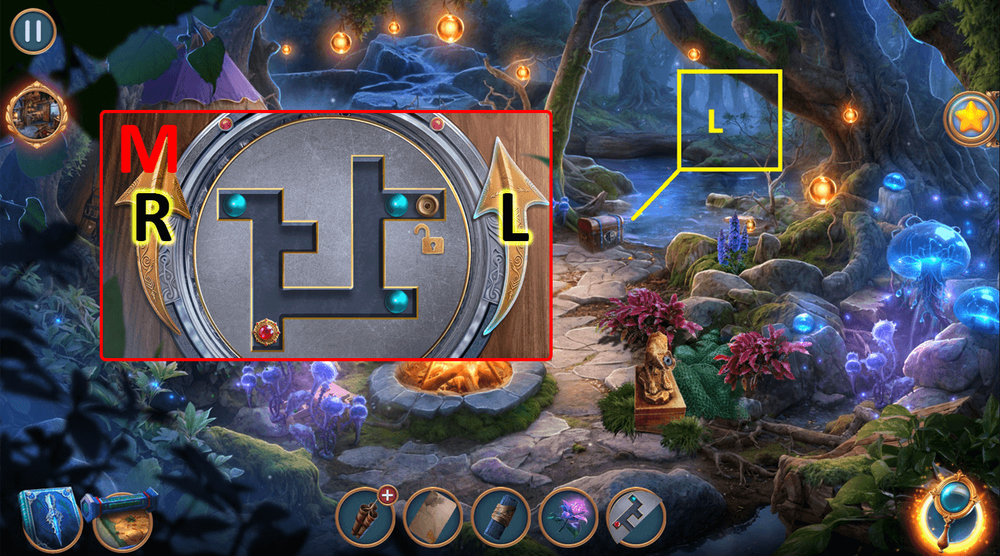
- Easy solution: Solution is random (J).
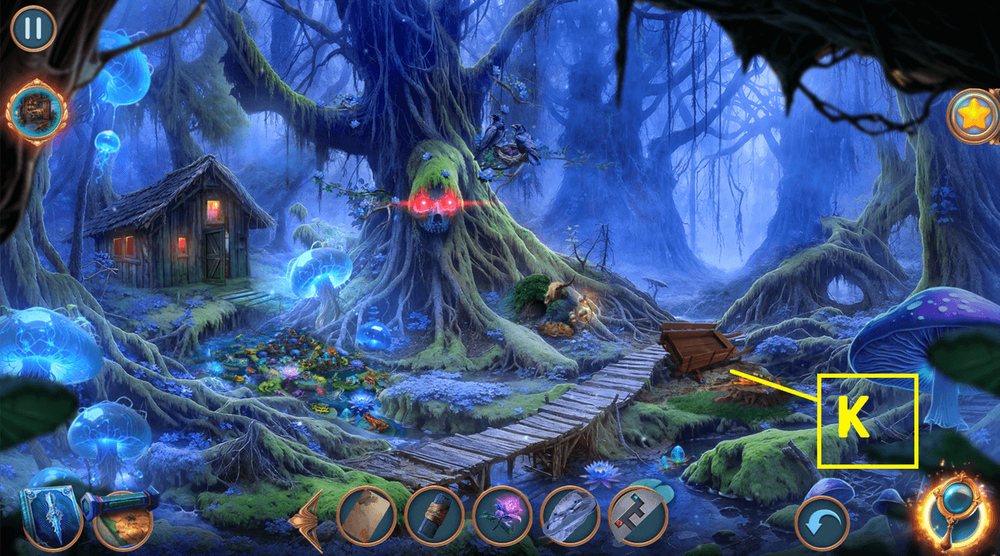
- Hard solution: Solution is random (K).
- Go forward.
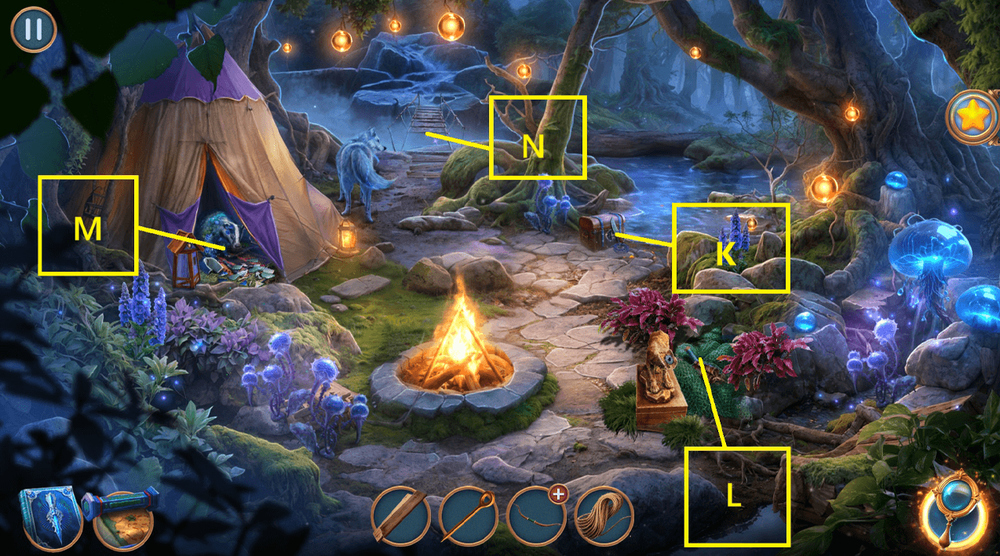
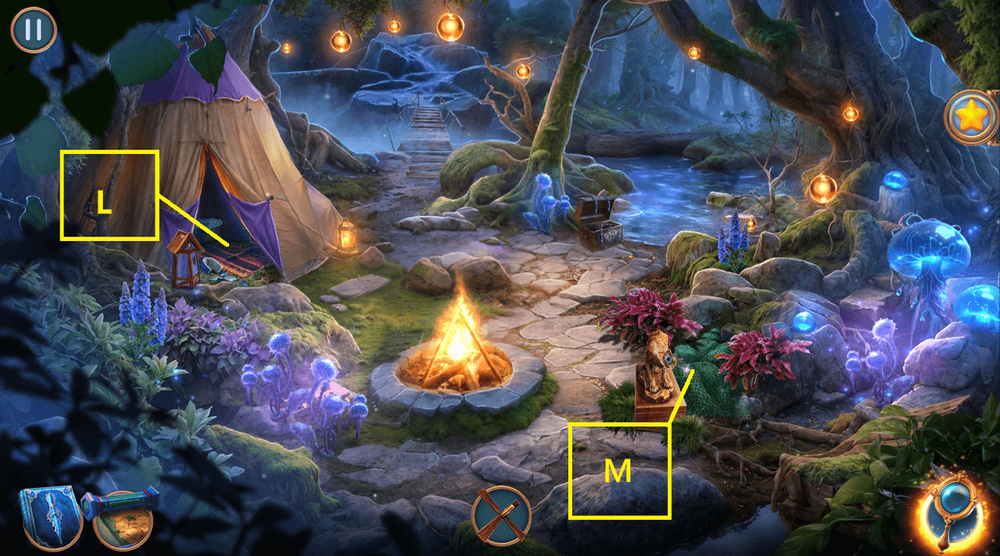
- Select this option (L).
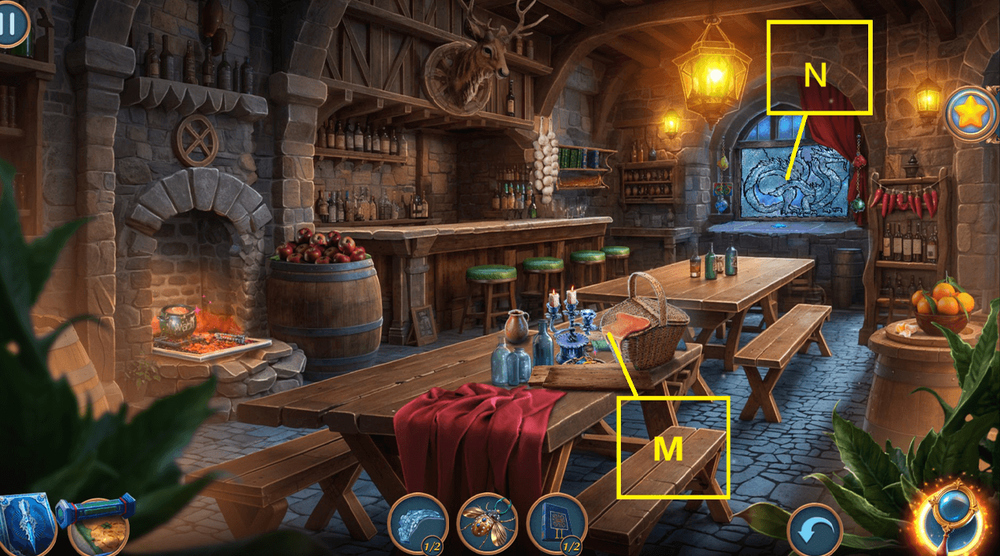
- Take PLANKS, IRON STAKE, and STAINED GLASS SHARDS 2/2 (M).
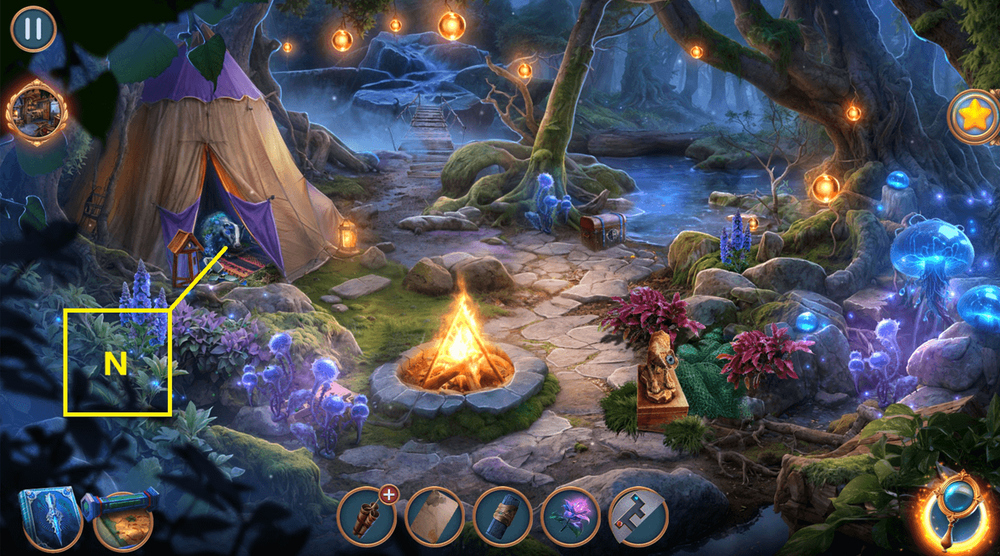
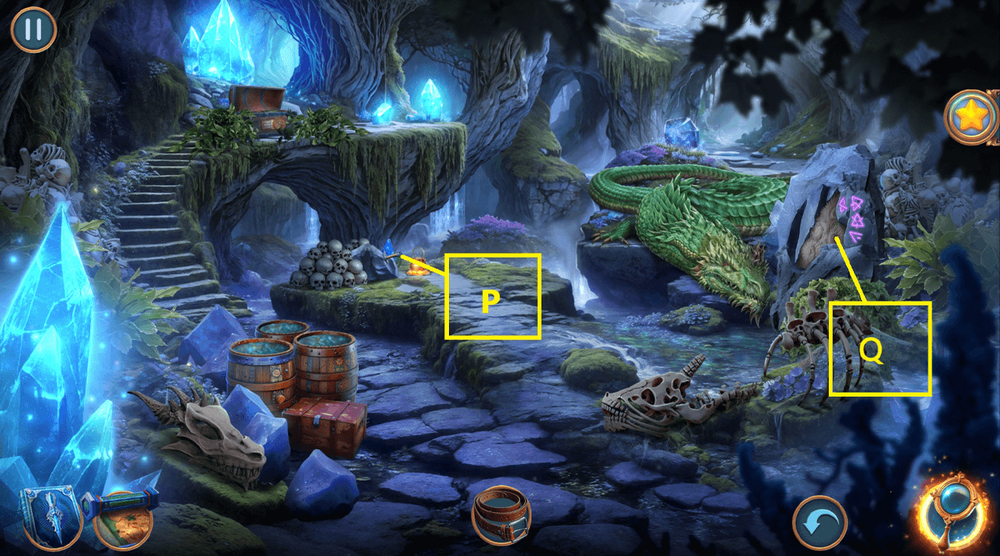
- Use STAINED GLASS SHARDS on the window (N).
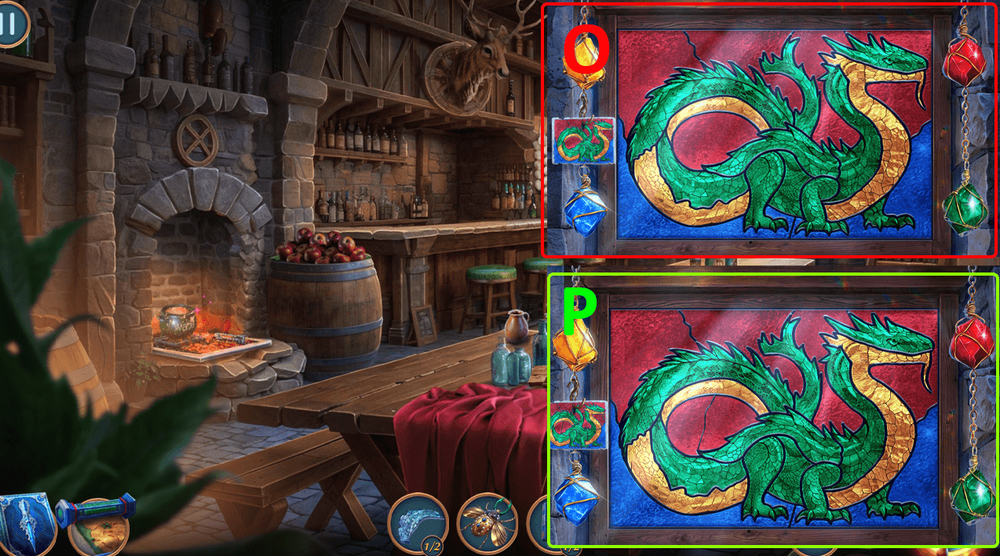
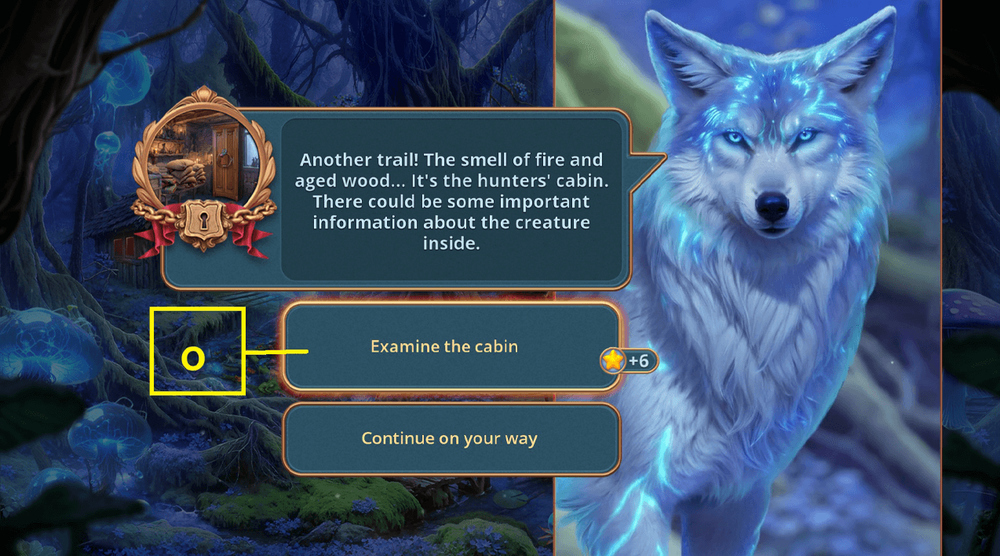
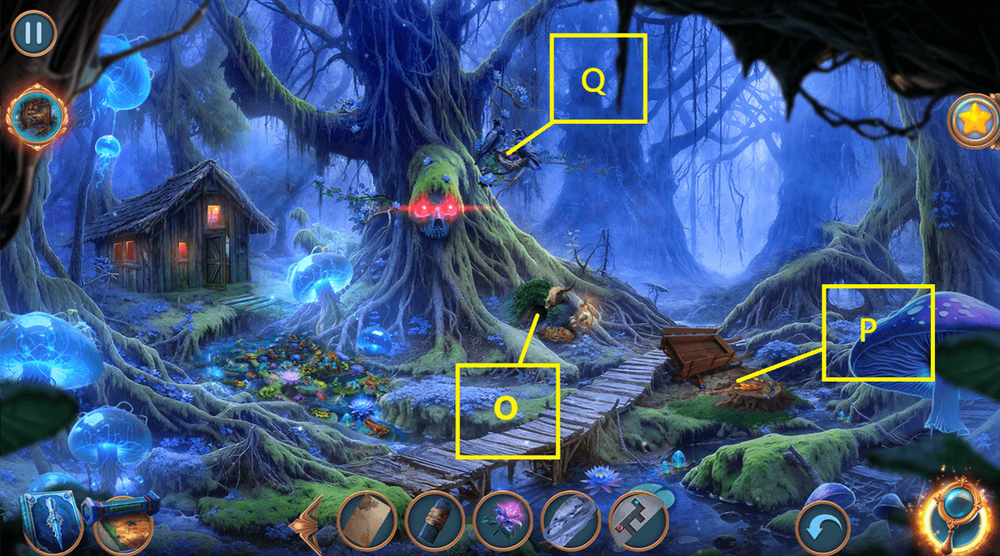
- Easy solution: The correct position is shown in the picture (O).
- Hard solution: The correct position is shown in the picture (P).
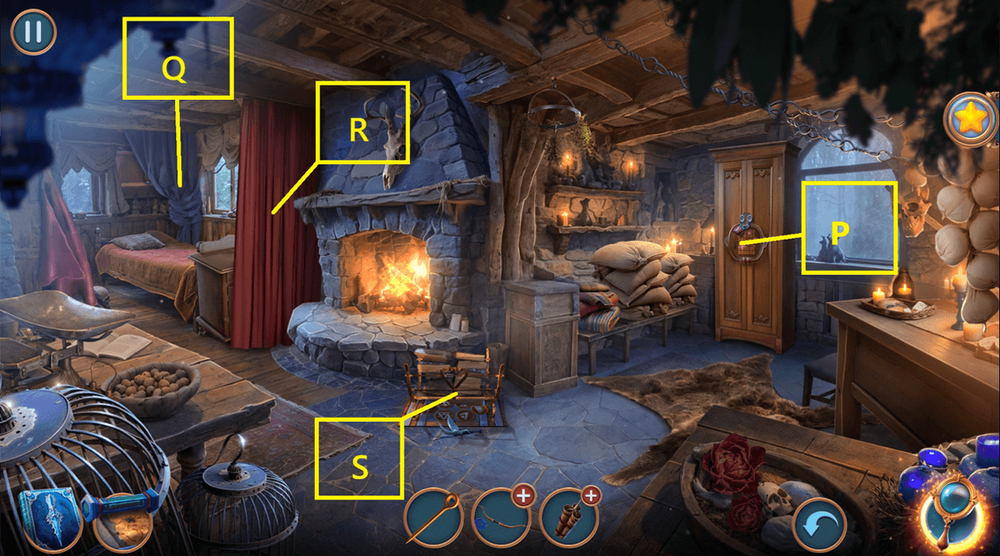
- Take LOCK PICKS 1/2 and WICK.
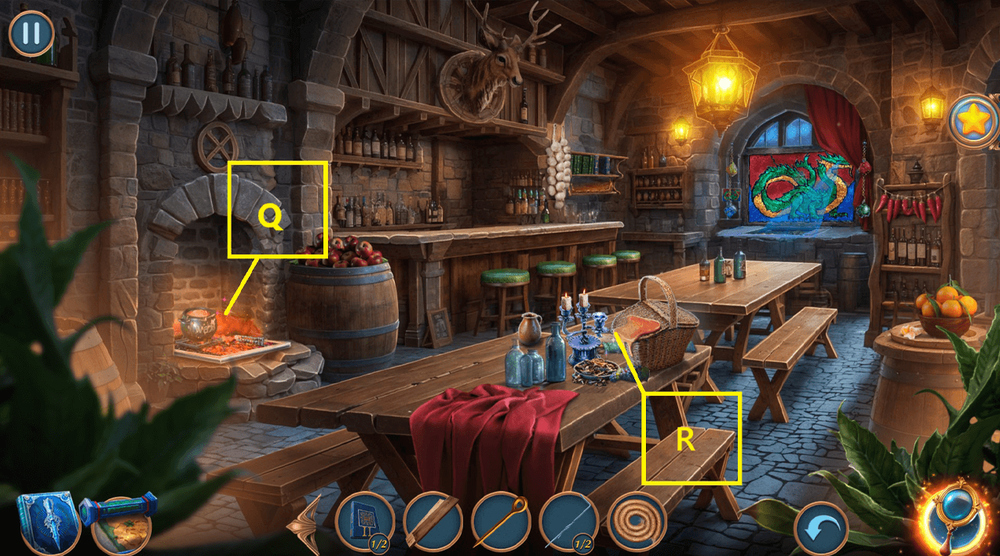
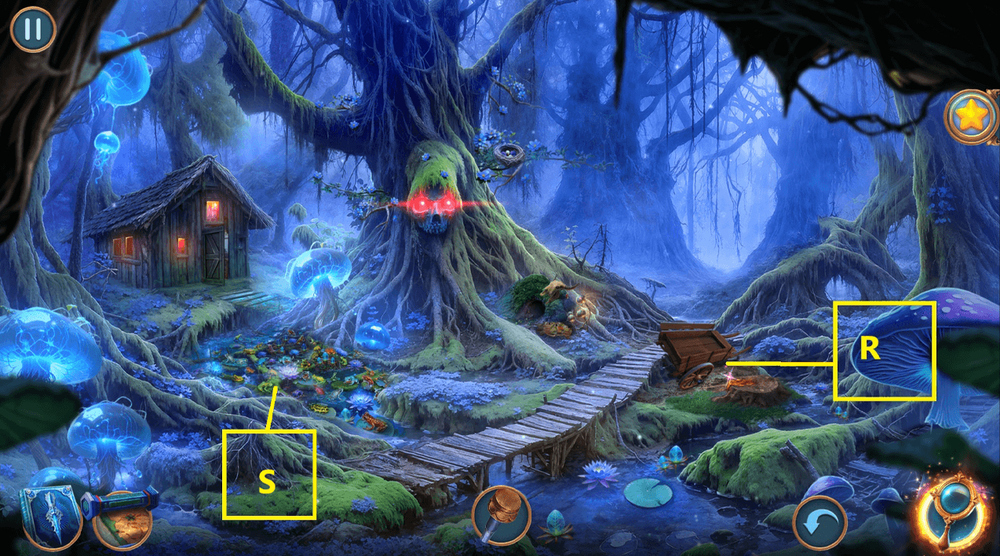
- Use WICK on the pot, get WHITE CANDLE (Q).
- Use WHITE CANDLE on the candlestick, take GOLDEN GEAR (R).
- Go to Harrowhill Village.
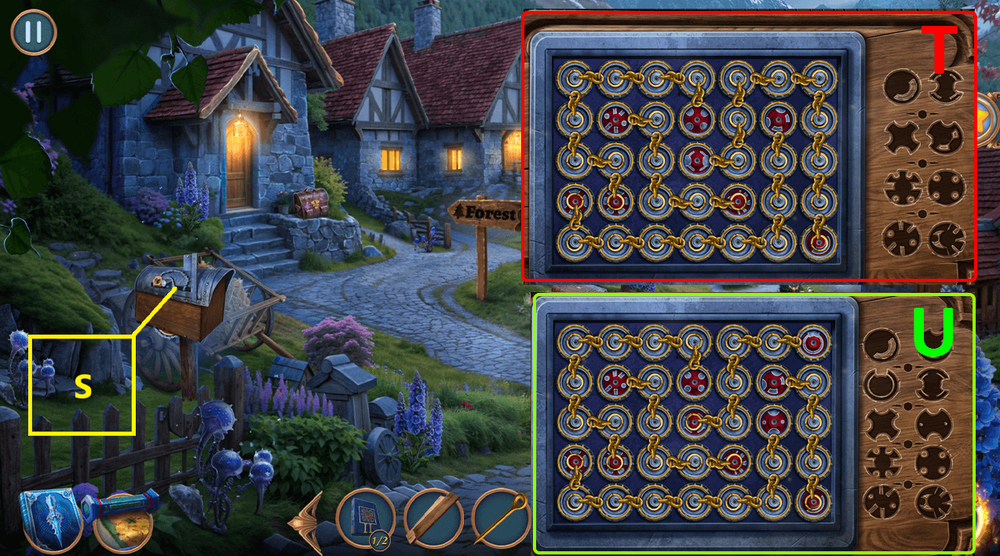
- Use GOLDEN GEAR and GOLDEN BEETLE on the mailbox (S).
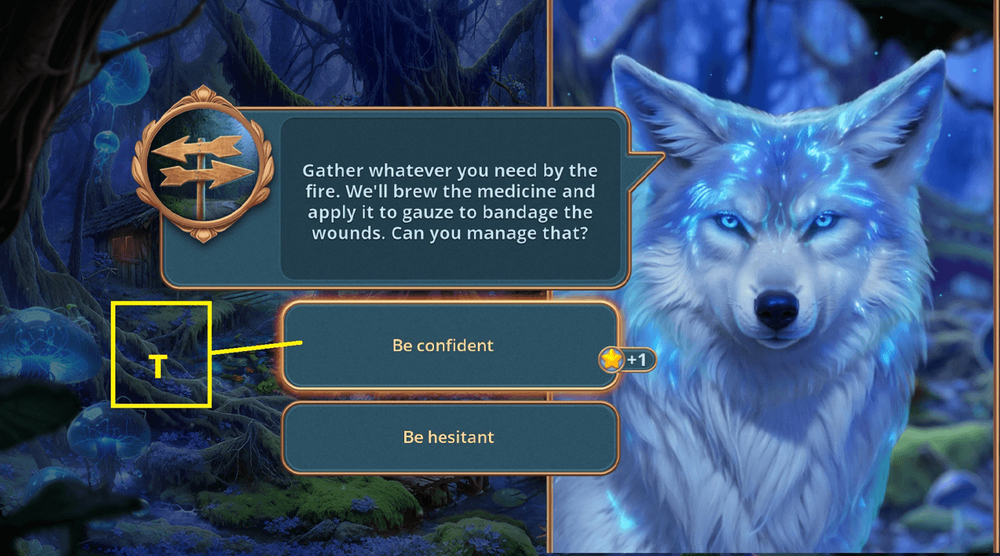
- Easy solution (T).
- Hard solution (U).
- Take LOCK PICKS 2/2.
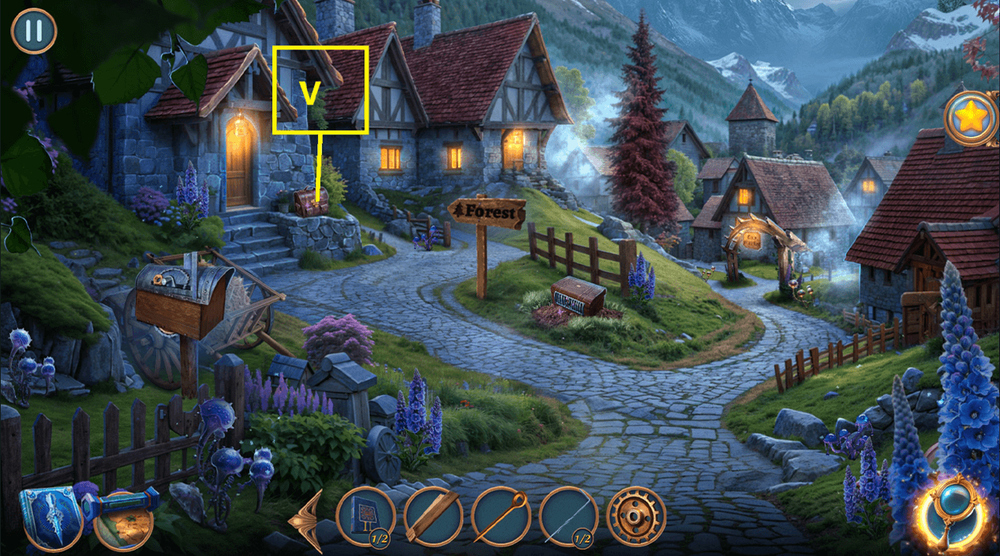
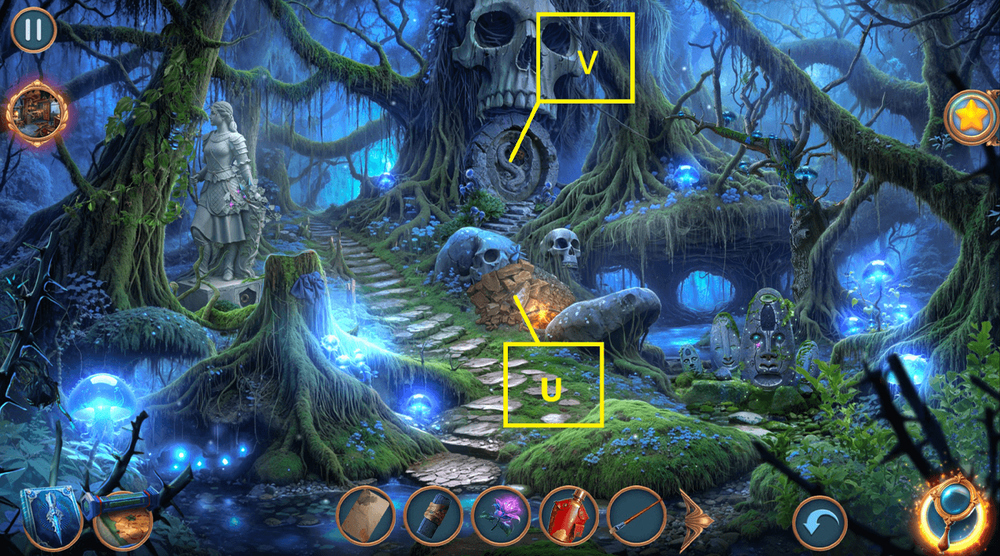
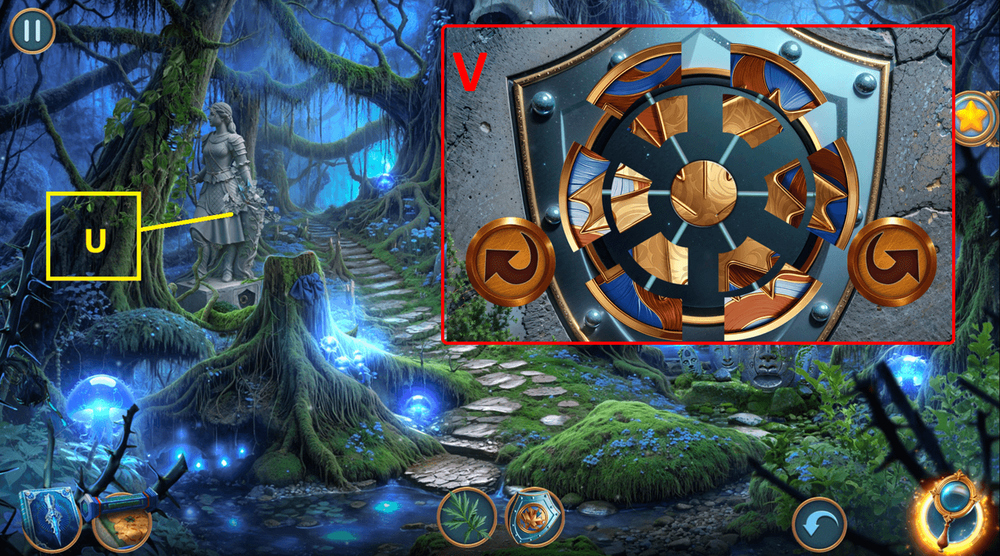
- Use LOCK PICKS on the bag, take BROKEN BOW and DULL AXE (V).
- Go to the Town Market.
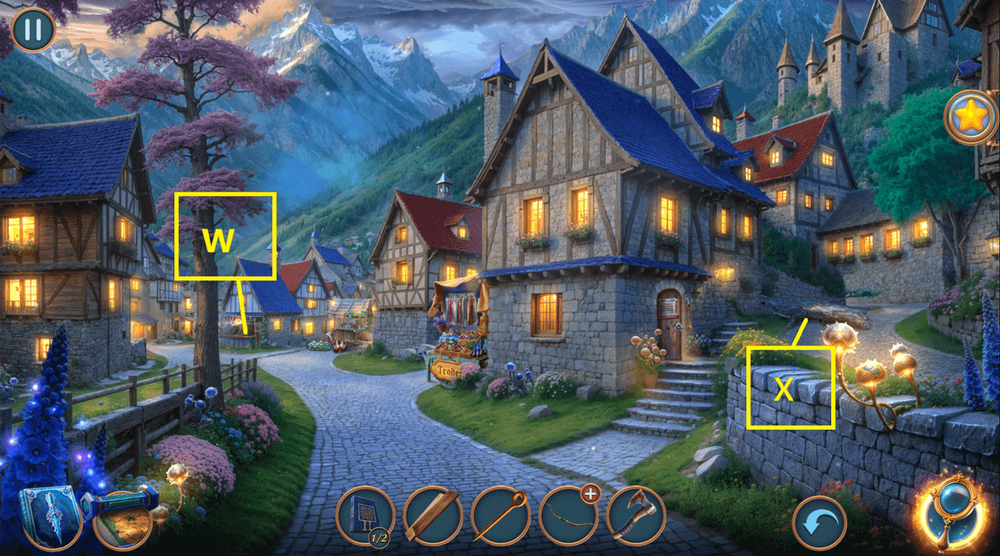
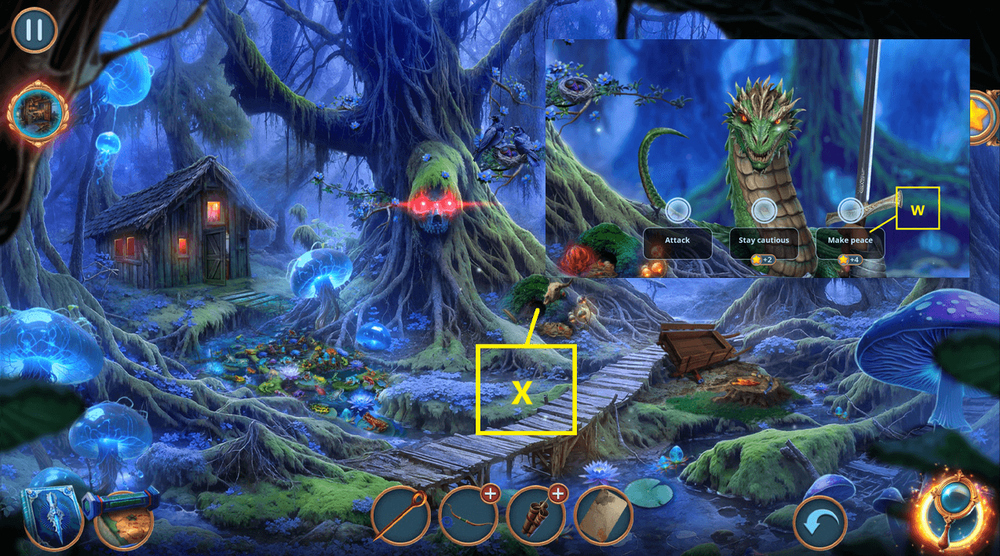
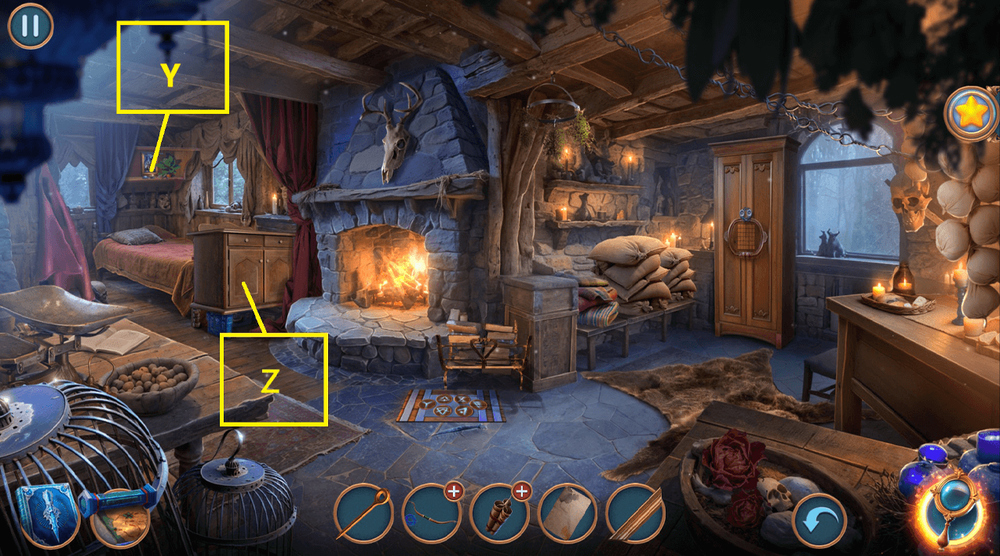
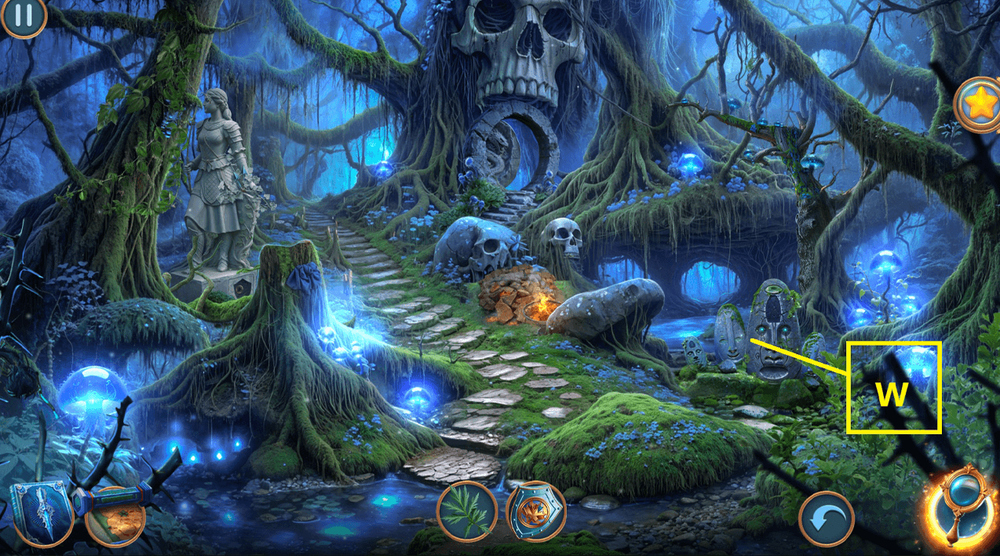
- Use DULL AXE on the grindstone, get SHARP AXE (W).
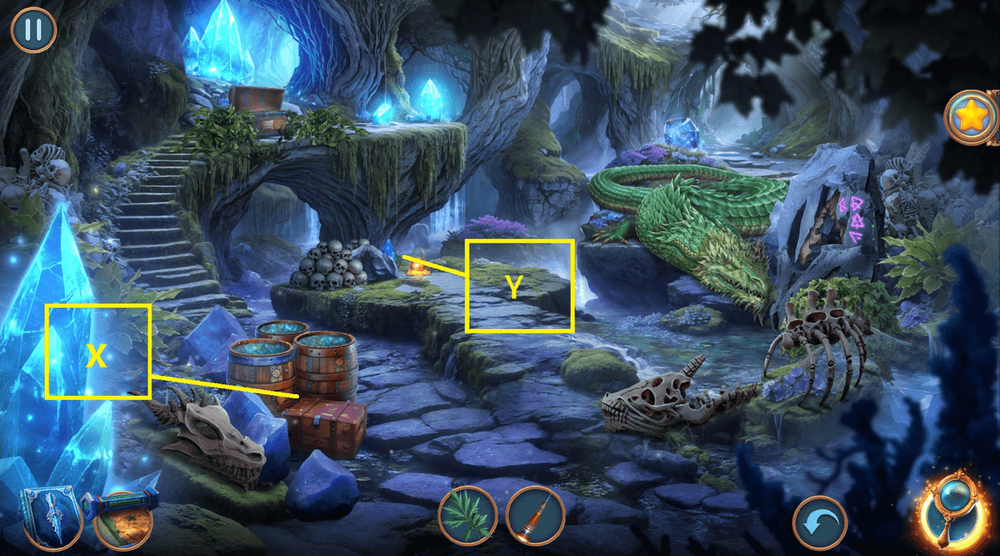
- Use SHARP AXE on the tree trunk (X).
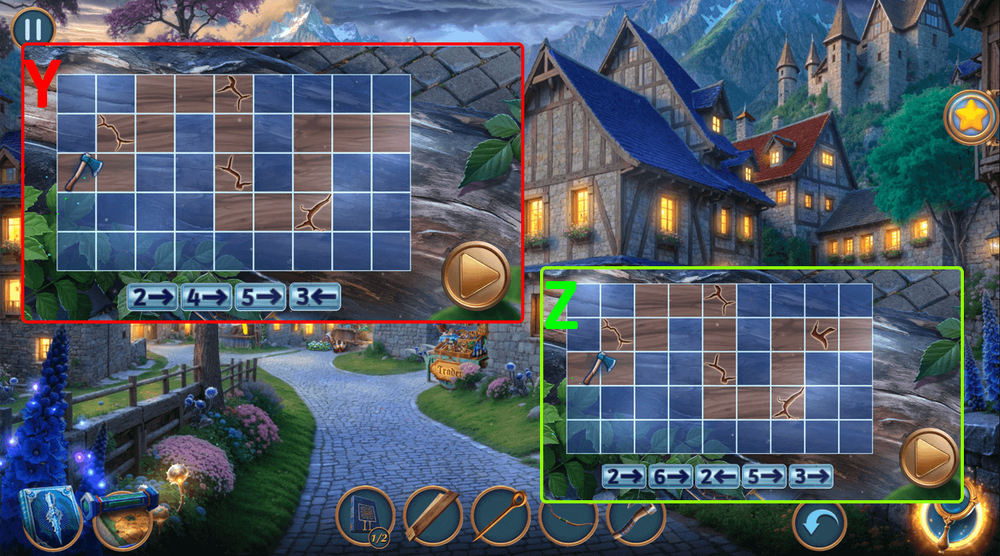
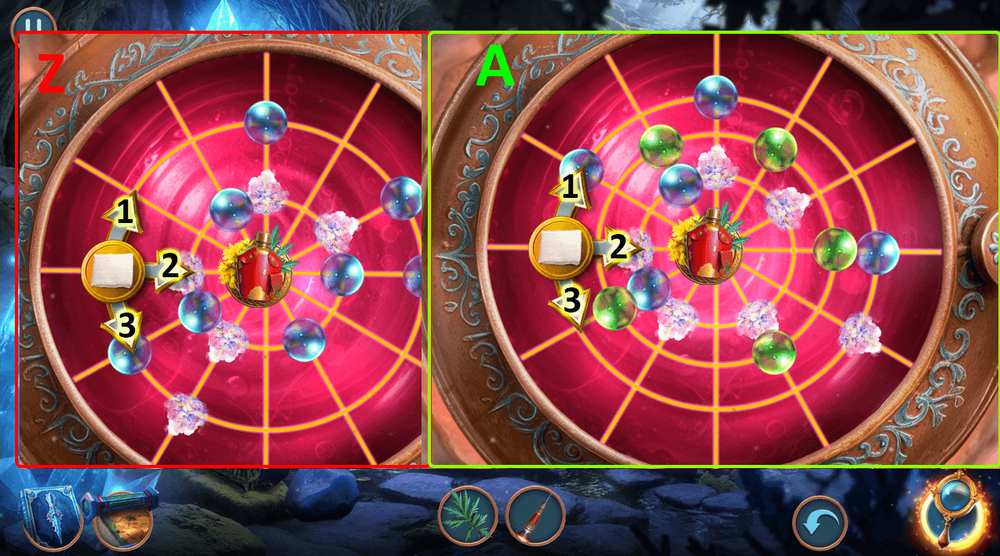
- Easy solution (Y).
- Hard solution (Z).
- Take BOOKS 2/2.
- Go to the Tavern.
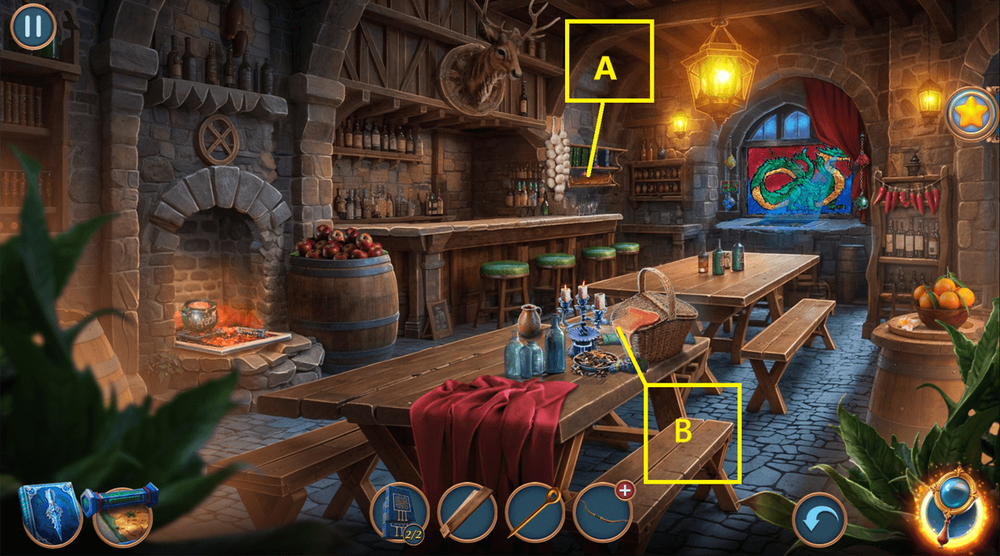
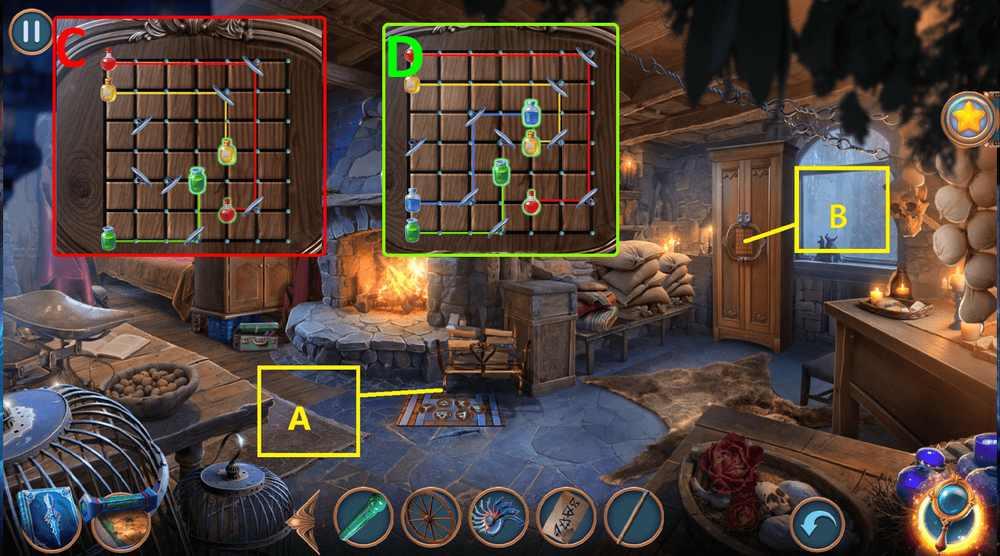
- Use BOOKS on the empty space on the top shelf, take PIECE OF FABRIC (A).
- Use PIECE OF FABRIC on the stain, take ROPE (B).
- Go back.
- Play puzzle, earn POKER (C).
- Go to the Tavern.
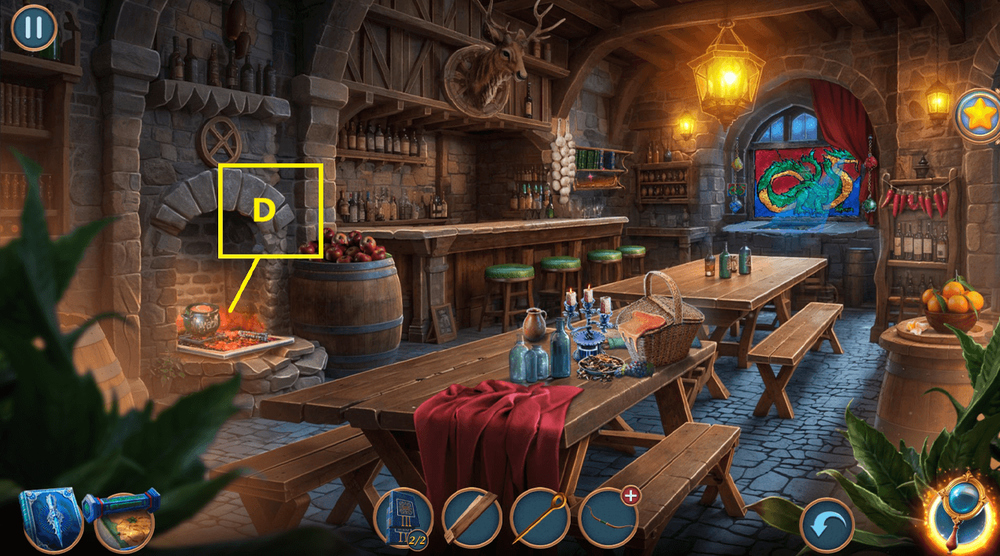
- Use POKER on the item in the coals, get FIBULA (D).
- Go to Harrowhill Village.
- Use FIBULA on the lock (E).
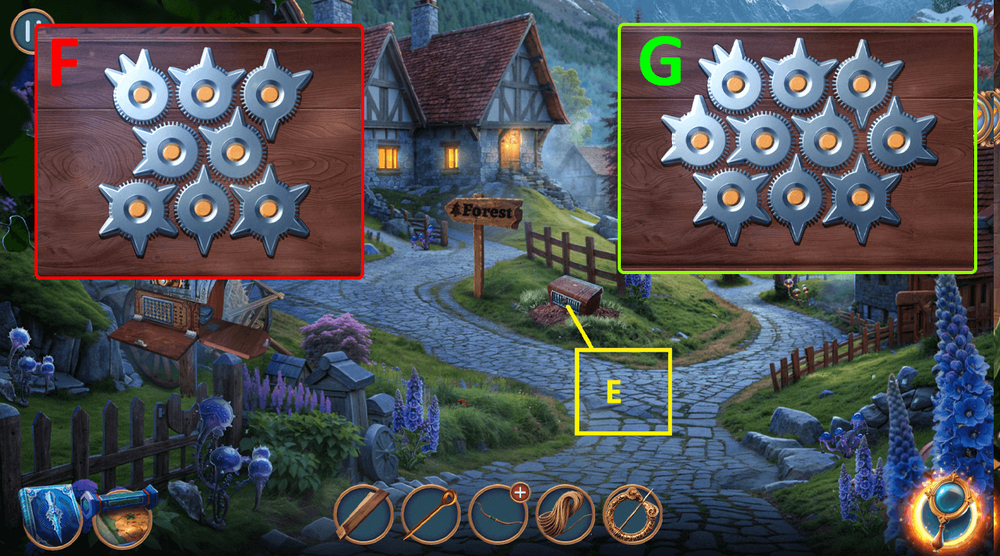
- Easy solution (F).
- Hard solution (G).
- Take COMB.
- Go to the Tavern.
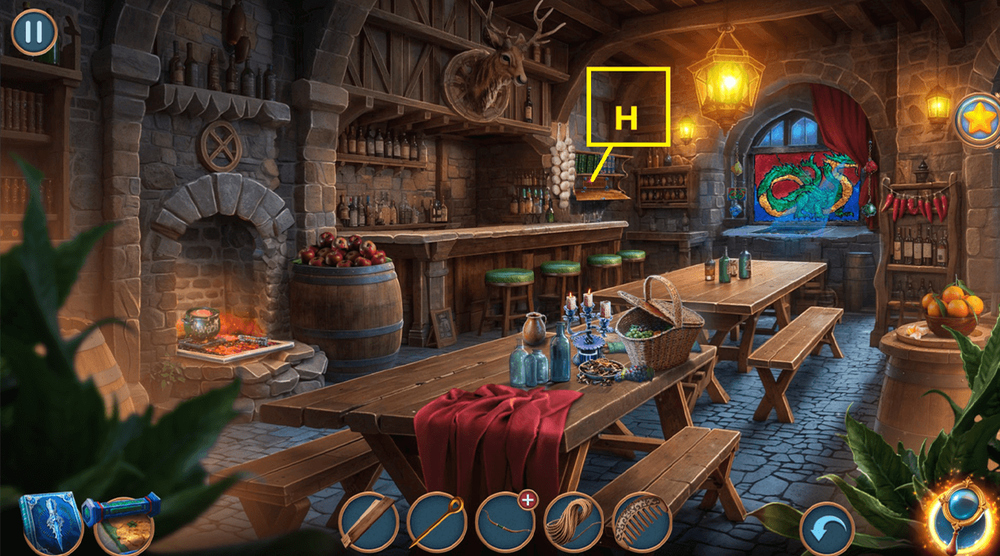
- Use COMB on the nails, take FOREST MAP (H).
- Go to Harrowhill Village.

- Use FOREST MAP on the direction sign.
- Easy solution: Solution is random (I).
- Hard solution: Solution is random (J).
- Take BOWSTRING and KNIFE (K).
- Take EXPLOSIVE, use KNIFE on the net, take BROOM (L).
- Use BROOM on the shards, take HAND DRILL (M).
- Use PLANKS, HAND DRILL, and ROPE on the bridge (N).
- Go forward.
- Select this option (O).
- Take DIVIDERS and SHEET OF PAPER (P).
- Move the blue curtain, use DIVIDERS on the bag, take THICK BOOK (Q).
- Move the red curtain, use THICK BOOK on the cabinet, take MAGNET (R).
- Use MAGNET on the item in the crack on the floor, get PRUNING SHEARS, move the wood stack (S).
- Go back.

- Take SCOOP NET (T).
- Use SCOOP NET on the pond, play puzzle, earn RAKE (U).
- Use PRUNING SHEARS on the red plant, use RAKE on the leaves (V).
- Select this option (W).
- Take FRAME PART (X).
- Go to the Hunters’ Cabin.
- Use FRAME PART on the frame, take COAL and CANE (Y).
- Use CANE on the box, take ULTRAVIOLET FLOWER (Z).
- Go to Near the Lair.

- Move the bush (A).
- Move the branch (B).
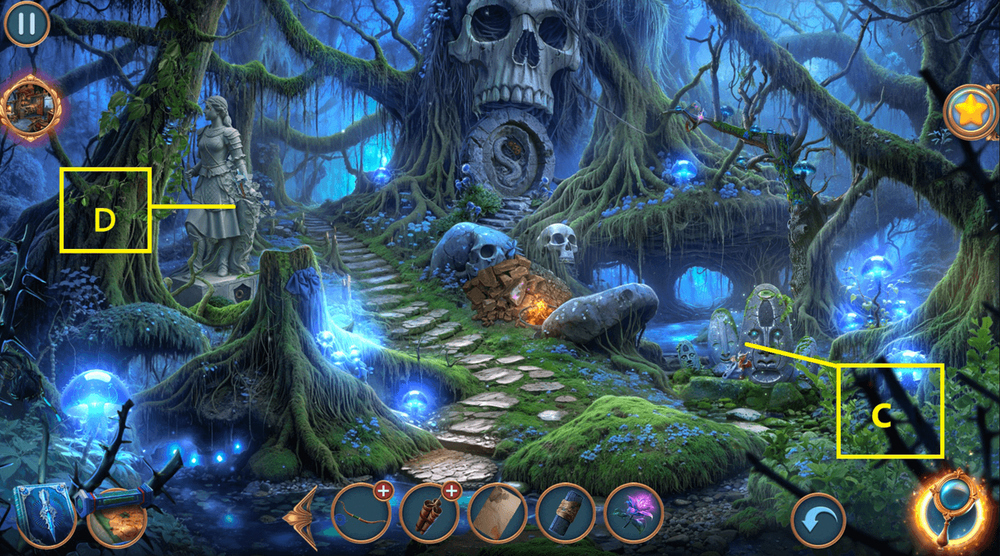
- Take FLINT AND STEEL and DRAGON FIGURINE (C).
- Use IRON STAKE and DRAGON FIGURINE on the hand, take ARROW (D).
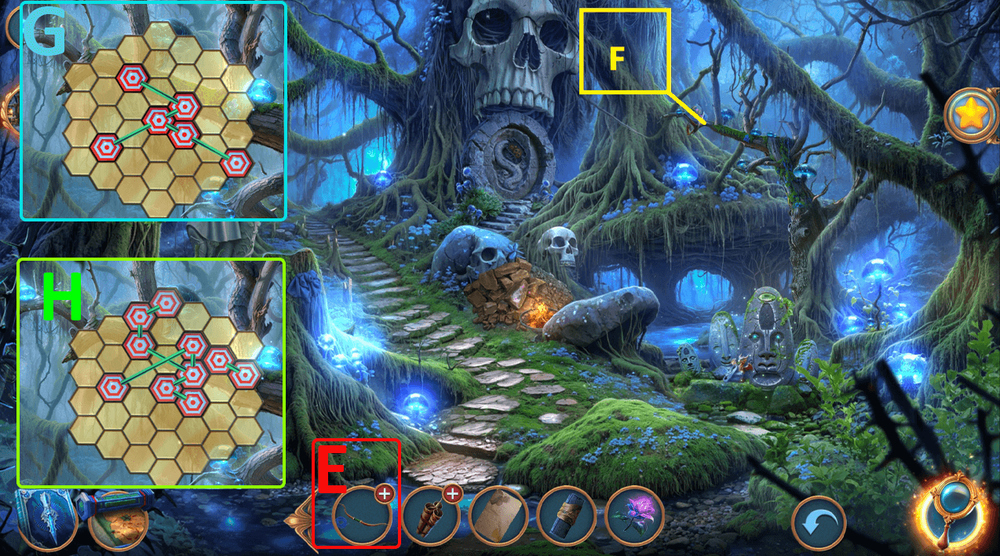
- Use BOWSTRING and ARROW on BROKEN BOW, get BOW WITH ARROW (E).
- Use BOW WITH ARROW on the bag (F).
- Easy solution (G).
- Hard solution (H).
- Get HUNTER’S BAG.
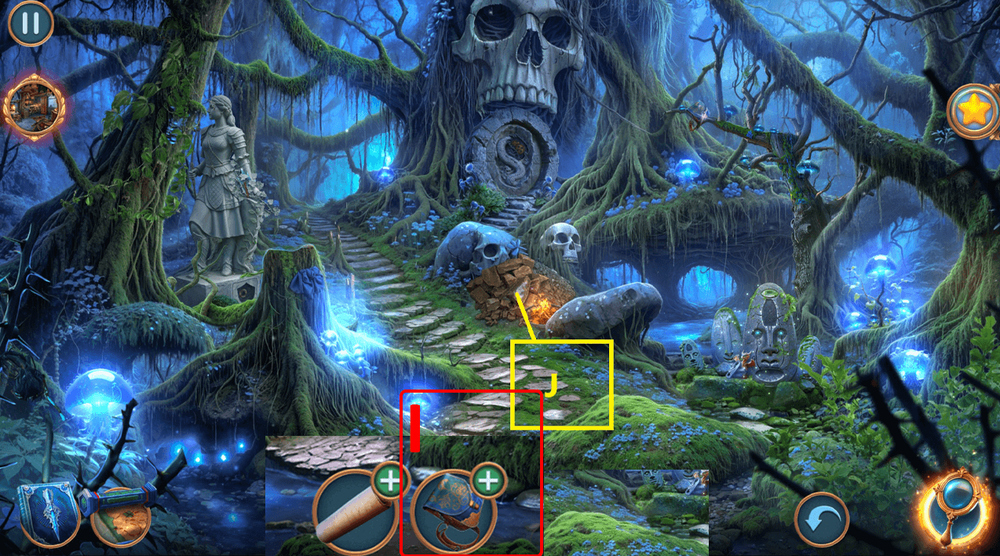
- Examine HUNTER’S BAG, open it, take TONGS (I).
- Use TONGS on the fire, get PUZZLE PIECE (J).
- Go back.
- Use FLINT AND STEEL on the resin (K).
- Go back.
- Use PUZZLE PIECE on the chest (L).
- Solution: L, R, R, R, L, L, L, R, R, L, R, R, L, R, L (M).
- Take APPLE.
- Use APPLE on the badger, take EMPTY FLASK and BONE (N).
- Go to the Forest Path.
- Use BONE on the skull, take BRUSH (O).
- Use BRUSH on the resin, take HORN (P).
- Use HORN on the ravens (Q).

- Easy solution: Solution is random (R).
- Hard solution: Solution is random (S).
- Take GUNPOWDER.
- Use GUNPOWDER on EXPLOSIVE, get EXPLOSIVE (T).
- Go to Near the Lair.
- Use EXPLOSIVE on the rubble, take PESTLE and STONE HEAD (U).
- Use STONE HEAD on the stone figure (V).
- Go forward.
- Select this option (W).
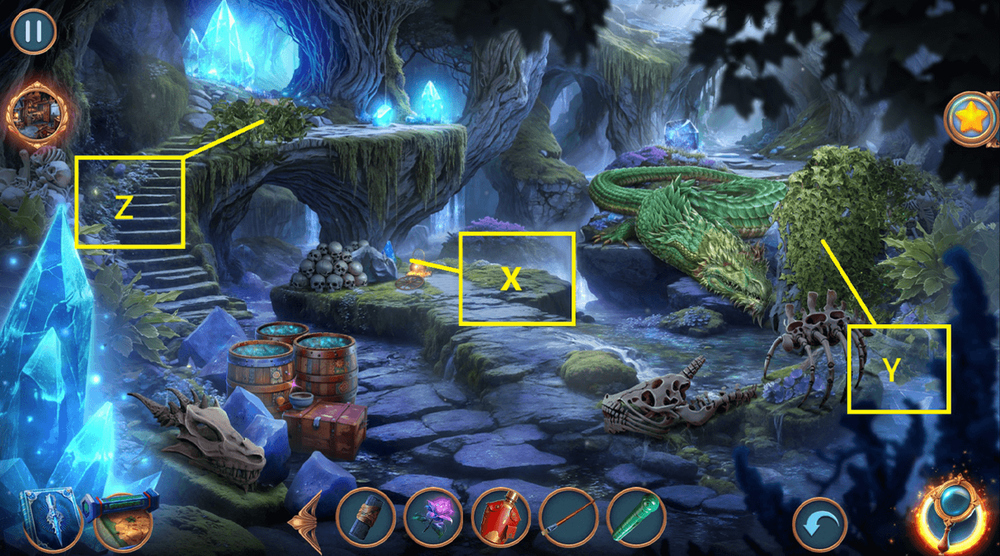
- Take WHEEL and SHELL (X).
- Move the leaves, use ULTRAVIOLET FLOWER, SHEET OF PAPER, and COAL on the shining stone, get SYMBOLS, take HANDLE (Y).
- Move the leaves (Z).
- Go to the Hunters’ Cabin.
- Use SYMBOLS on the hatch with symbols, press the sequence from the note, take ACID (A).
- Use ACID on the chain (B).
- Easy solution (C).
- Hard solution (D).
- Read the book.
- Go back.
- Use WHEEL on the cart (E).
- Go to the Monster’s Lair.
- Use EMPTY FLASK on the water, take WATER, use PESTLE and SHELL on the mortar, take SHELL POWDER (F).
- Use HANDLE on the pickaxe head, use WATER on the cauldron (G).
- Use SHELL POWDER and BRUSH on the chest (H).
- Easy solution (I).
- Hard solution (J).
- Take LIGHTLEAF and WINDMILL BLADES.
- Use LIGHTLEAF on the cauldron (K).
- Go to the Forest Clearing.
- Use WINDMILL BLADES on the windmill, take STATUETTE HEAD (L).
- Use STATUETTE HEAD on the statuette (M).

- Easy solution: 5, 6, 2, 1, 3, 4 (N).
- Hard solution: 8, 4, 1, 7, 5, 3, 2, 6 (O).
- Take BELT.
- Go to the Monster’s Lair.
- Use BELT on the pickaxe, take PICKAXE (P).
- Use PICKAXE on the white part in the wall, take PIN (Q).
- Go to the Forest Path.
- Use PIN on the cart, take WORMWOOD (R).
- Play puzzle, earn MAPLE EMBLEM (S).
- Select this option (T).
- Go to Near the Lair.
- Use MAPLE EMBLEM on the hollow space (U).
- Solution: Solution is random (V).
- Take IDOL PART.
- Use IDOL PART on the idol, take AWL (W).
- Go to the Monster’s Lair.
- Use AWL on the cork, take GAUZE (X).
- Use WORMWOOD and GAUZE on the cauldron (Y).
- Easy solution: 1, 3, 3, 2, 2 (Z).
- Hard solution: 3, 2, 1, 1, 2, 2 (A).
Congratulations! You have completed the game Hunter’s Journey 1: Tears of the Lake.


