
Knight Cats 2: Waves on the Water (Bonus Chapter) – See events through the eyes of Niki Monroe and discover what happened to her on the island of Maos Cats during the uprising. Get involved in a new case, starting with a surprise visit from Nicholas, who offers an assignment so important that it requires you to sign a non-disclosure agreement. Head to the harbor and figure out what secrets this island hides, and how intelligent ravens hungry for ancient technology are connected to it. Along the way, you’ll encounter the magical devices of the island cats, discover what’s behind the attacks on Catstown, and uncover the plans of enemies capable of putting civilians in a desperate situation.
Bonus Chapter Walkthrough
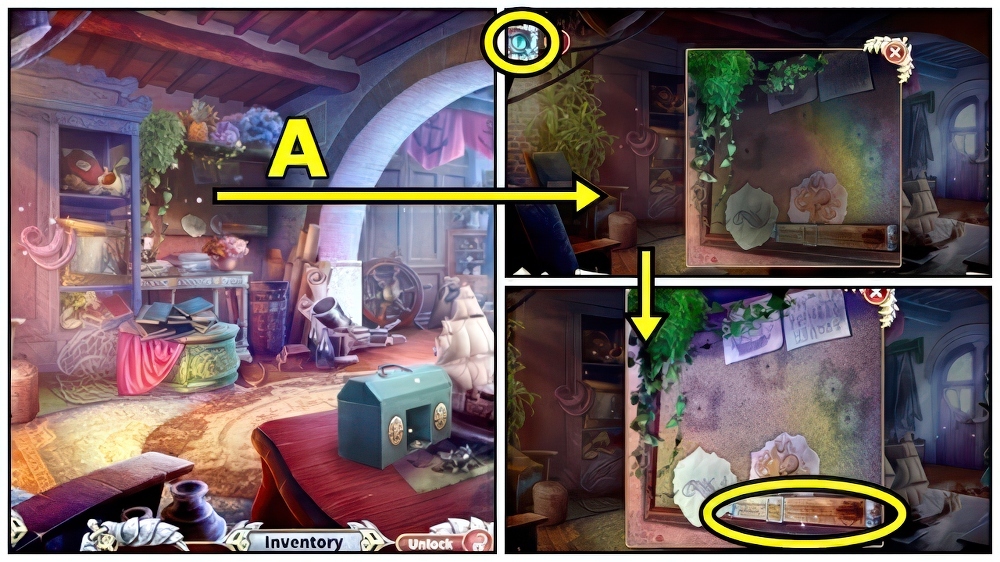
- Use Cat Eye (A).
- Take SAILOR’S RULE.
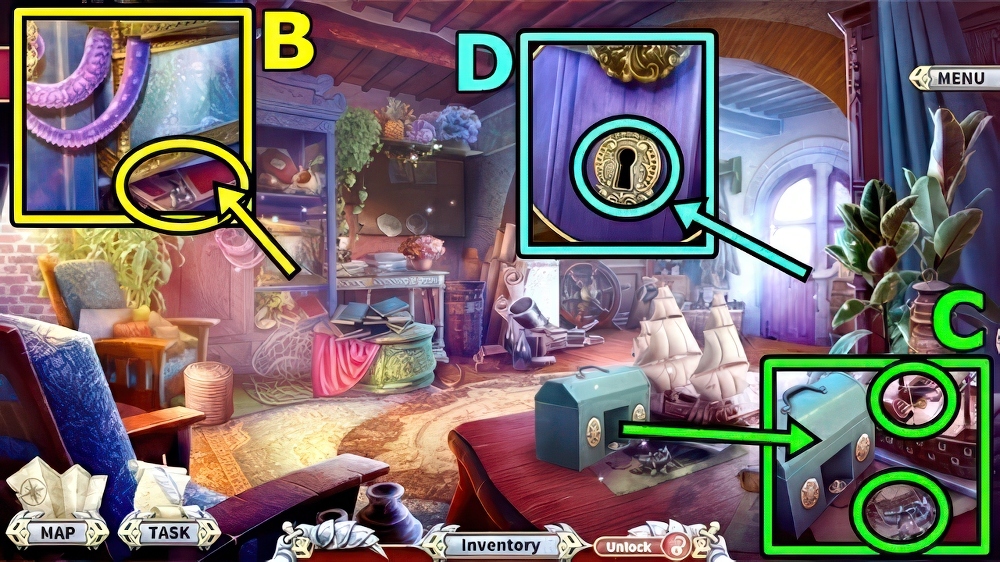
- Take WRITING SET (B).
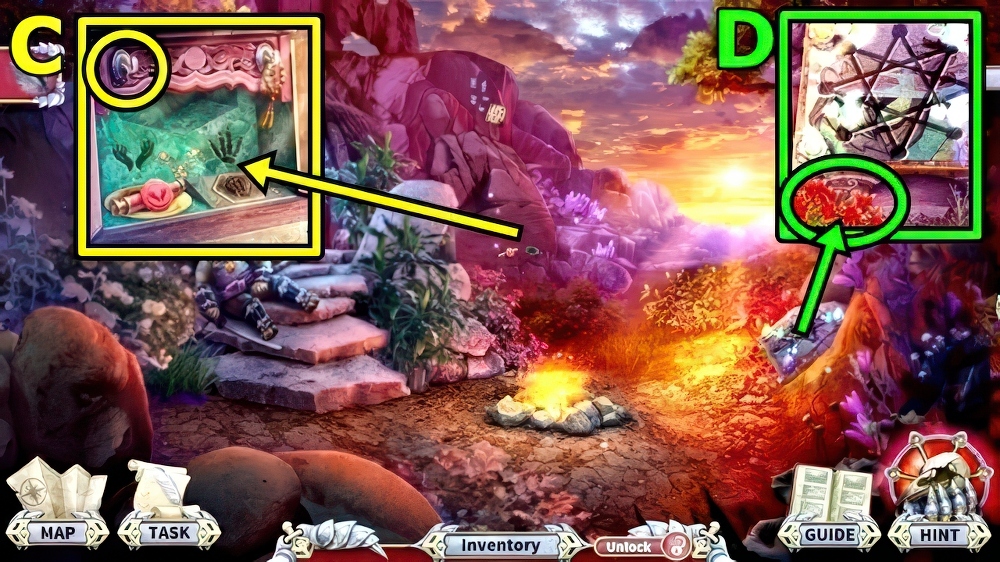
- Take PUSHPINS (C).
- Use SAILOR’S RULE, take PERSONAL SEAL and DOOR KEY.
- Use DOOR KEY (D).
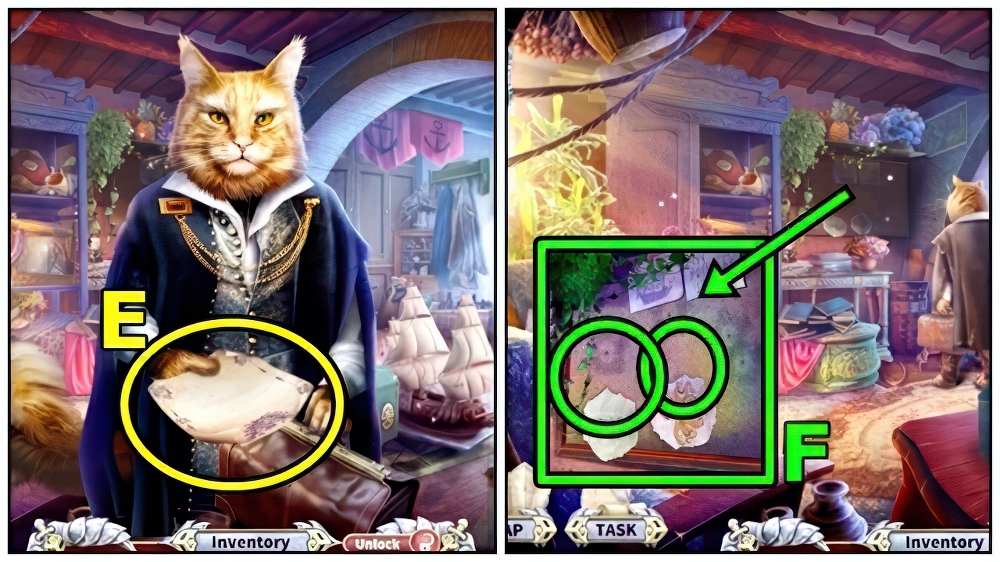
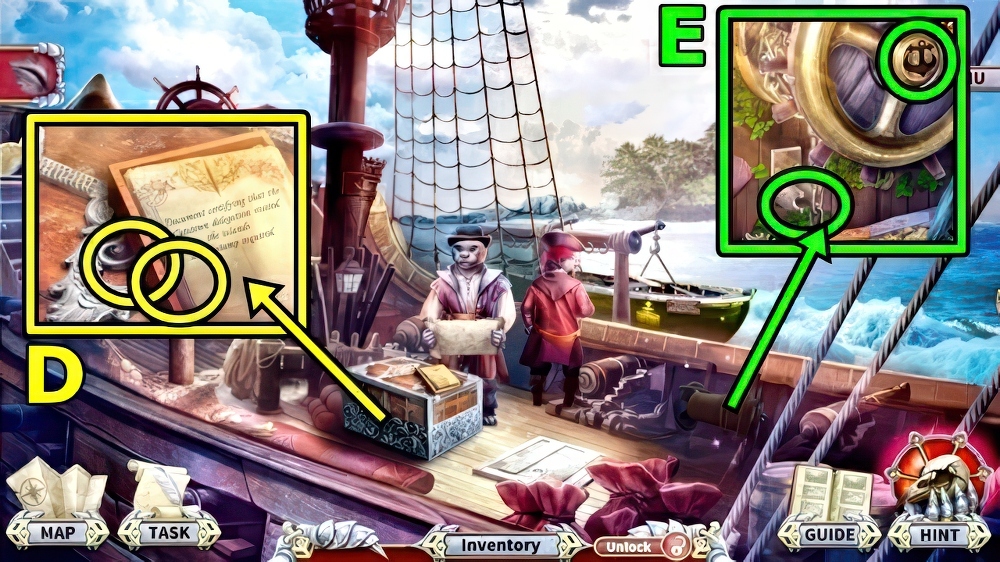
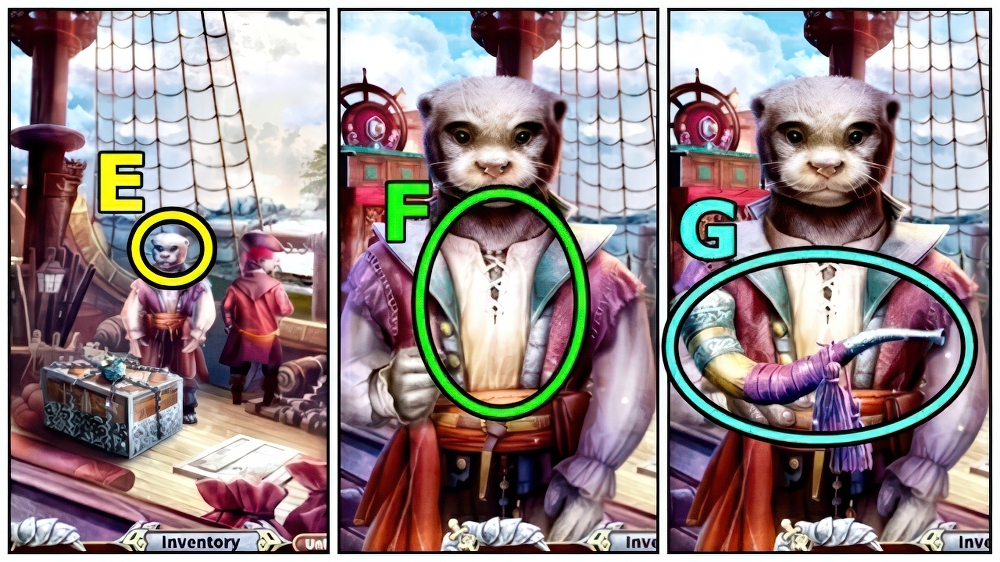
- Take NDA (E).
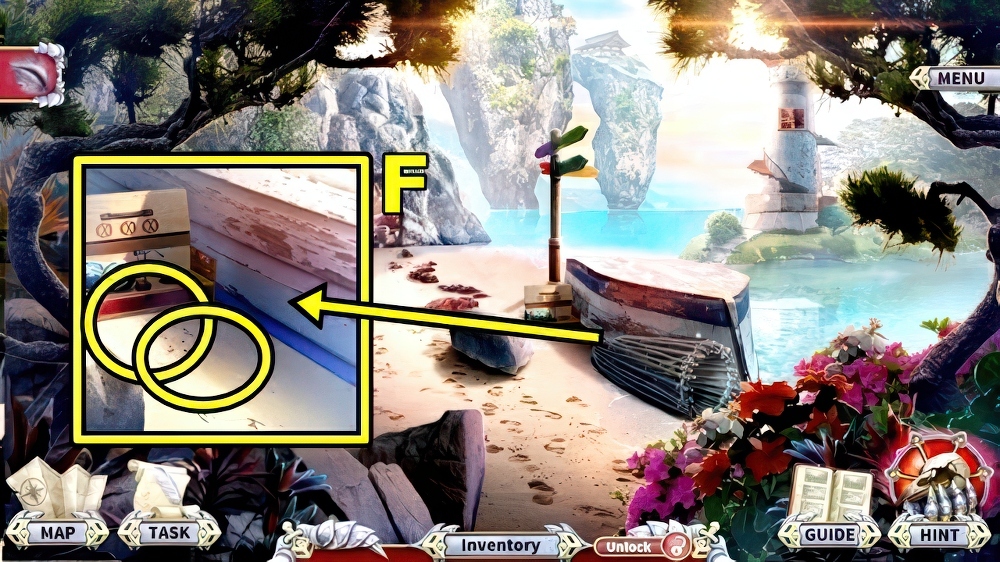
- NDA and PERSONAL SEAL on WRITING SET, take CLASSIFIED DOCUMENTS.
- Add CLASSIFIED DOCUMENTS (F) and PUSHPINS.
- Play puzzle.
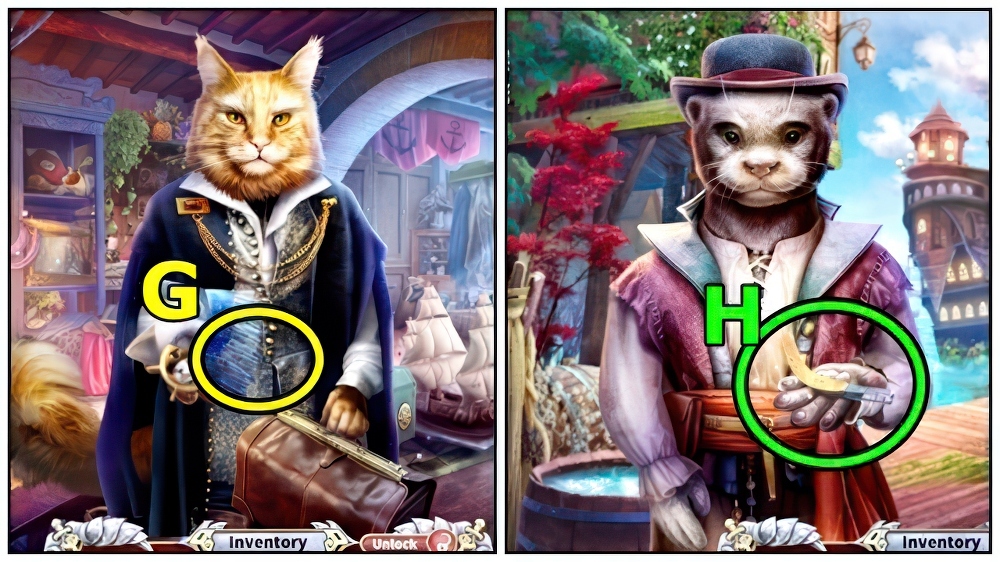
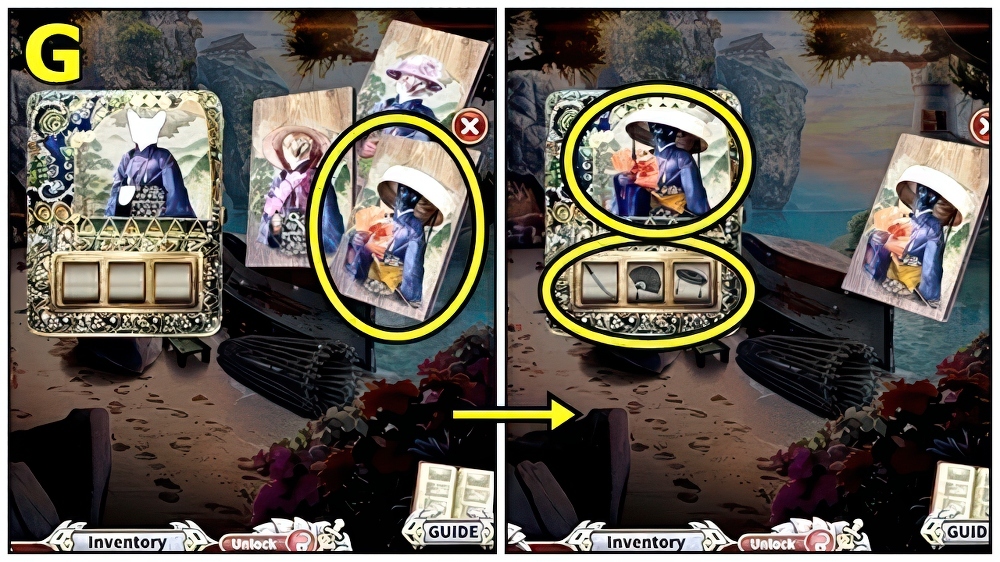
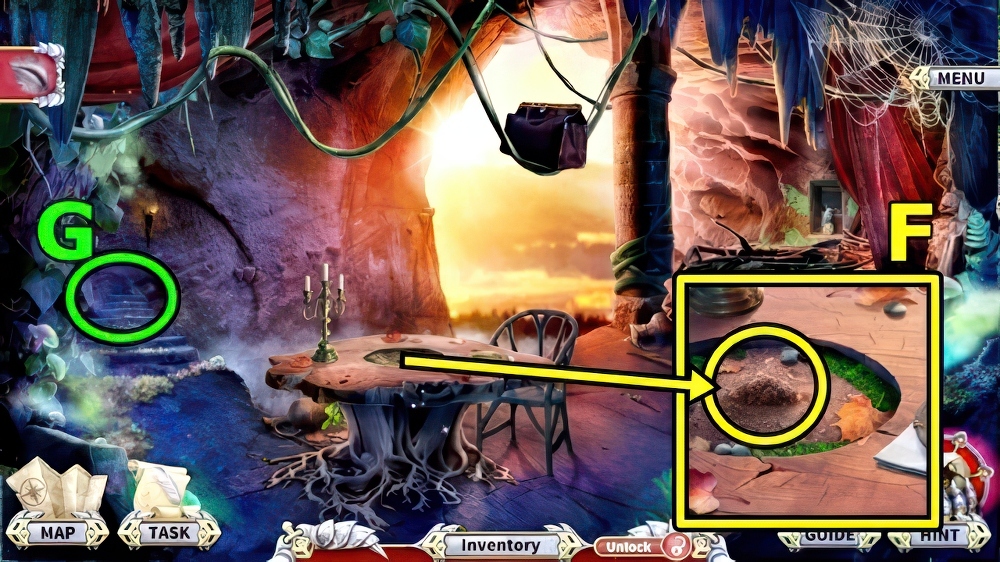
- Take BREATHING DEVICE (G) and SAILOR’S AMULET 1/2.
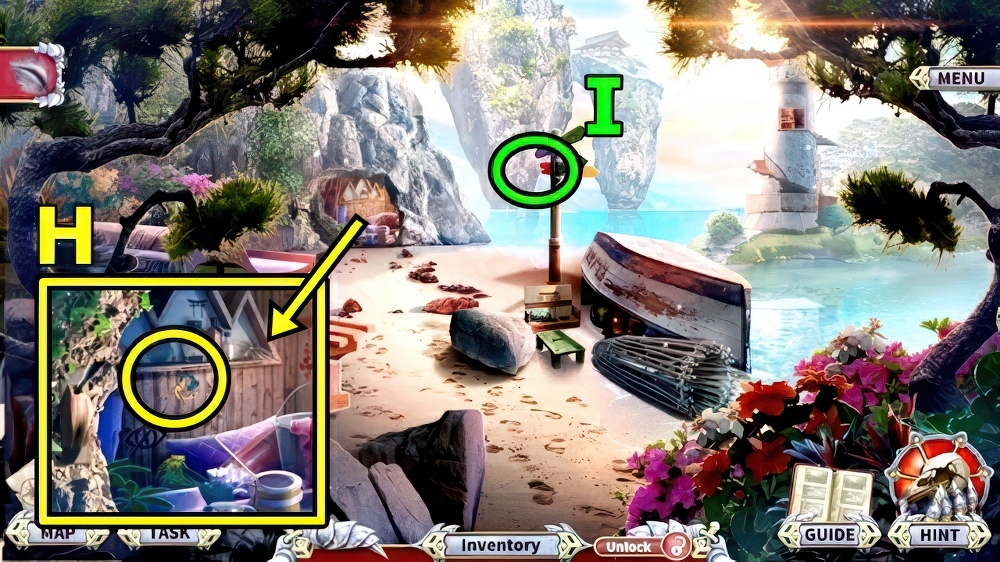
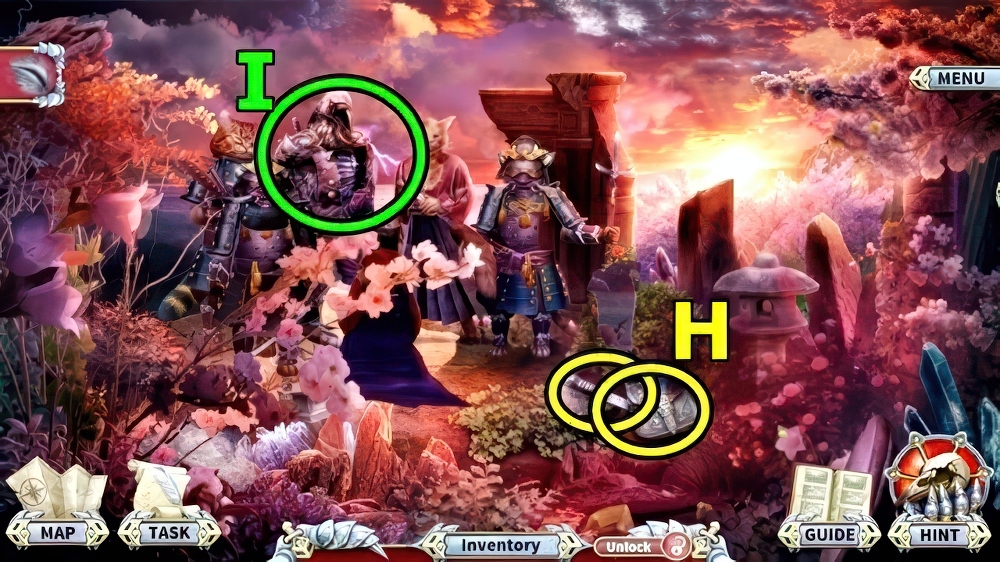
- Take BOAT SCRAPER (H).
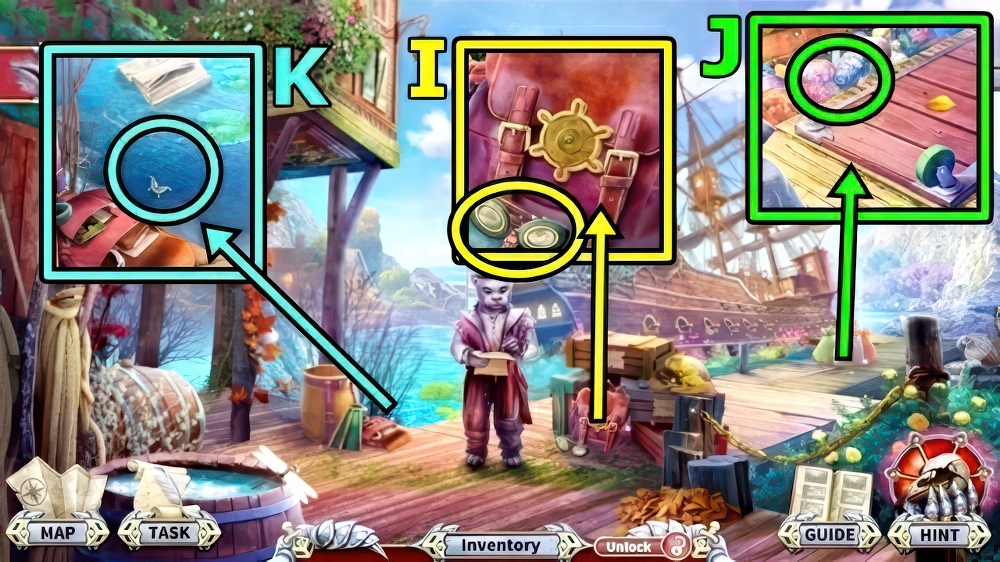
- Take DIVER’S GOGGLES (I).
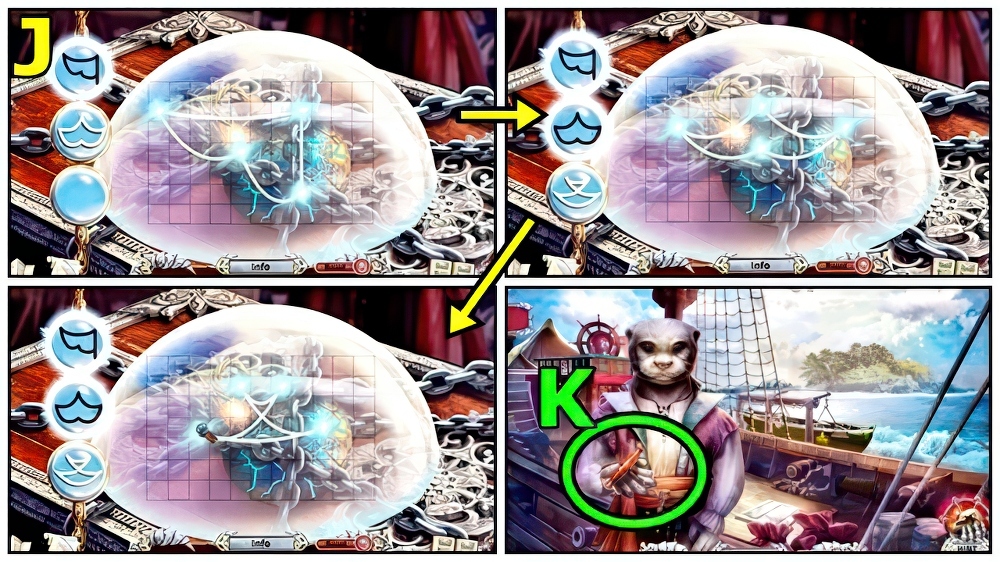
- Use BOAT SCRAPER (J), take OLD PART and SHELL CLAMPS.
- SHELL CLAMPS and DIVER’S GOGGLES on BREATHING DEVICE, take DIVER’S SET.
- Use DIVER’S SET (K), take SAILOR’S AMULET 2/2.
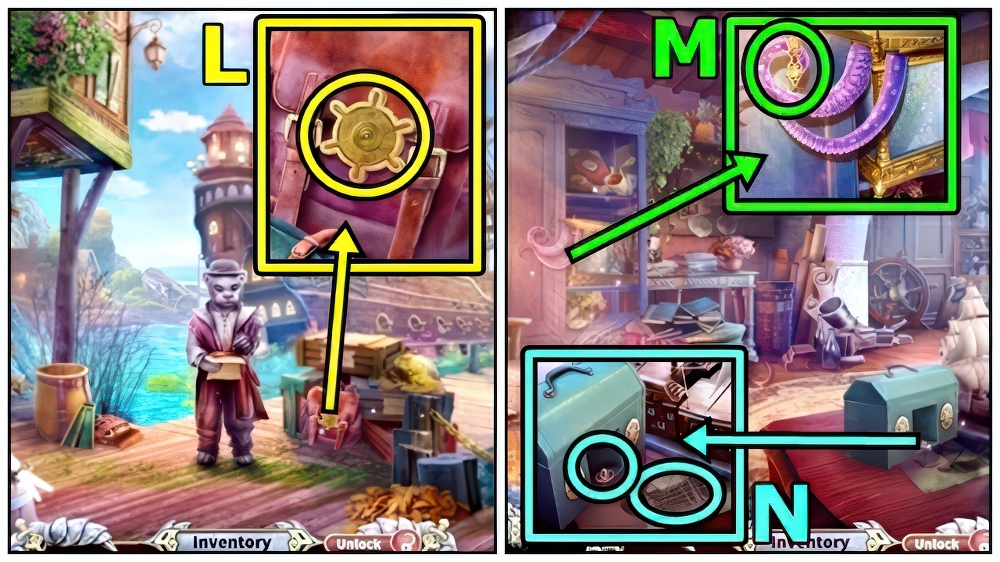
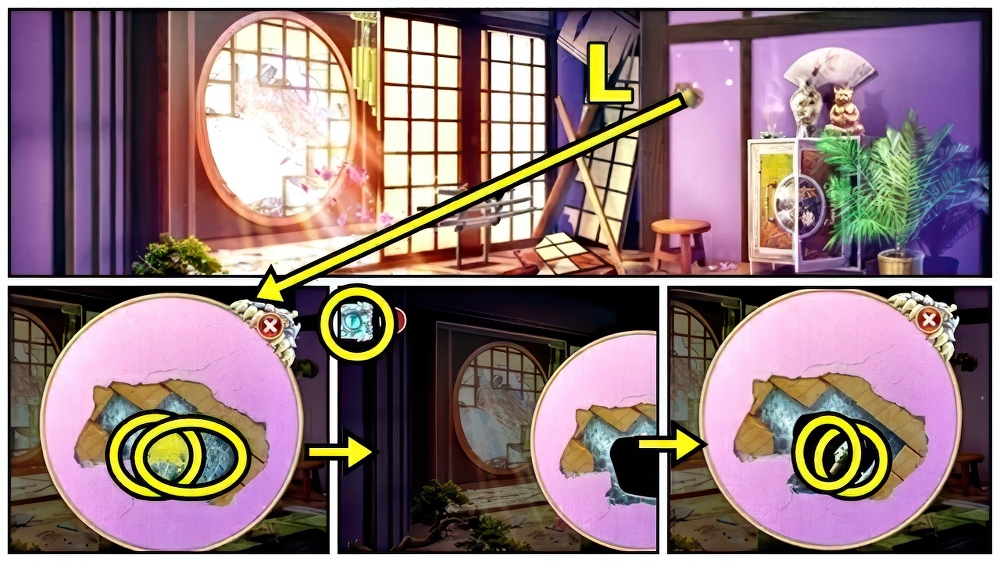
- Insert SAILOR’S AMULET (L), play puzzle, receive STARFISH and PLIERS.
- Move down.
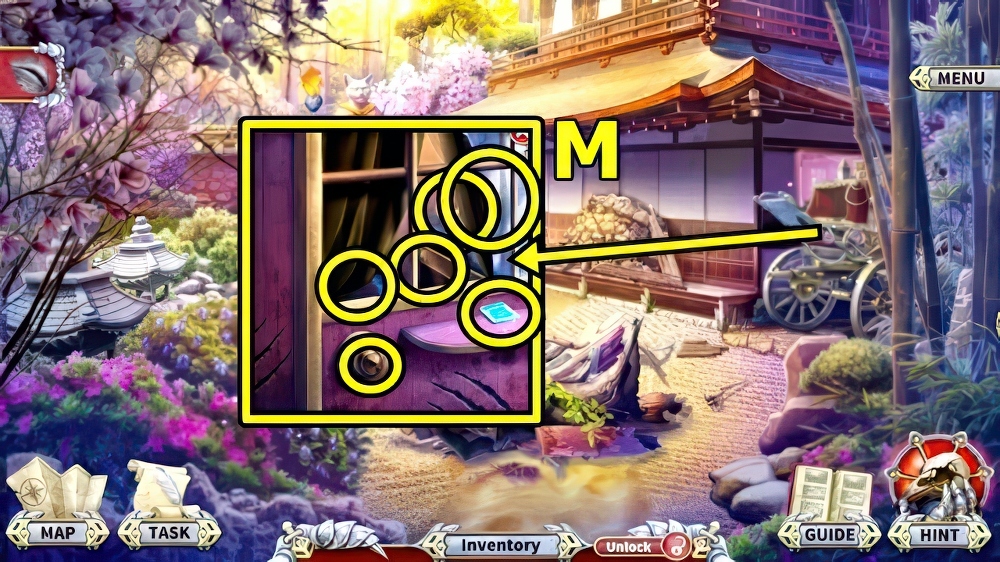
- Use STARFISH (M), take SAILOR’S GOBLET and CAPTAIN’S UNIFORM.
- Add SAILOR’S GOBLET (N) and OLD PART, take LADDER WHEEL and MAP OF ISLANDS.
- Go to Near Ship.

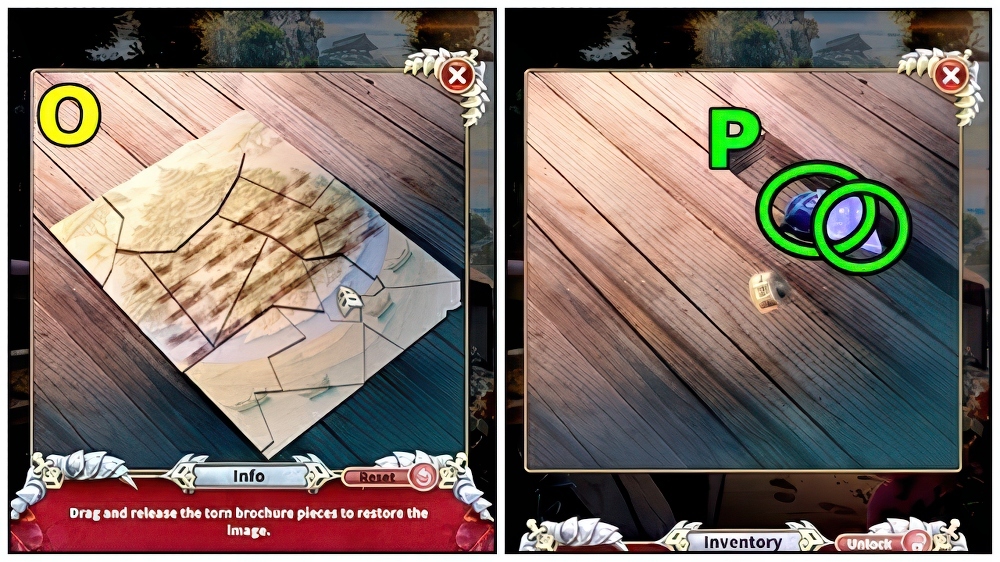
- Add LADDER WHEEL (O) and PLIERS.
- Use CAPTAIN’S UNIFORM (P).
- Go to On Ship.
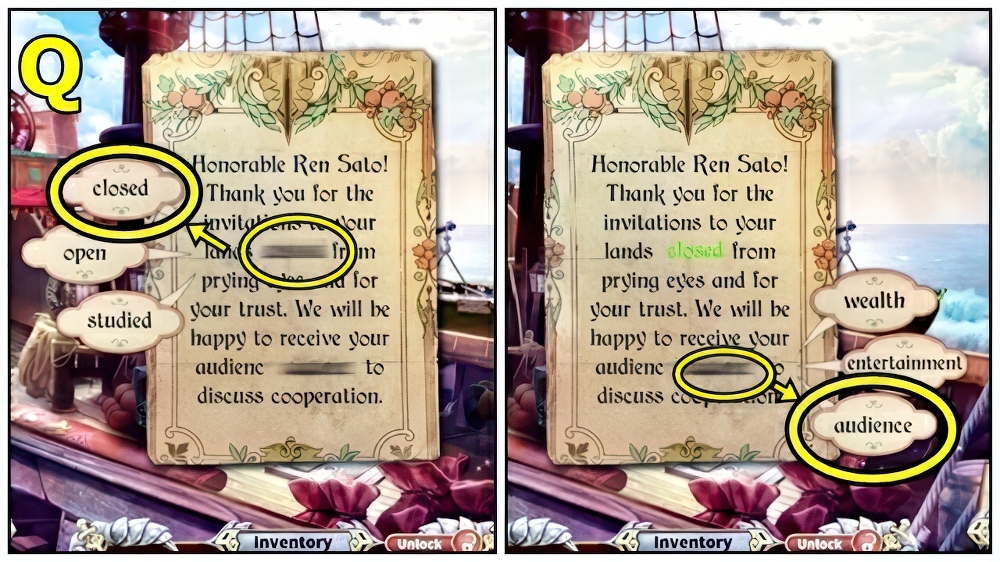
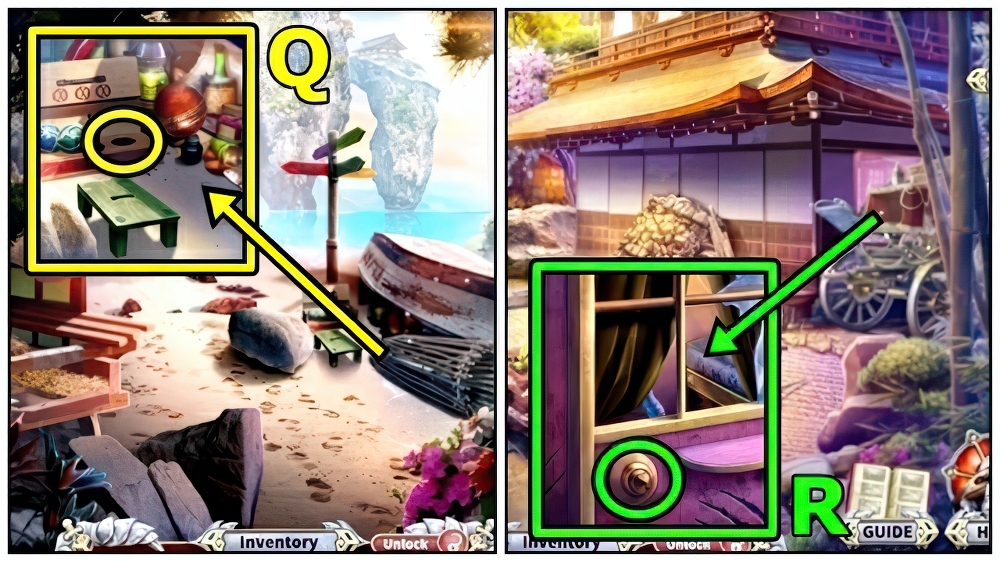
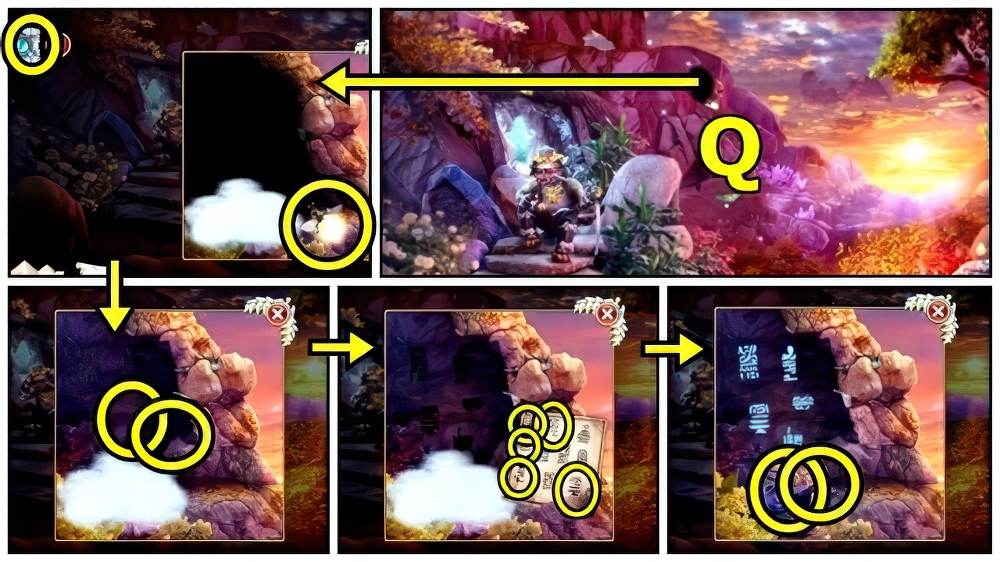
- Select (Q), receive DIPLOMATIC CERTIFICATE.

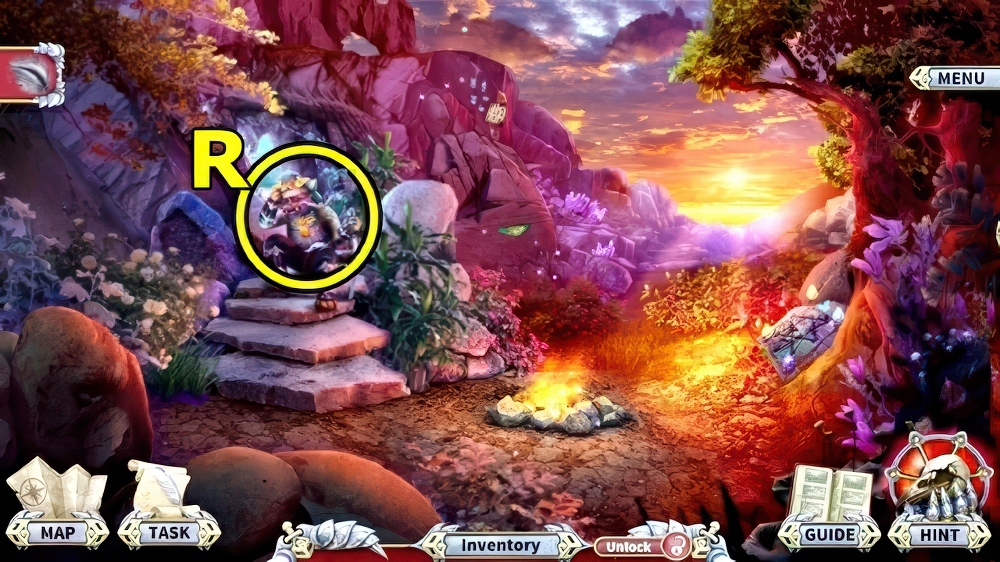
- Take CATSTOWN CREST (R).
- Take BOARD PAINT (S).
- Add BOARD PAINT (T), take ANCHOR VALVE.
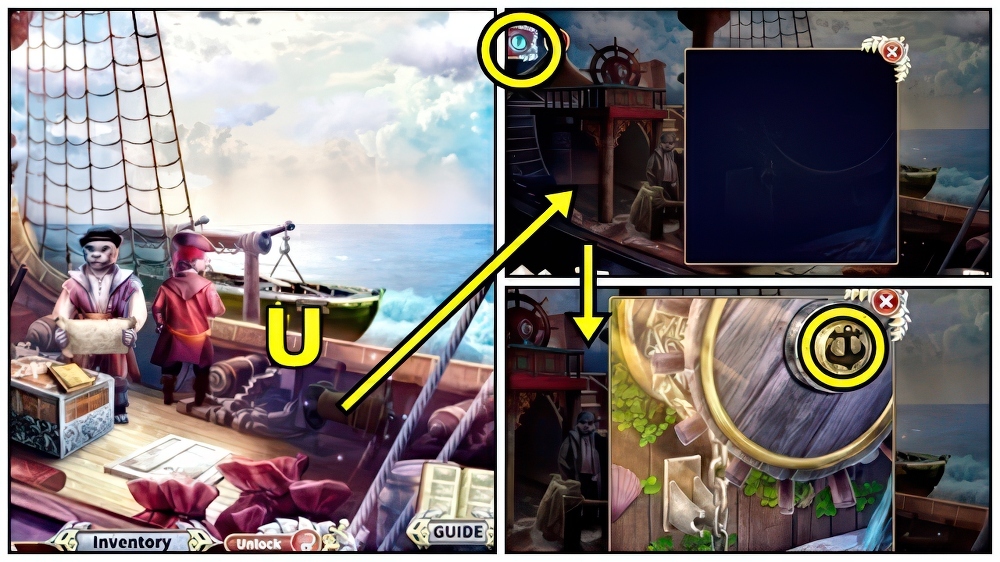
- Use Cat Eye (U).
- Add ANCHOR VALVE, take WAX FOR PAWS and CAPTAIN’S COMPASS.

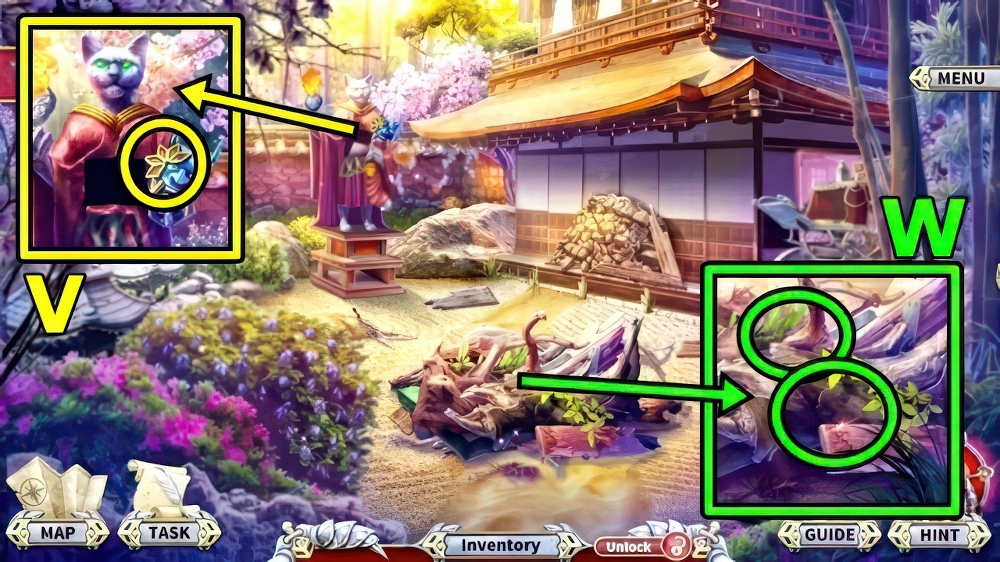
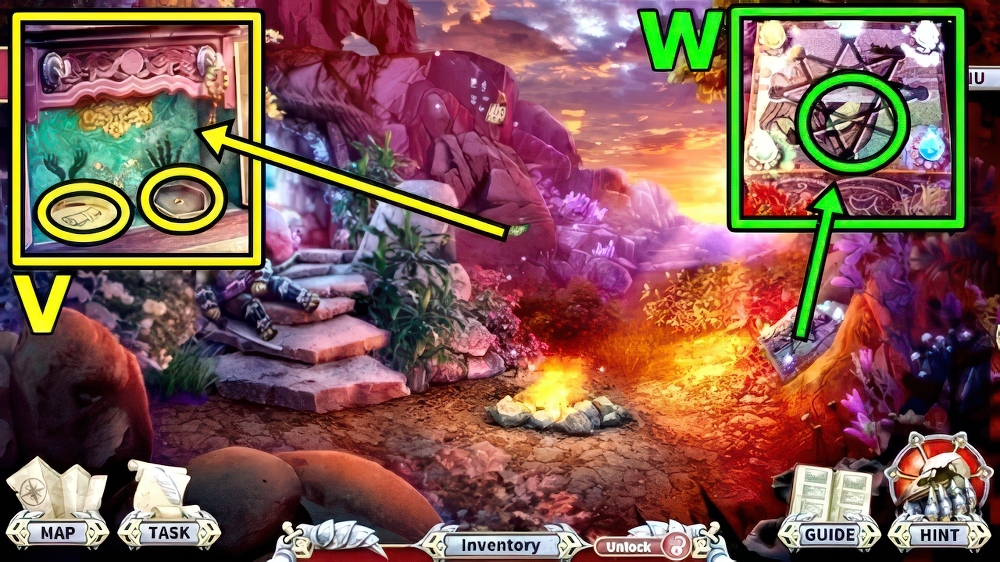
- Add MAP OF ISLANDS (V) and CAPTAIN’S COMPASS.
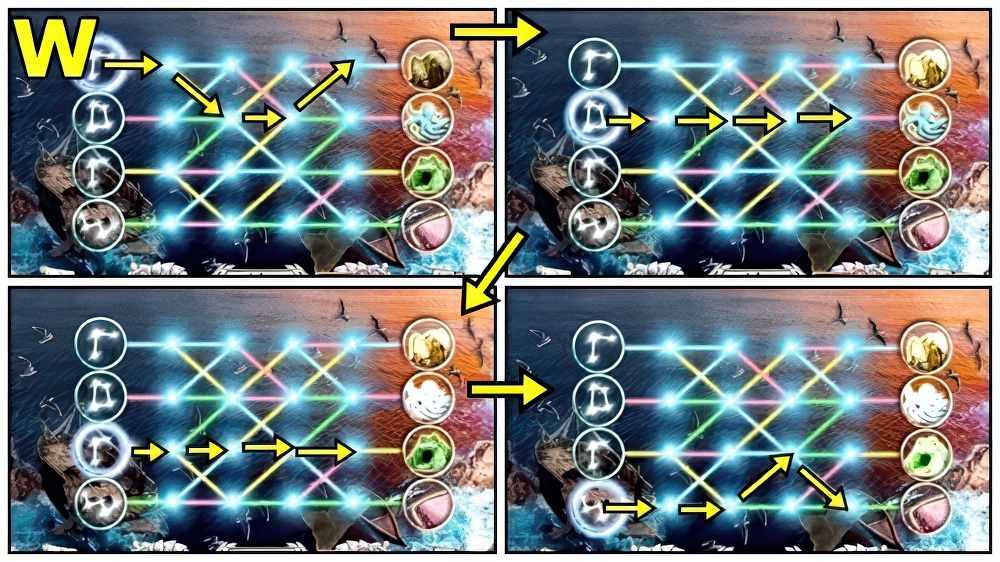
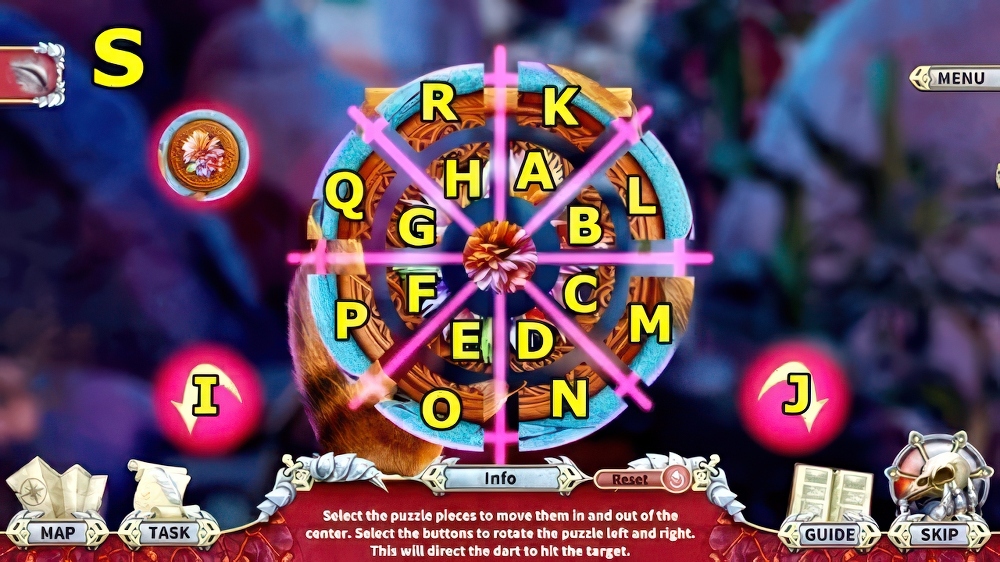
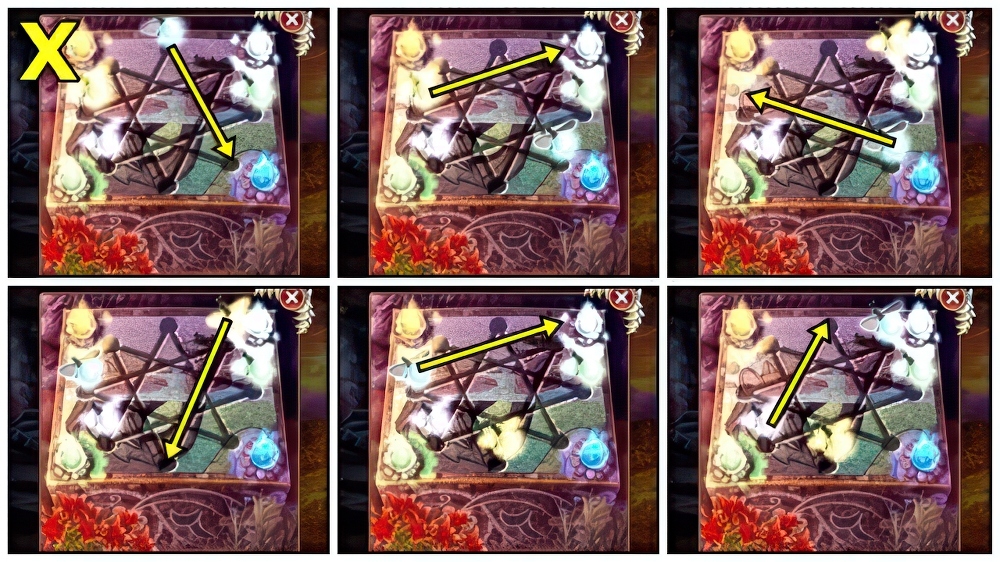
- Solution: (W).
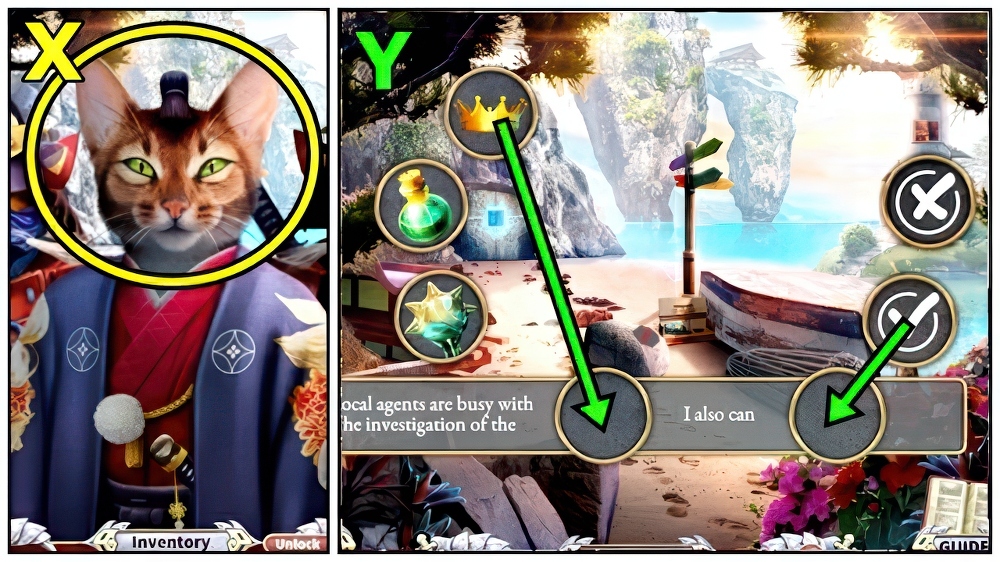
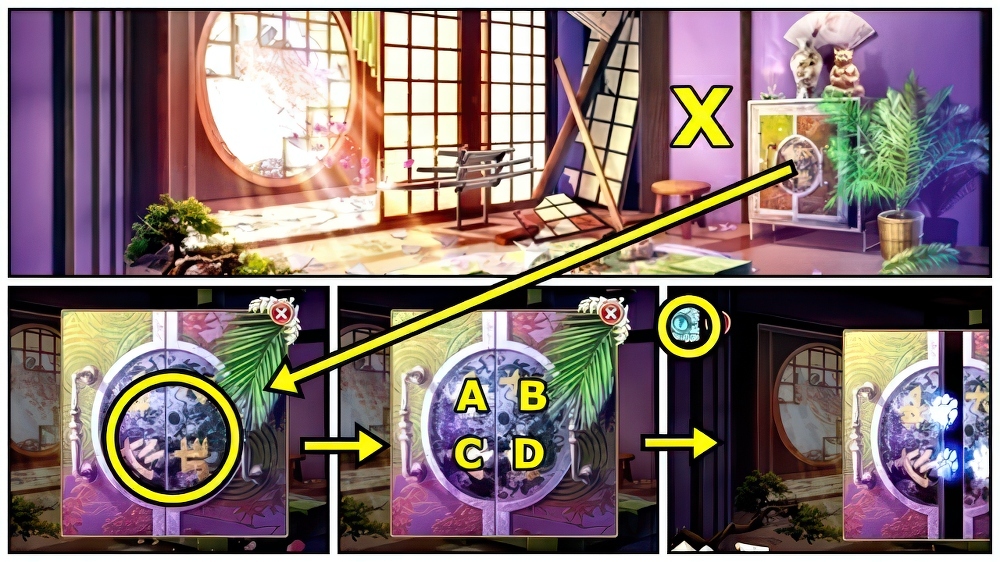
- Give DIPLOMATIC CERTIFICATE (X).
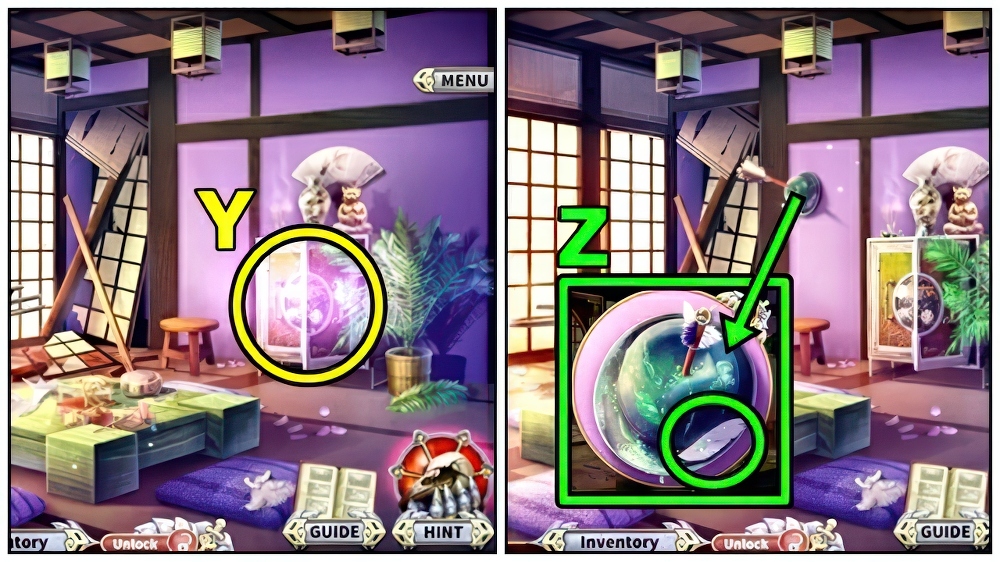
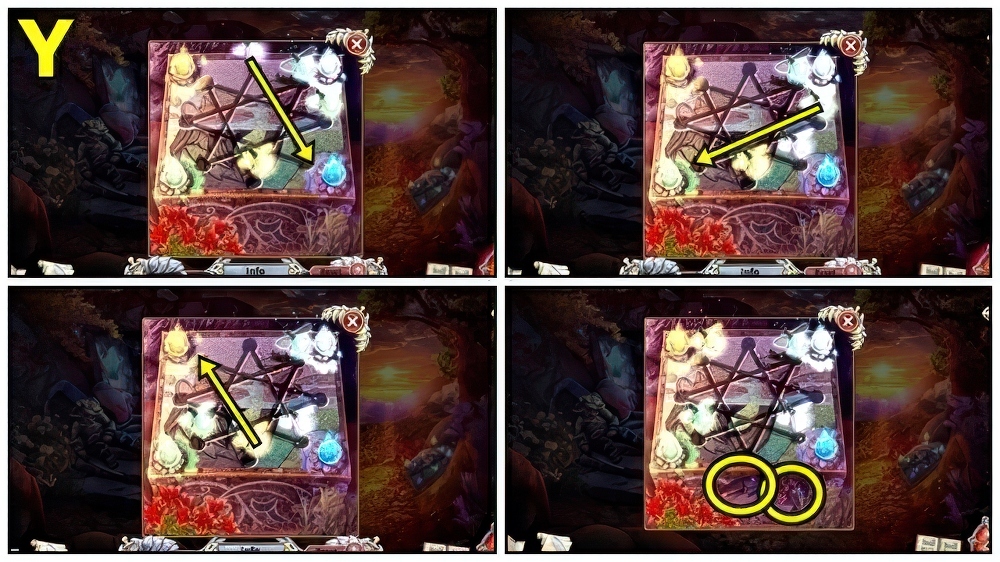
- Select (Y).
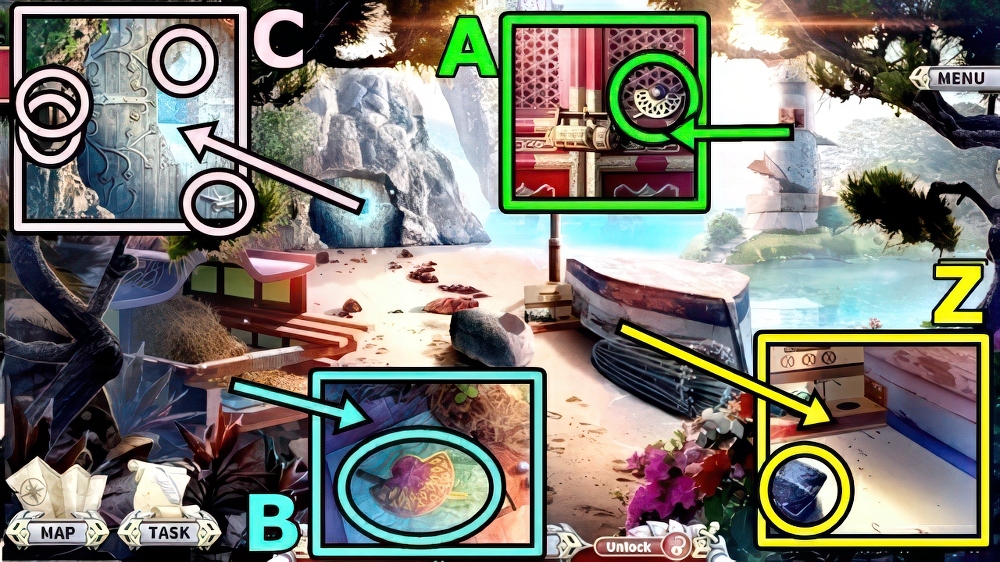
- Take INK PAD (Z).
- Take ISLAND GUARD’S BUCKLE (A).
- Add ISLAND GUARD’S BUCKLE (B), take BORDER POST LEVER and LOYALTY TO QUEEN.
- Take ANCHOR STOPPER (C).
- Add CATSTOWN CREST, WAX FOR PAWS and BORDER POST LEVER.
- Take ARRIVAL STAMP and FISHERMAN’S STOOL.
- Move down.
- Add ARRIVAL STAMP (D) and INK PAD, take GOVERNORS’ PORTRAITS and ANCHOR FIGURINE.
- Add ANCHOR FIGURINE (E), receive MIRROR SINK.
- Add ANCHOR STOPPER, take PADDLE.
- Go to Landing Place.
- Add PADDLE (F) and FISHERMAN’S STOOL.
- Play puzzle, receive FISHING ODE and LOCK PART.
- FISHING ODE and GOVERNORS’ PORTRAITS on LOYALTY TO QUEEN, select a portrait (G), match.
- Take CONSPIRATORS’ SIGN and CONSPIRATORS’ CODE.
- Add CONSPIRATORS’ SIGN (H).
- Play puzzle, receive RESIDENCE POINTER.
- Add RESIDENCE POINTER (I).
- Go to Outside Residence.
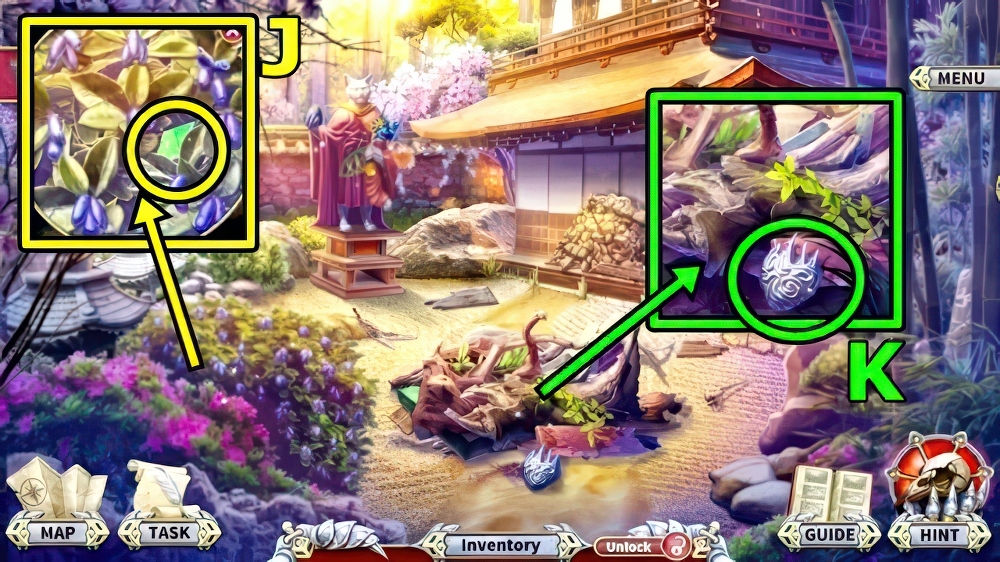
- Take GEM 1/5 (J).
- Take HEART FIRE (K).

- Take HEAVY STONE (L).
- Add HEART FIRE.
- Use Cat Eye, take QUEEN’S HAIRPIN, read.
- Take GEM 2/5 (M).
- Use MIRROR SINK, QUEEN’S HAIRPIN and HEAVY STONE, take GOVERNOR’S FAN and LOCK PART.
- Move down.

- Add LOCK PARTS (N) and CONSPIRATORS’ CODE, adjust dials to 5-7-3-2-5.
- Solution: (O).
- Take GEM 3/5 (P) and FISHING FLOATS.
- Add FISHING FLOATS (Q), take GEM 4/5 and WEDGE.
- Go to Outside Residence.
- Add WEDGE (R).
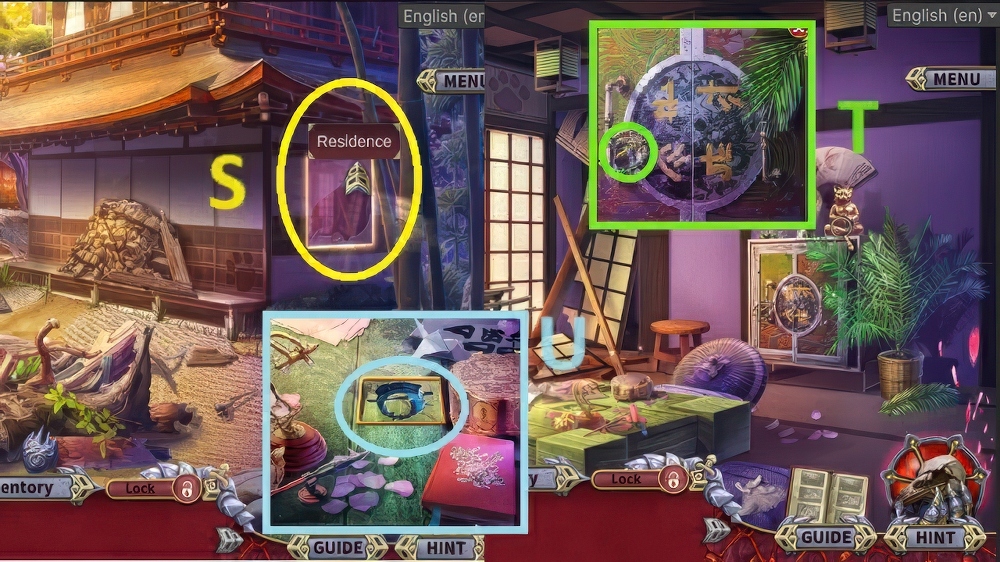
- Enter Residence (S).
- Take SYMBOL OF POWER (T).
- Add SYMBOL OF POWER (U), take MAGNIFYING GLASS BASE and GEM 5/5.
- Move down.
- Add GEM (V), take HANDFUL OF SCREWS and WOOD BORERS.
- Add WOOD BORERS (W) and GOVERNOR’S FAN, take BROKEN POWDER BOX and FLASK WITH SEDATIVE.
- Enter Residence.
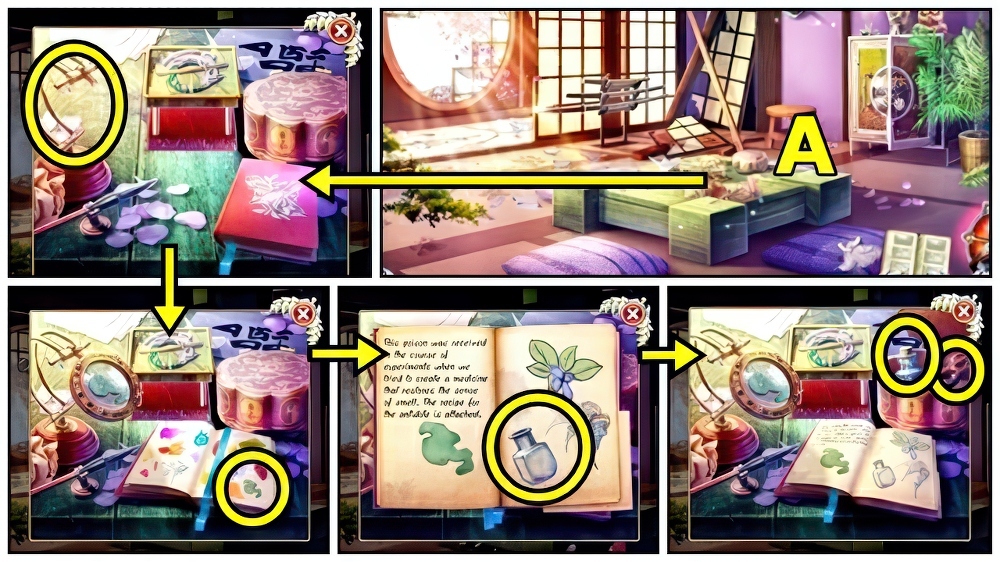
- Add BROKEN POWDER BOX (X).
- Press A-D-C.
- Use Cat Eye.
- Play puzzle (Y), receive MAGIC GLASS.
- Take POISON SAMPLE (Z).
- MAGIC GLASS, HANDFUL OF SCREWS and POISON SAMPLE on MAGNIFYING GLASS BASE, take CLUE.
- Add CLUE (A), select, examine.
- Take EMPTY JAR and MOLECULE AMULET.
- Move down.

- Insert MOLECULE AMULET (B), take DIAMOND RING and LAB CLAWS.
- Use LAB CLAWS (C) and EMPTY JAR, take ANTIDOTE.
- Enter Residence.
- Use ANTIDOTE (D), play puzzle, receive ROGER’S HAT.
- Return to On Ship.
- Give ROGER’S HAT (E).
- Give FLASK WITH SEDATIVE (F).
- Take EVACUATION HORN (G).
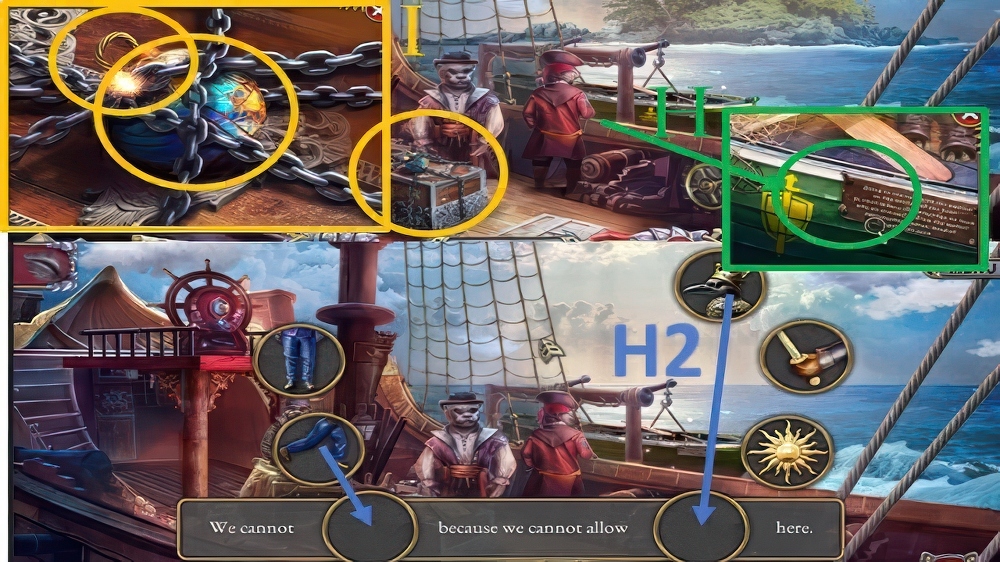
- Use EVACUATION HORN (H), take MAGIC SILENCER and FAKE MESSAGE.
- Select (H2).
- Add MAGIC SILENCER (I) and LAB CLAWS.
- Solution: (J).
- Receive SCENT RESTORING POTION and COTTON FLOWER.
- Take CORKSCREW (K).
- Return to Residence.
- Use DIAMOND RING (L) and COTTON FLOWER.
- Use Cat Eye, take BLOW PIPE and LONG HOOK.

- CORKSCREW and LONG HOOK on FAKE MESSAGE, take DART and TUFT OF HAIR.
- Add TUFT OF HAIR (M).
- Take BURNED LETTER FRAGMENT (N).
- Take POKER (O).
- Use POKER (P), take PAW PRINT and EMBER.
- Take FIREFLY 1/3 (Q).
- Use Cat Eye.
- Add EMBER and BURNED LETTER FRAGMENT, select runes.
- Take BROKEN KITE and SOPORIFIC POTION.
- DART and SOPORIFIC POTION on BLOW PIPE, take SLEEPING DART.
- Use SLEEPING DART (R).
- Solution: (S) D-G-I-B-E-H-Jx2-A-C-F-L-O-Jx2-K-J-N-P-J-R-J-M-Jx2-Q.
- Enter Enemy’s Cave.

- Take OYSTER FORK (T).
- Use OYSTER FORK (U), take PERMISSION SCROLL and FIREFLY 2/3.
- Move down.
- Add PAW PRINT (V) and PERMISSION SCROLL, take EMBROIDERED HANDKERCHIEF and FIREFLY 3/3.
- Add FIREFLY (W).
- Solution: (X).
- Solution: (Y).
- Take COIL and MEDALLION PIECE.

- Examine (Z).
- Use MEDALLION PIECE, take RAVEN FIGURINE and THREADS.
- Enter Enemy’s Cave.
- Add RAVEN FIGURINE (A), take SCISSORS and MAGIC DESCRIPTION.
- EMBROIDERED HANDKERCHIEF, THREADS, COIL and SCISSORS on BROKEN KITE, take KITE.
- Use KITE (B).
- Play puzzle, receive MEDITATION ROSARY.
- Move down.
- Add MEDITATION ROSARY (C), take SICKLE and GLOWING CHEST.
- Use SICKLE (D), receive FIREFLOWERS.
- Take MAGNET.

- Use MAGNET (E), add MAGIC DESCRIPTION, take NEGOTIATOR’S BRACELET and IRON SPROUT.
- Enter Enemy’s Cave.
- Use IRON SPROUT (F), take ROCK HOOK.
- Use ROCK HOOK (G).
- Go to Rocks of Negotiations.
- Examine (H).
- Take DAGGER OF TRUTH.
- Open GLOWING CHEST, add DAGGER OF TRUTH, NEGOTIATOR’S BRACELET and FIREFLOWERS, take NEGOTIATION SET.
- Use NEGOTIATION SET (I).
- Solution: (J).

- Use SCENT RESTORING POTION (K).
Congratulations! You have completed the game Knight Cats 2: Waves on the Water.


