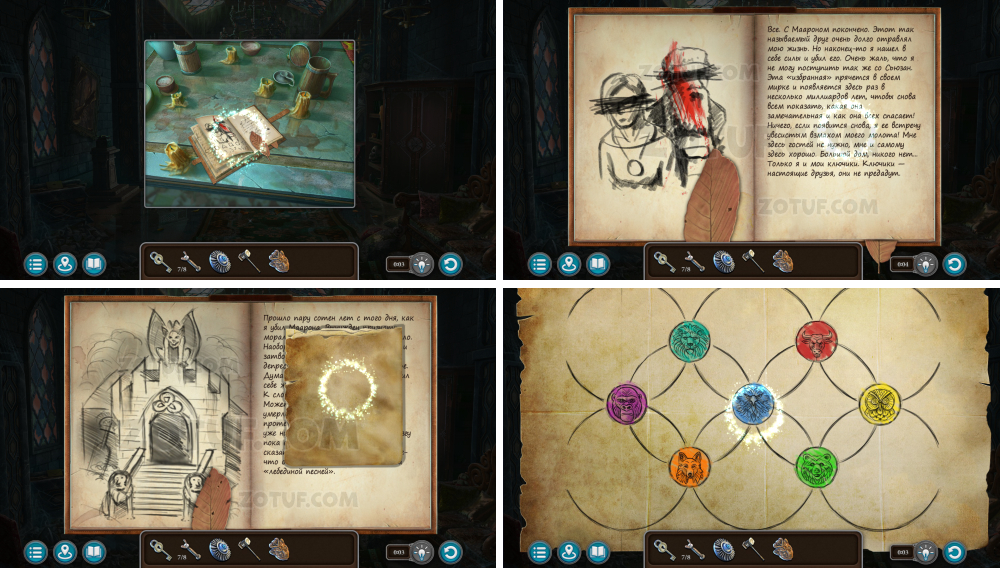
Lost Lands 10 – Anniversary installment of the series, in which you are waiting for a return to a mysterious world full of unexpected plot twists and colorful characters. The story begins when Susan Shepard, who long ago left her adventures and devoted herself to writing books, is forced to return to the Lost Lands. Her old friend, Folnur, suddenly becomes aggressive and kills Maaron, a respected elder. Susan sets out to find answers. What has happened to Folnur? Why has he changed so much? This time her goal isn’t about saving the world, but it is very important to her personally. Susan finds herself at the mansion. Here she meets Kiana, her granddaughter, who, it turns out, has been traveling to the Lost Lands for a long time, hiding it. Kiana reports that she has discovered Folnur’s diary, where he confesses to killing Maaron and describes his loneliness, depression and plans for some kind of structure in the tomb. These notes become the starting point for a new investigation. During the adventure, Susan encounters old friends who help her on her journey, as well as a new enemy she didn’t even know existed before. She is waiting for difficult decisions, solving the mysteries of the past, which are closely connected with the present, and unexpected discoveries. If you can not pass any of the puzzles or do not know where the items are, on our site you can watch the Lost Lands 10 walkthrough, and solve all the mysteries.
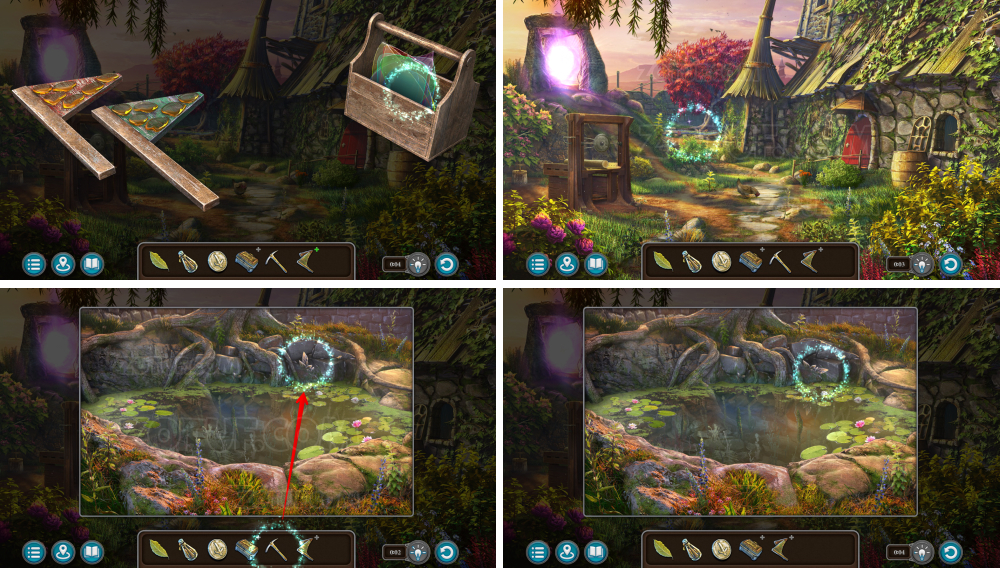
- Mysterious Mansion
- Secret of the Crypt
- Back to the past again
- Mine by the river
- Missing pontoon
- Fair pigs
- Halfling’s scent
- Portal Bridge
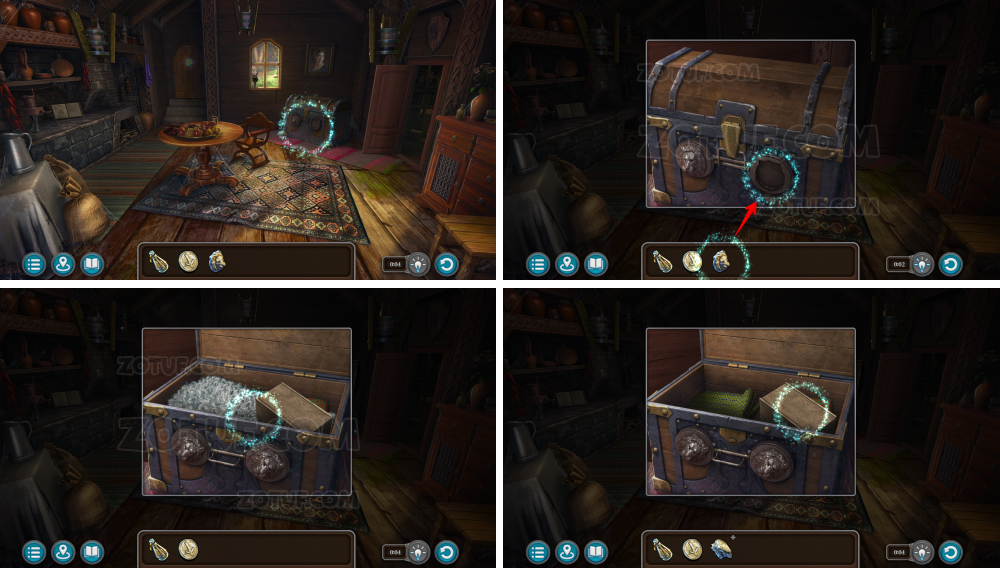
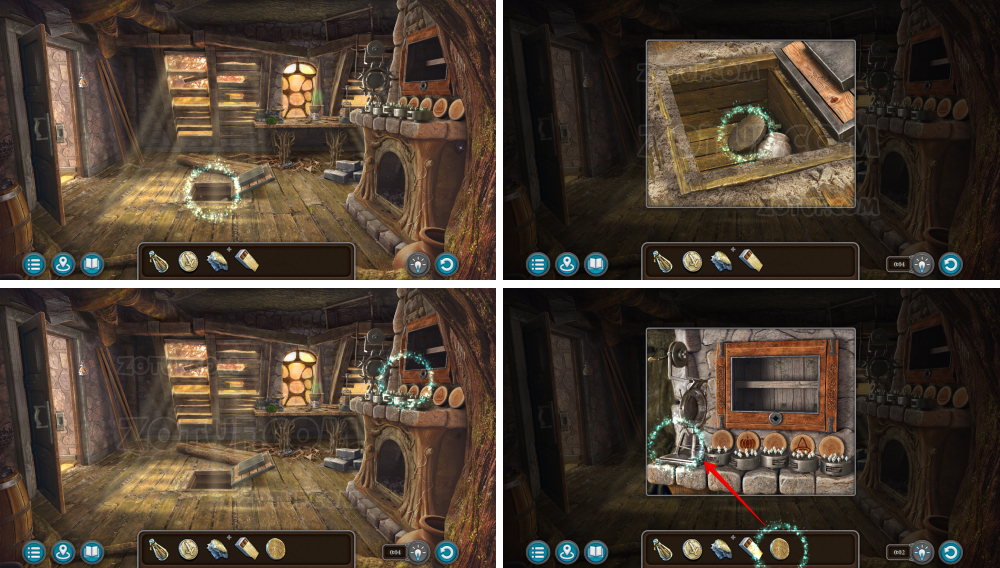
- Bogro’s Estate
- Dog’s memories
- Dog’s sniff
- Beaverling problems
- Dam repair
- Potion of underwater breathing
- Snowy Peak
- Suicide ritual
- Amulet with potion
- Fireball
- Preparation
- Magical weapons
- Confrontation
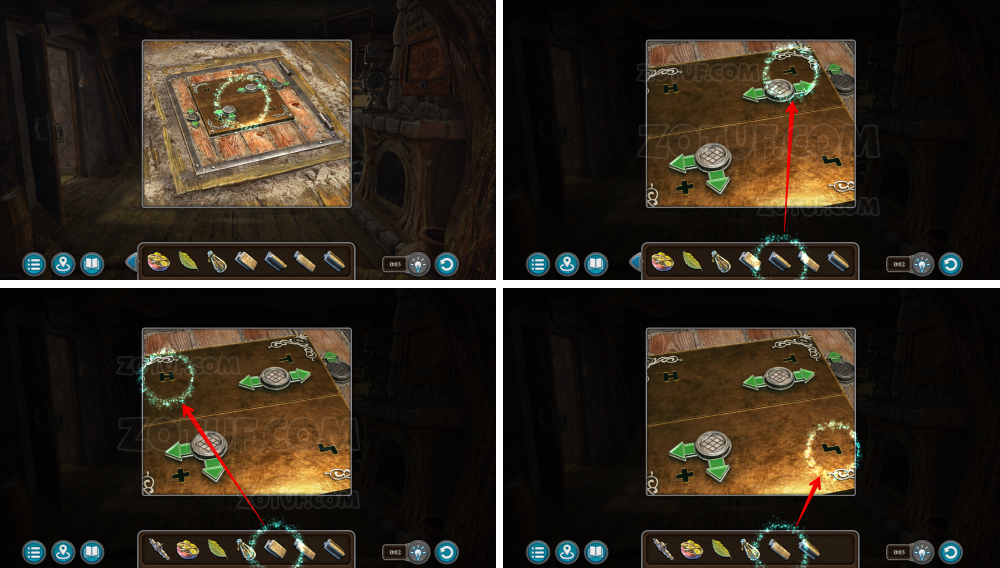
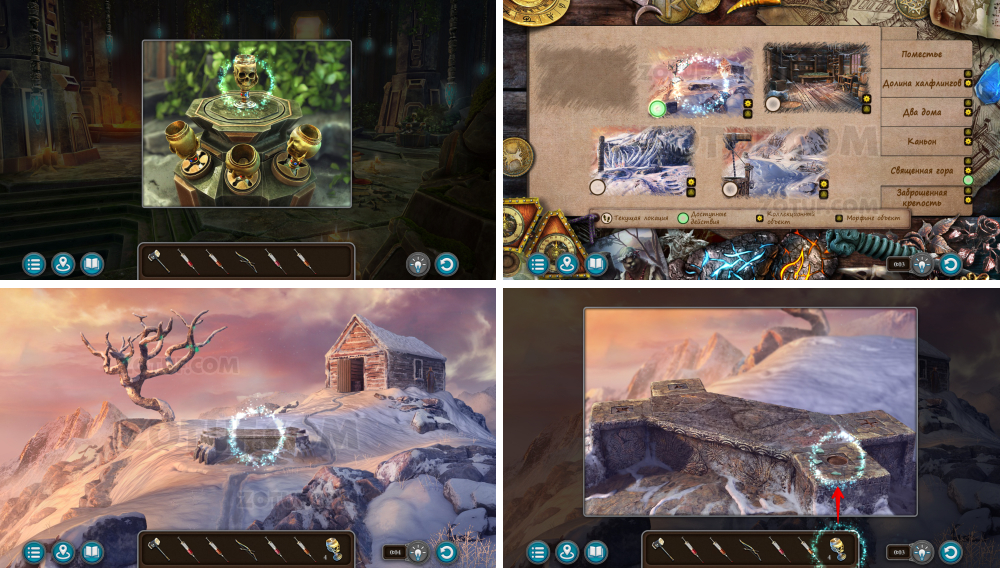
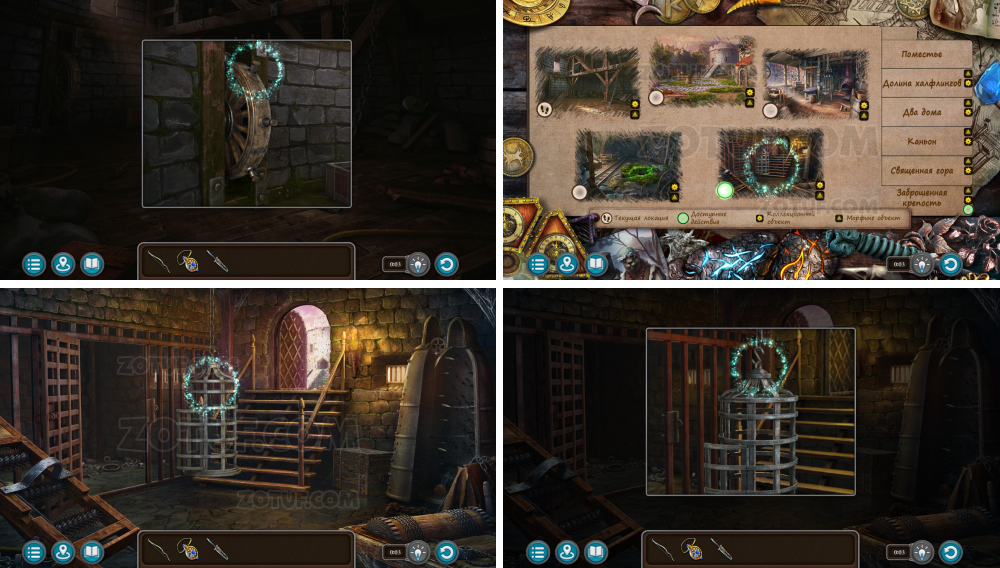
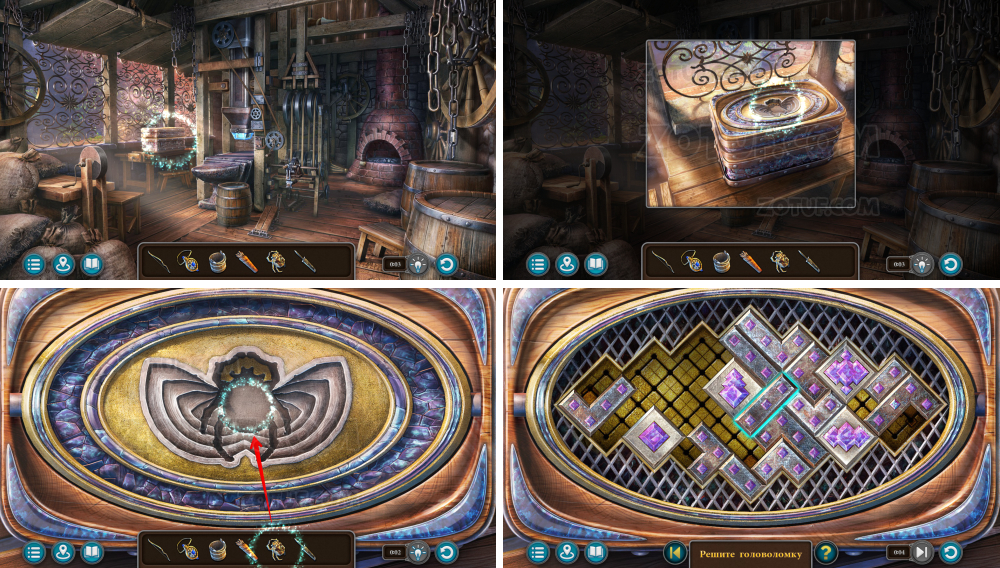
Lost Lands 10 – Walkthrough
Here you can see the full walkthrough of Lost Lands 10 (Lost Lands X), namely for all chapters, including bonus chapter, in pictures.
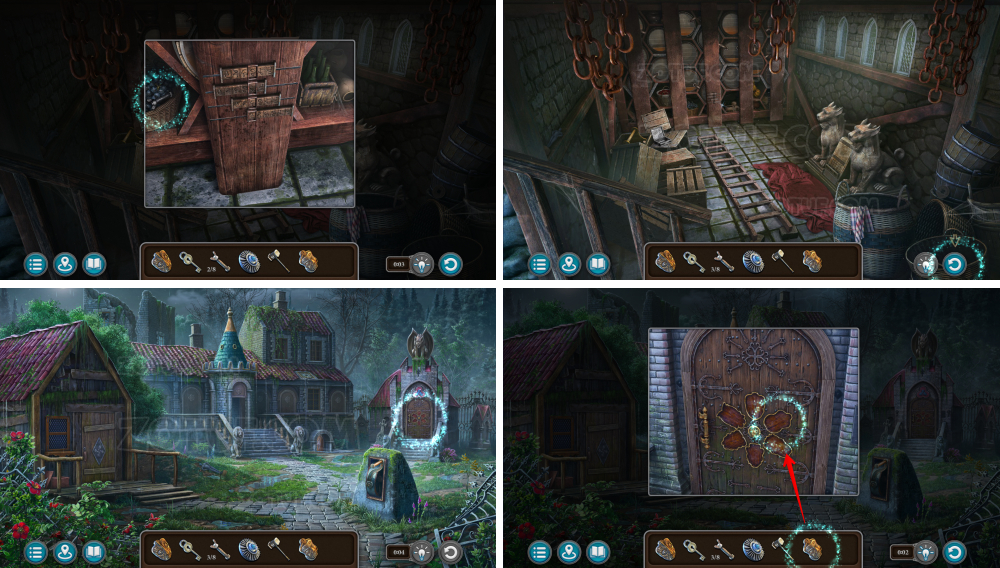
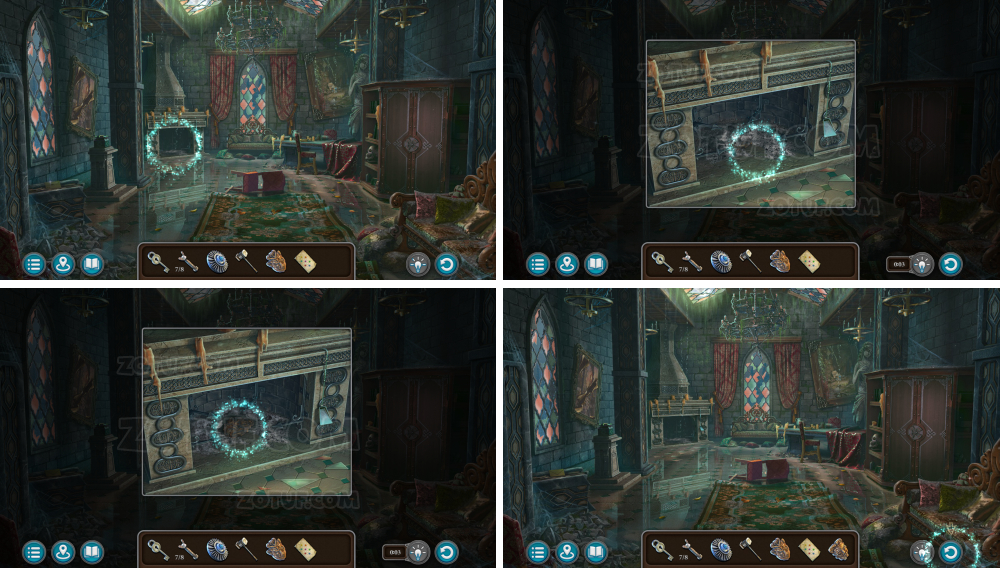
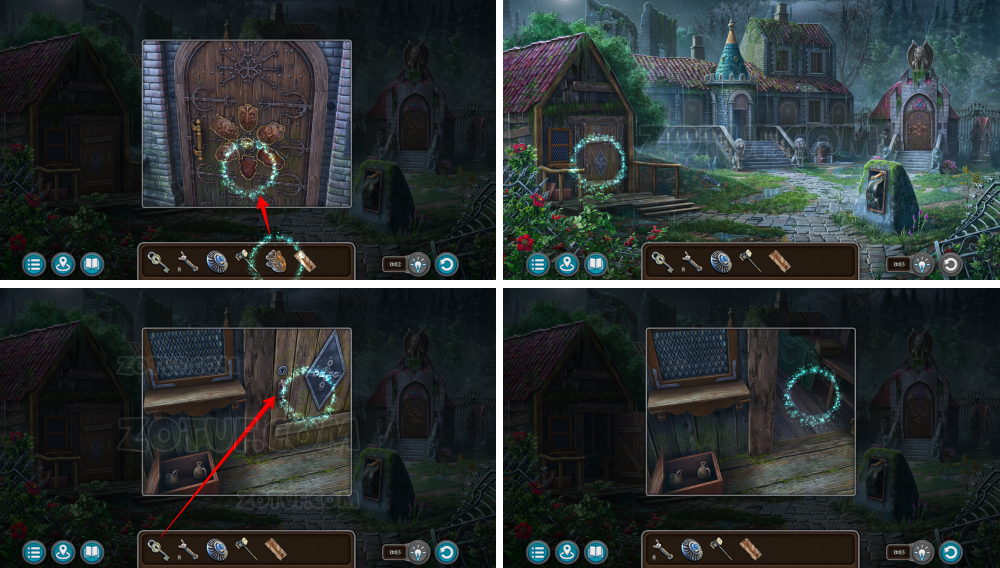
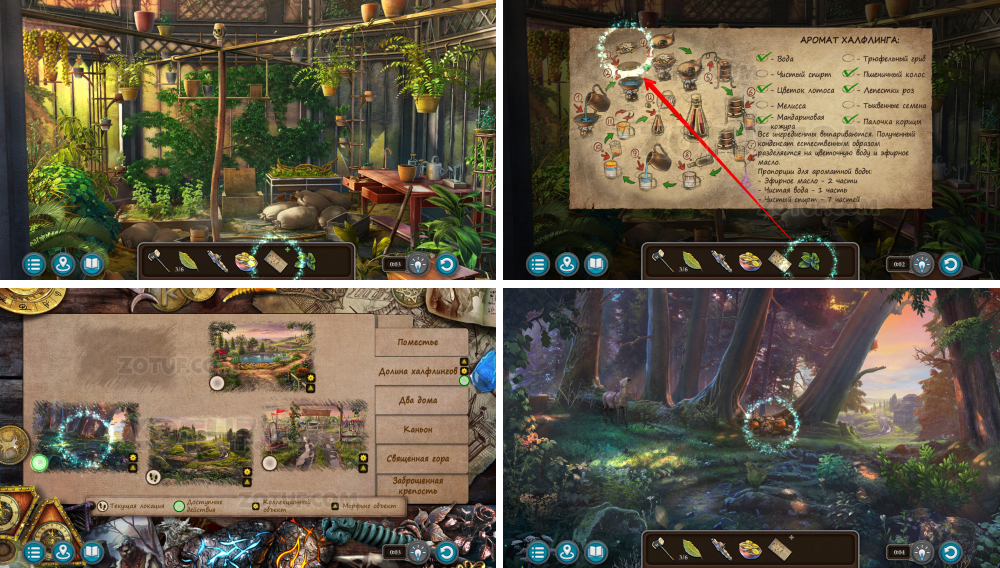
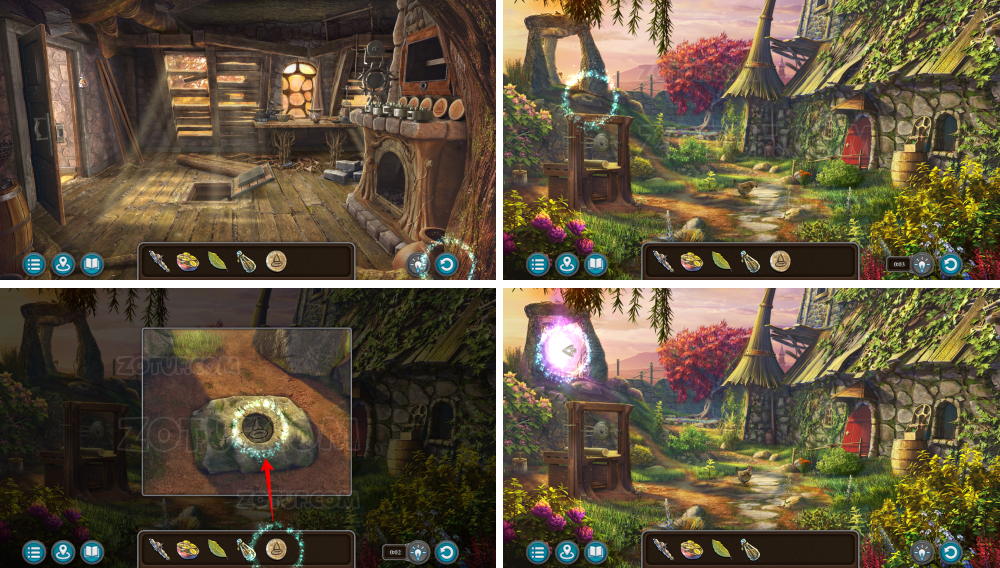
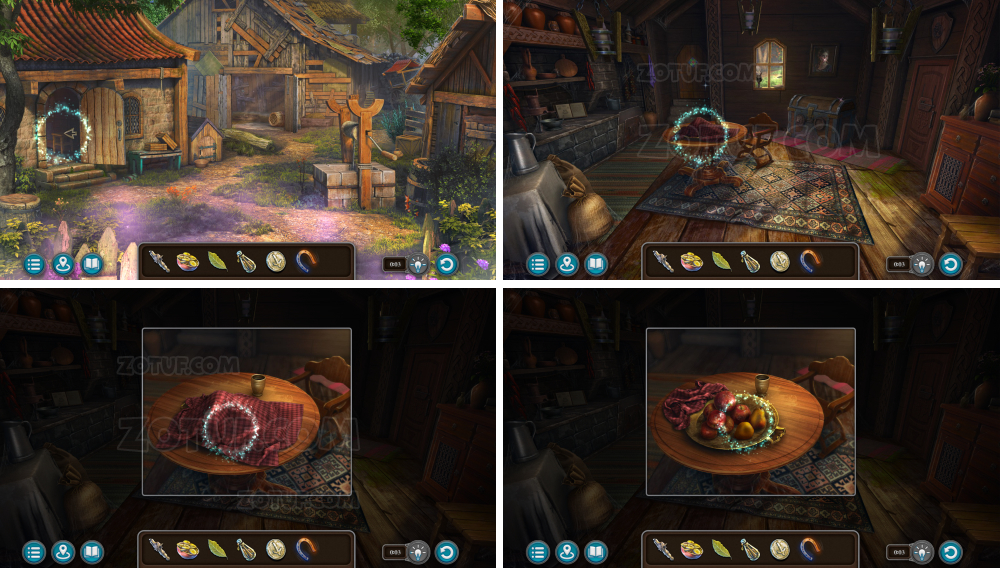
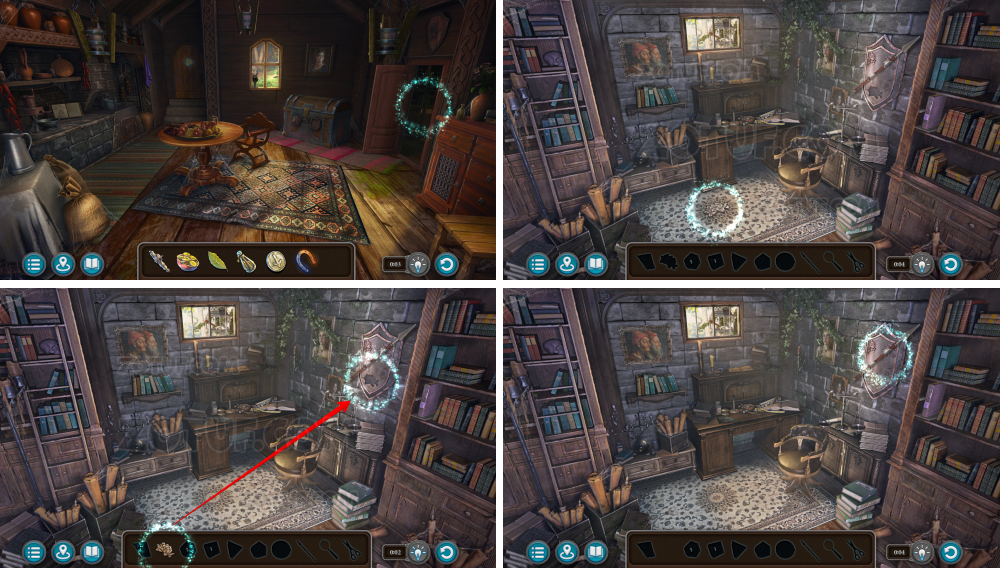
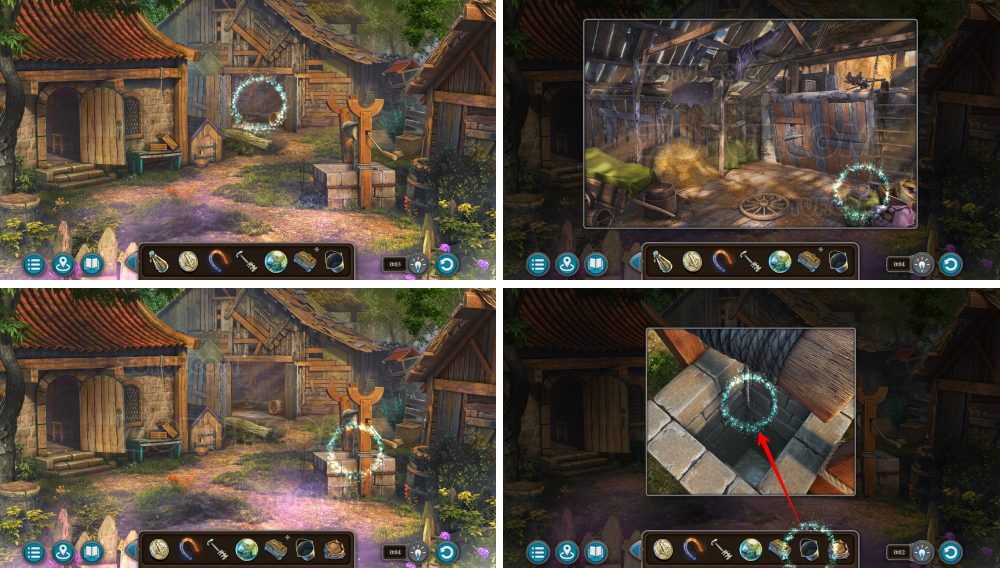
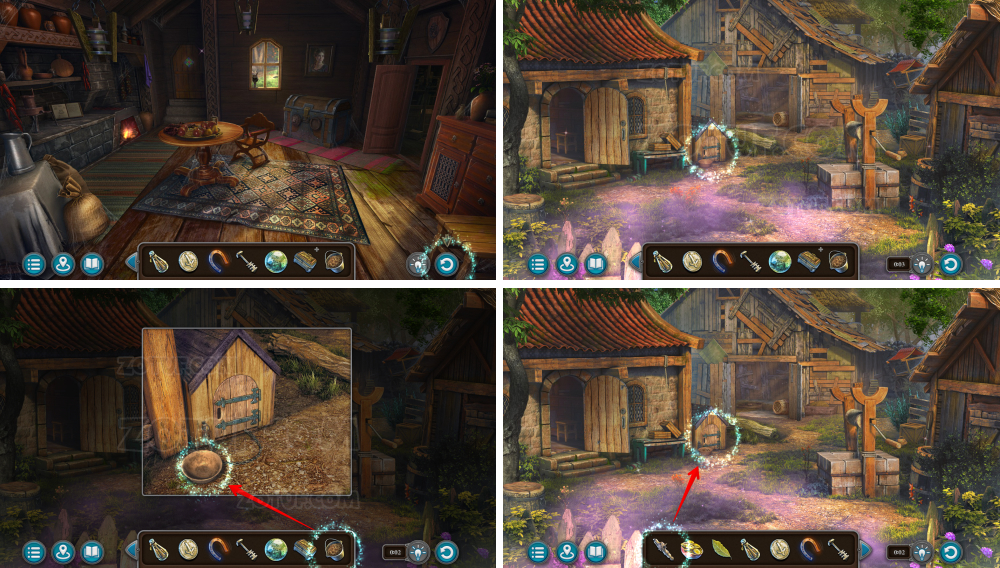
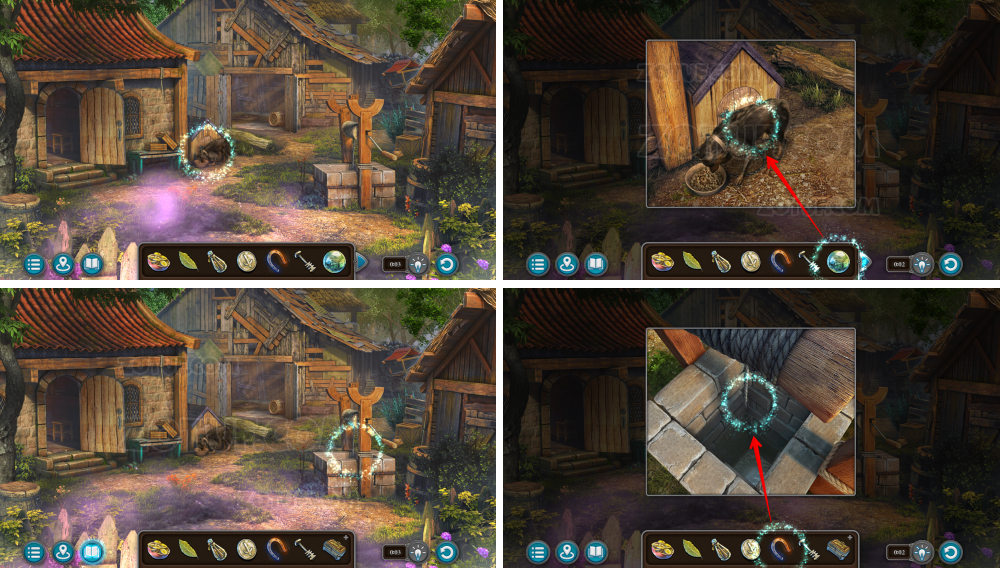
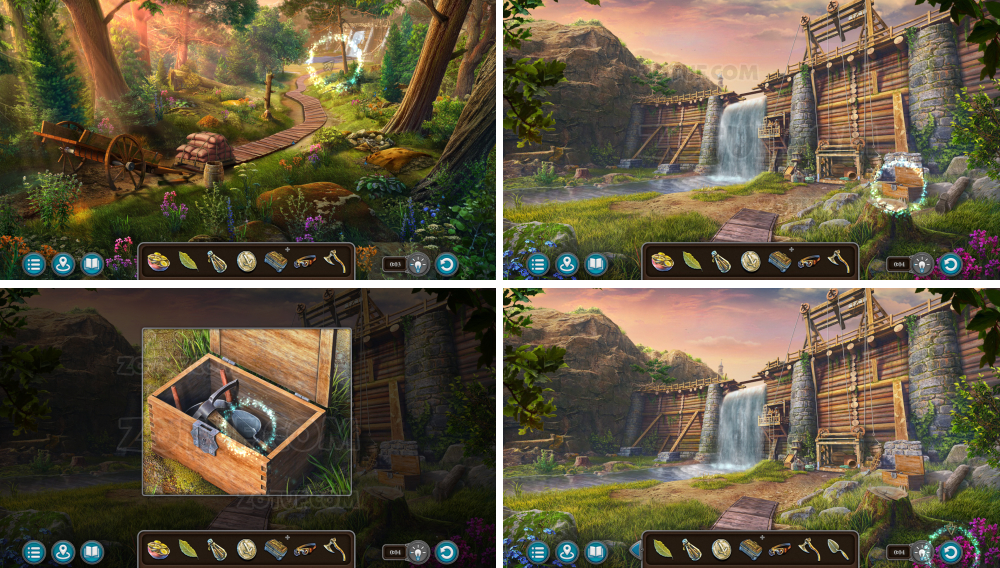
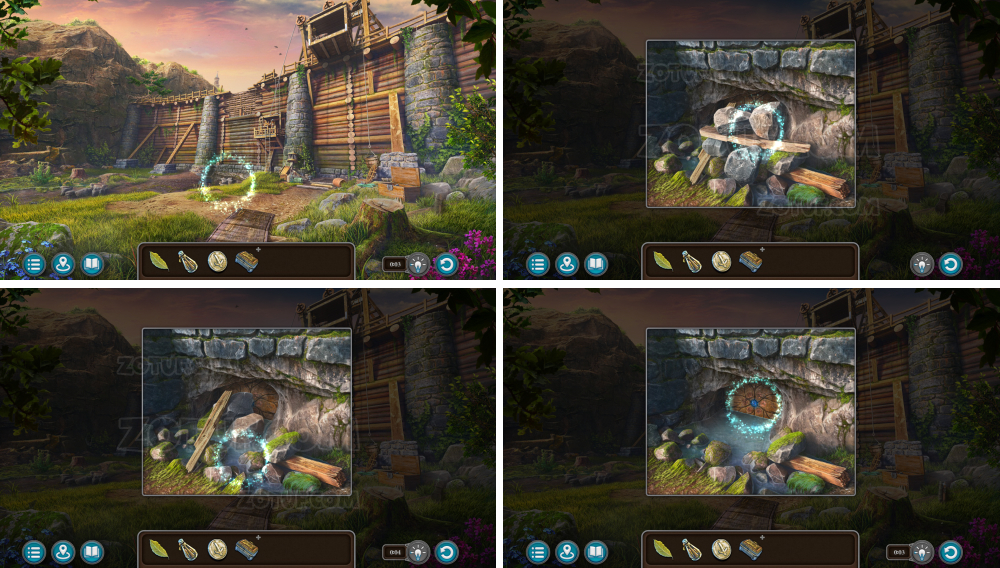
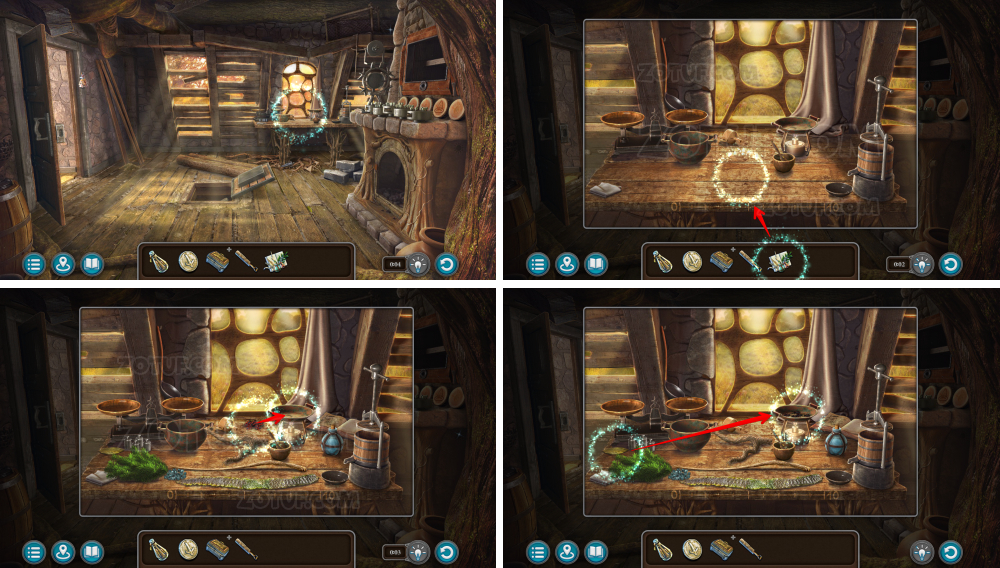
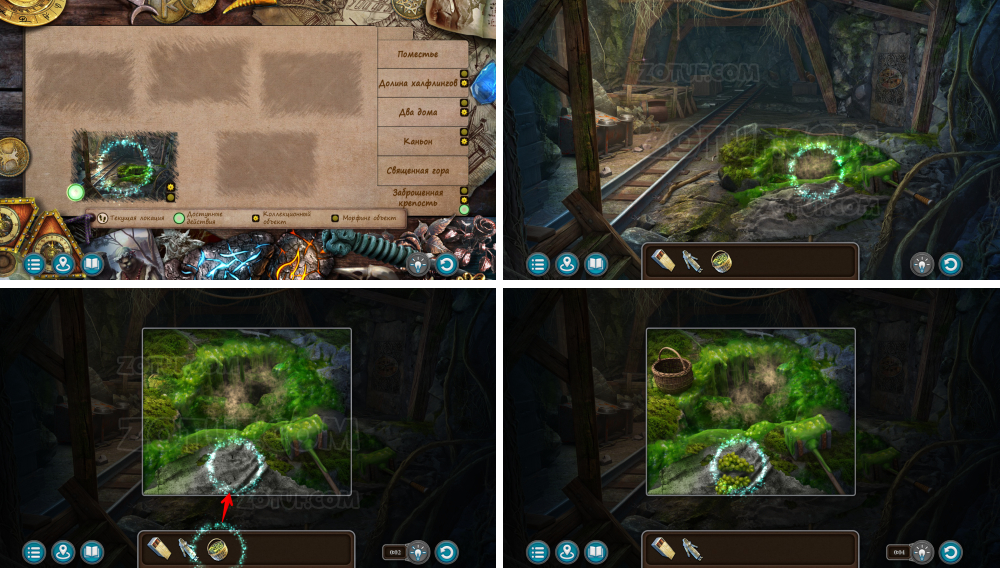
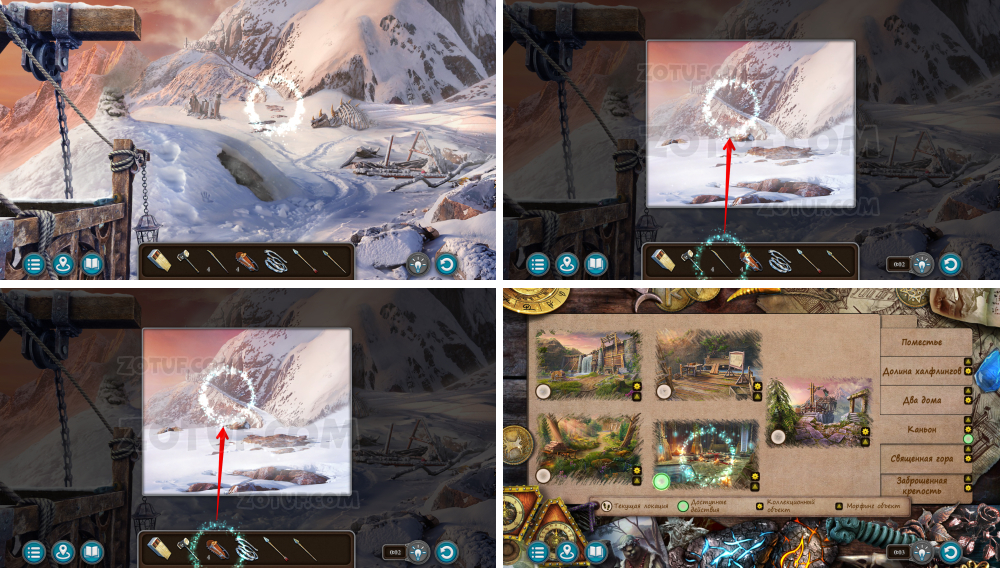
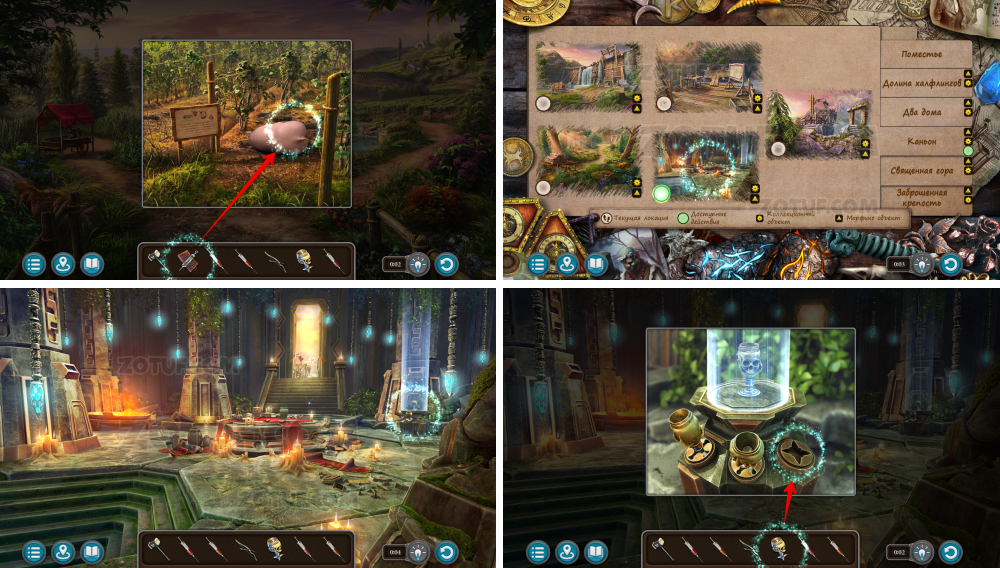
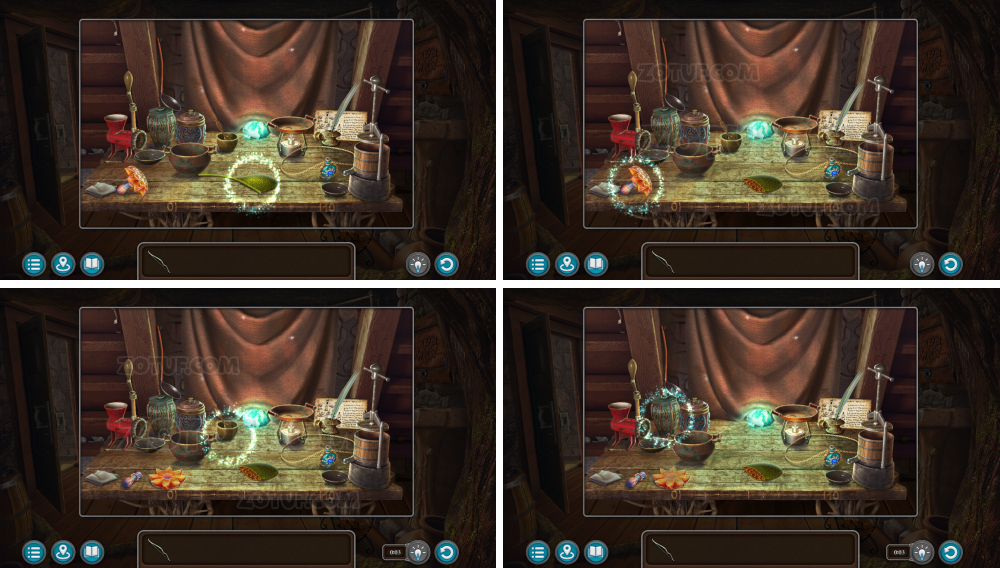
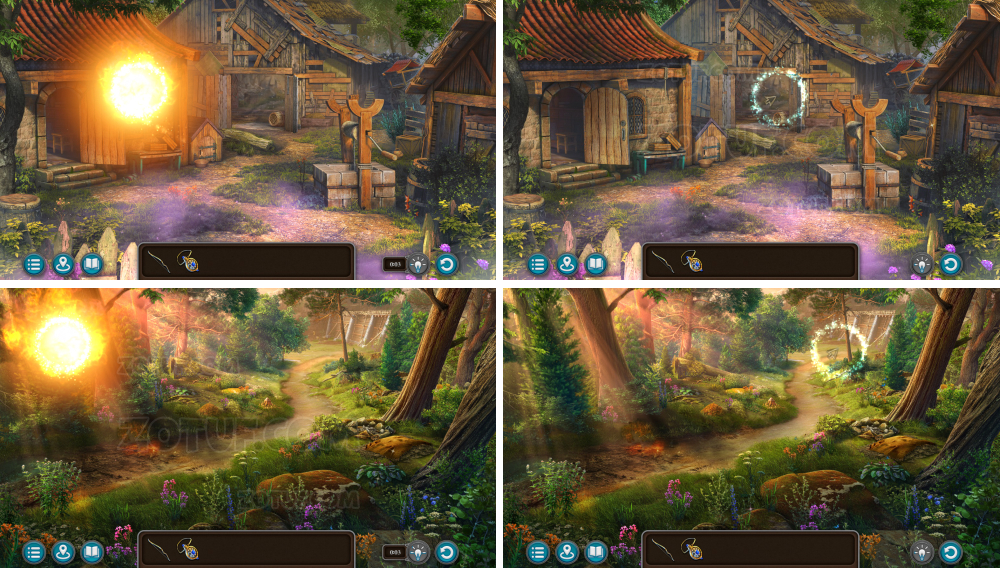
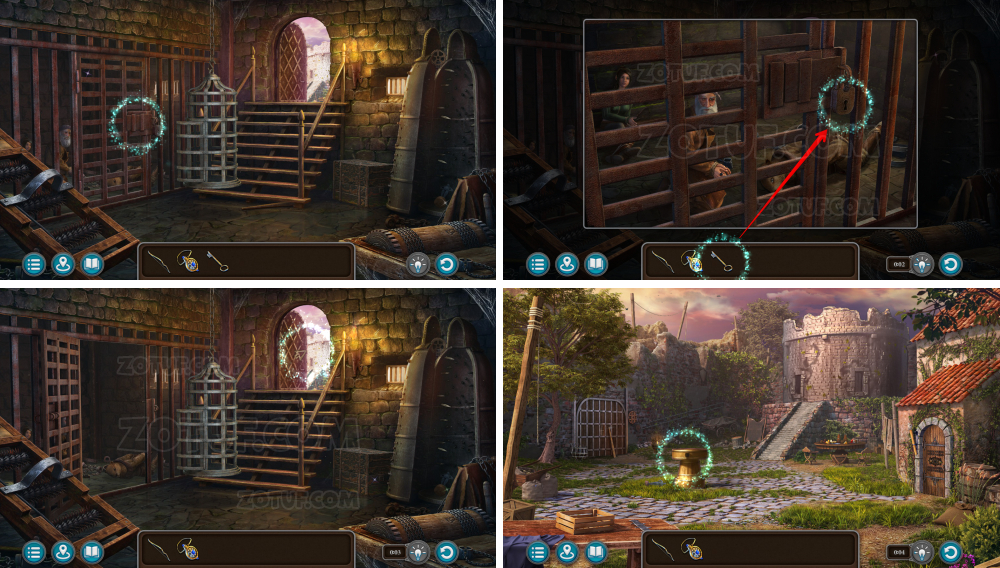
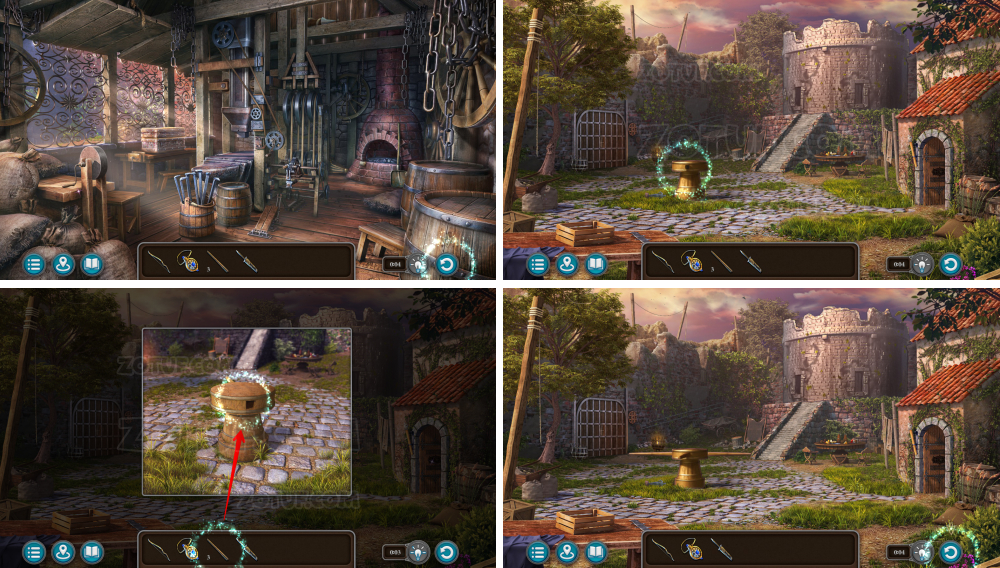
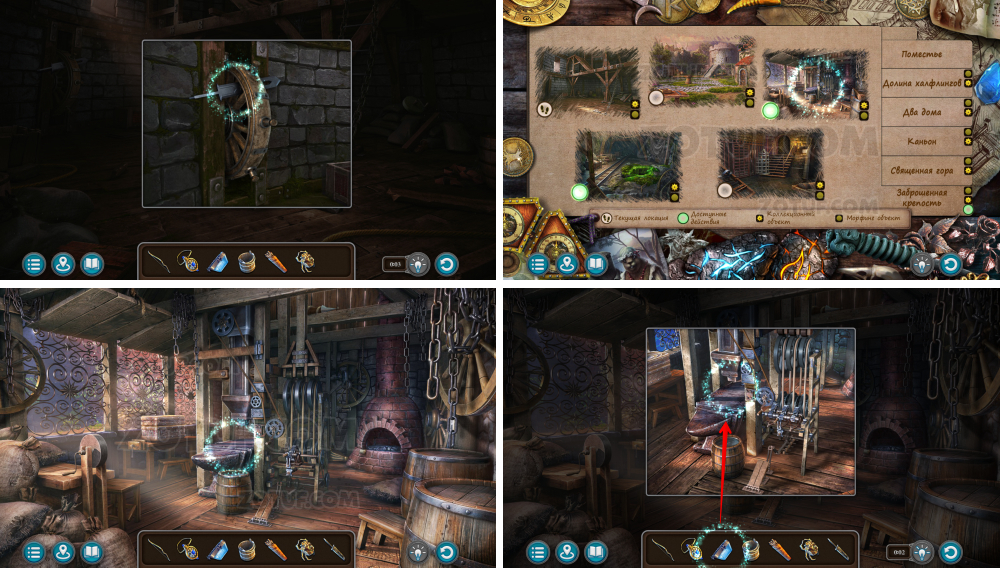
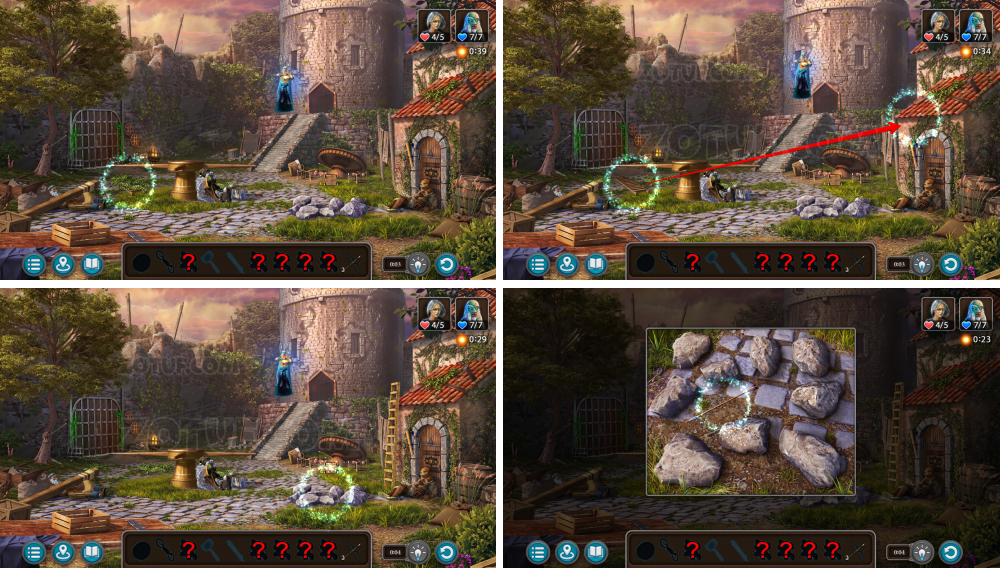
Mysterious Mansion
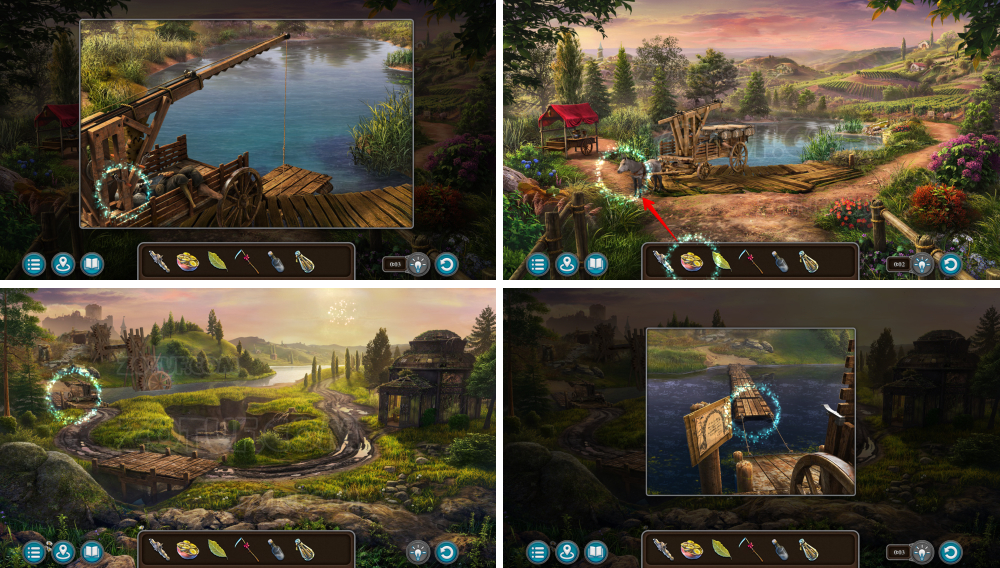
Get inside the Mansion and find out who its owner is.
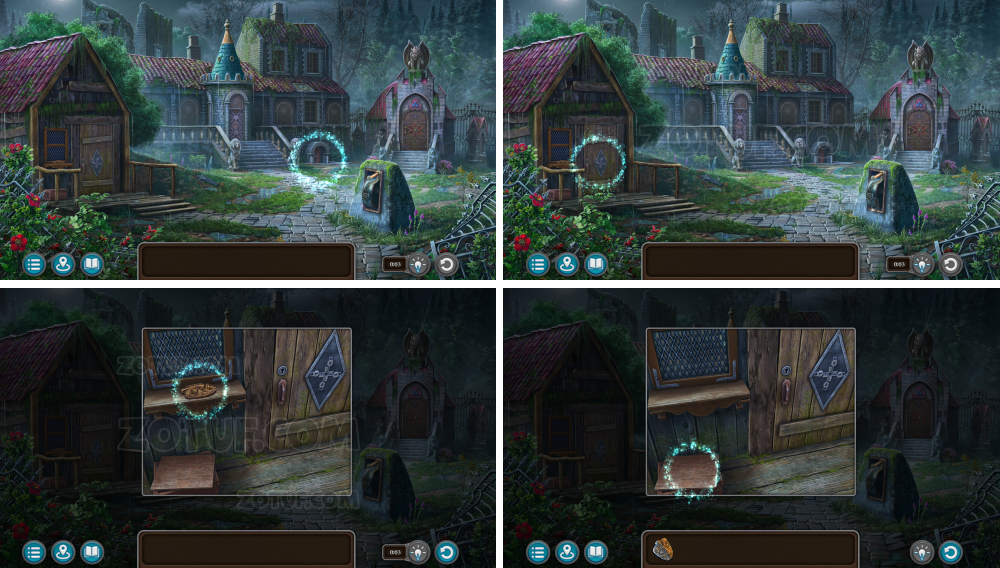
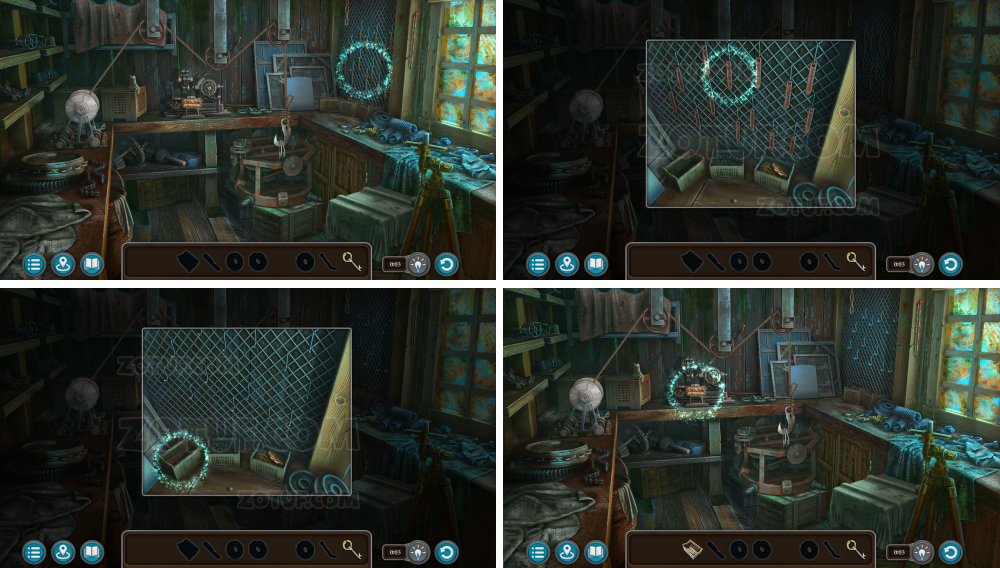
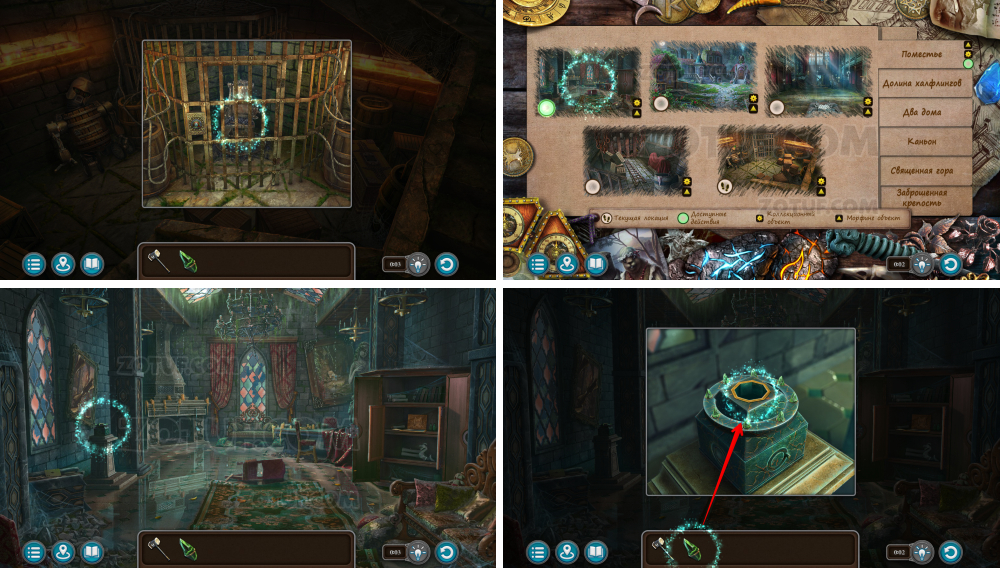
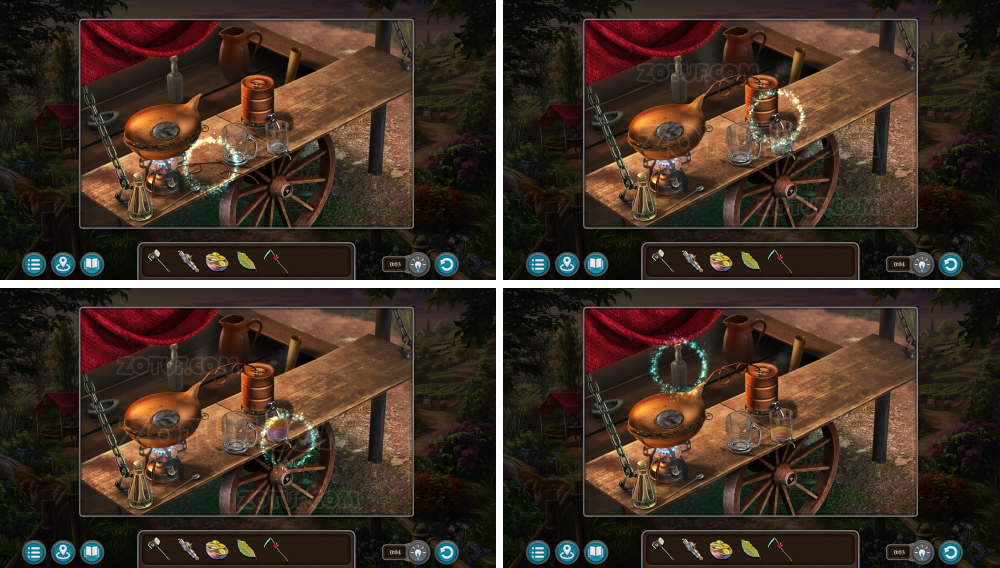
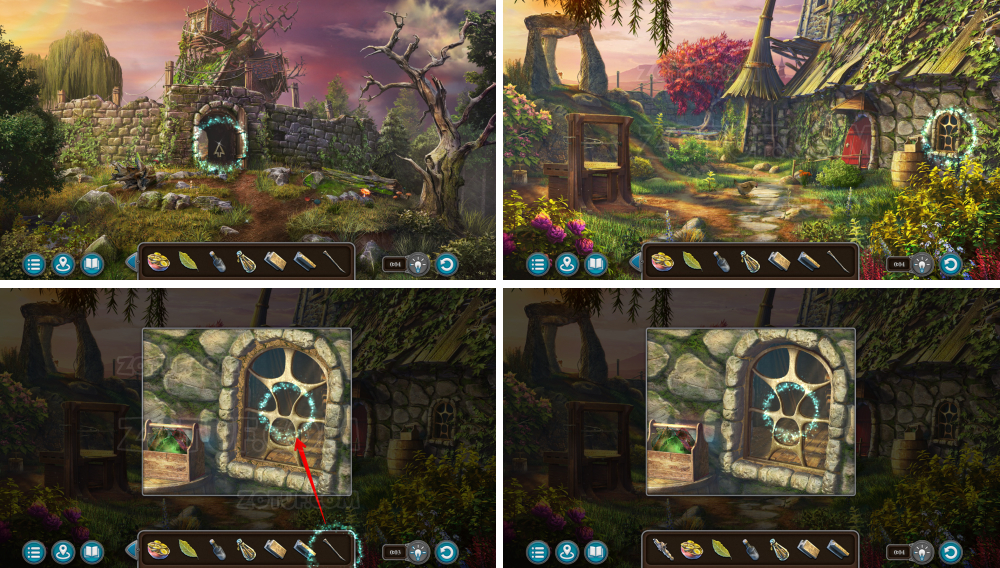
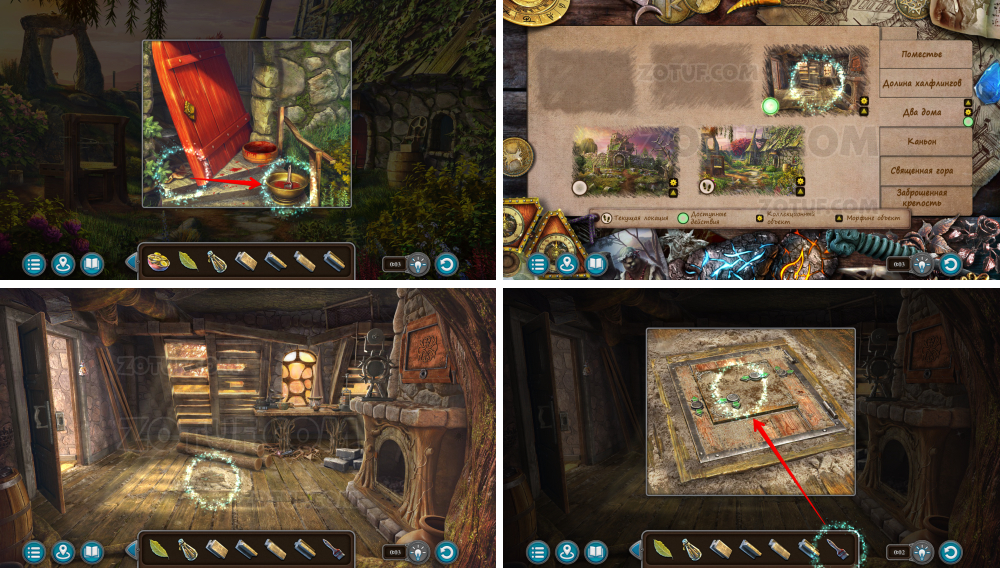
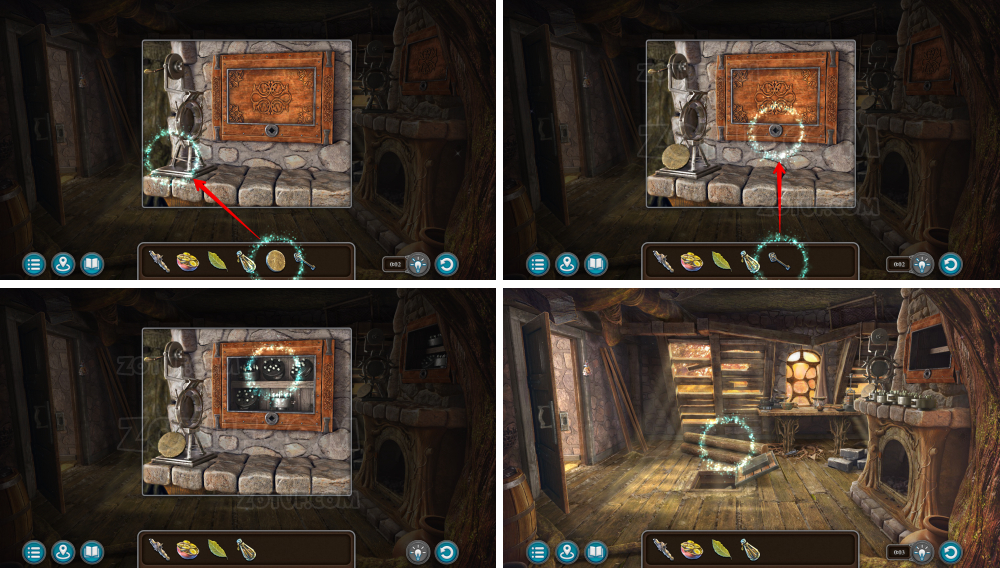
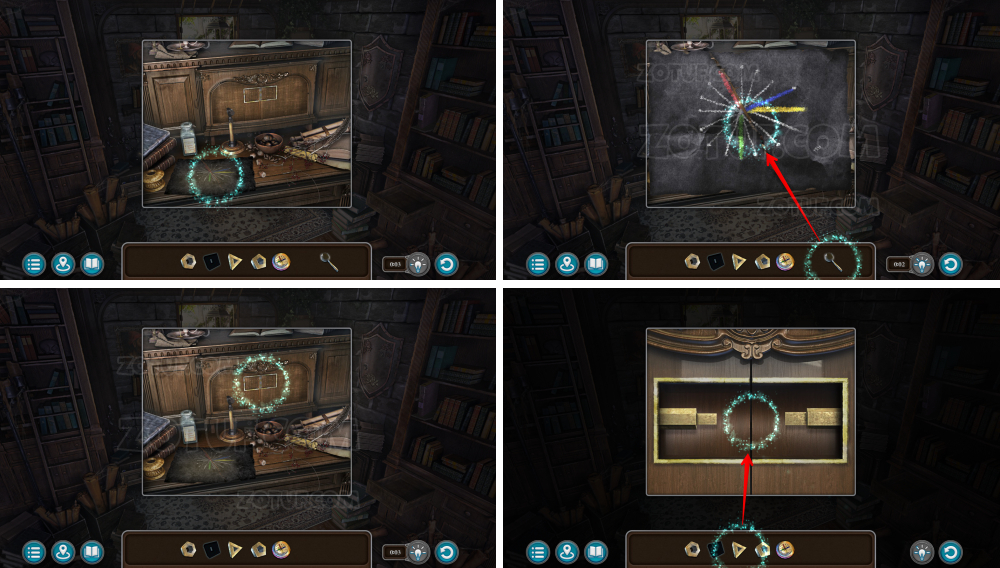
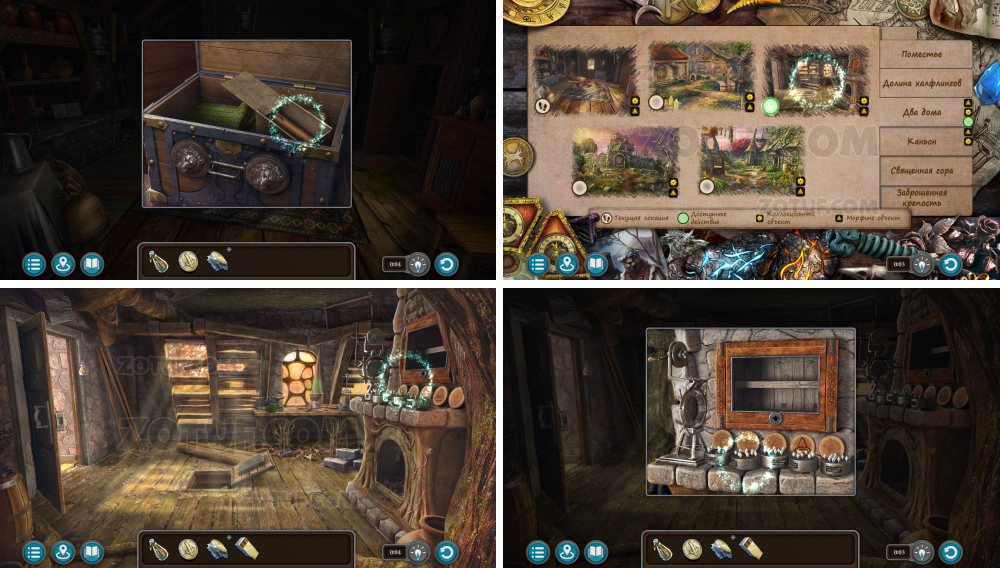
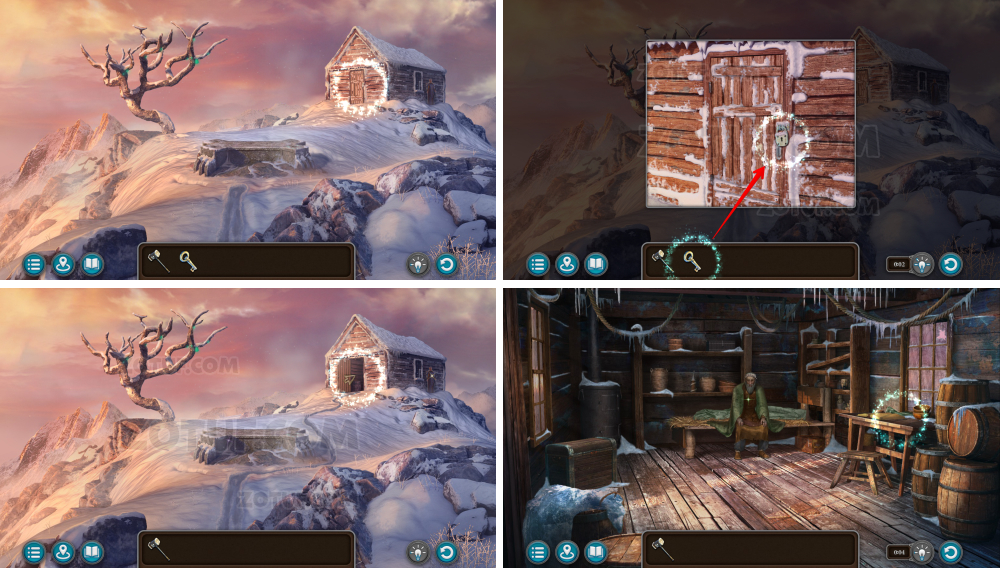
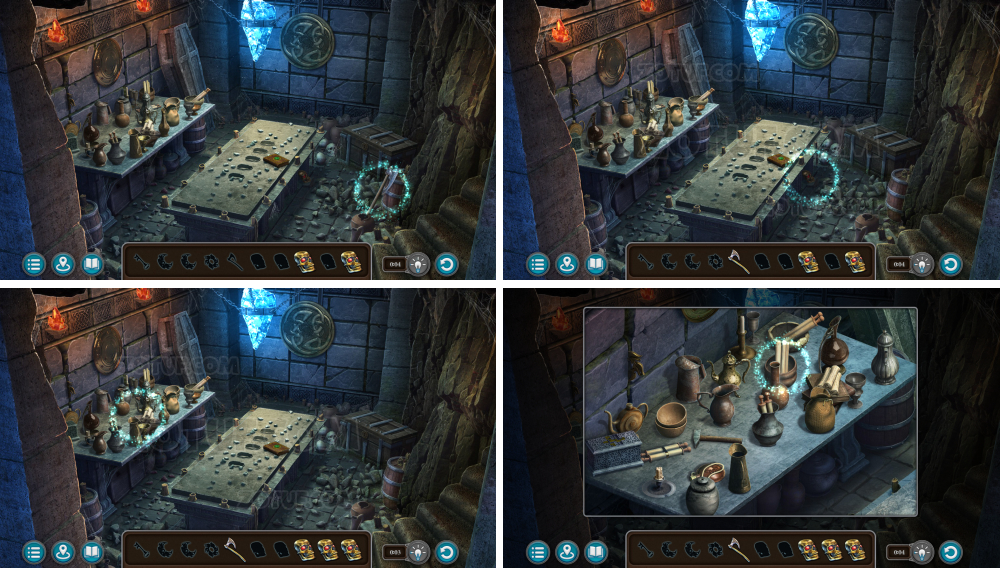
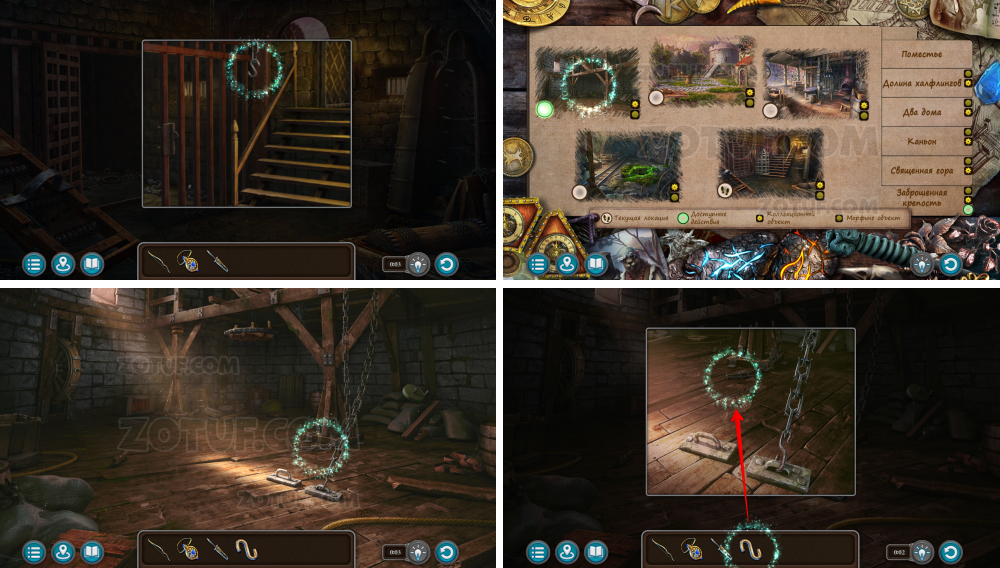
- Inspect the basement door.
- Take the mask.
- Open the drawer.
- Take the octopus key.
- Use the octopus key.
- Open the door.
- Take the workshop key.
- Take the basement key.
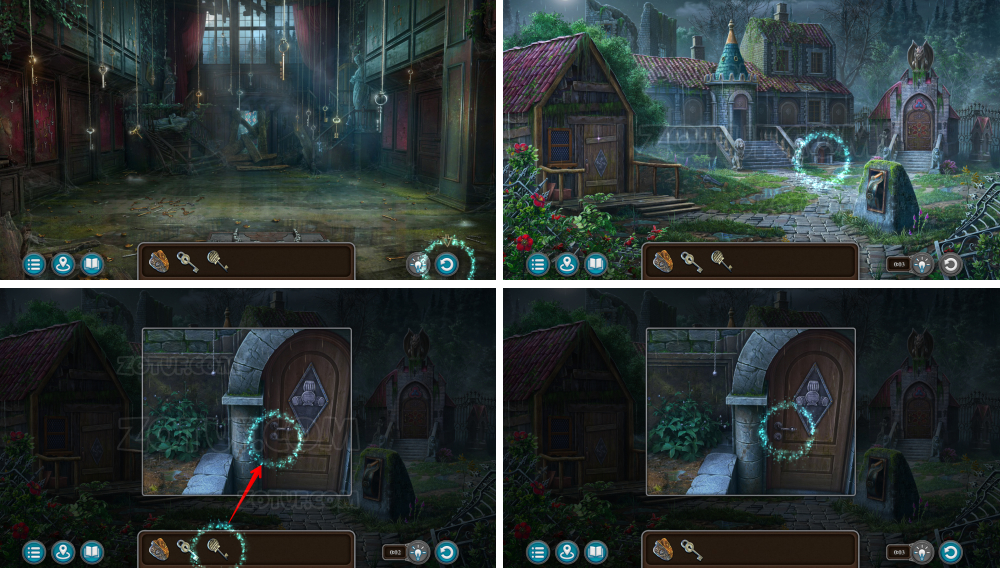
- Use the basement key.

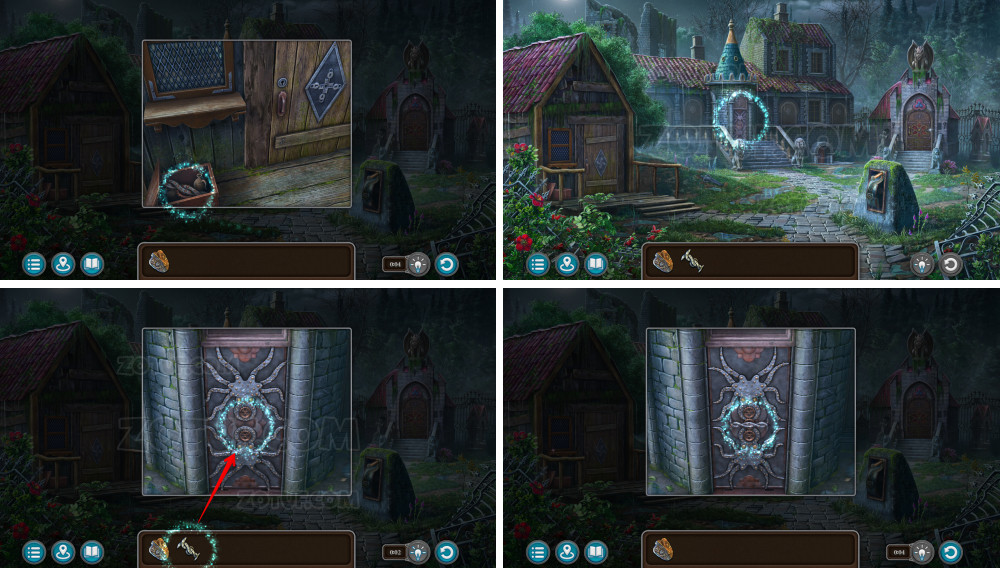
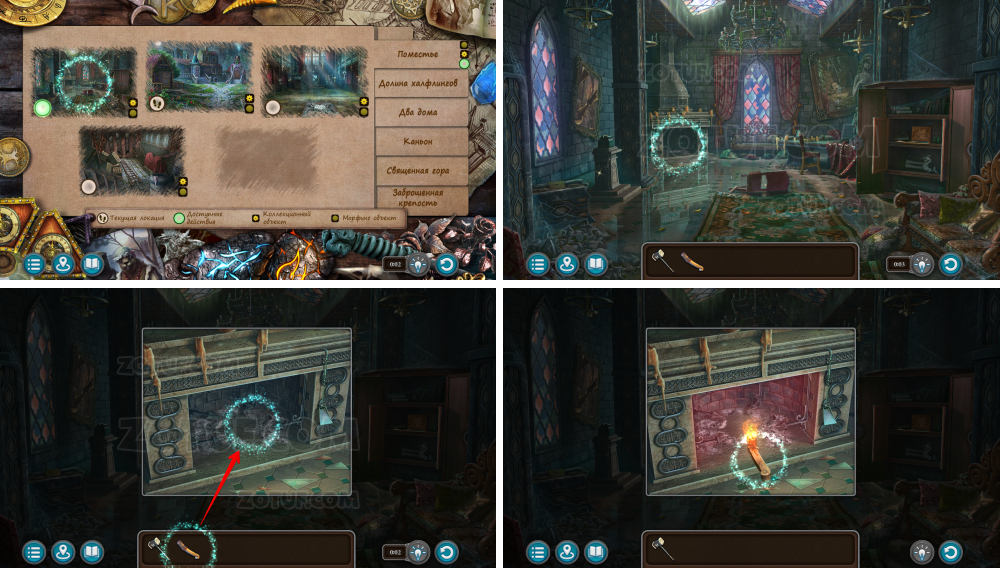
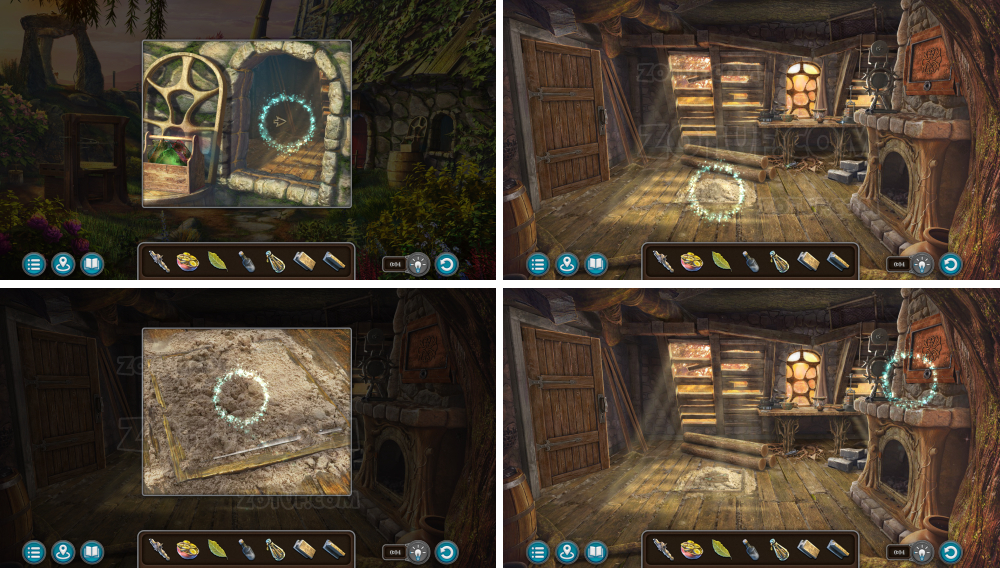
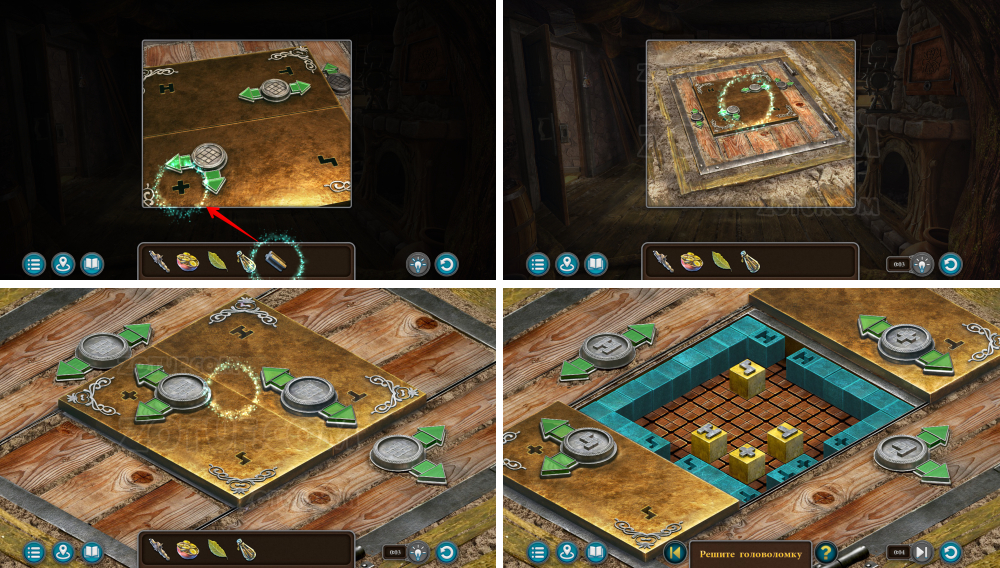
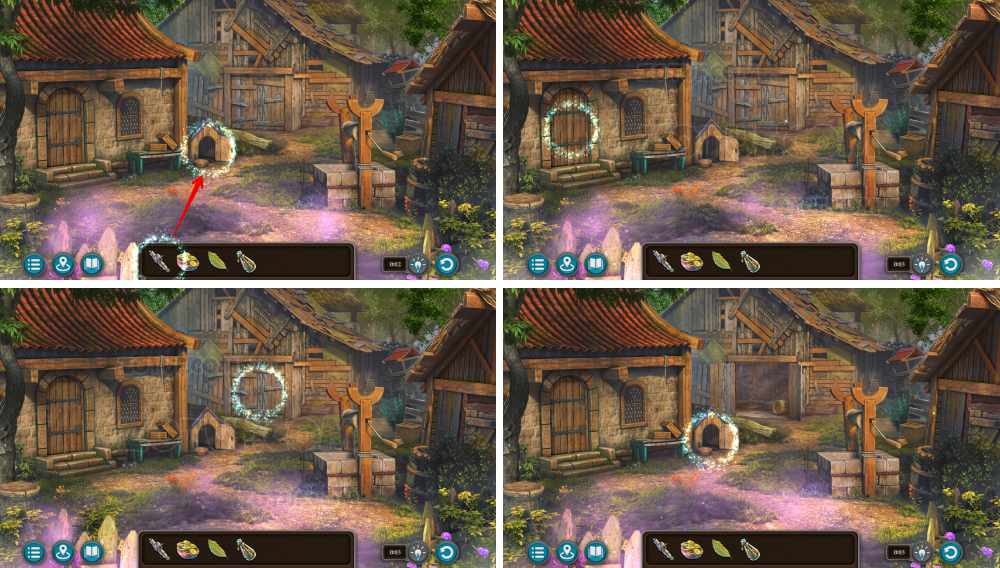
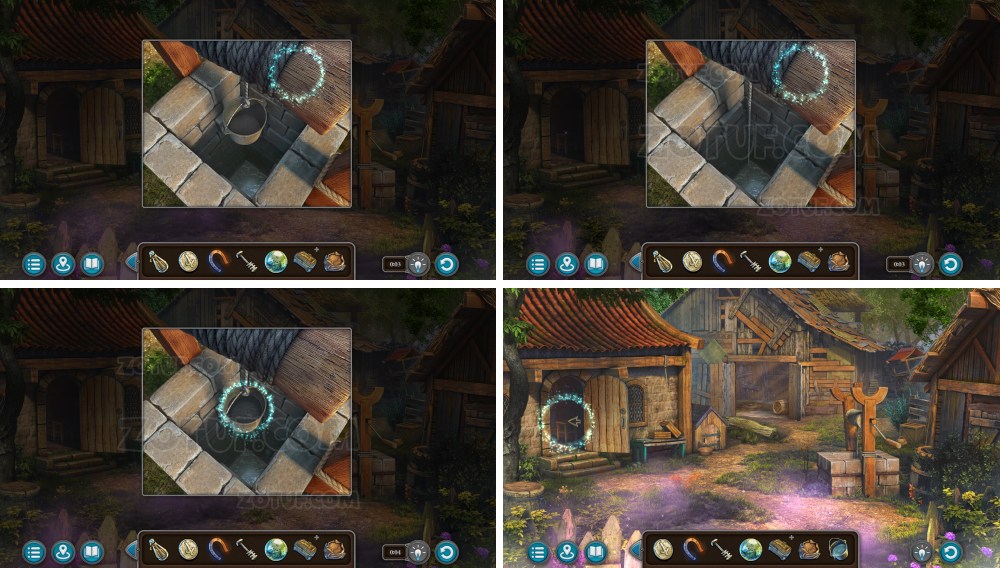
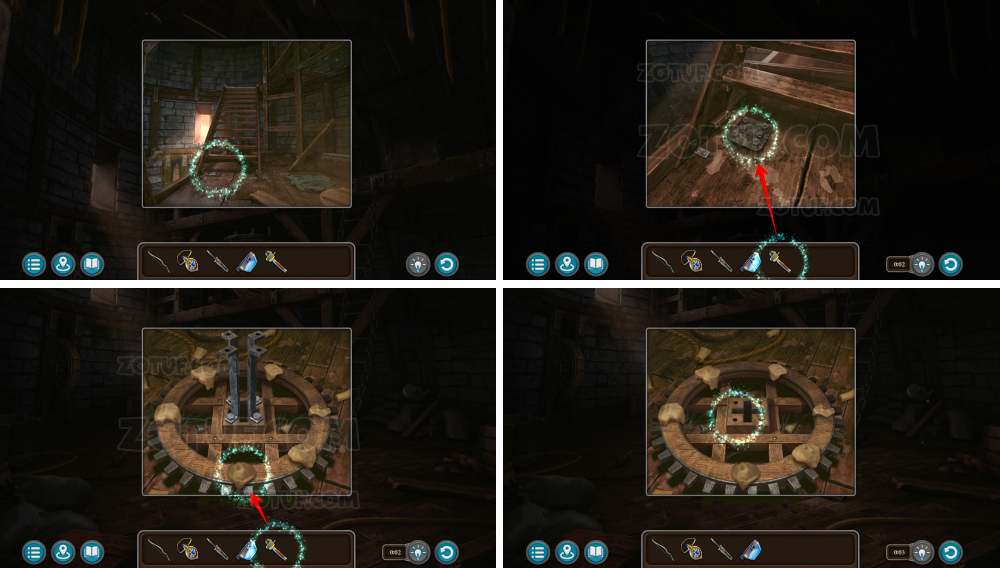
- Enter the basement.
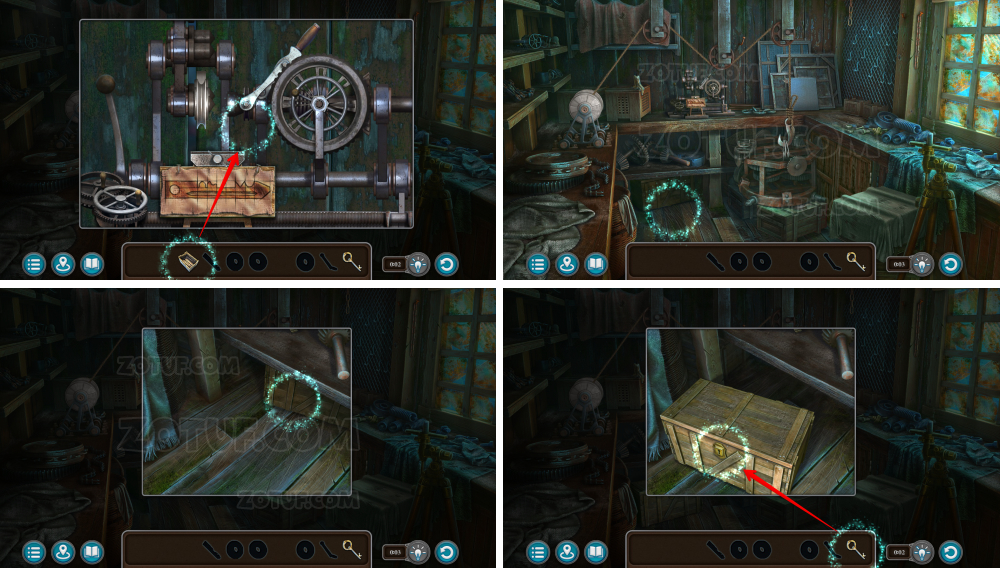
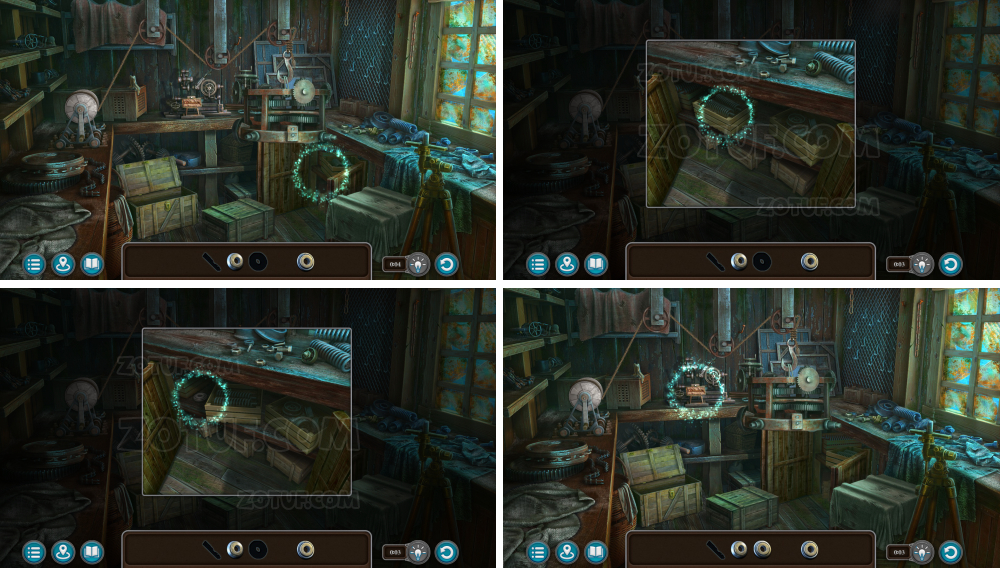
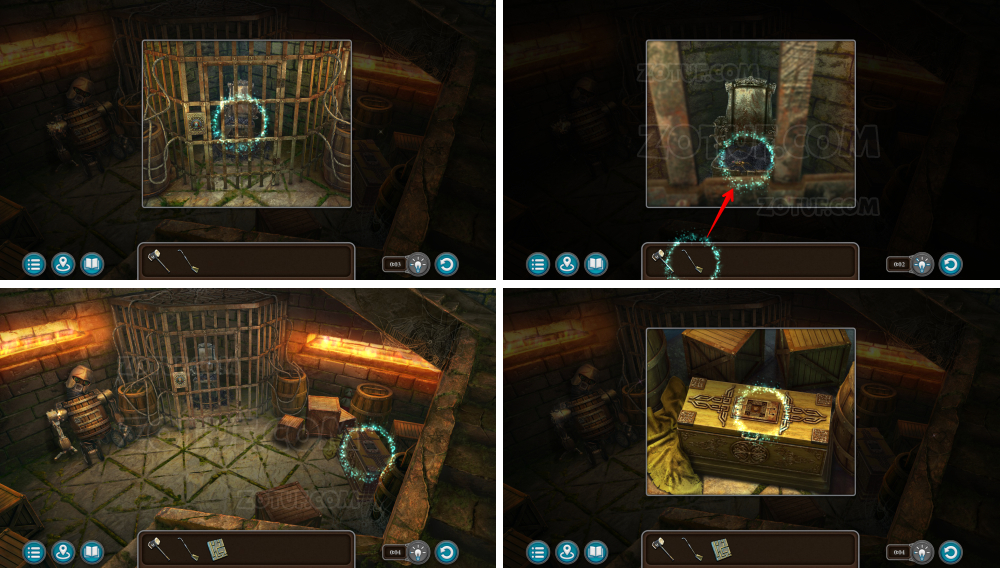
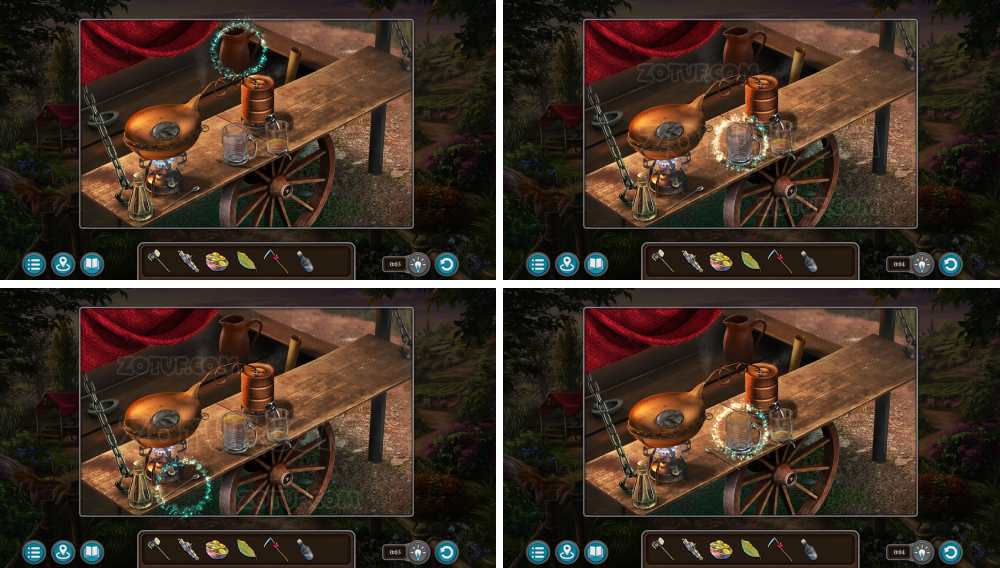
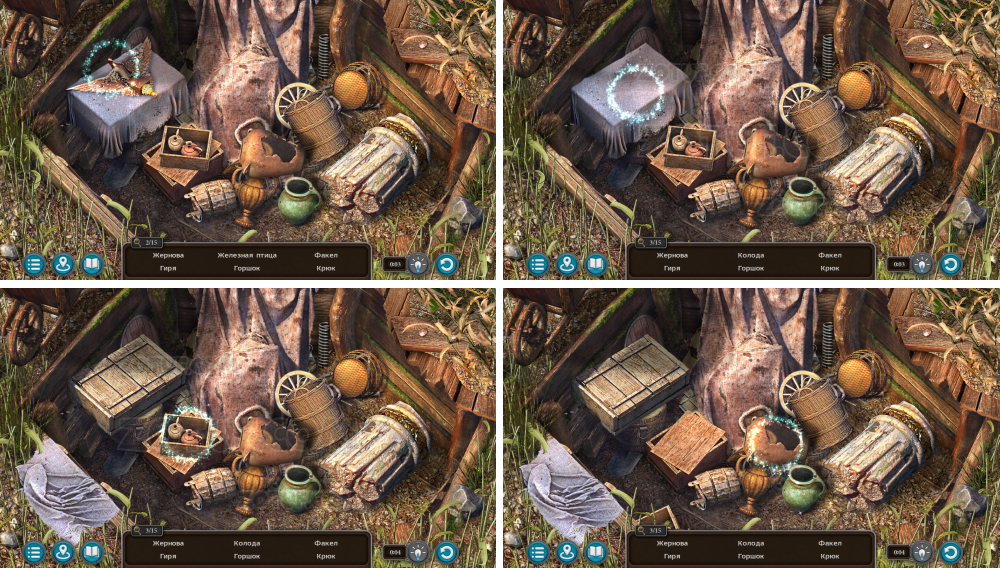
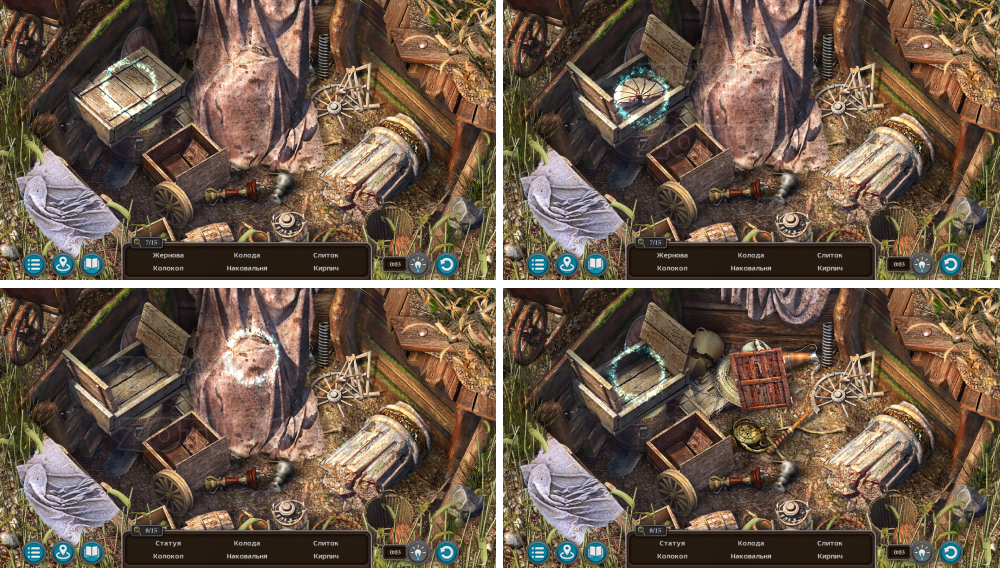
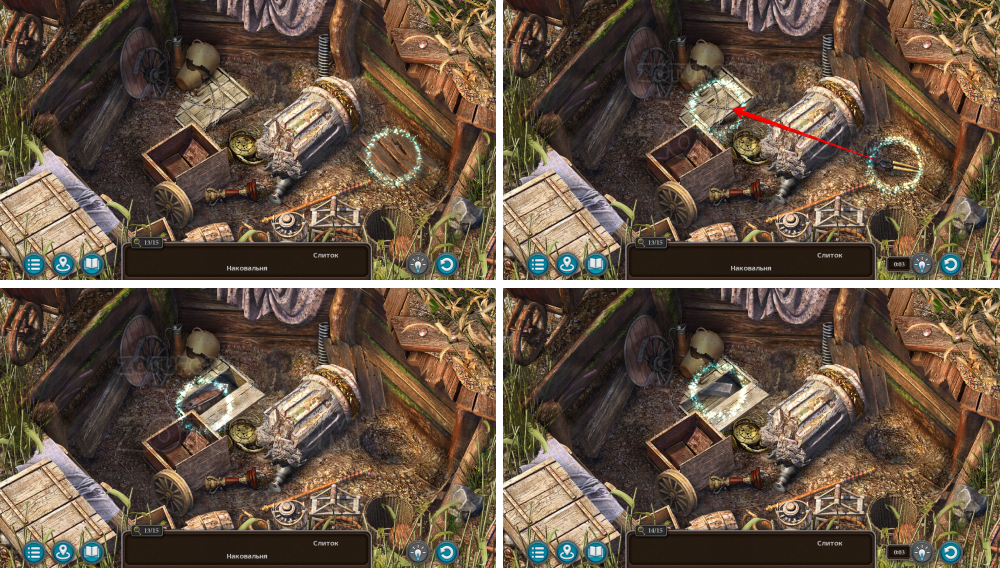
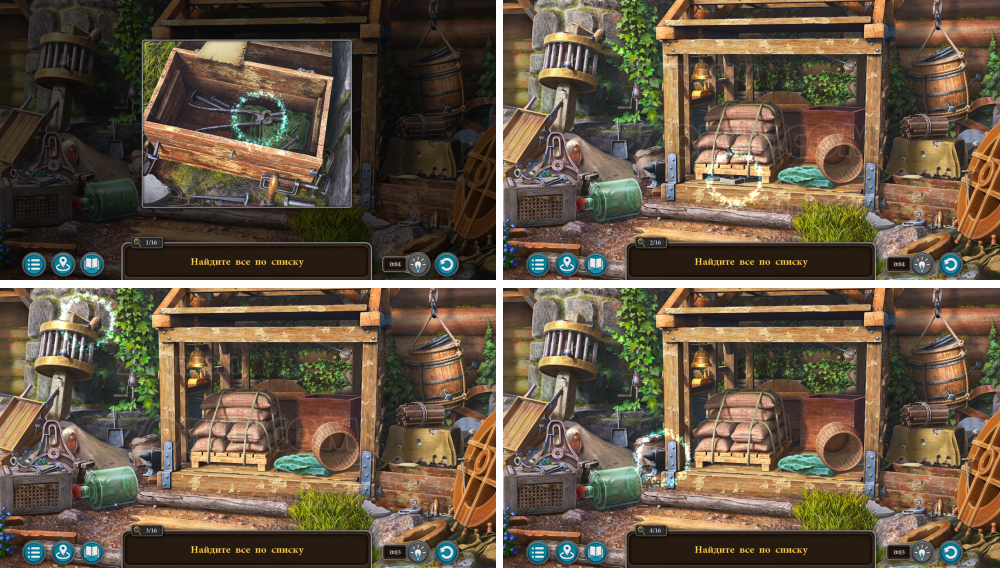
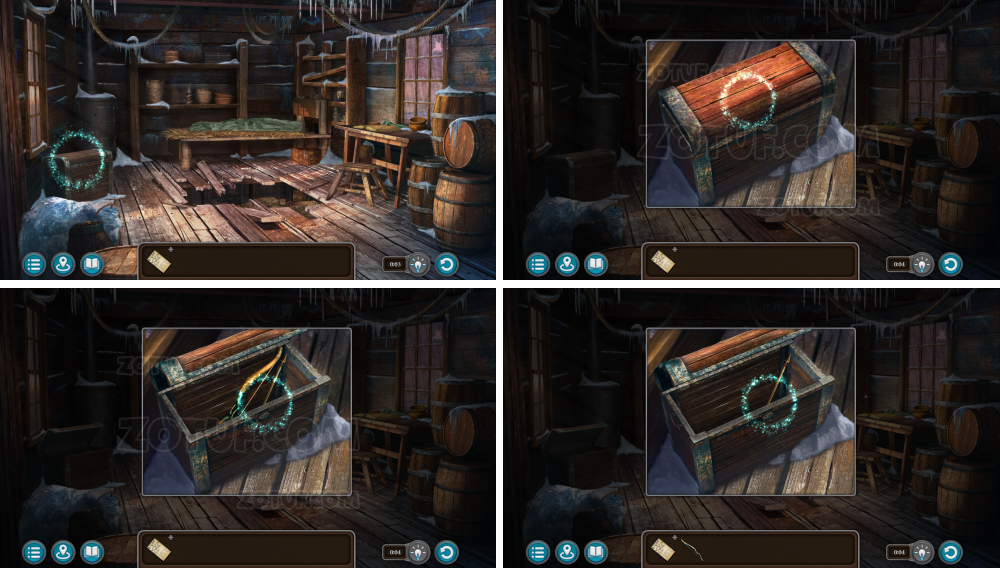
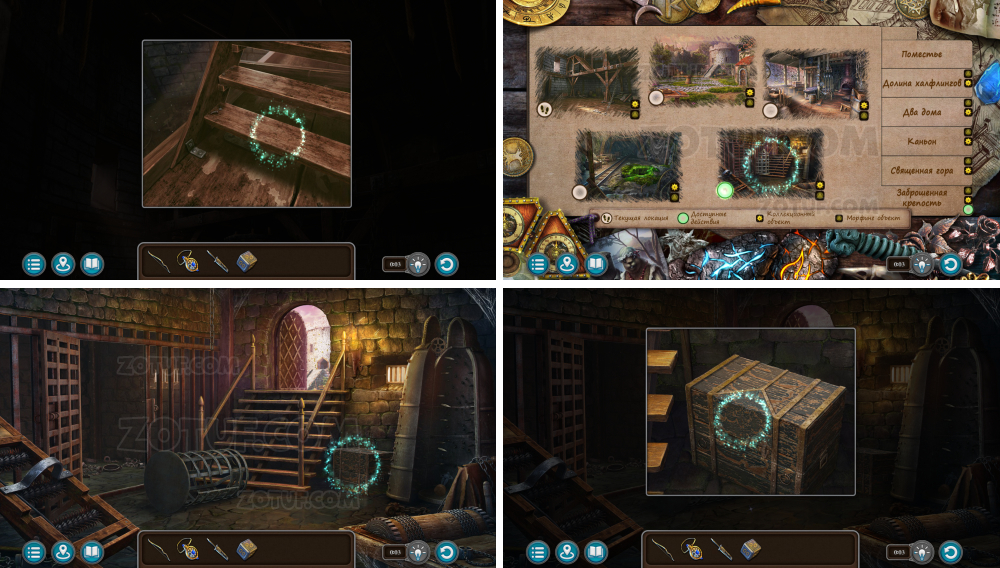
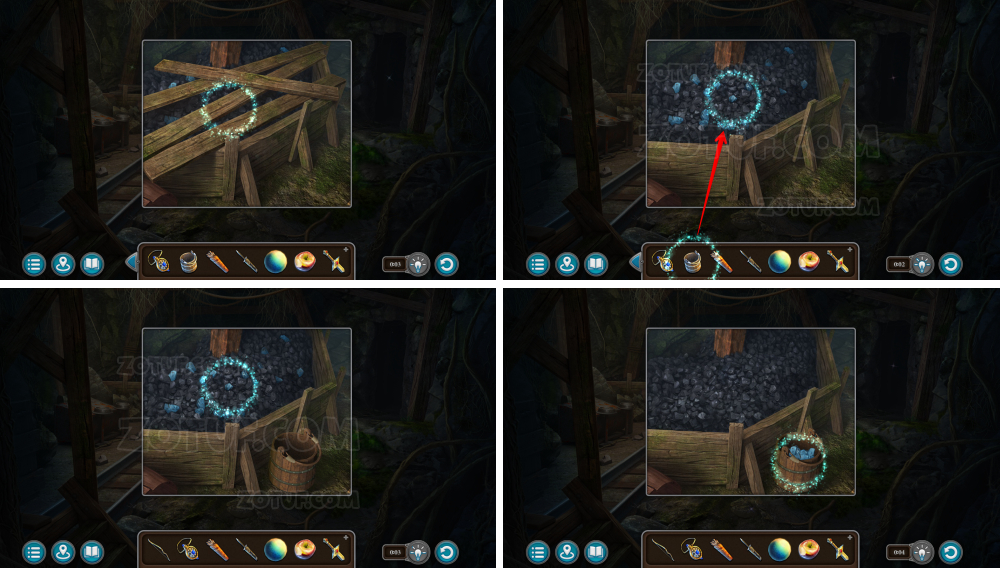
- Inspect the staircase.
- Remove the cloth.
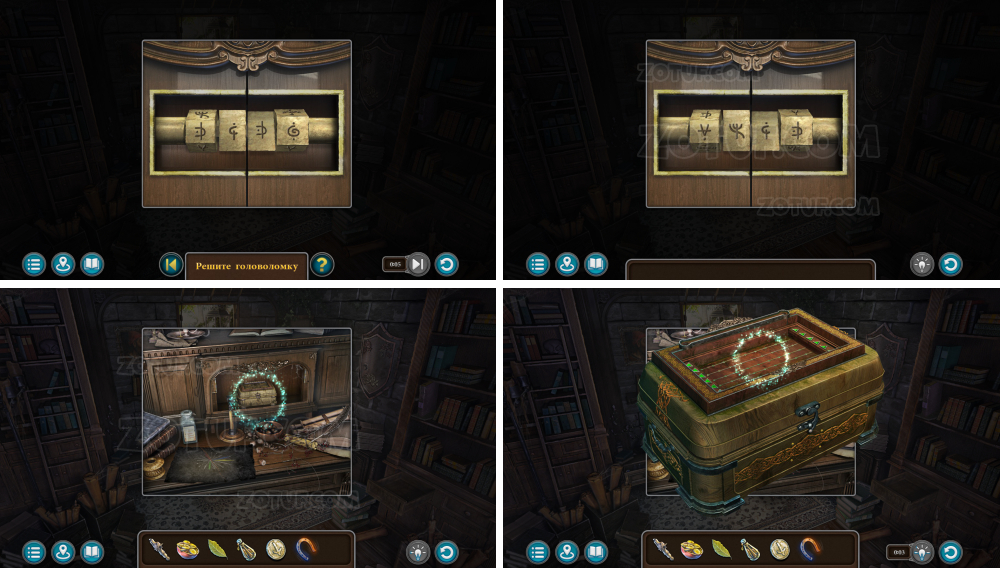
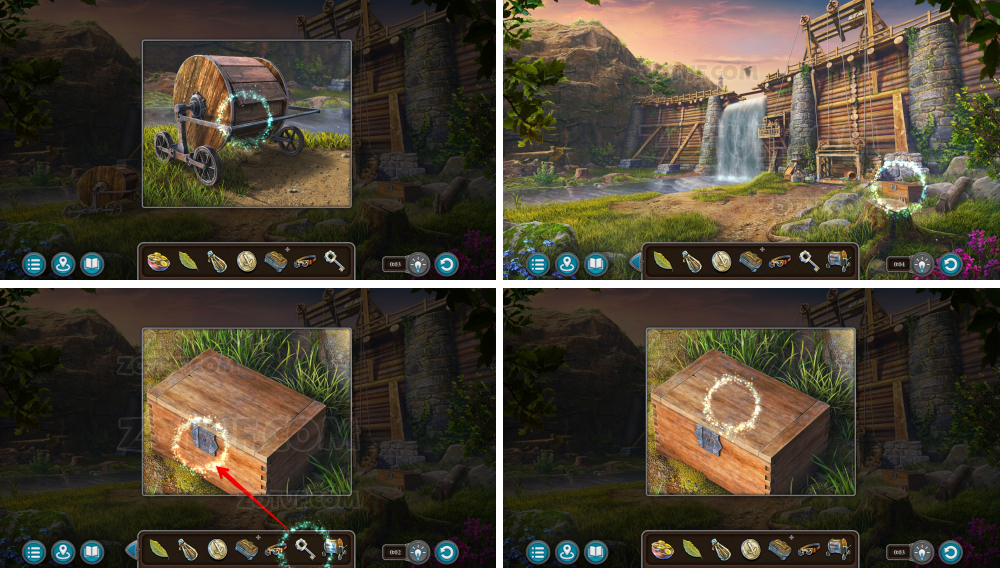
- Move the box.
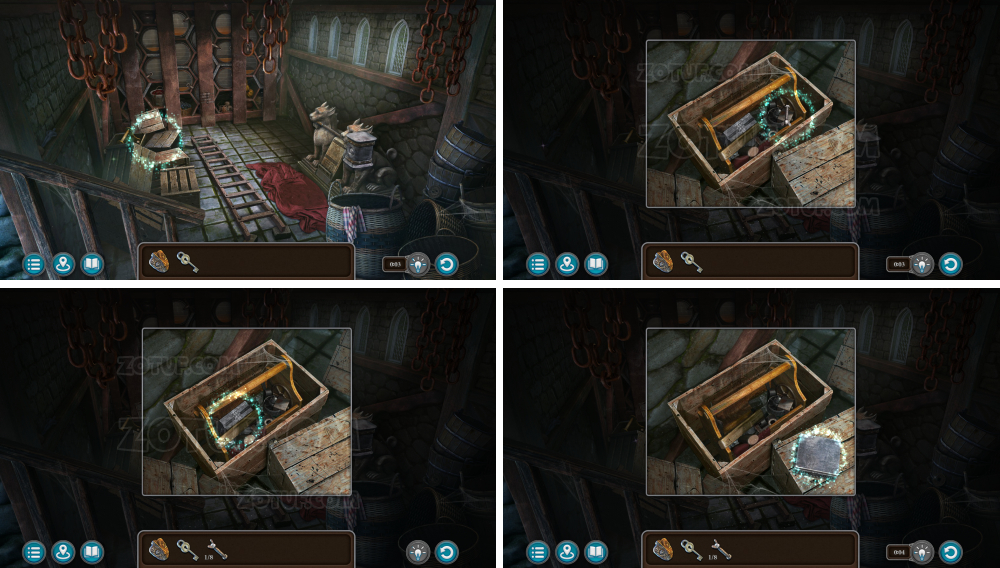
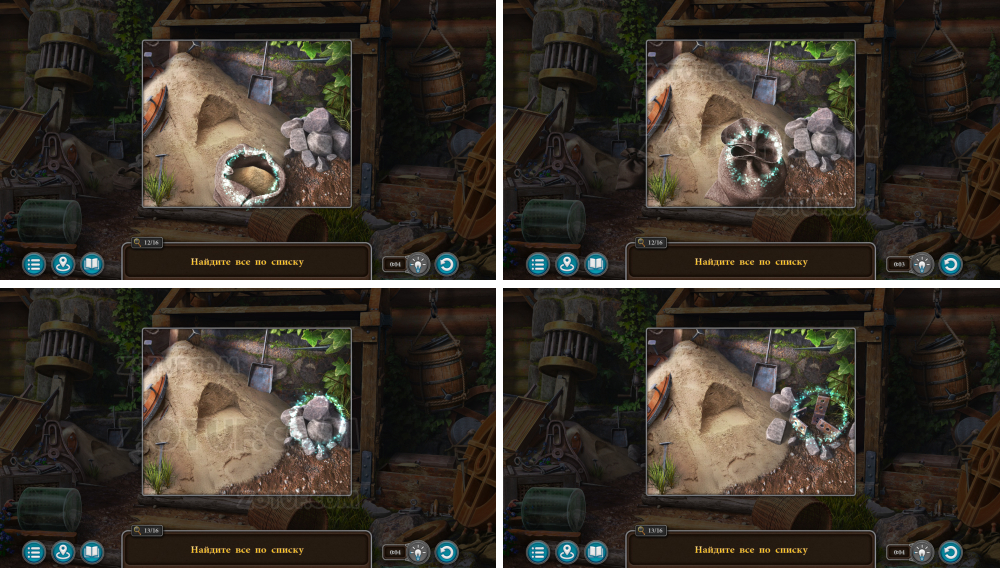
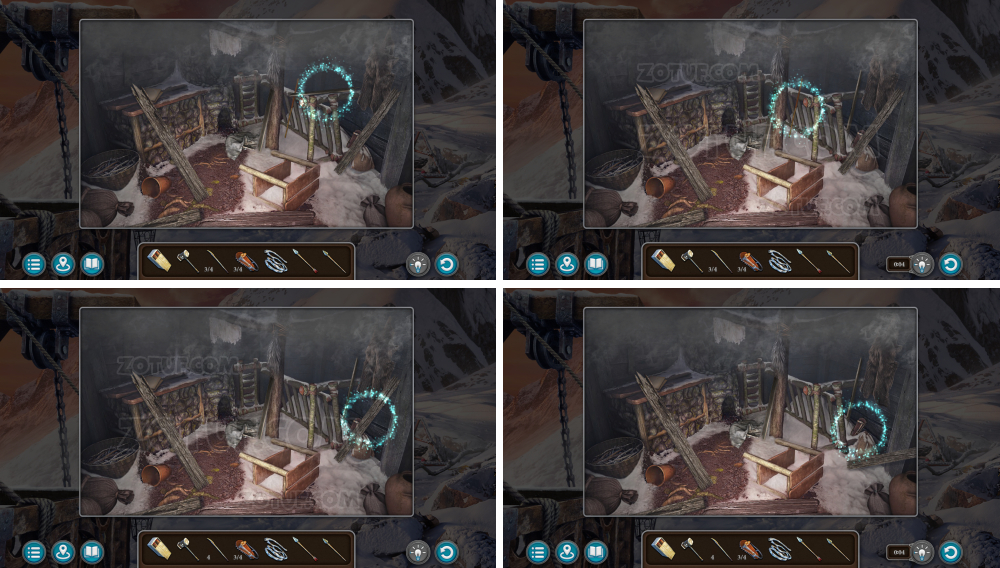
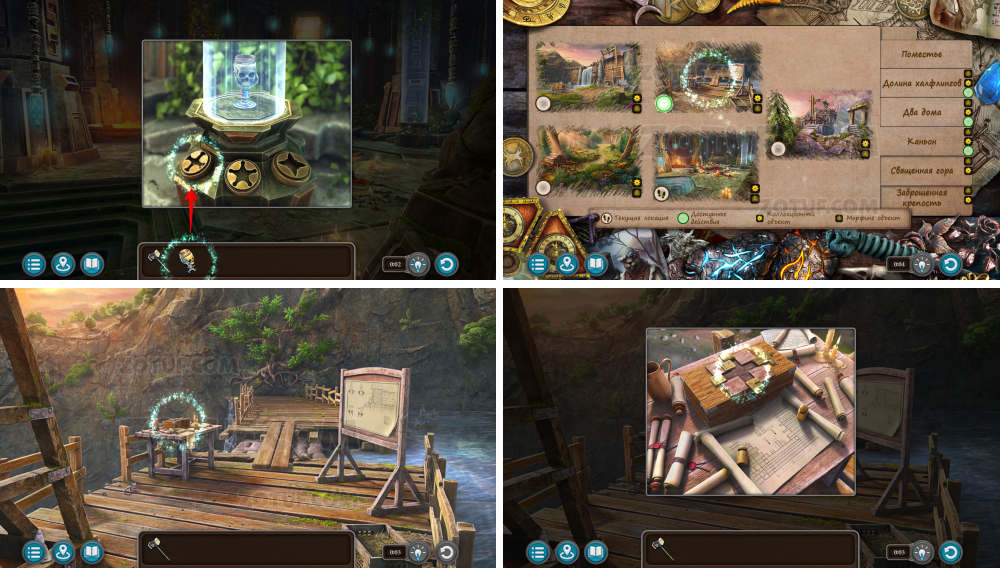
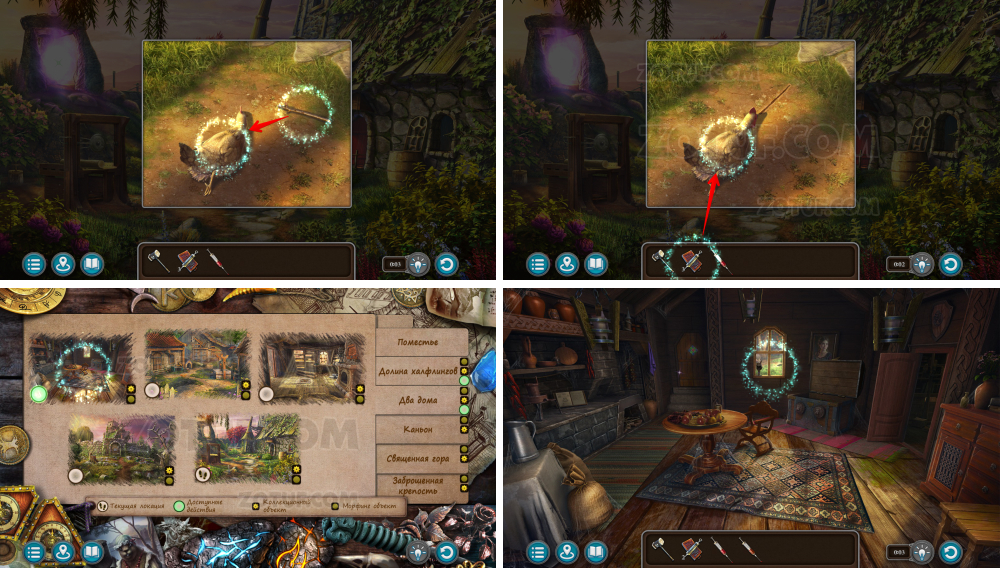
- Take the fastener 1/8.
- Open the box.
- Take the patterned washer.
- Take the fastener 2/8.
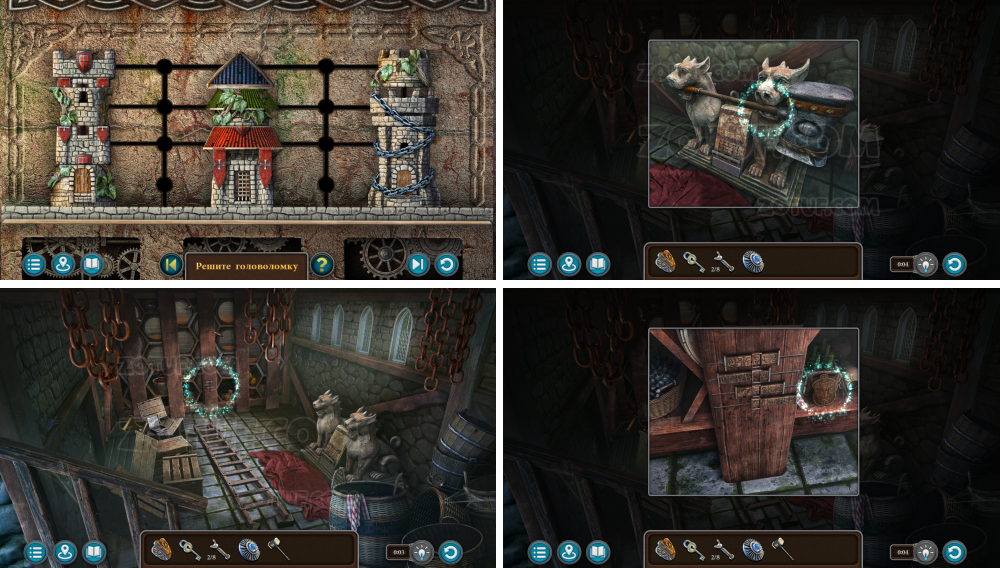
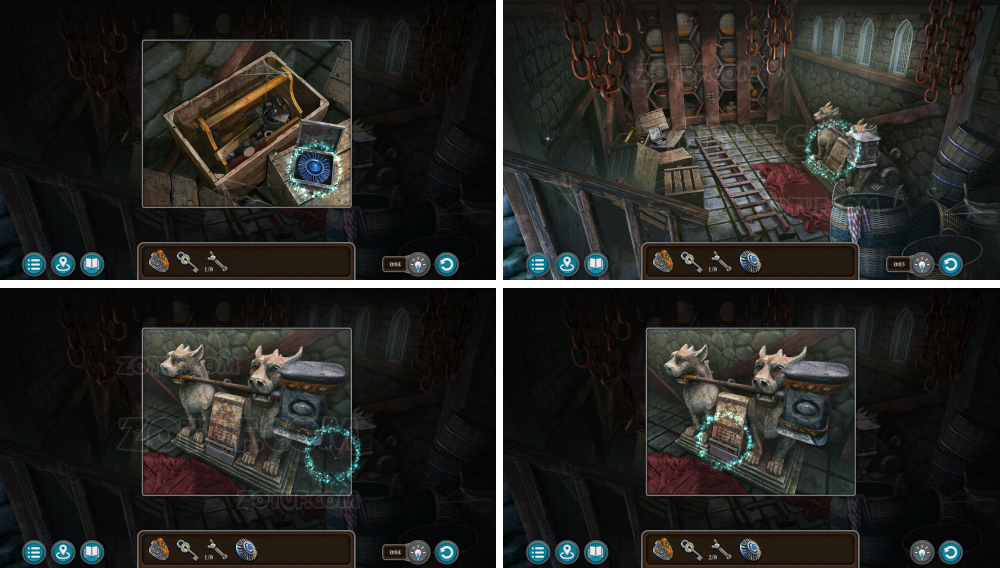
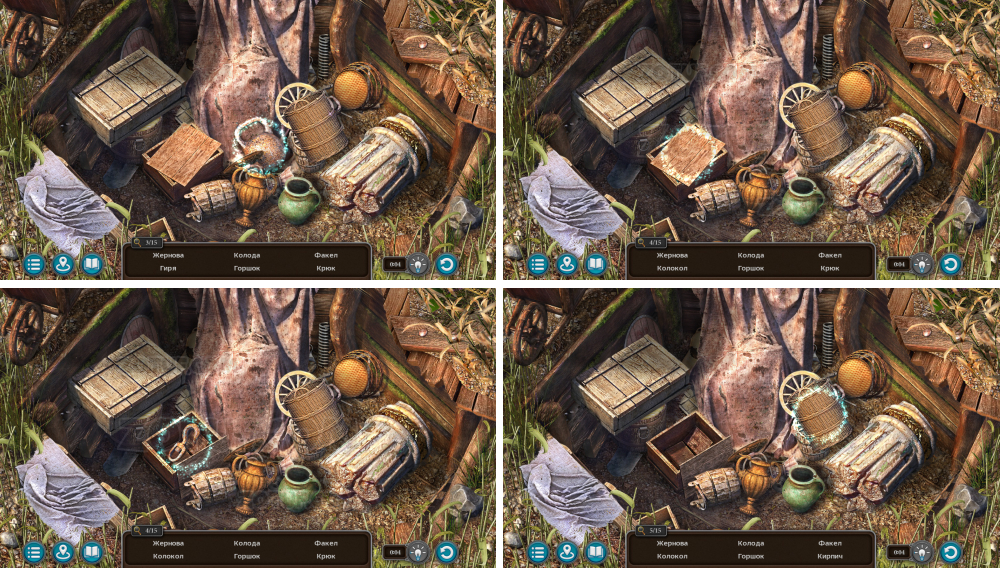
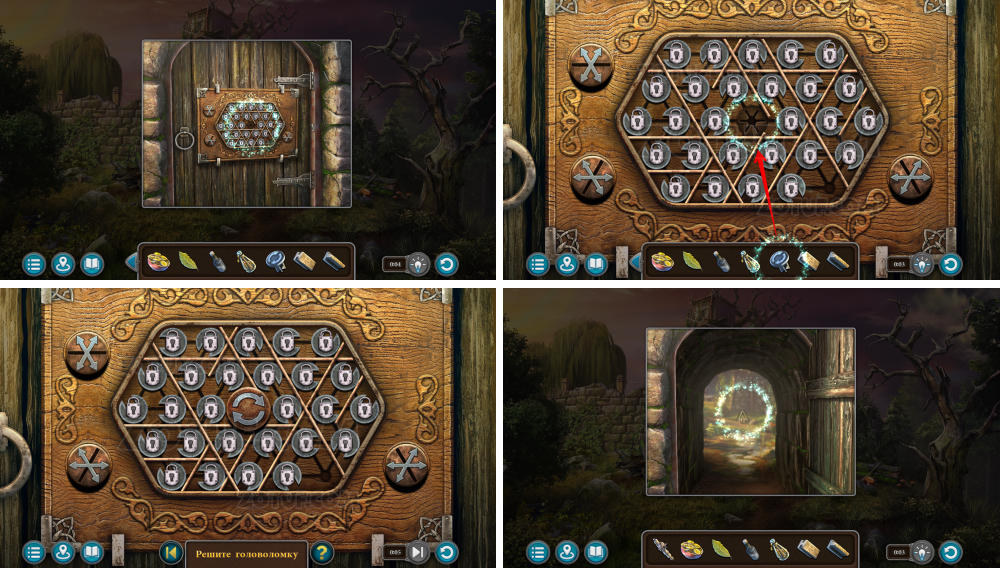
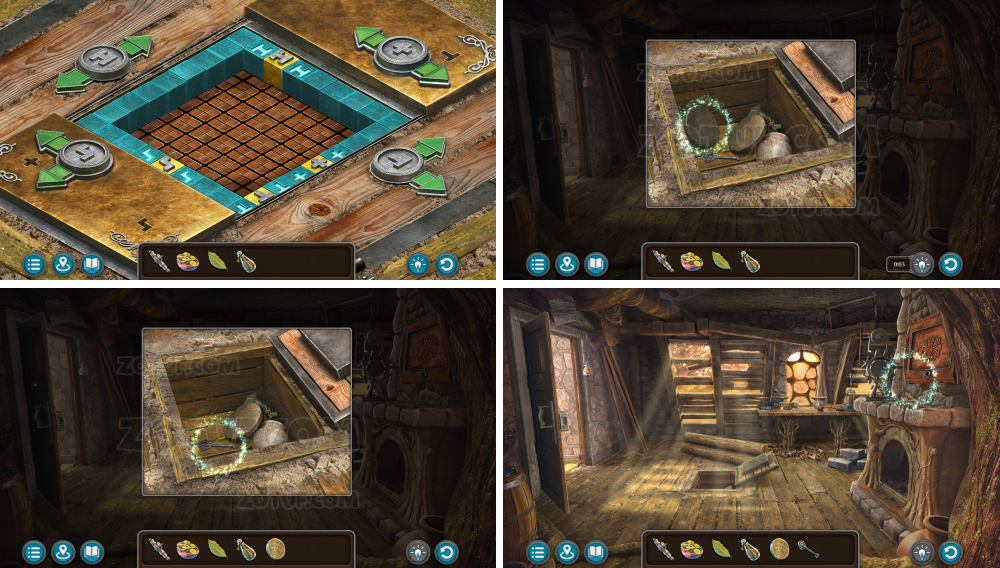
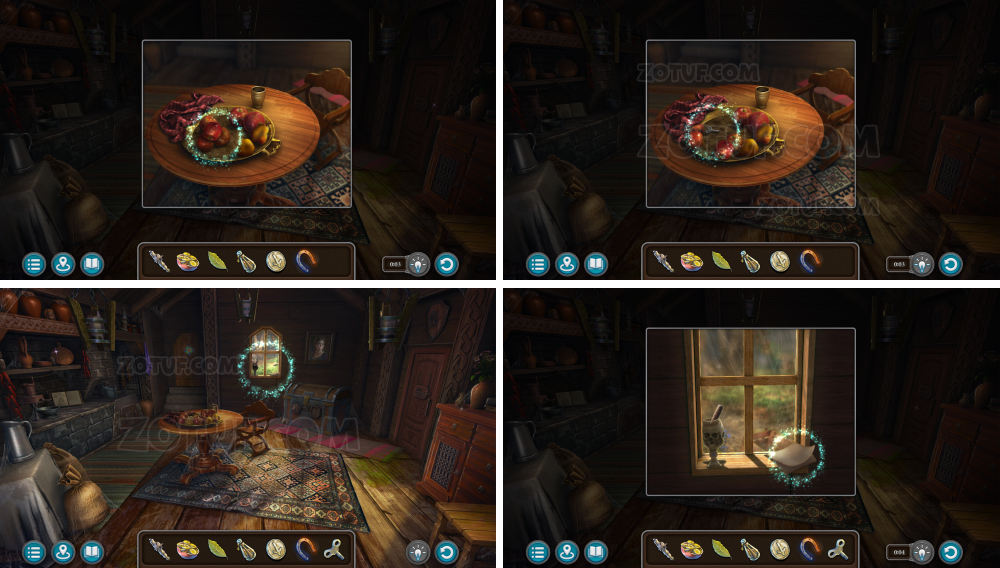
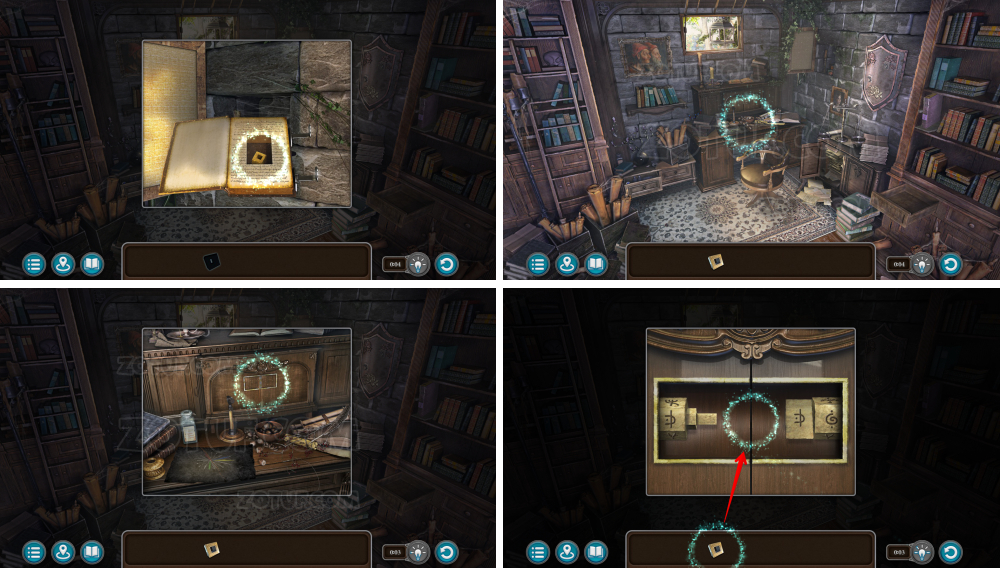
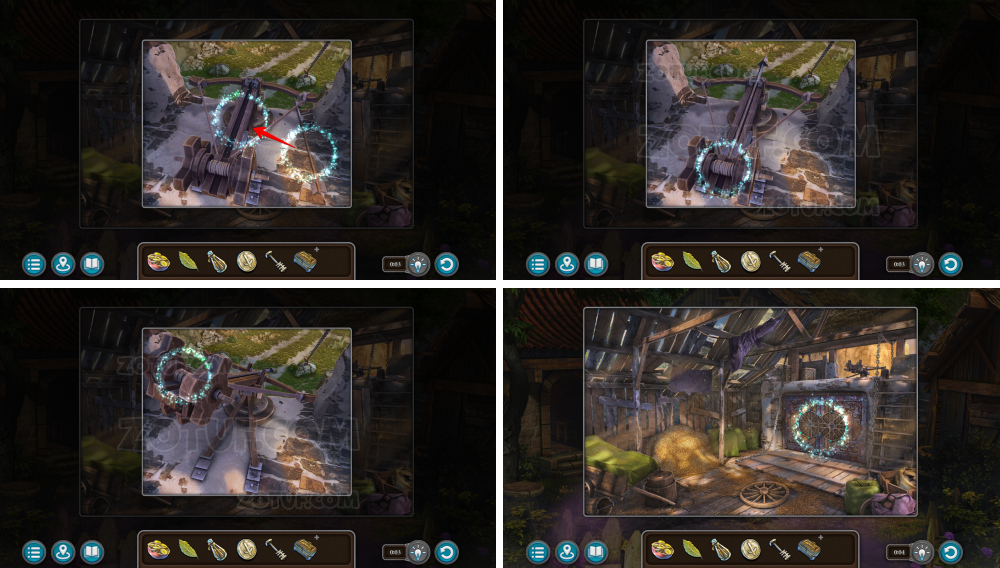
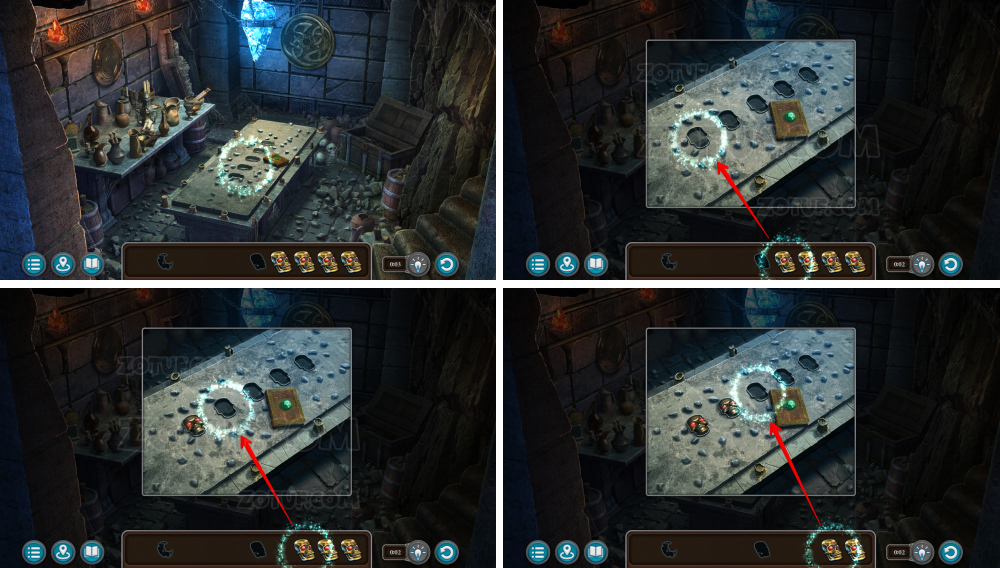
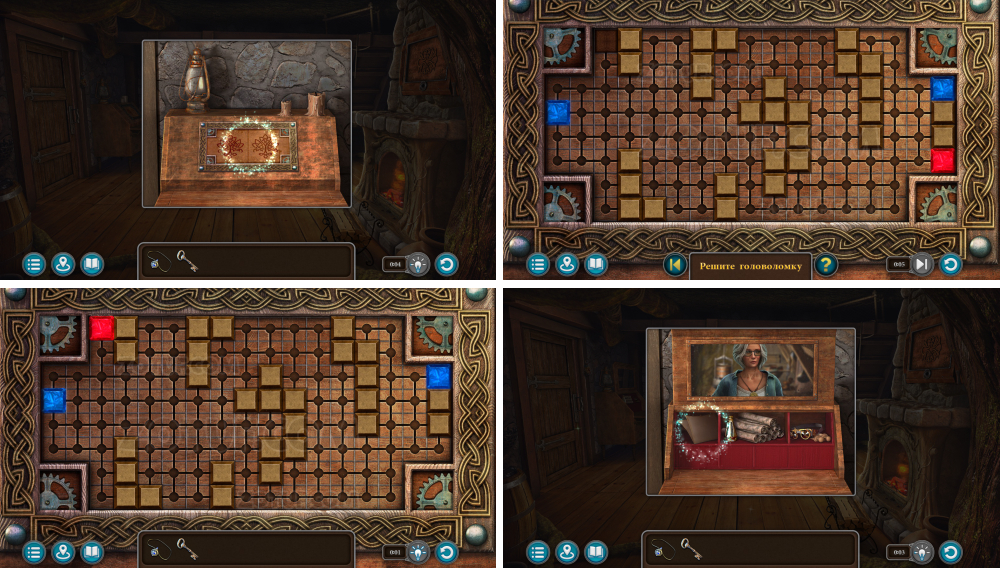
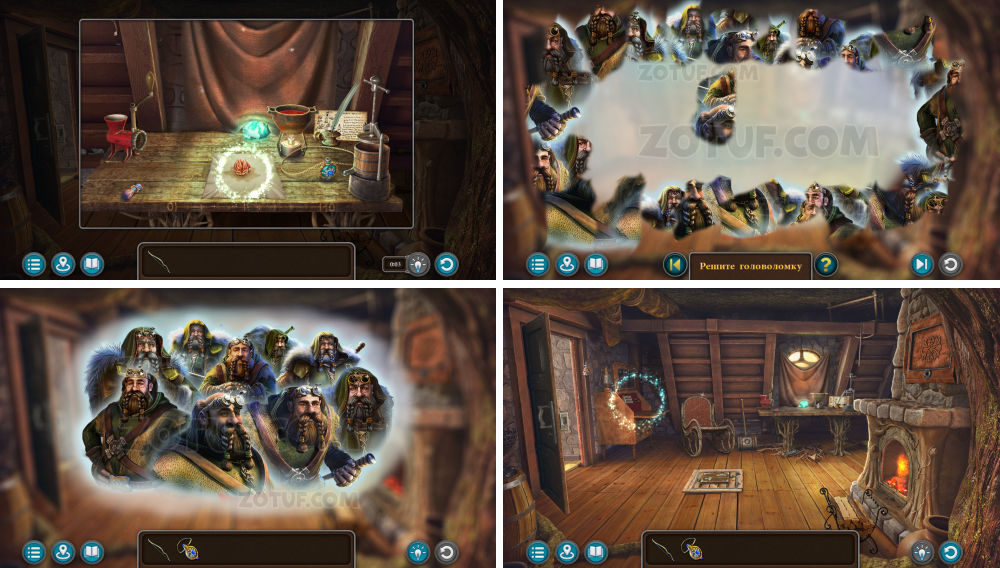
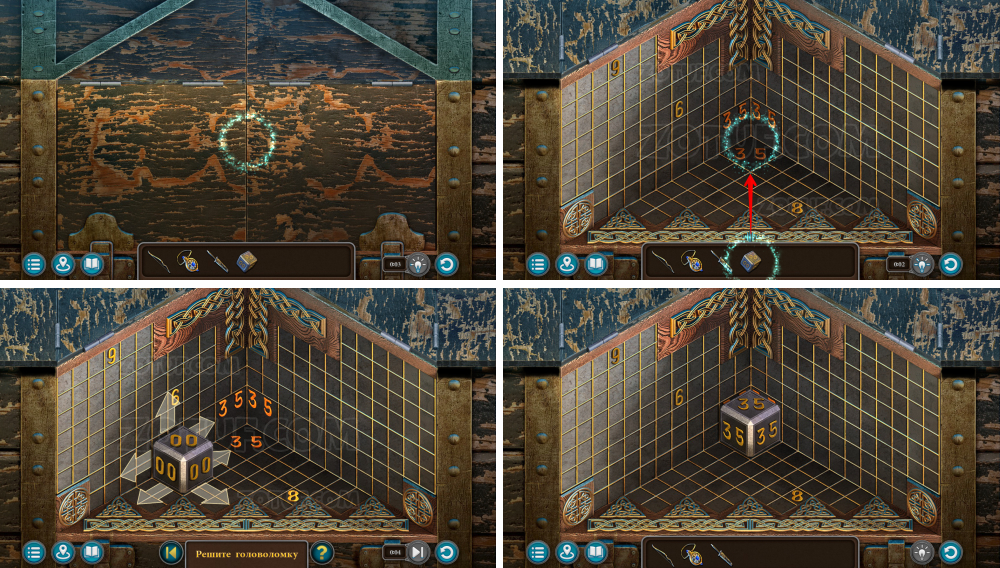
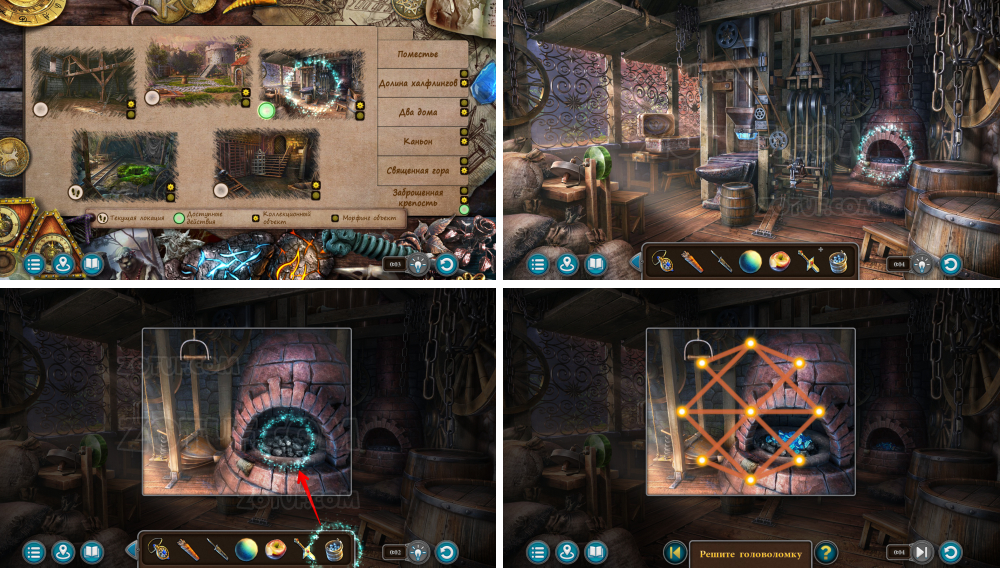
- Solve the puzzle: Restore structures by rearranging their parts.
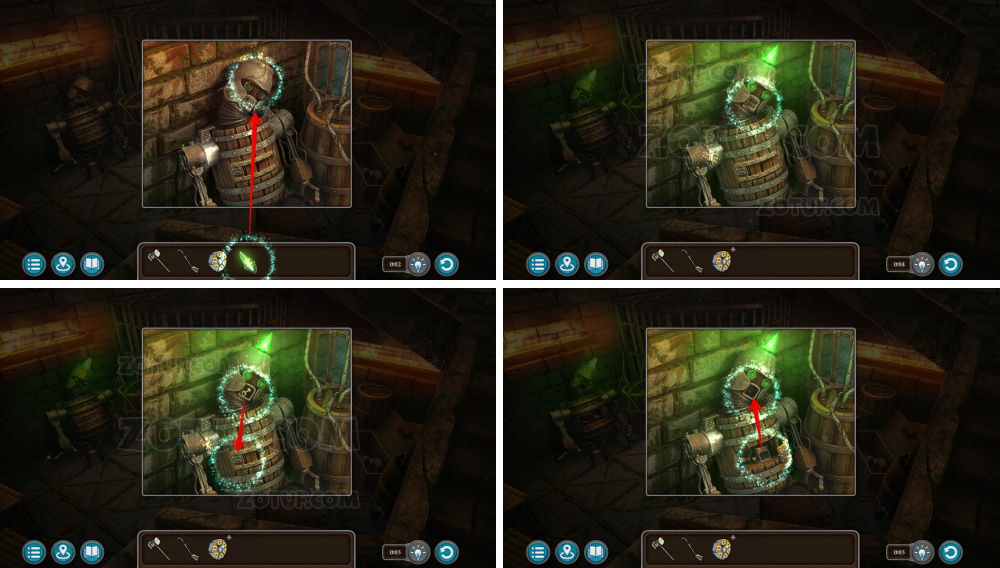
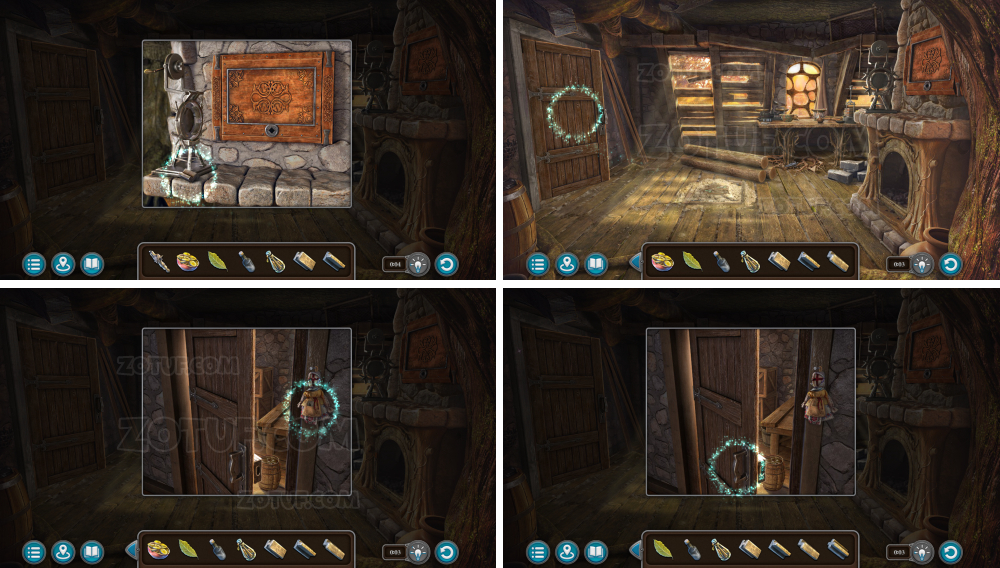
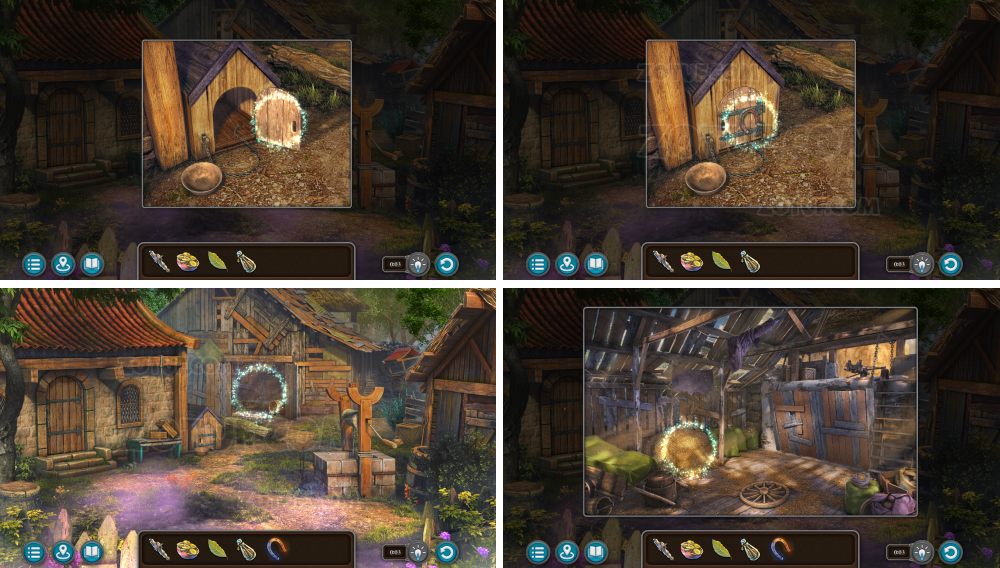
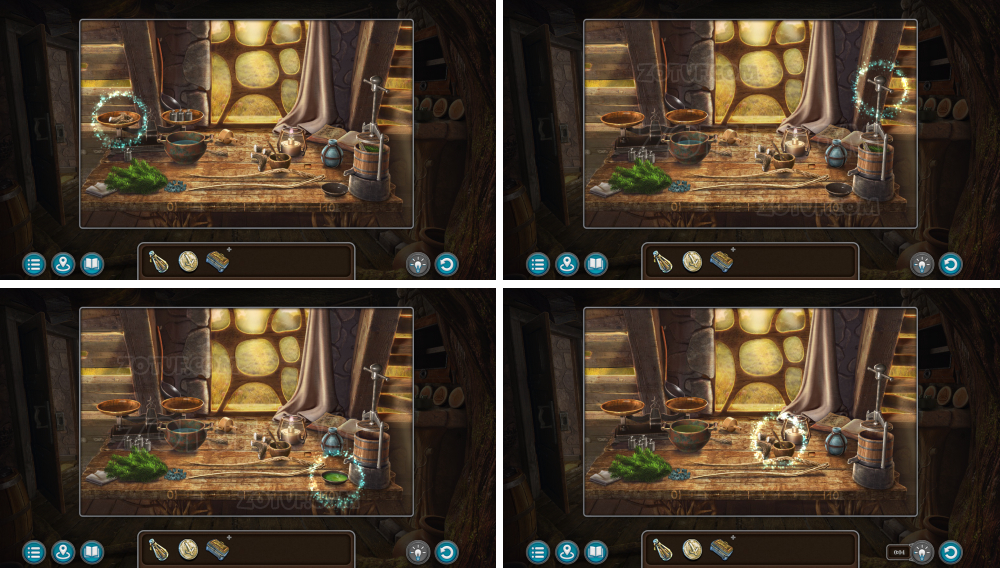
- Take the Follnur’s hammer.
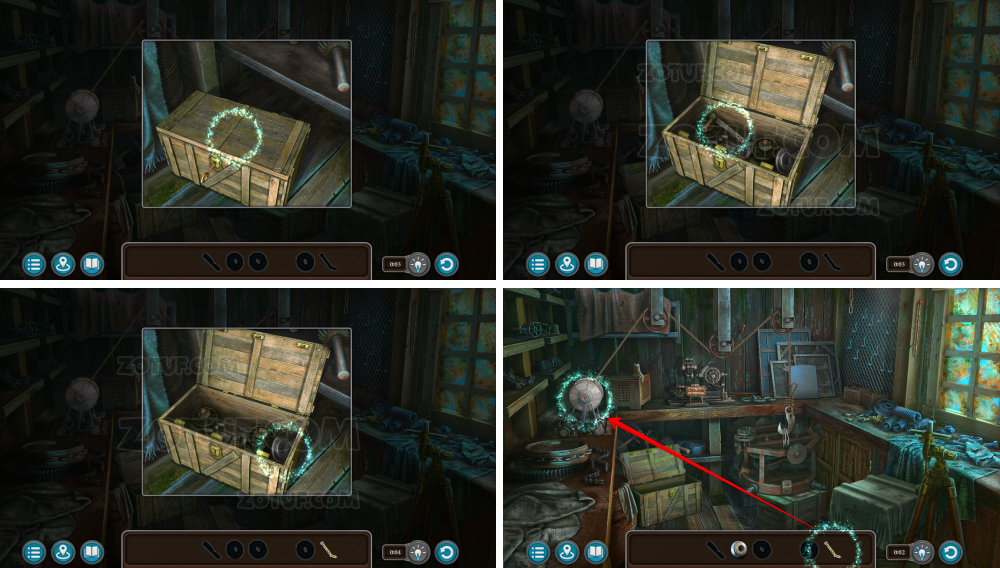
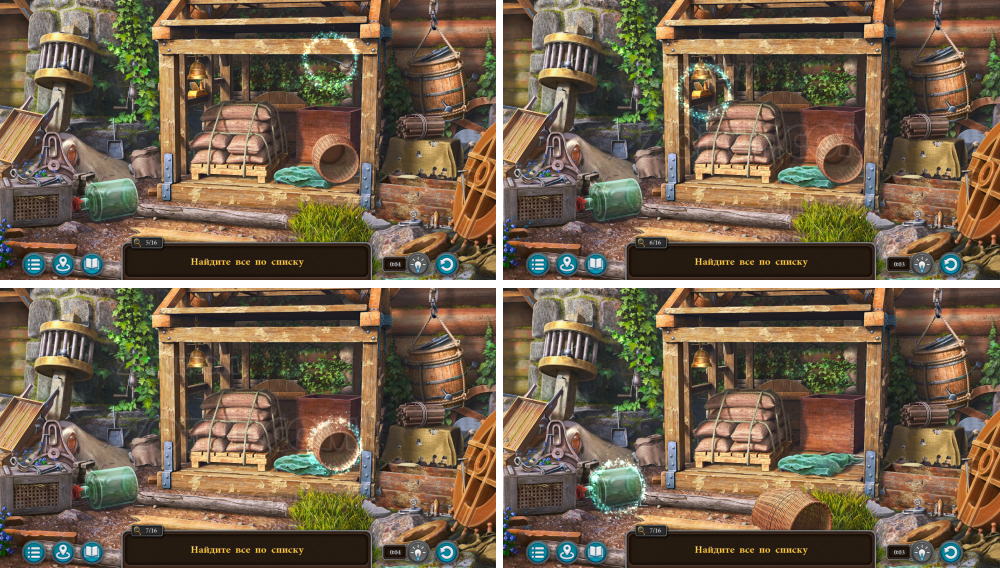
- Take the mask.
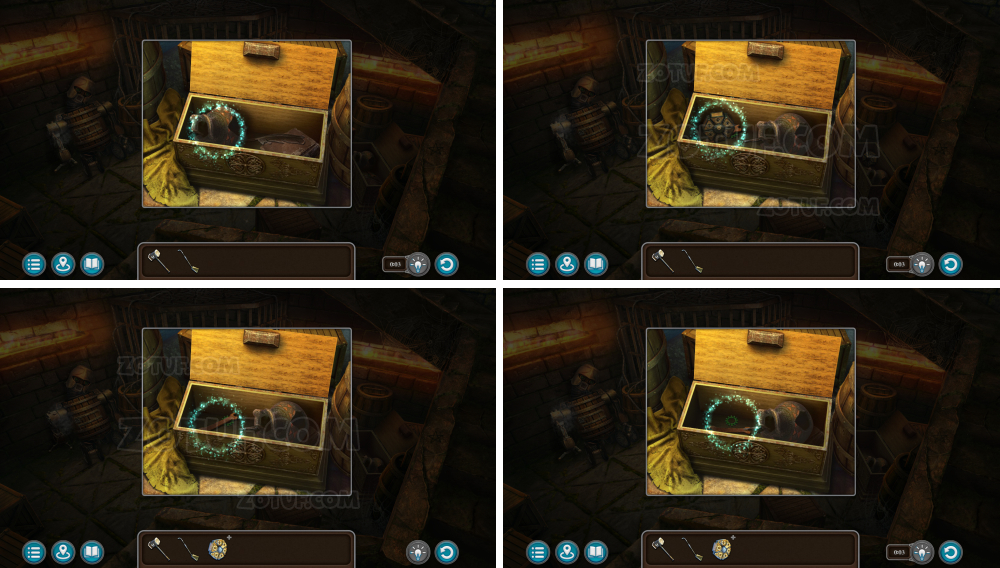
- Take the fastener 3/8.
- Use the mask.

- Use the mask.
- Take the fastener 4/8.
- Take the fastener 5/8.
- Take the fastener 6/8.

- Take the fastener 7/8.
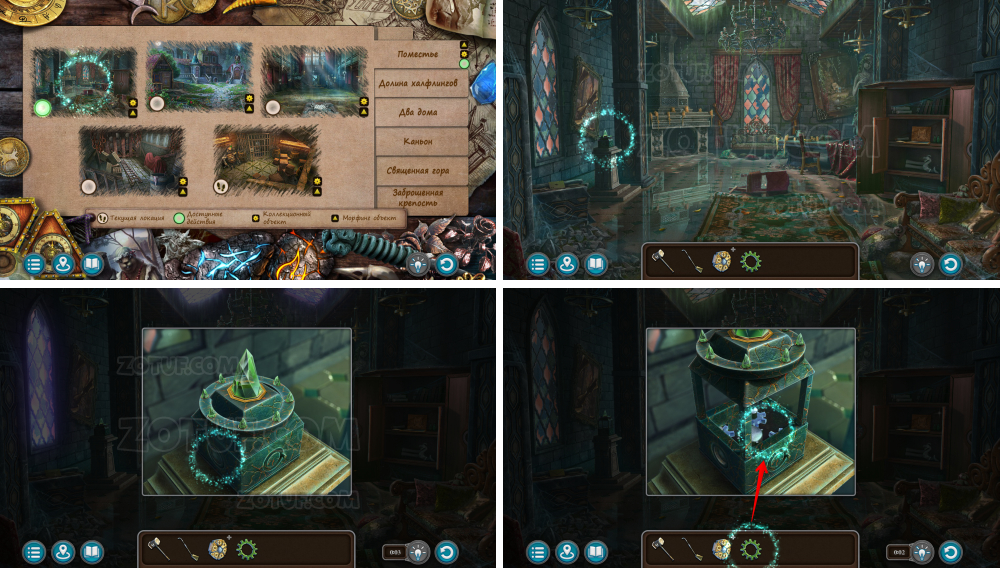
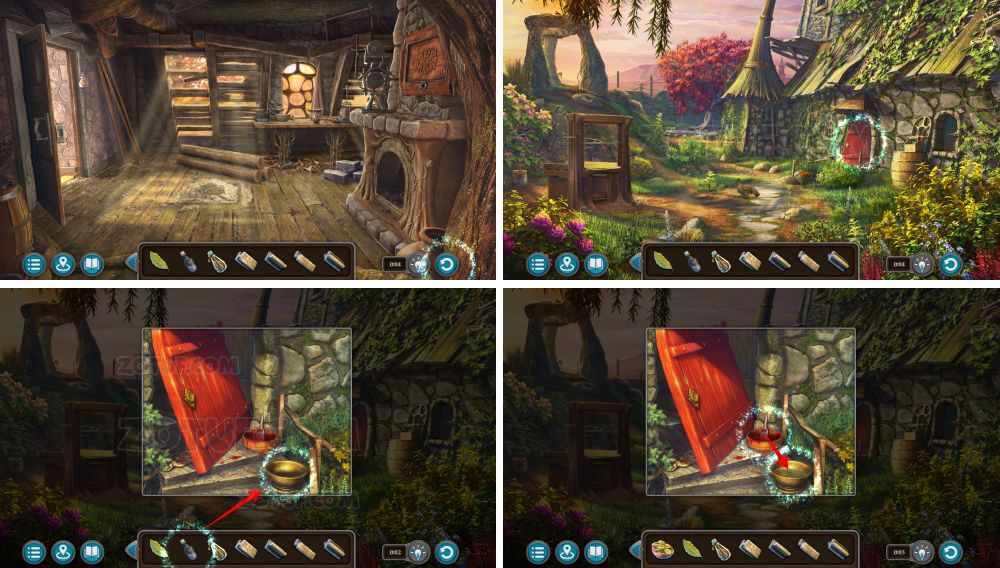
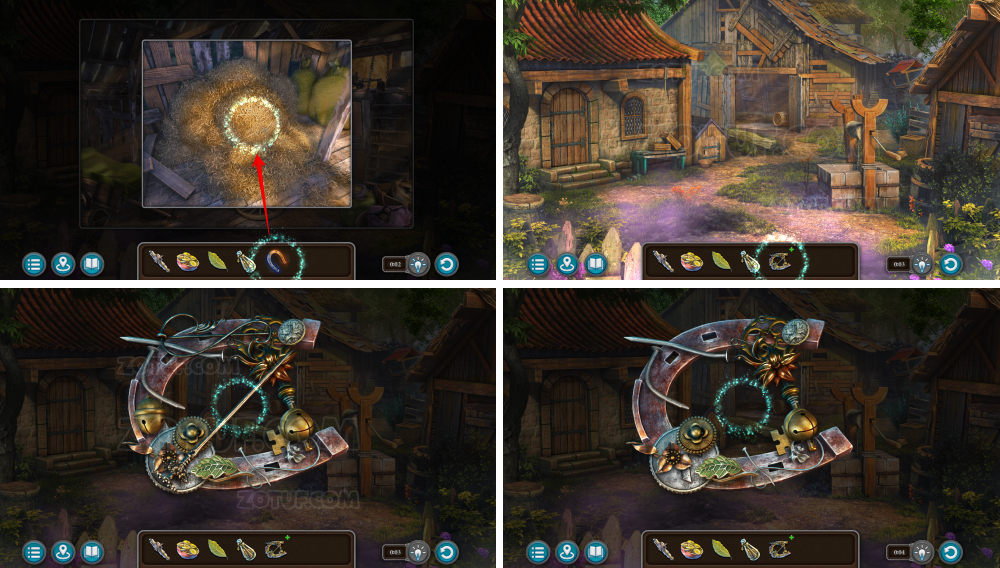
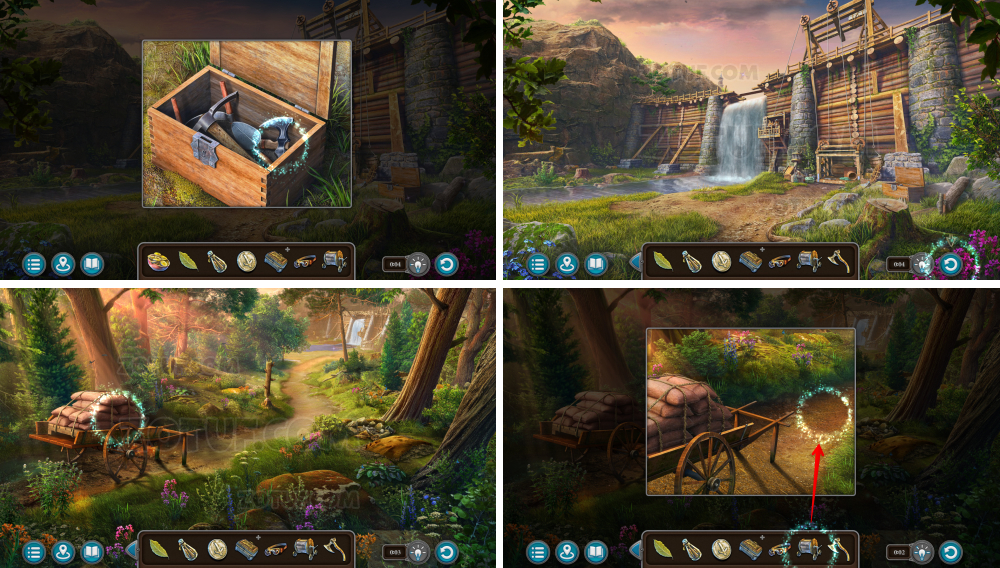
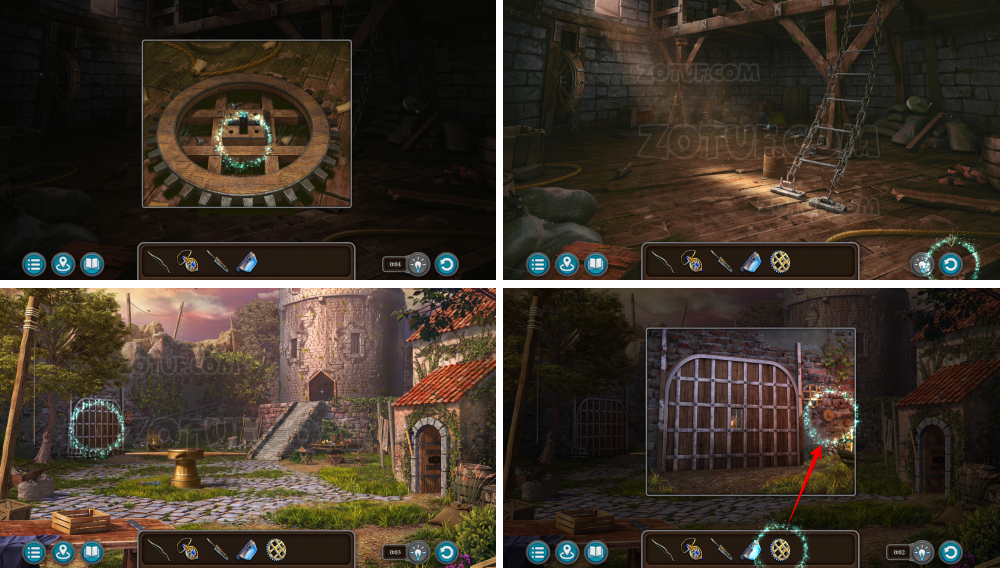
- Use the Follnur’s hammer.
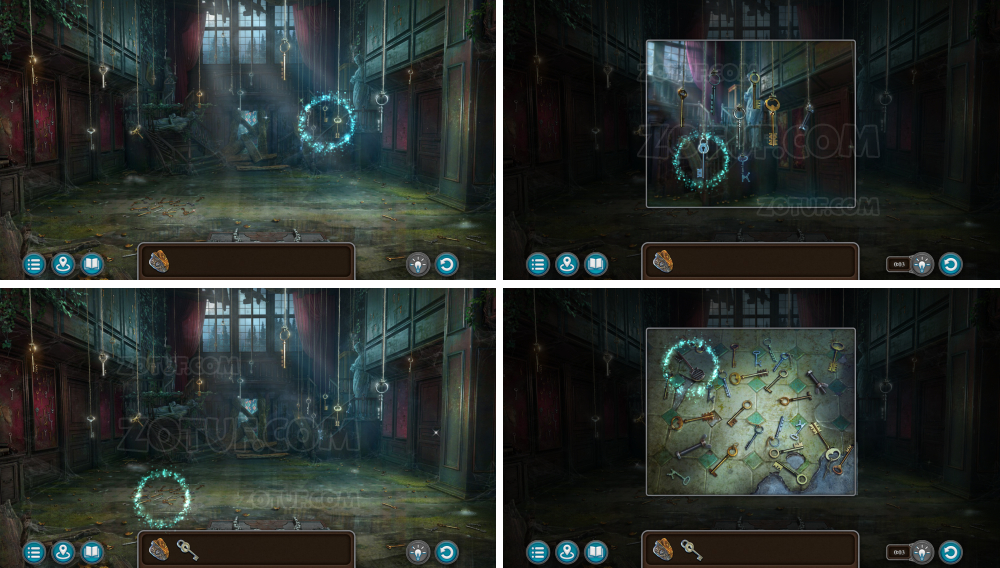
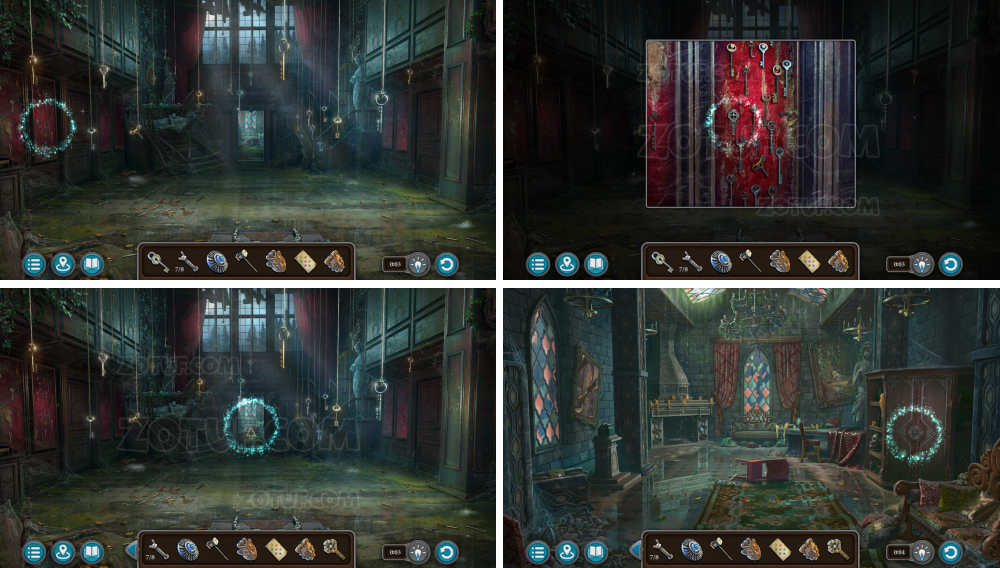
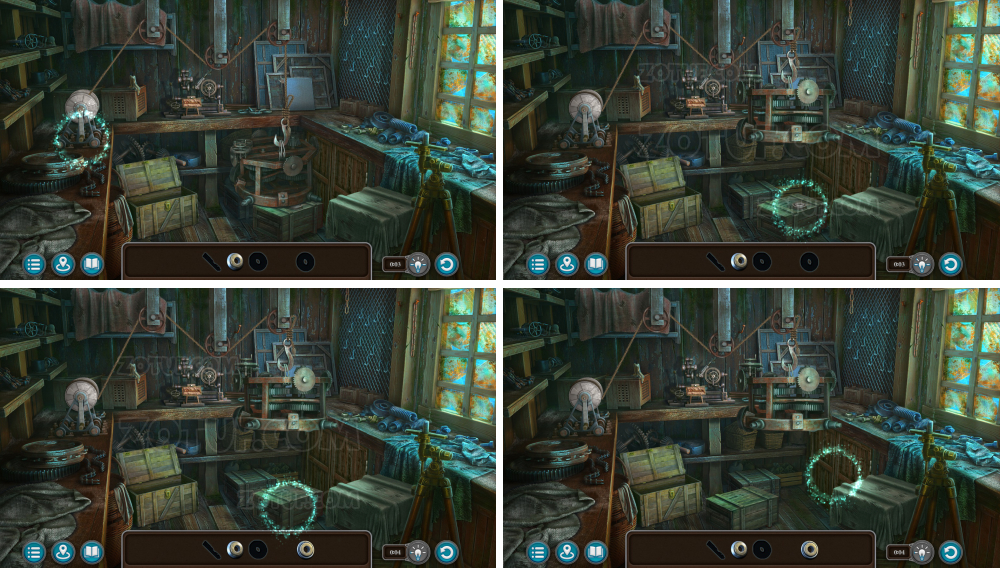
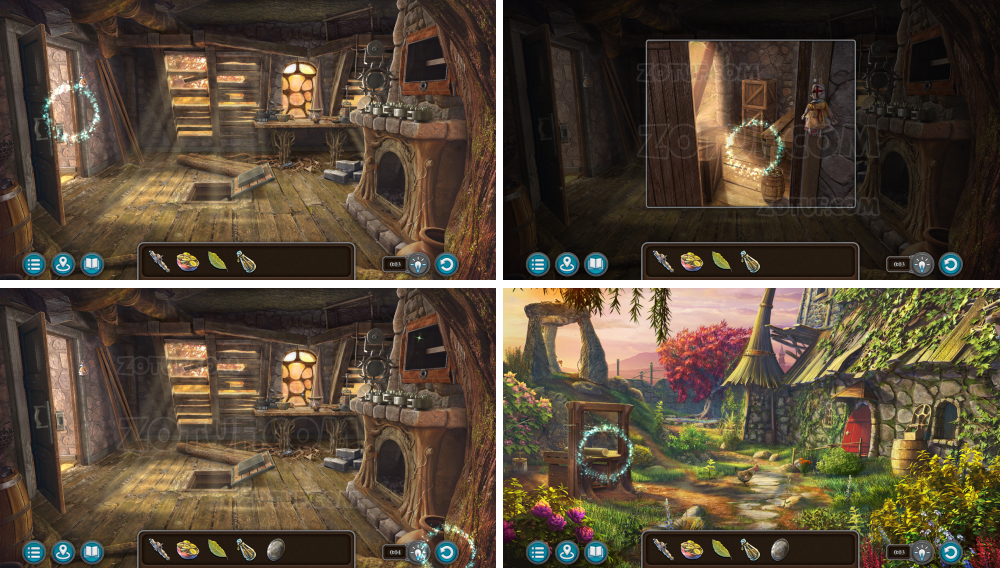
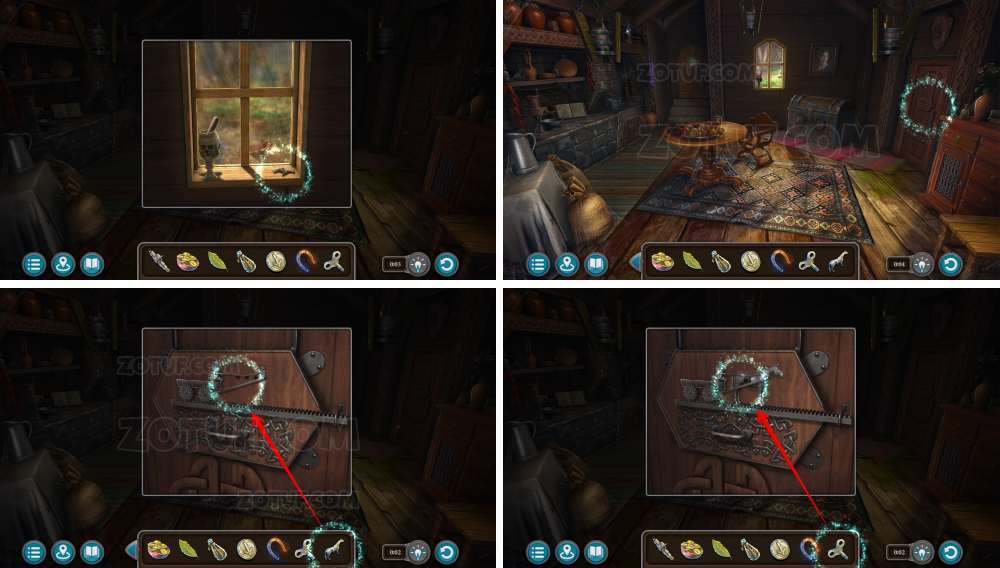
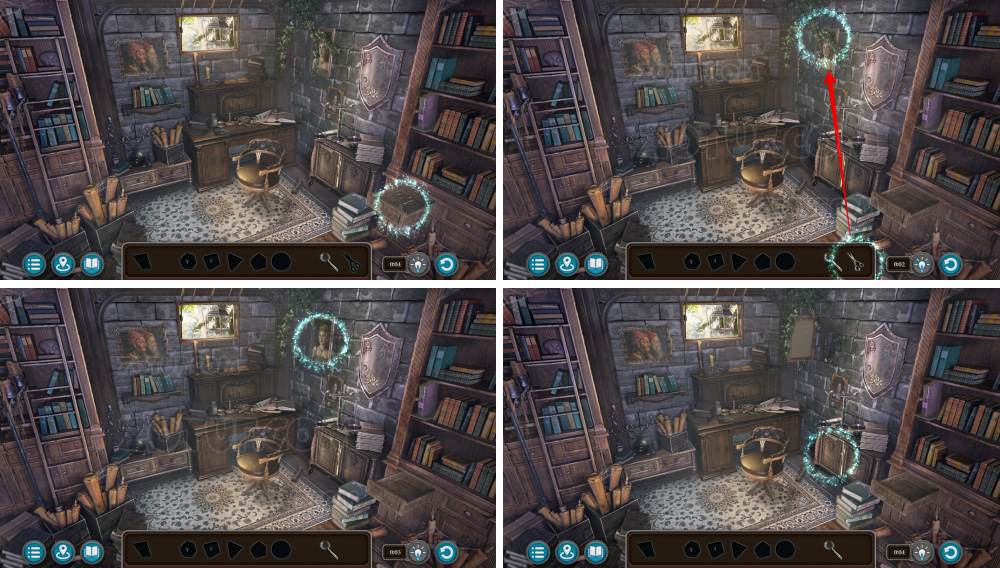
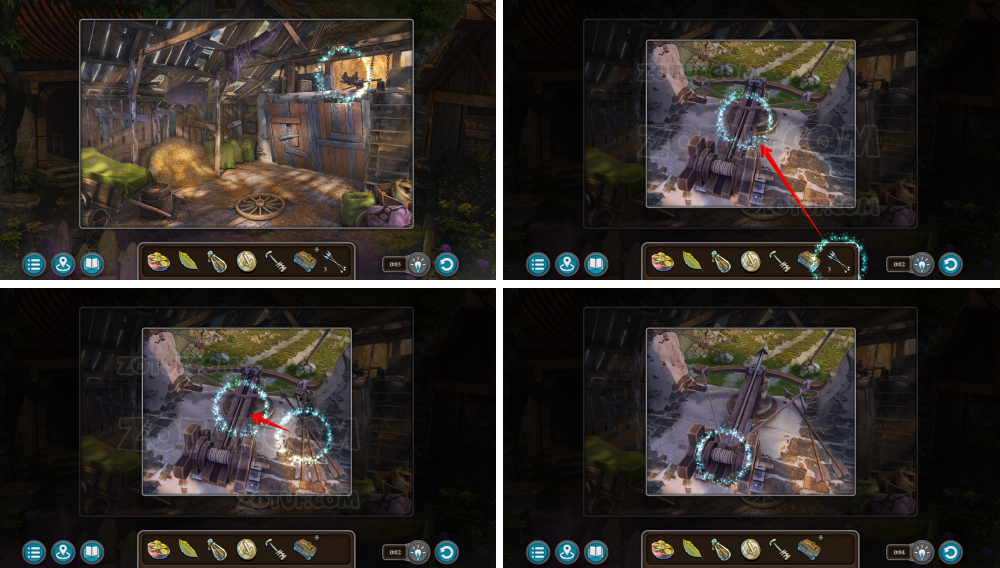
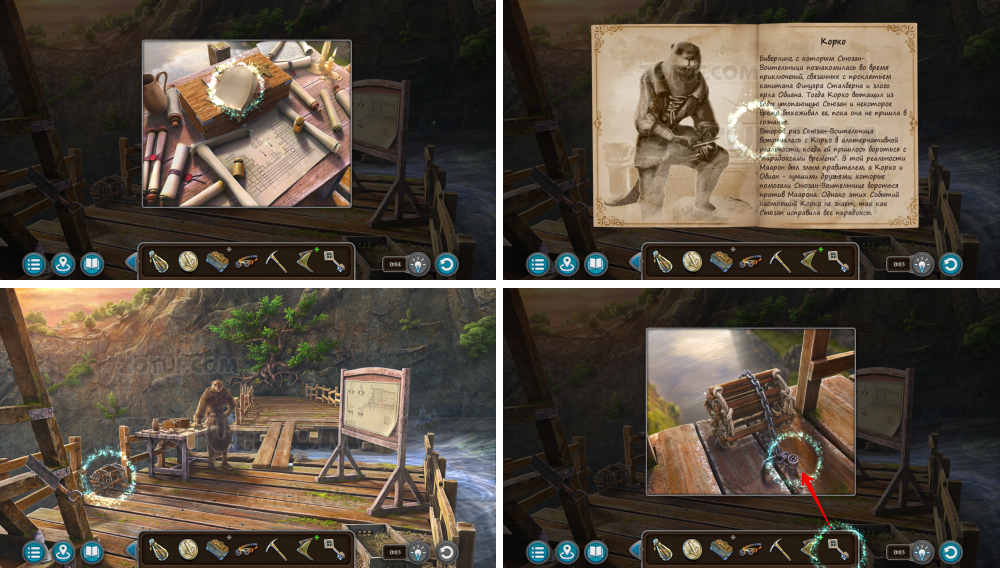
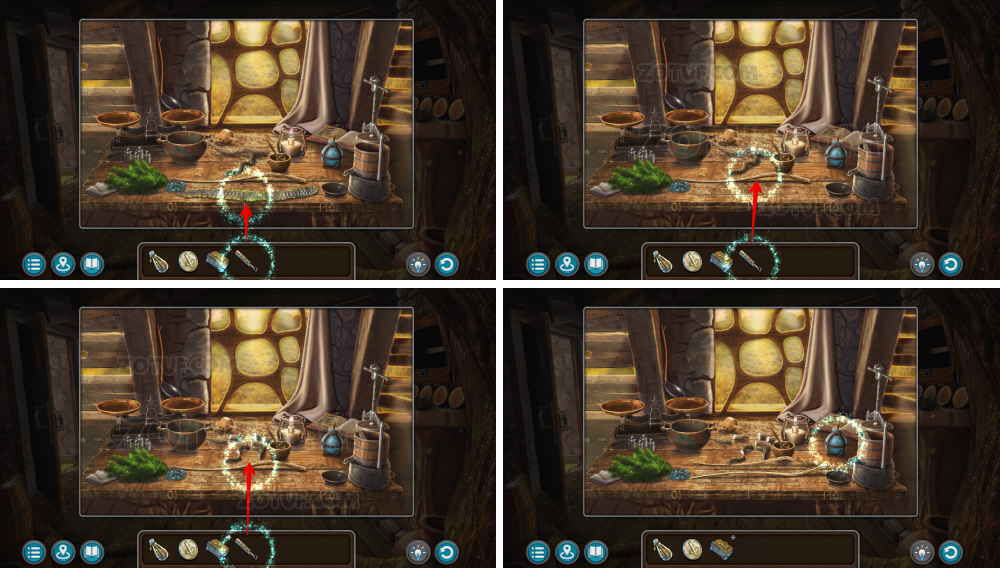
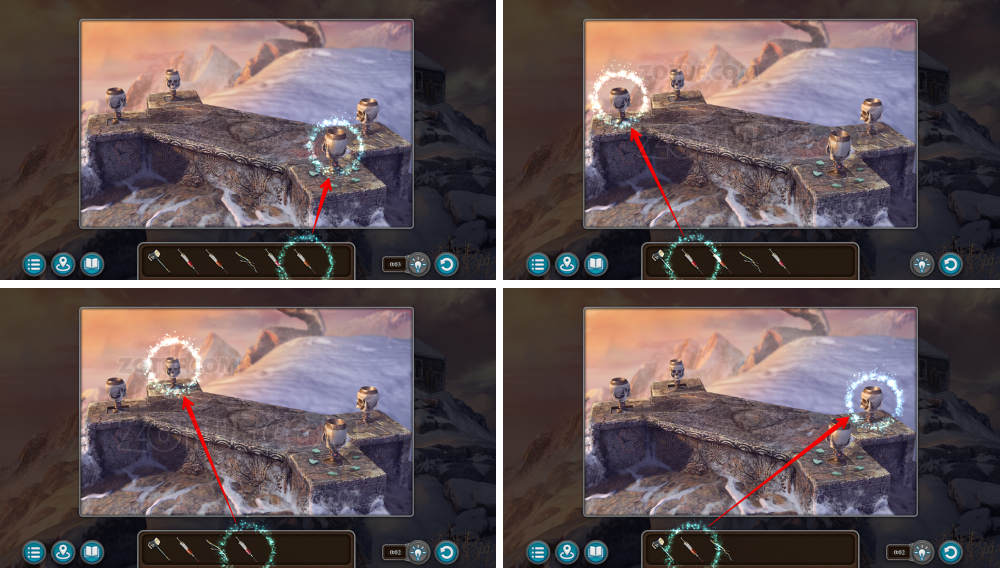
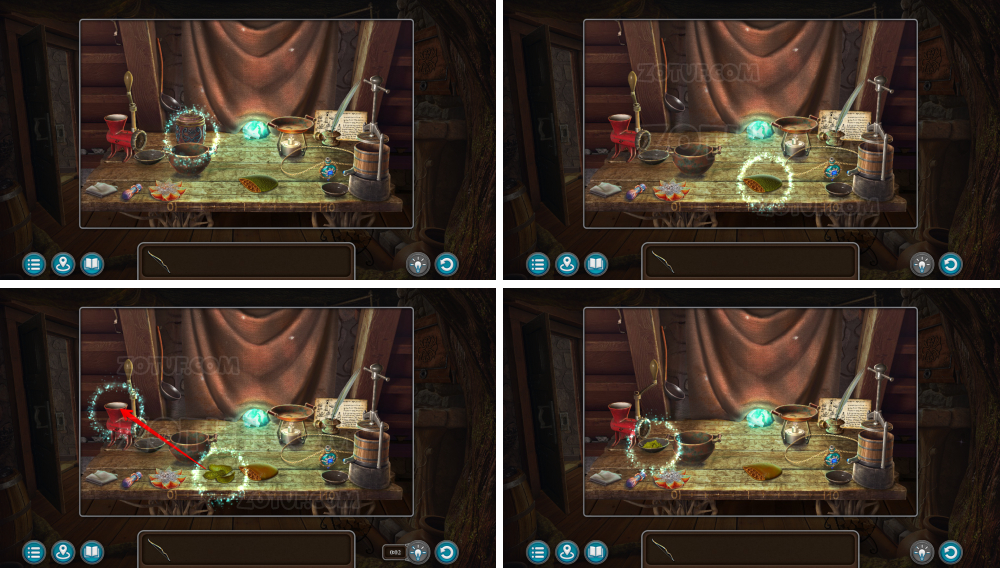
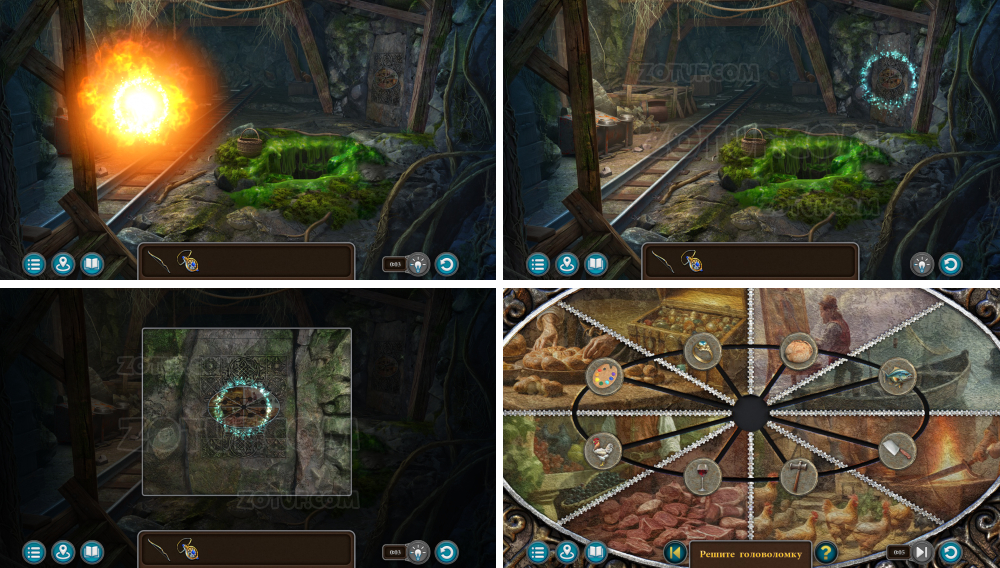
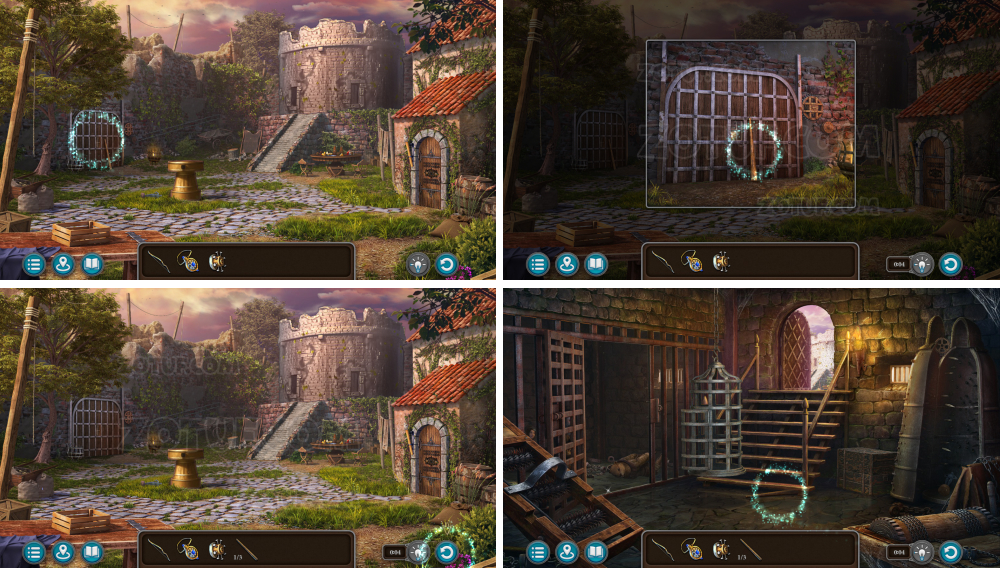
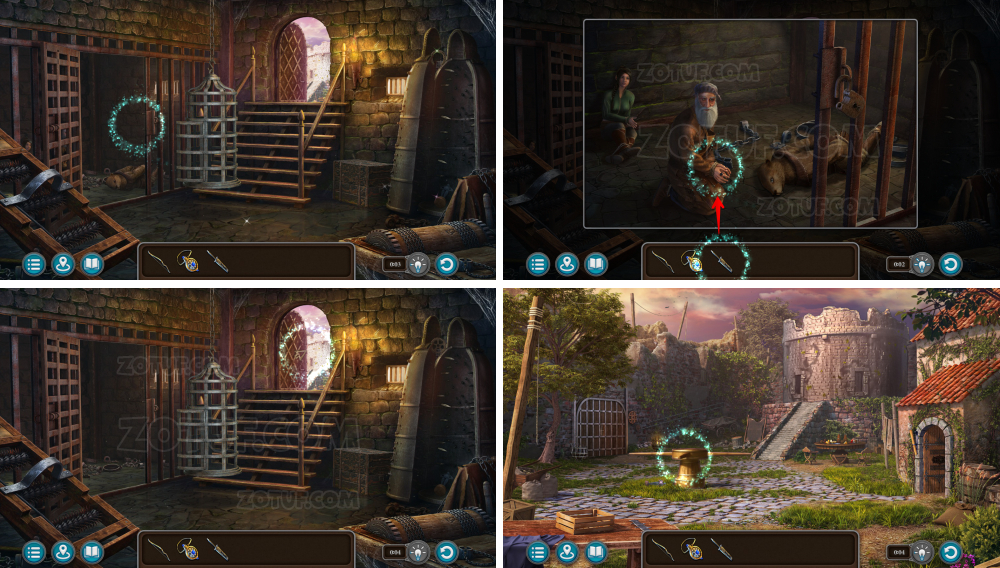
Secret of the Crypt
We need to get into the Crypt to find out what Folnur is hiding in it.
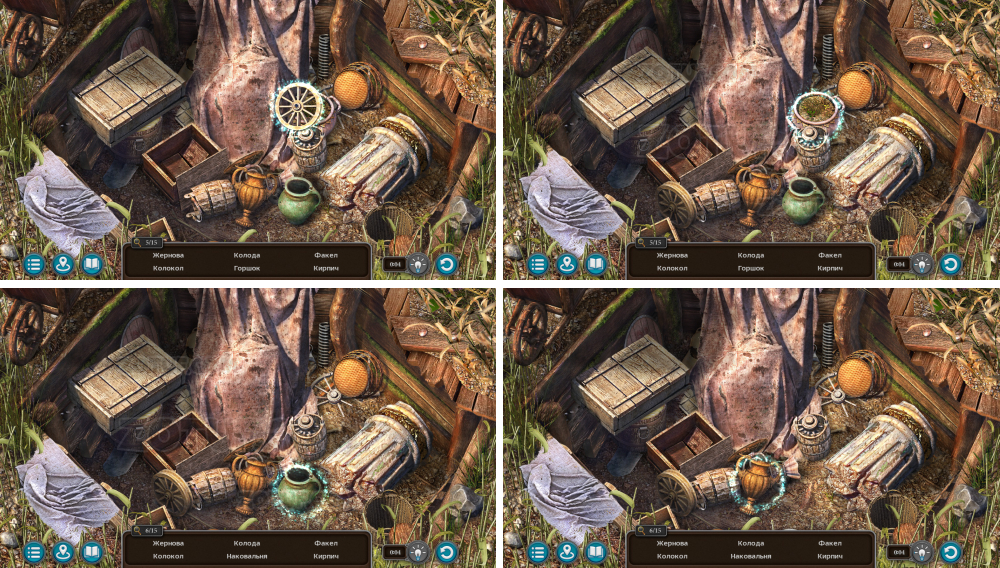
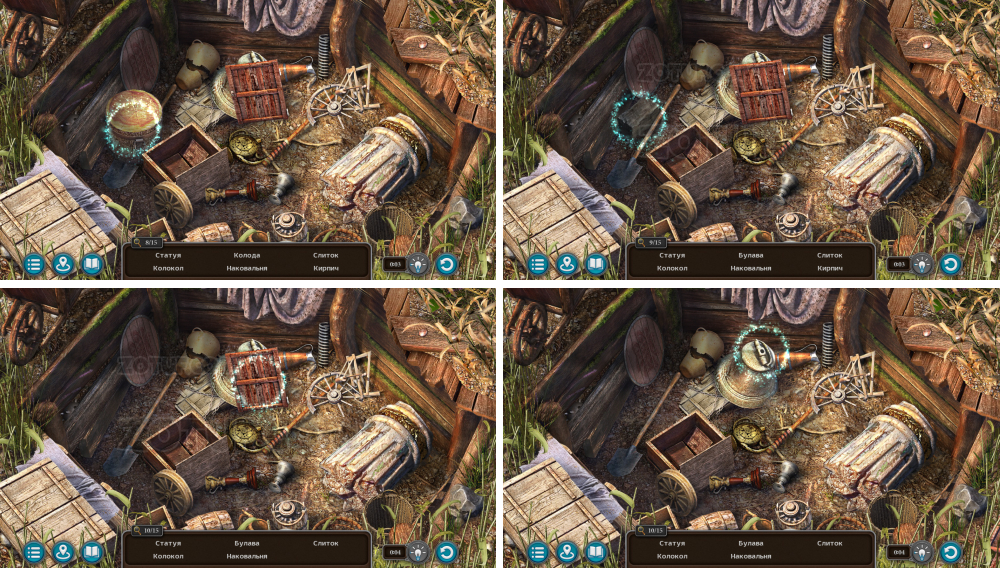
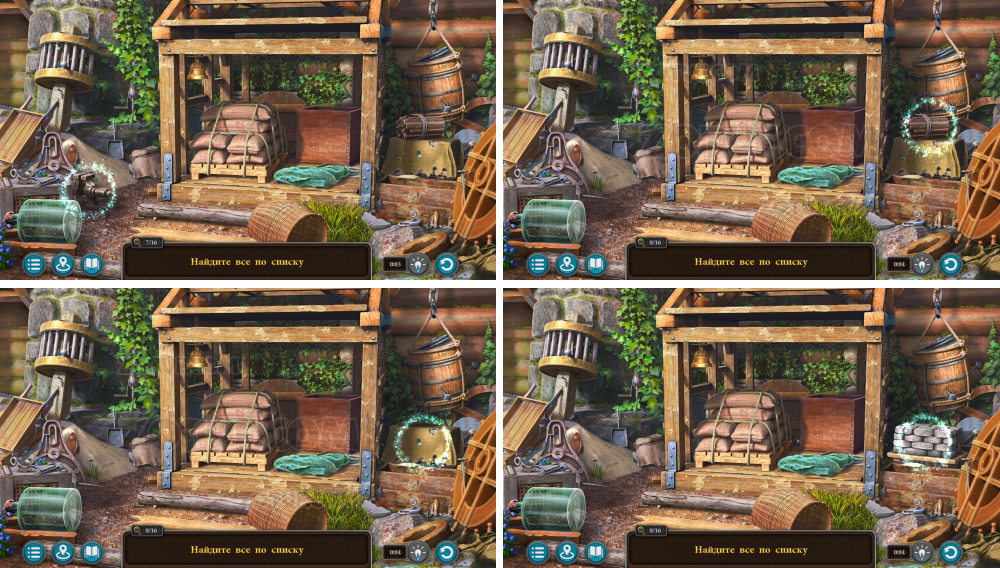
- Take the mask.
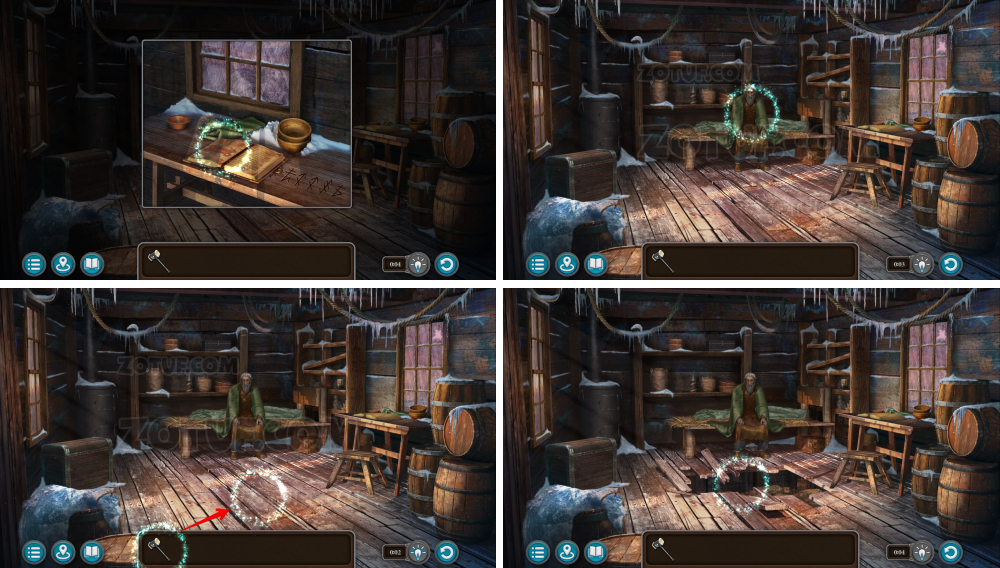
- Open the book.
- Take the drawing insert.
- Take the mask.
- Take the cabinet key.

- Use the cabinet key.
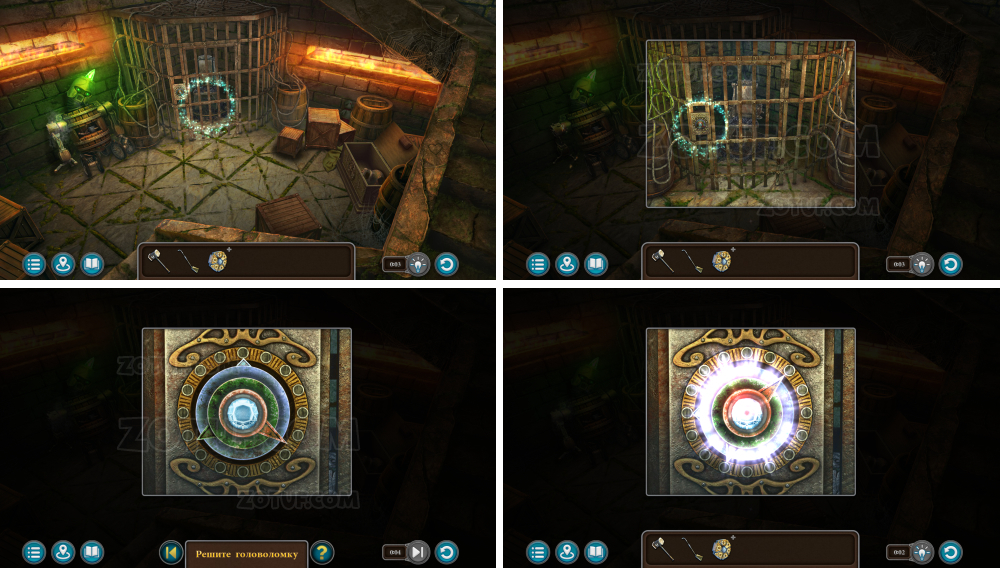
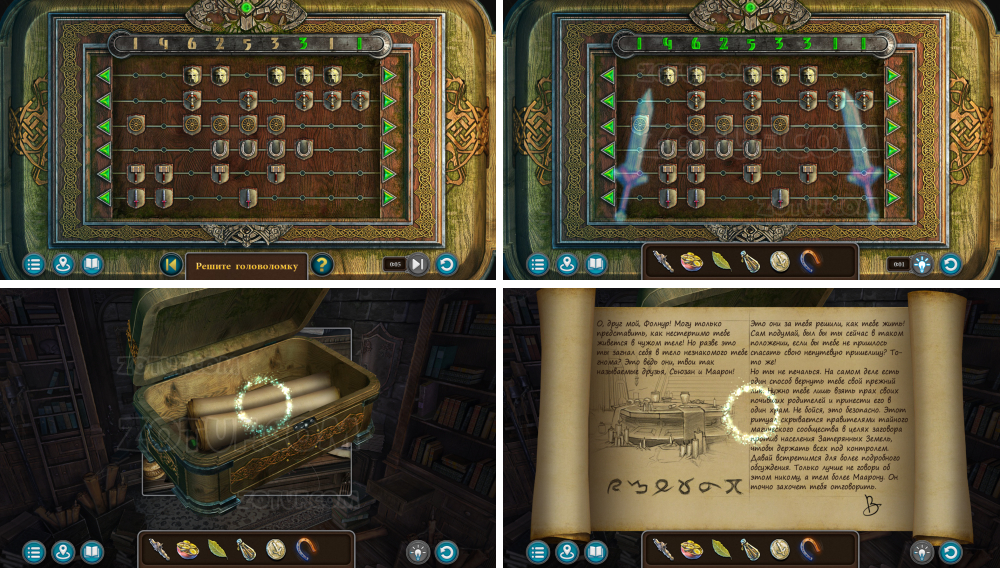
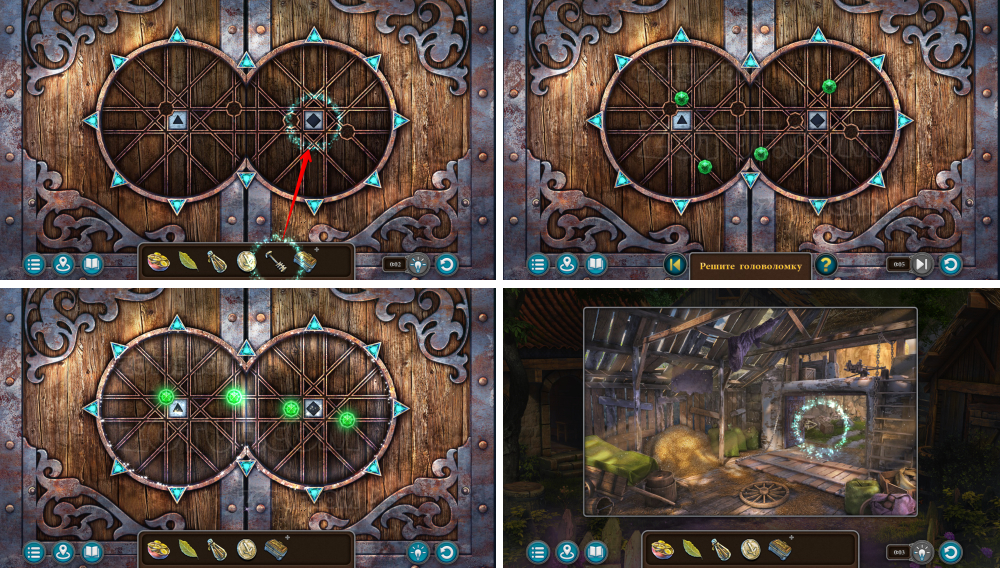
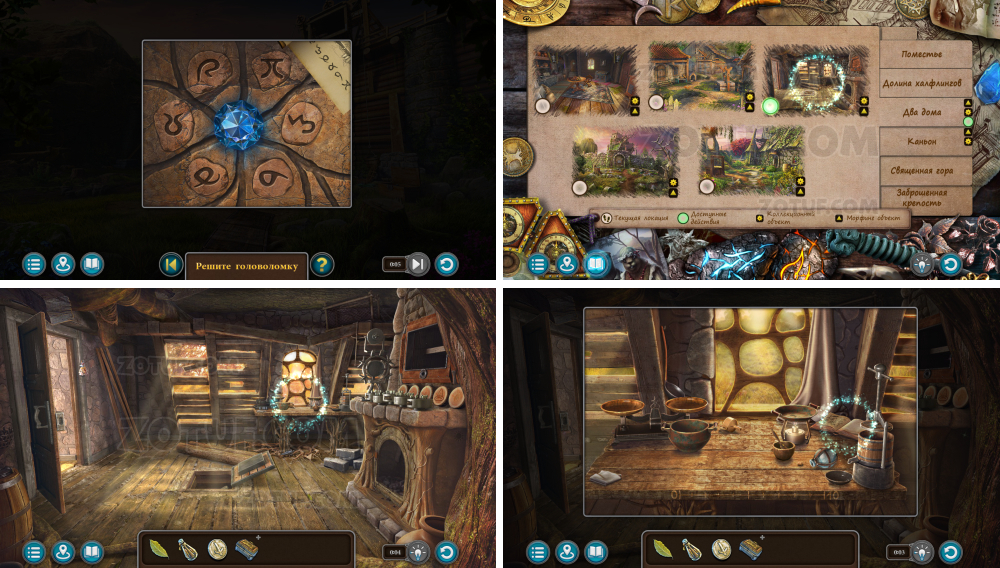
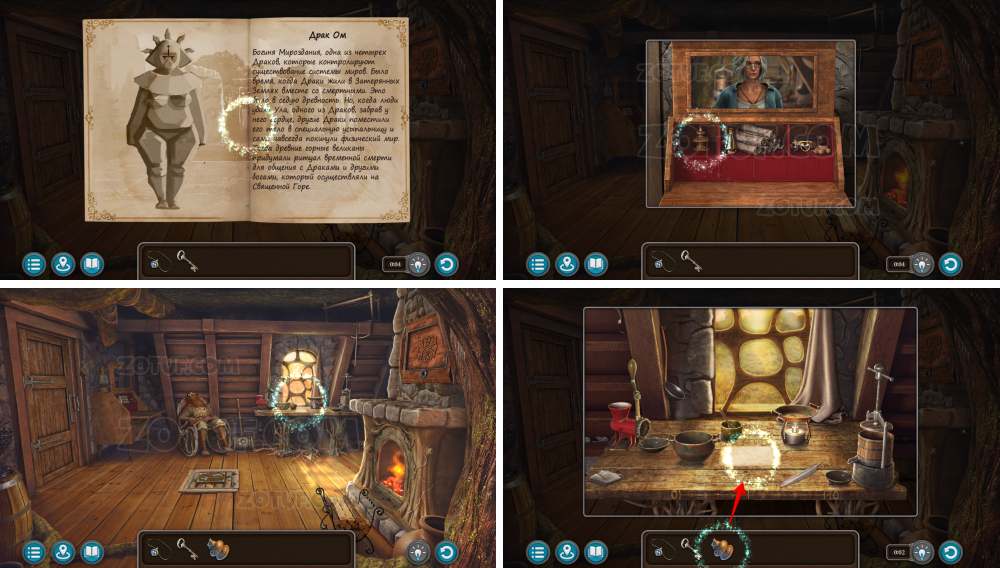
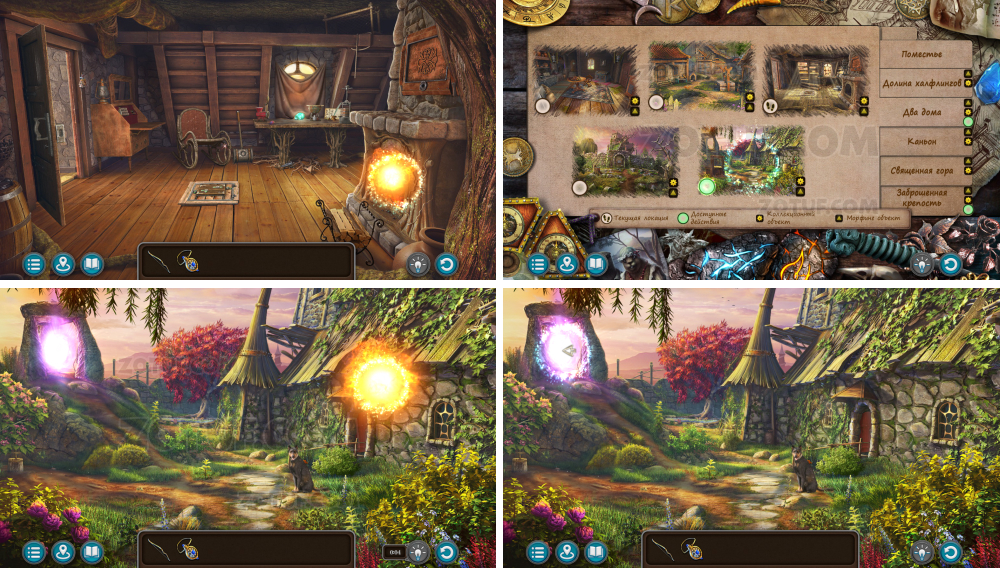
- Solve the puzzle: Rotate animal chips to align them as per the hint.

- Take manuscript 1/9.
- Take the fastener 8/8.
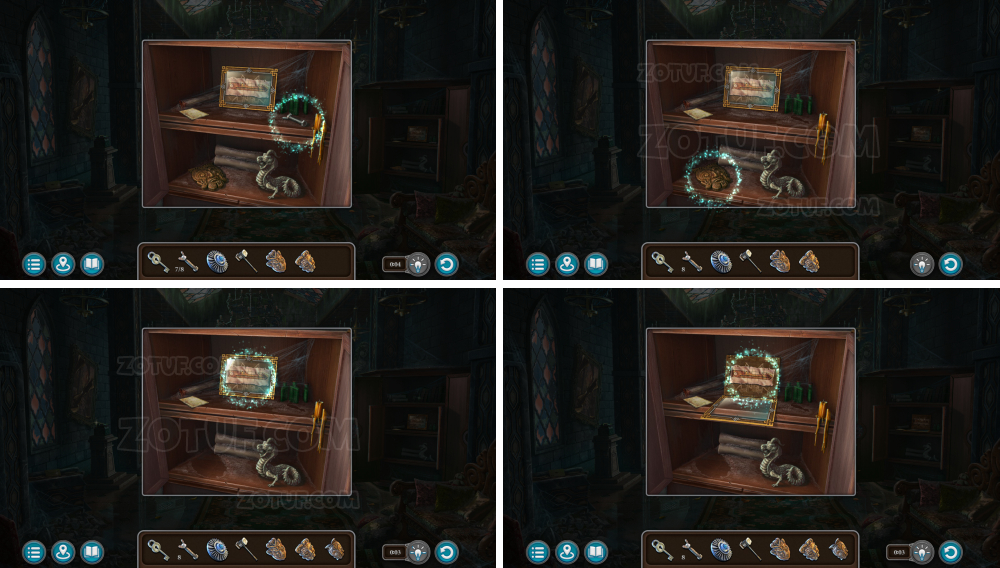
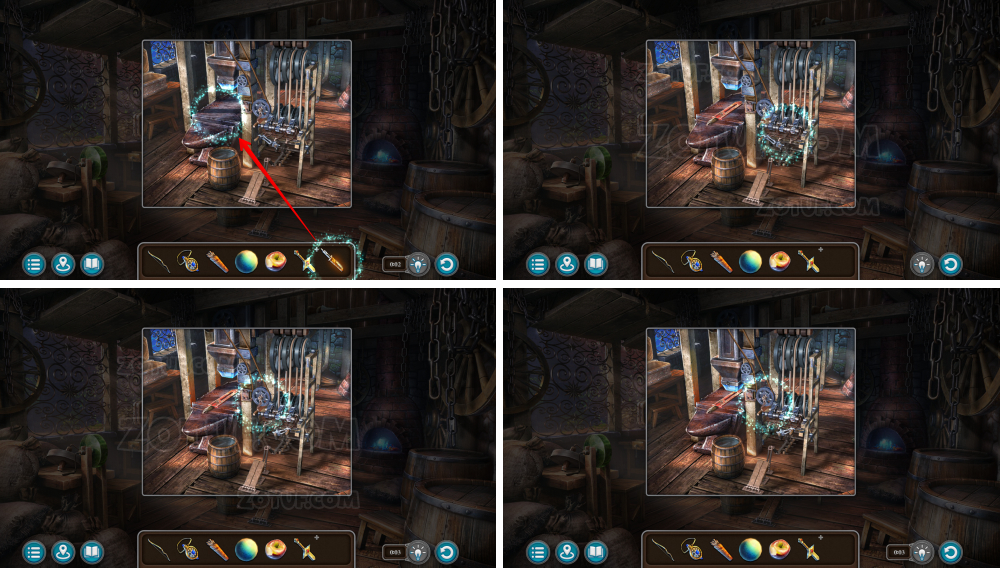
- Take the mask.
- Take the cloth with the blueprint.
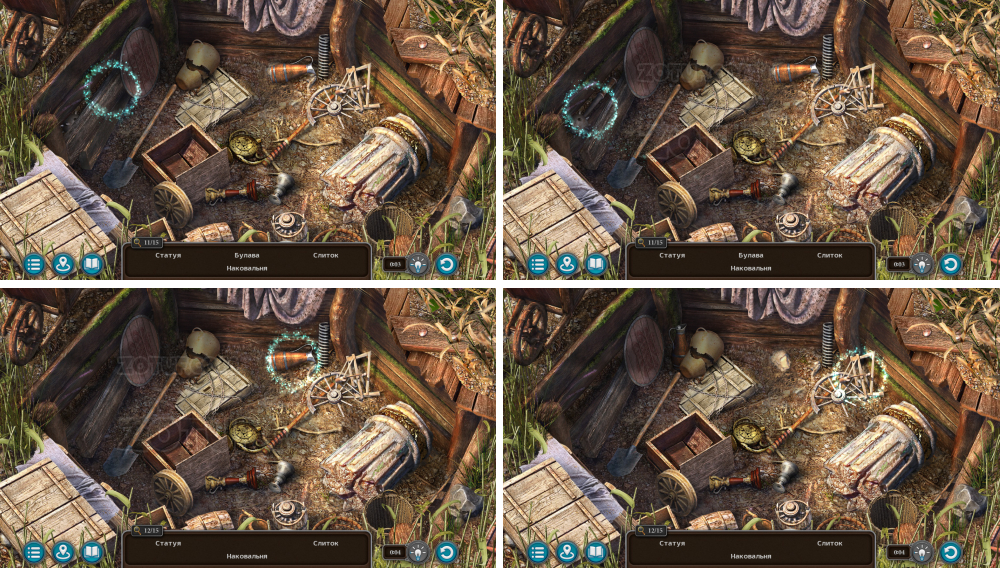
- Use two masks.
- Use the mask.
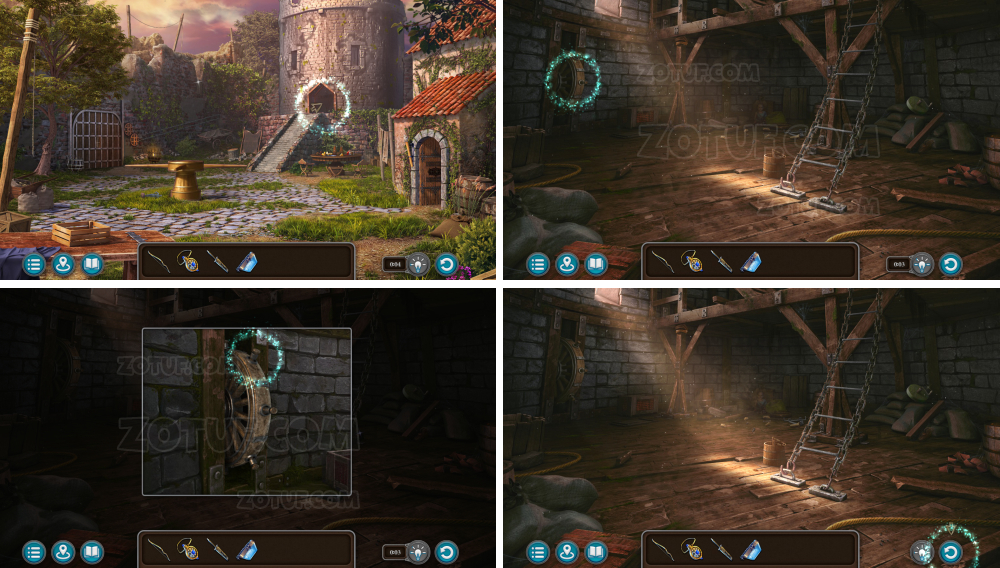
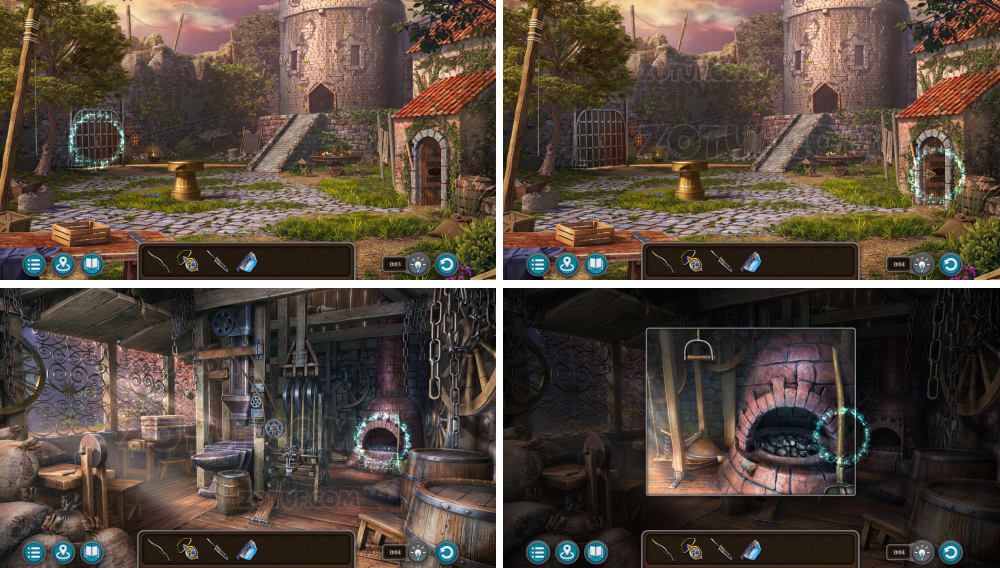
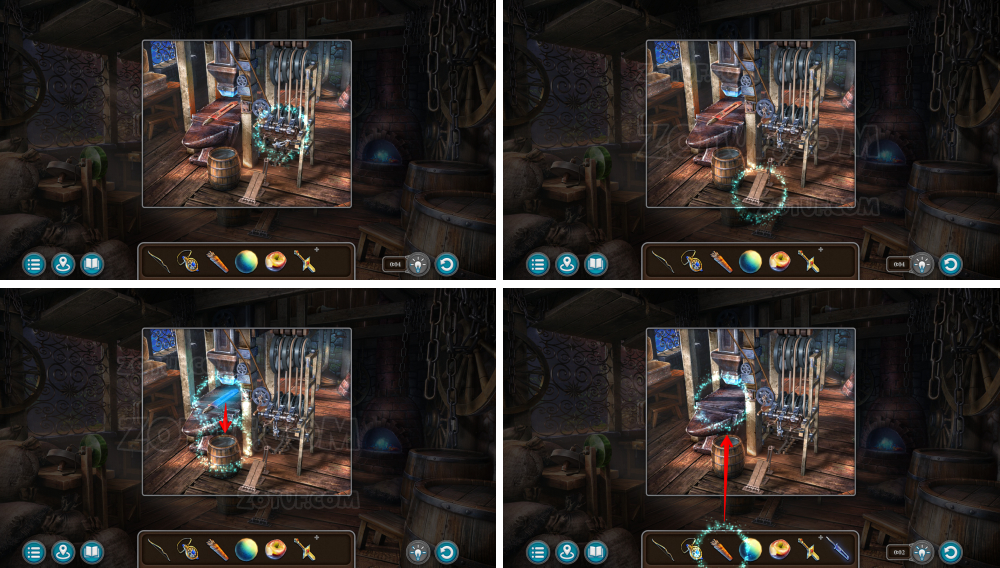
- Use the workshop key.
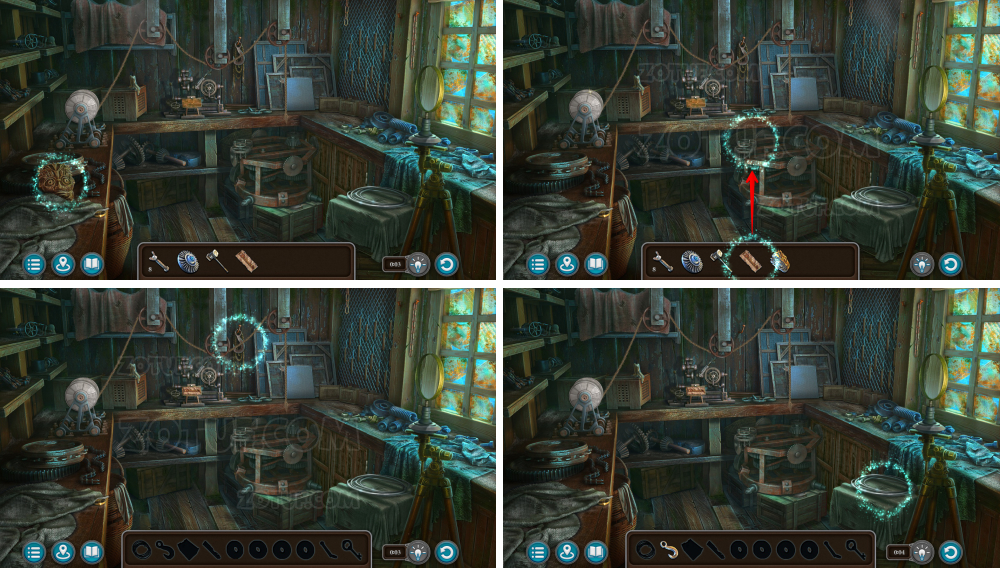
- Take the mask.
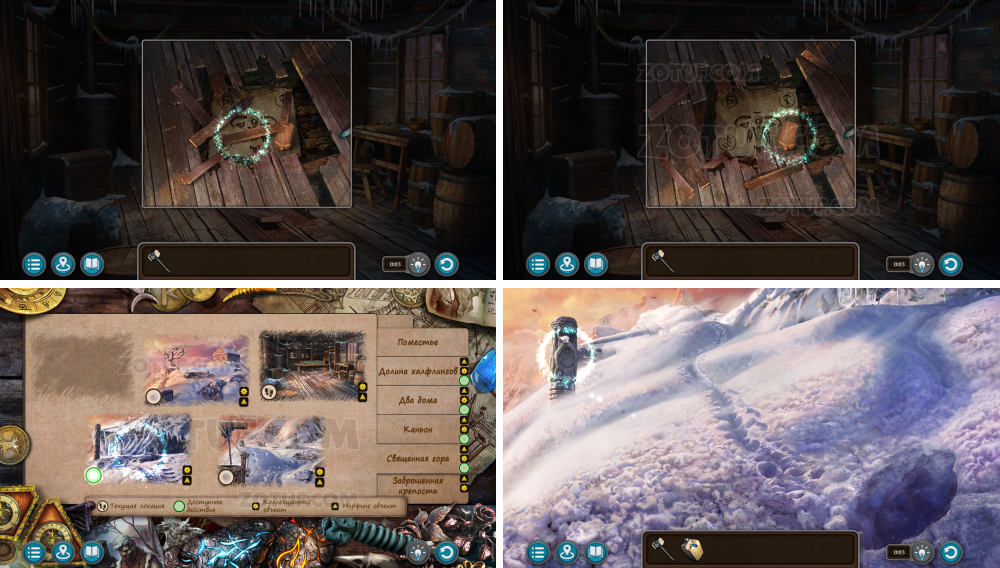
- Use the cloth with the blueprint.
- Craft the key.
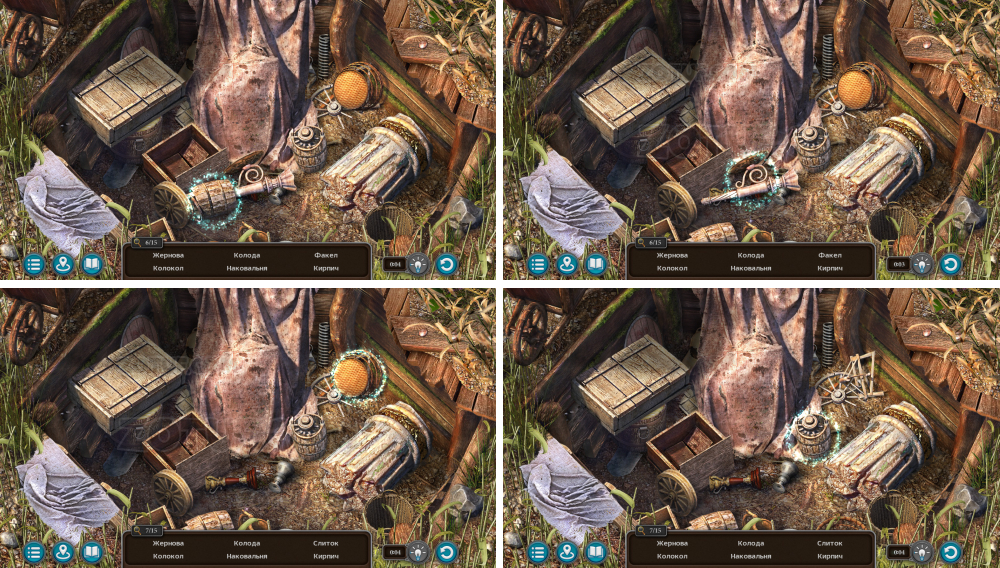
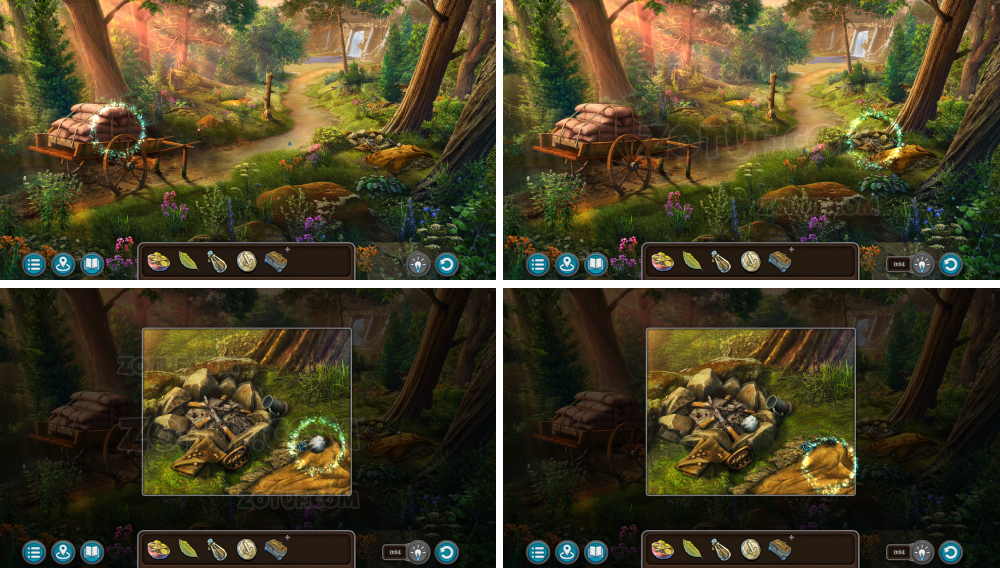
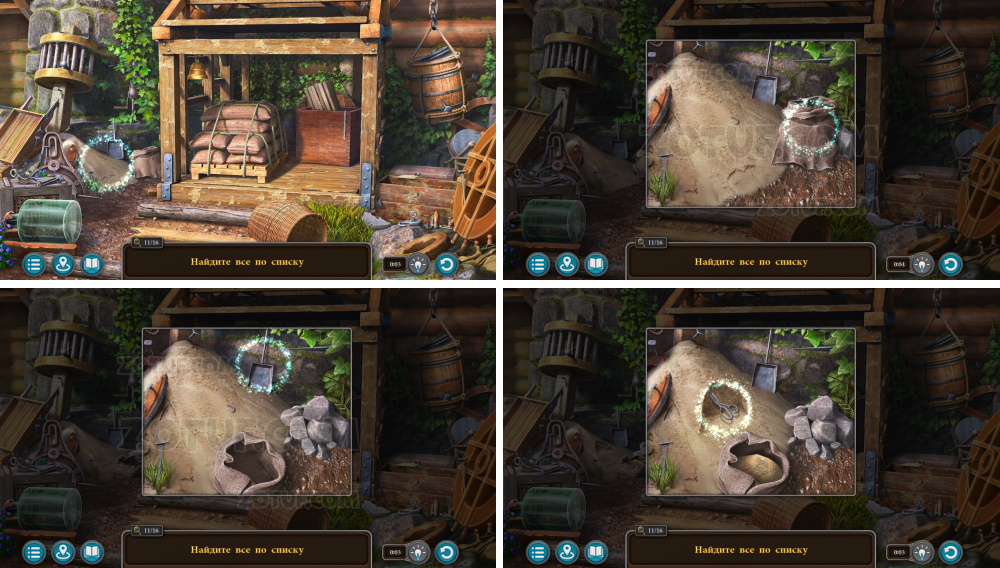
- Take the hook and wire.
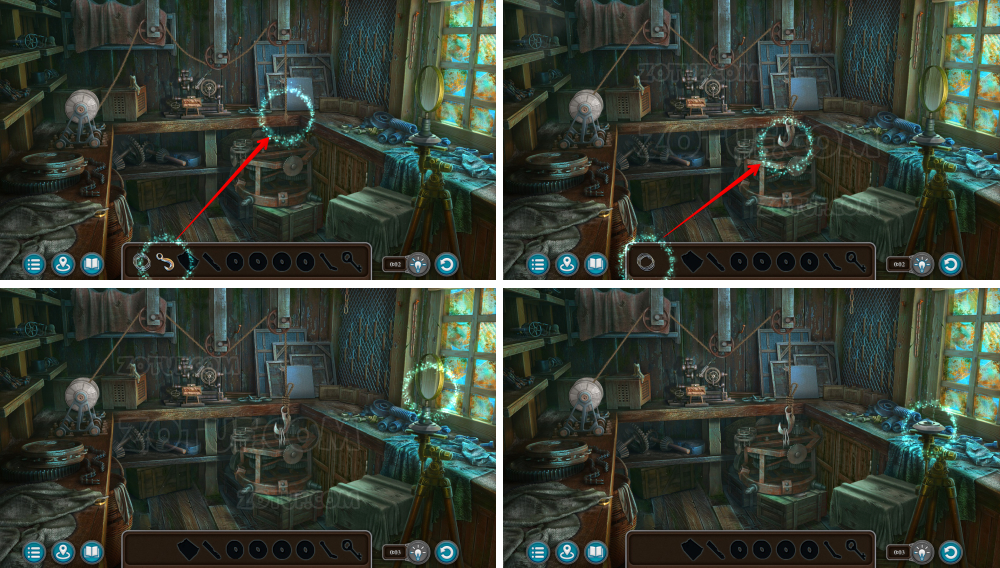
- Use the hook and wire.
- Take the part.
- Take the part and the key.
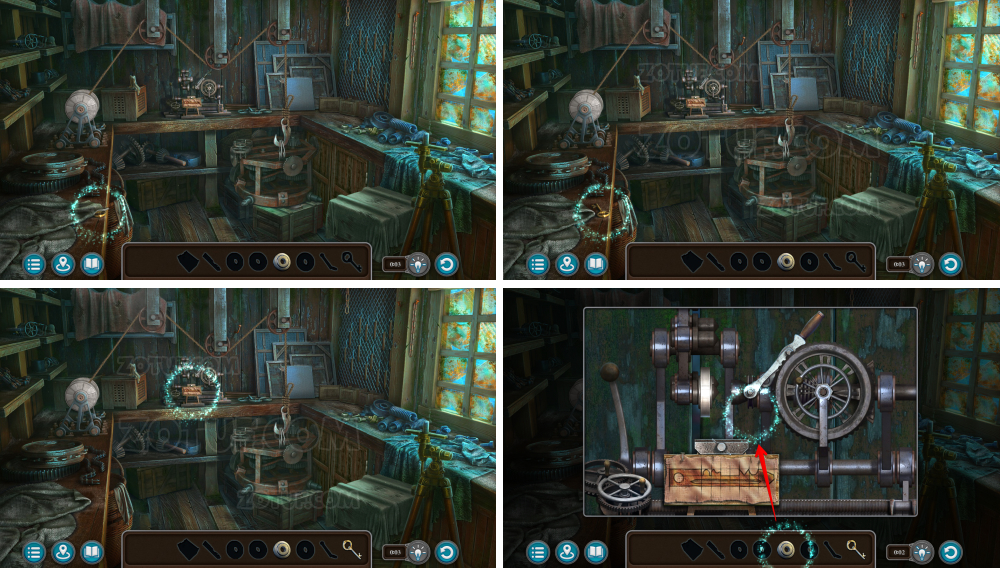
- Use the part.
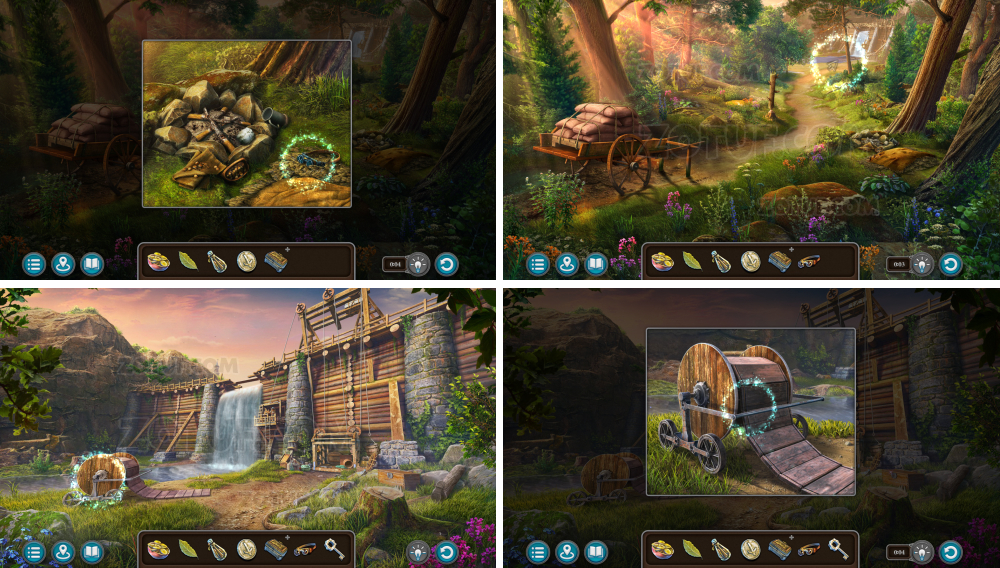
- Take the template set.
- Use the template set.
- Use the key.
- Take the handle and part.
- Use the handle.
- Press the handle.
- Take the part.
- Take the part.
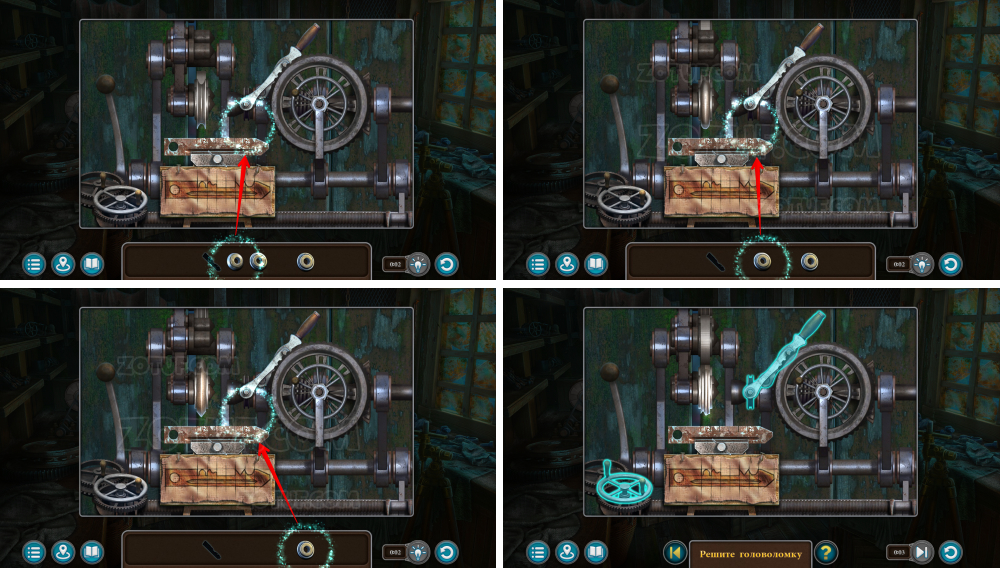
- Use the parts.
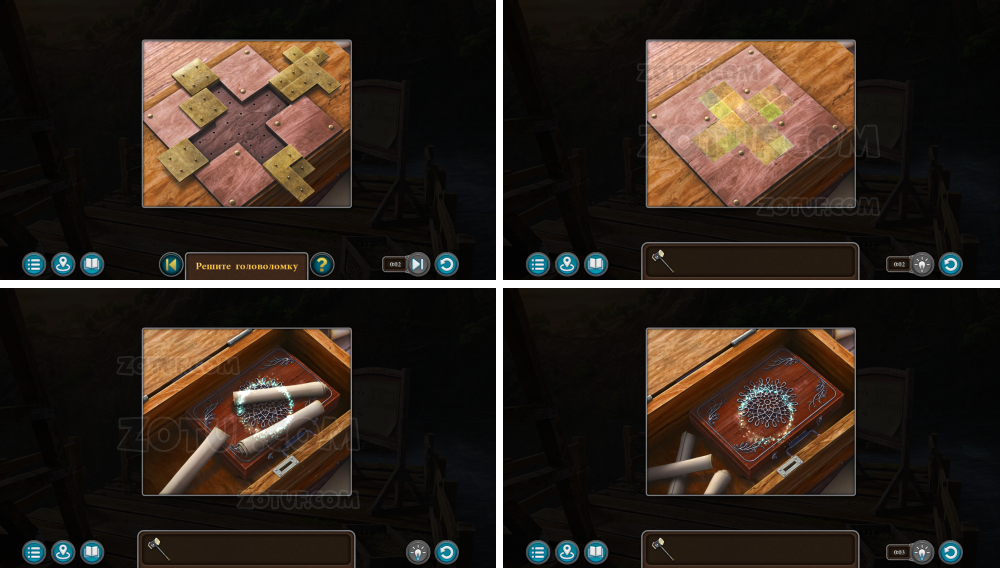
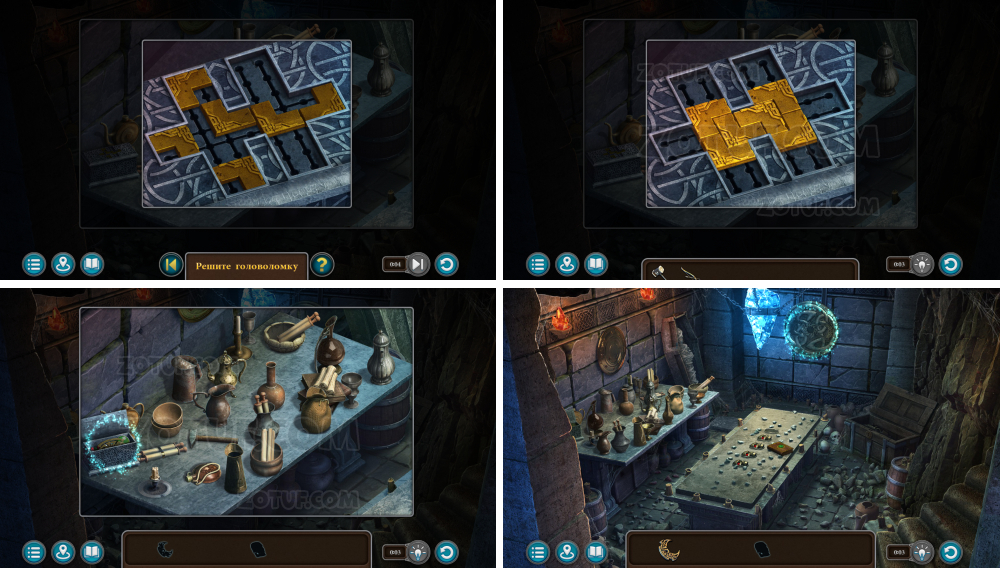
- Solve the puzzle: Craft the key using the blueprint and machine parts.
- Obtain the future key rod.
- Use the future key rod.
- Attach the key handle to get the crypt key.

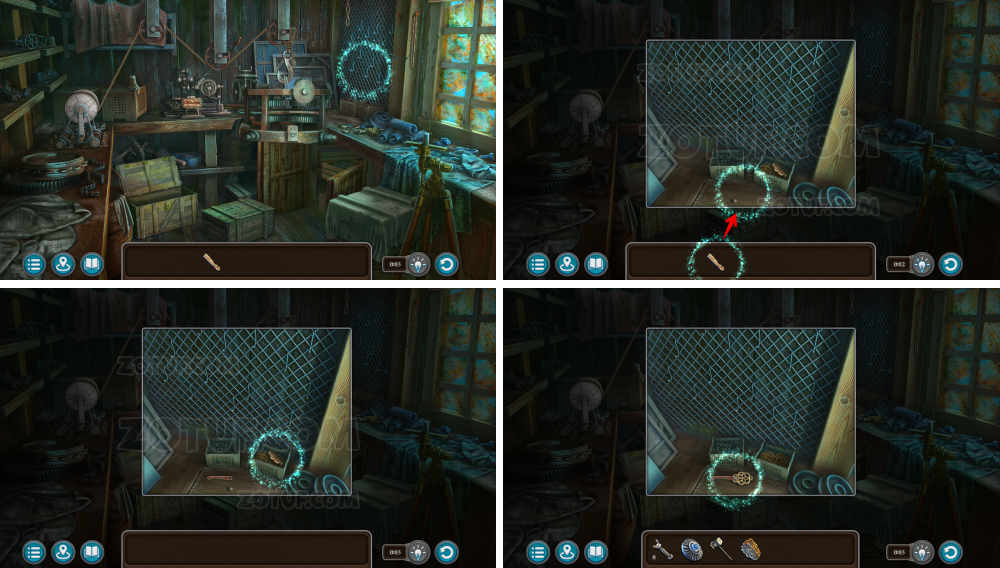
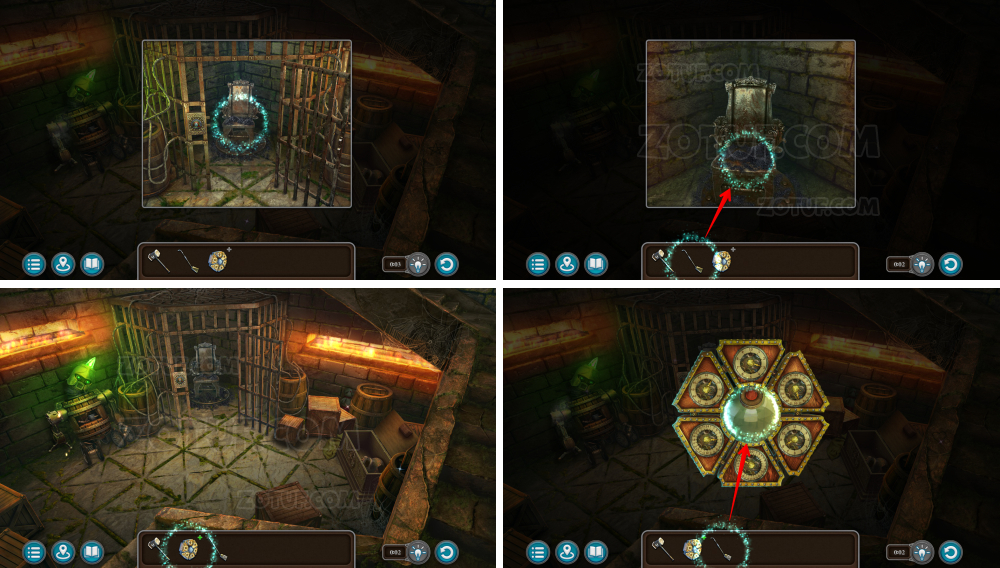
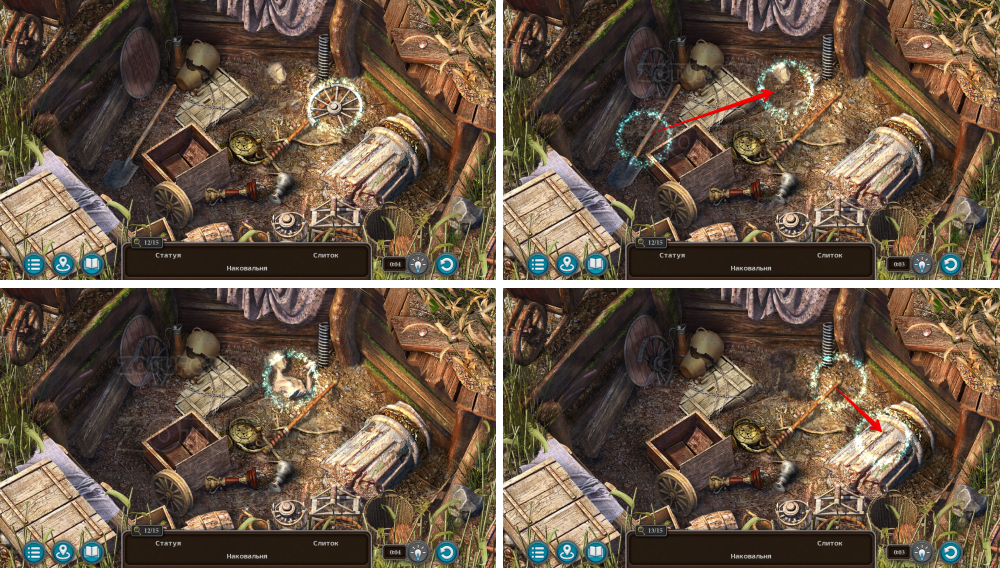
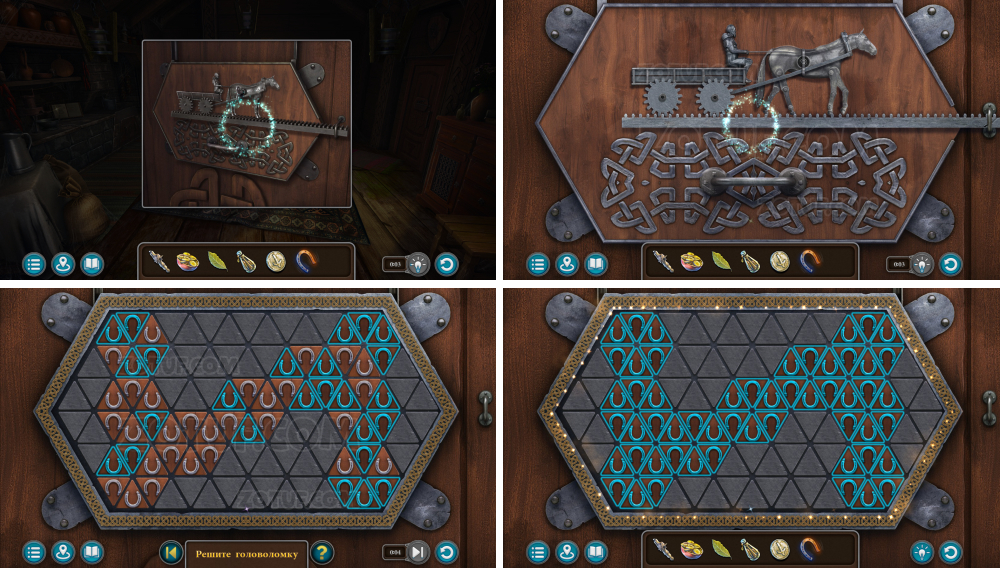
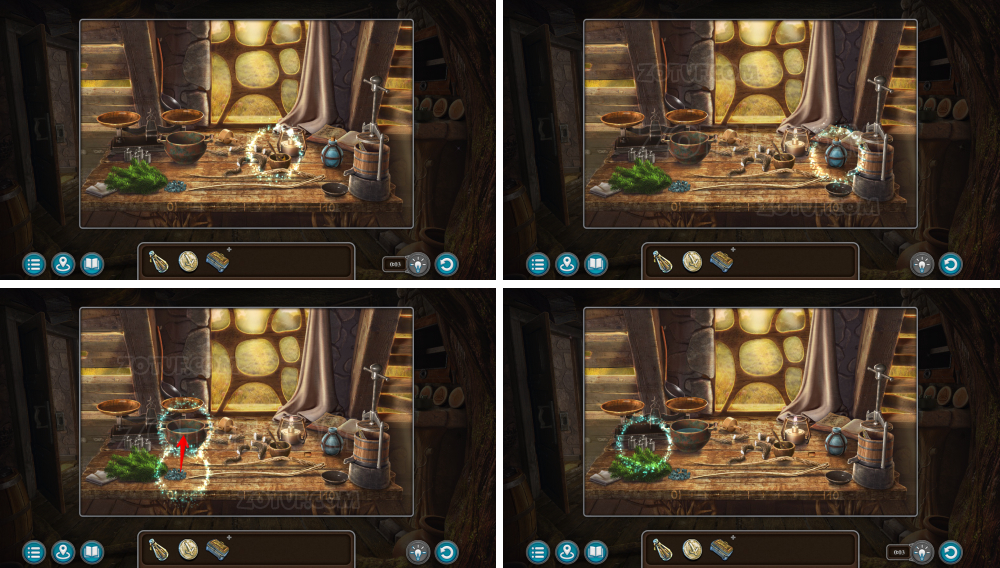
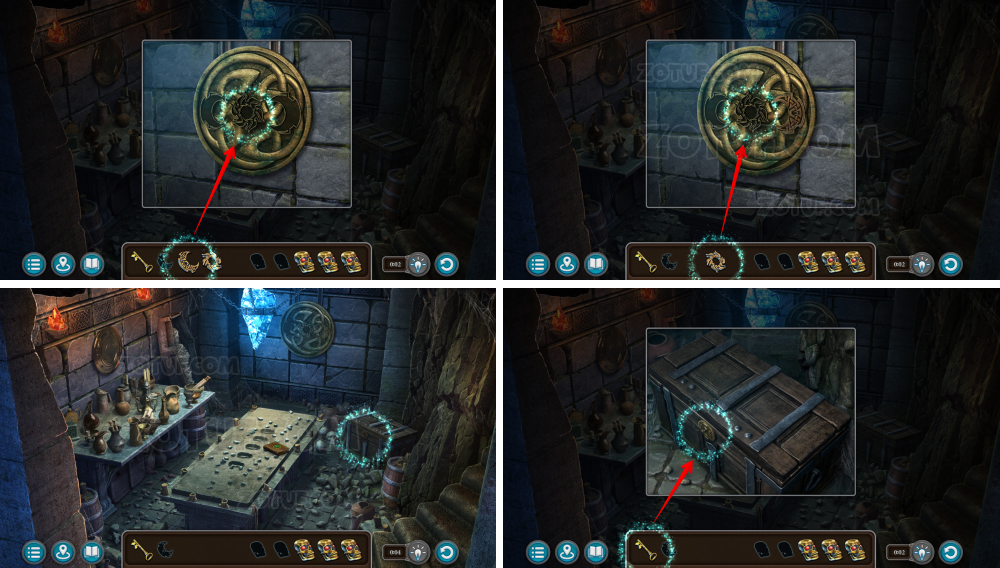
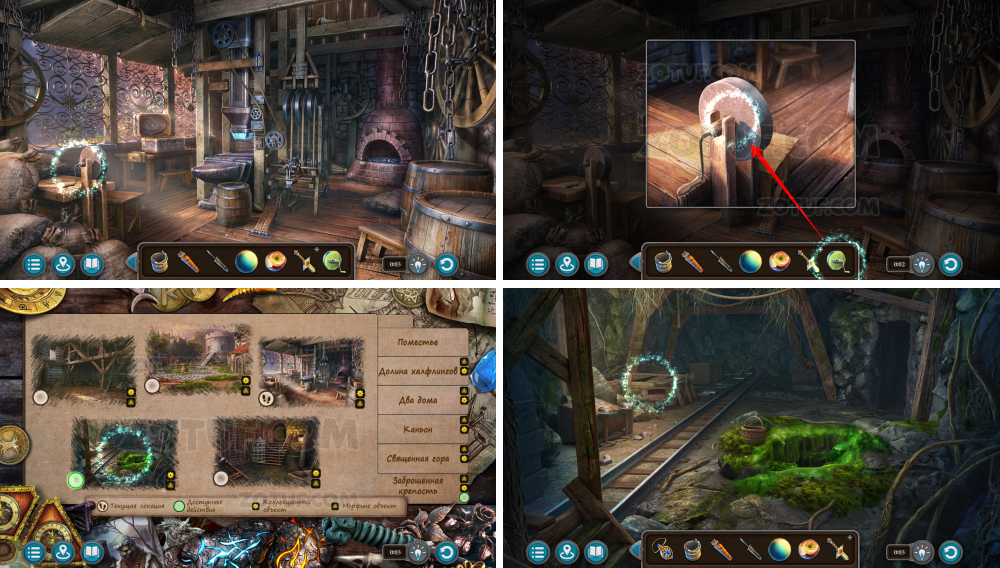
- Use the mask.
- Use the crypt key.
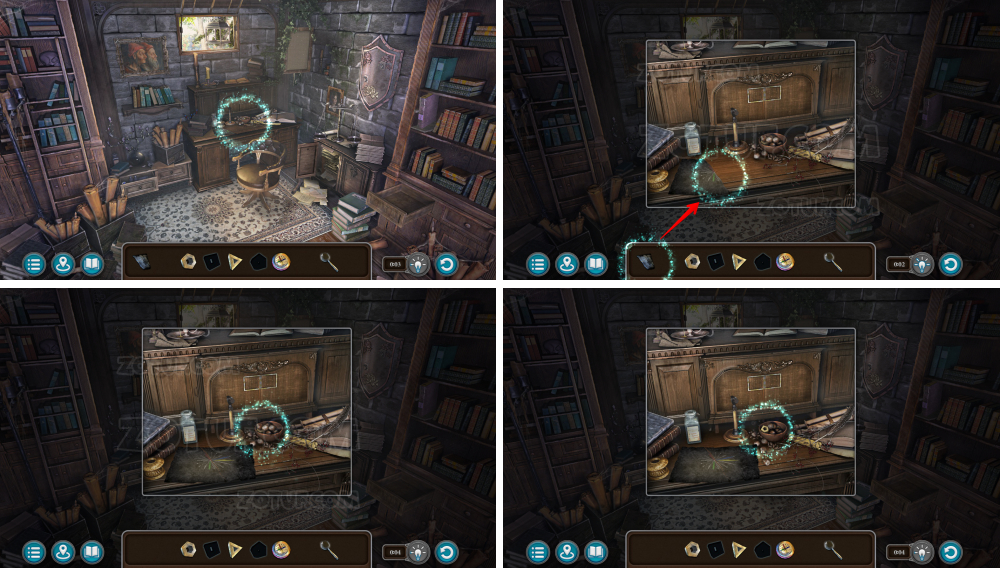
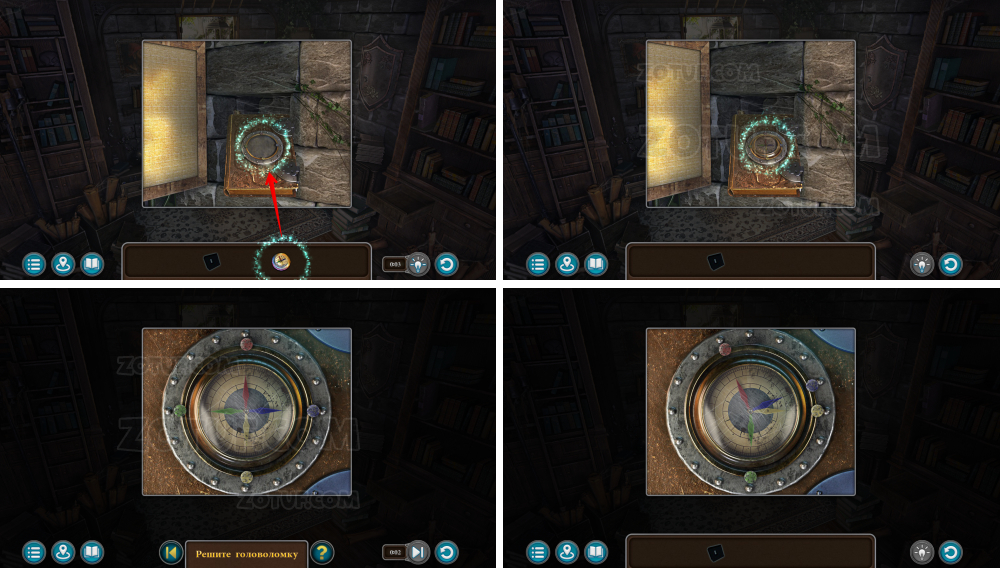
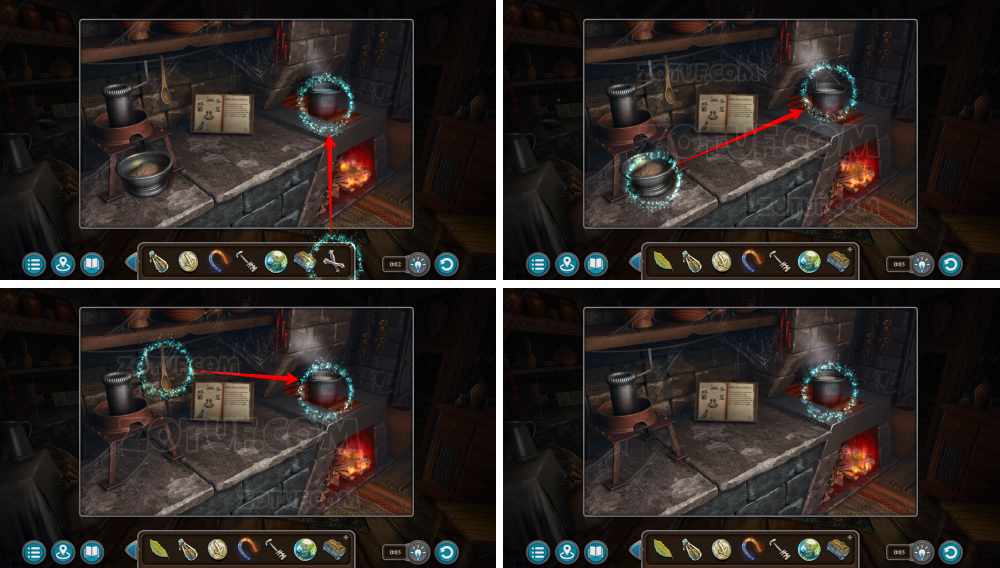
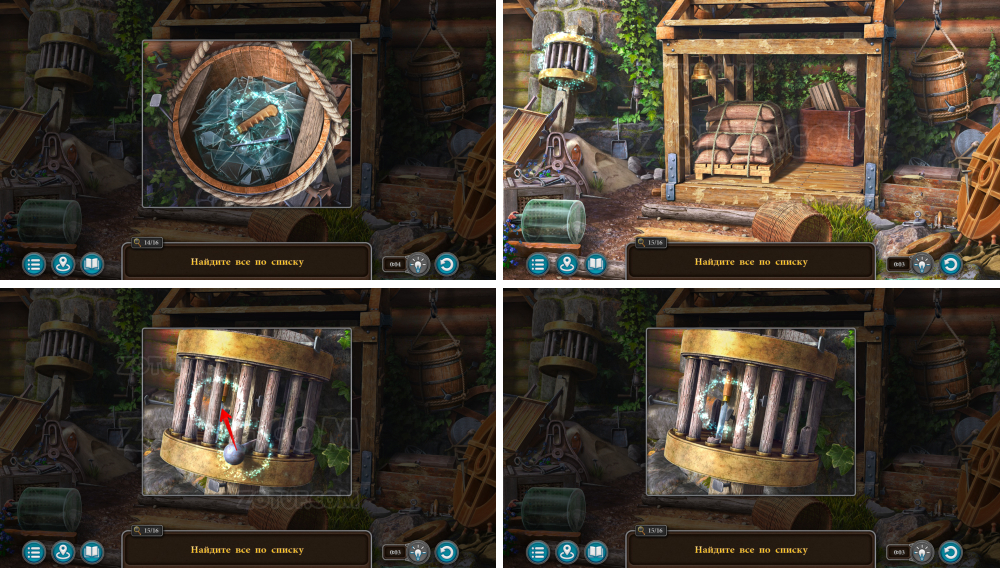
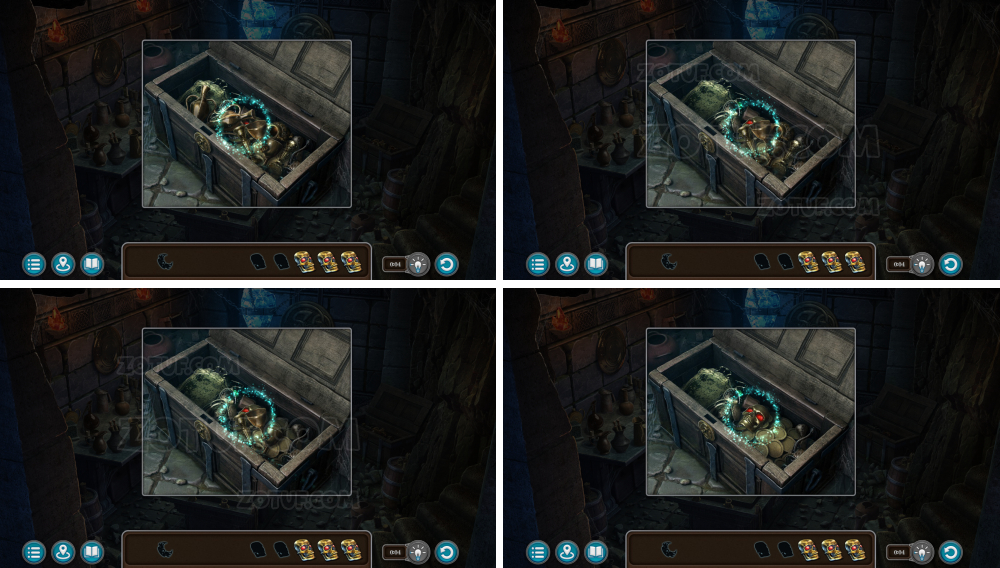
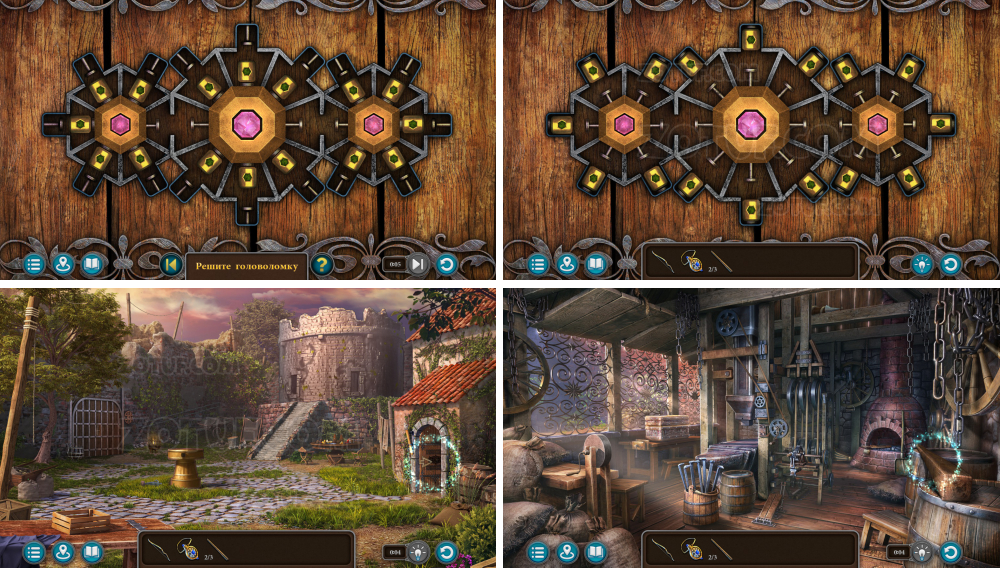
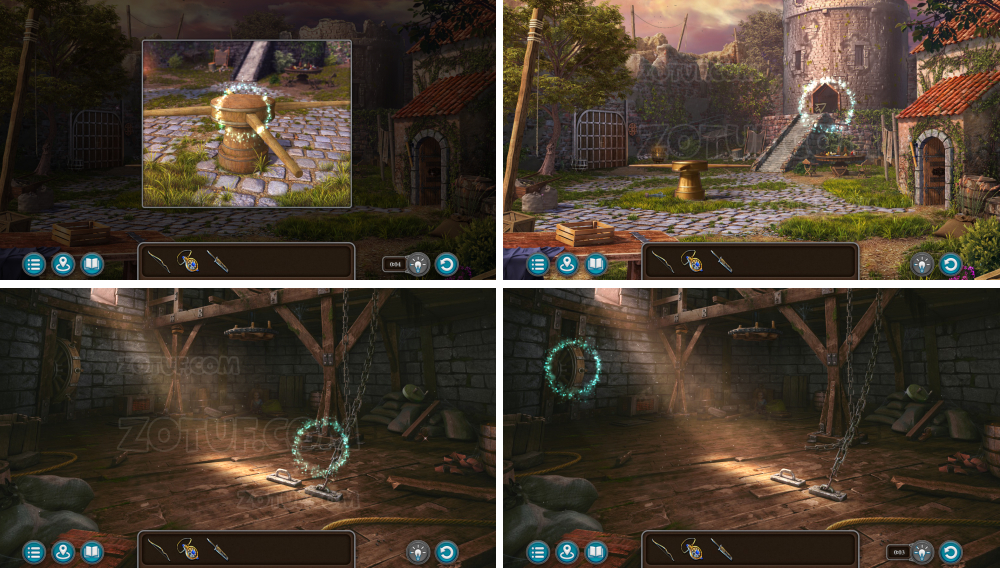
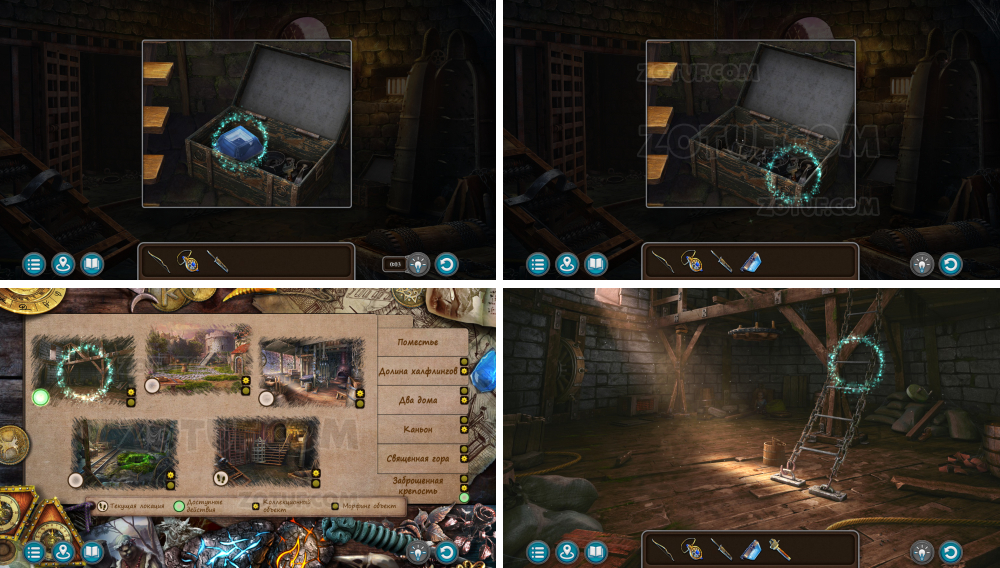
- Take the valve and the fuel tank.
- Use the valve.

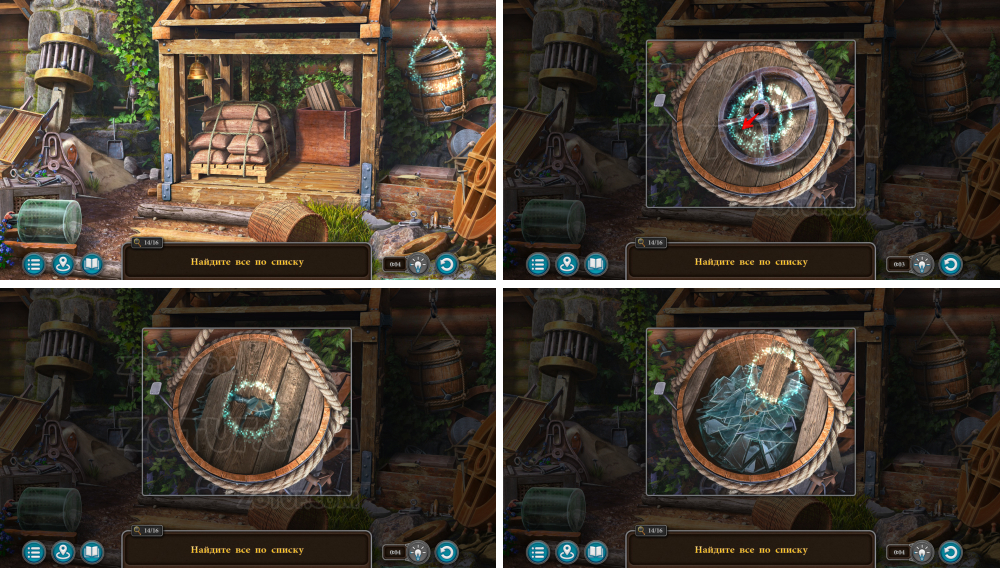
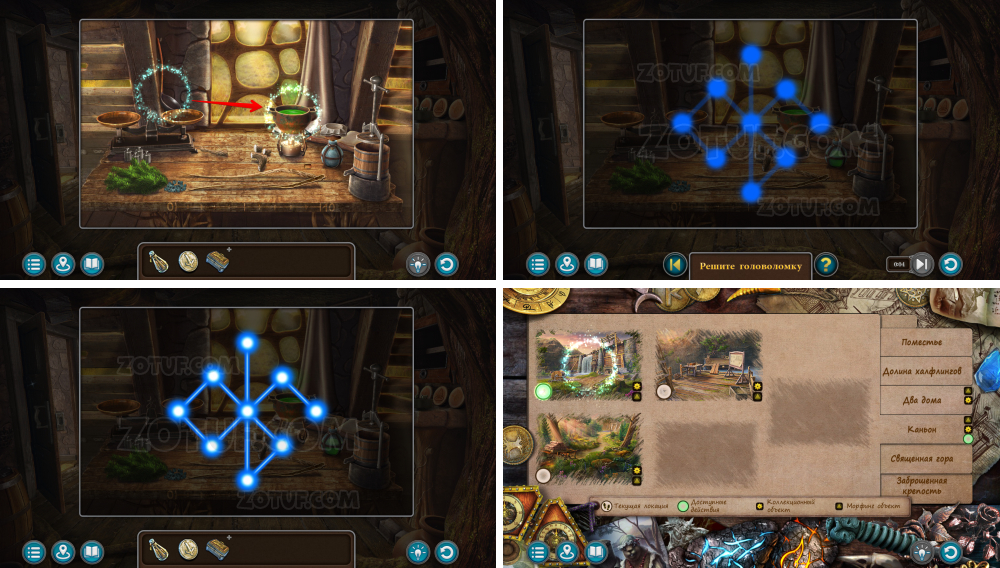
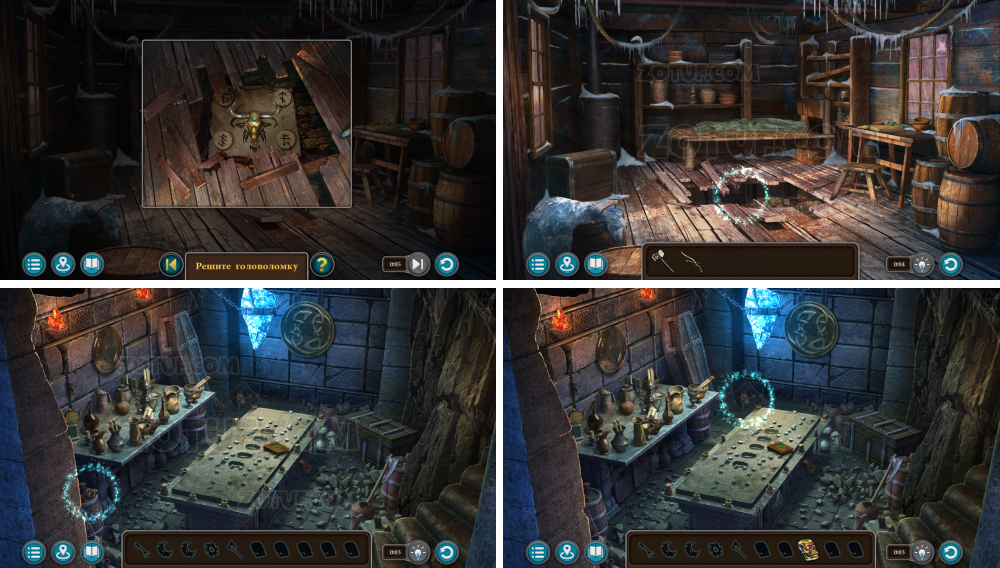
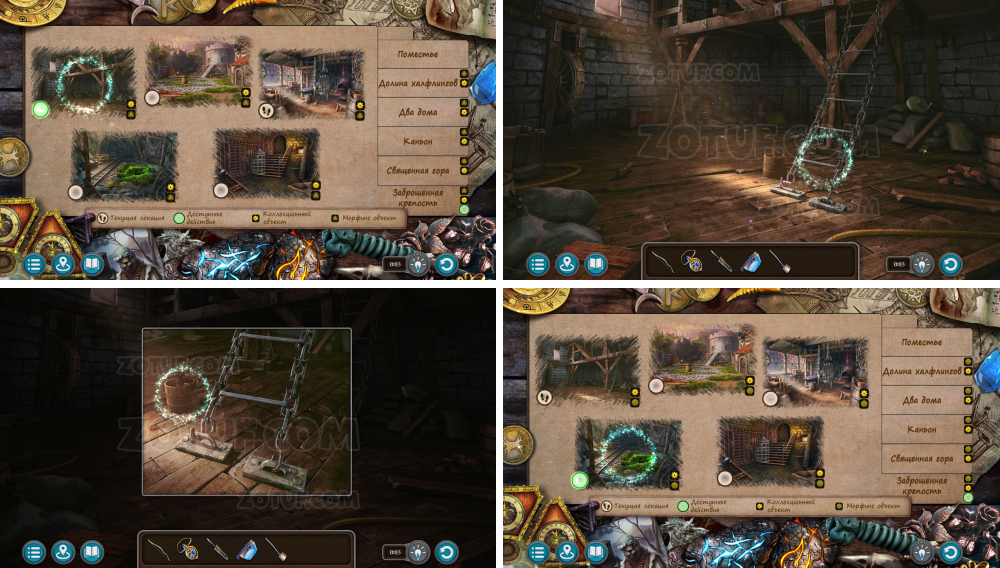
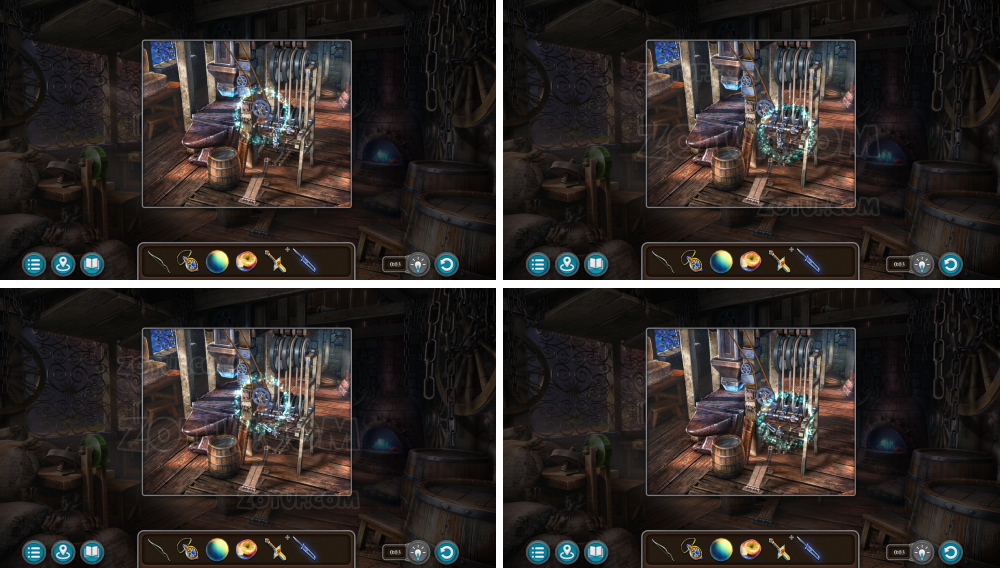
- Use the eight fasteners to get the ladder.

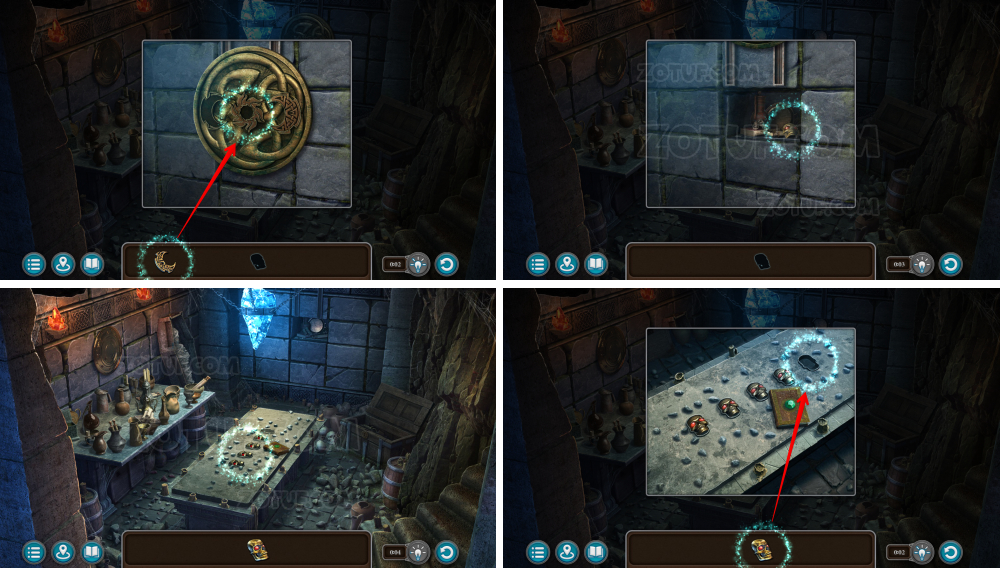
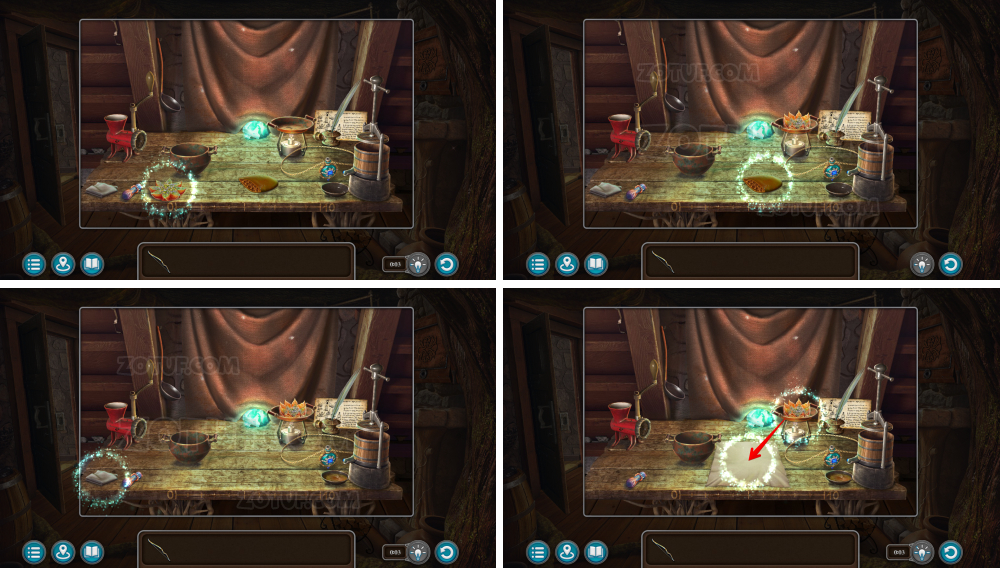
- Solve the puzzle: Select the correct symbols you’ve encountered earlier in the game.
- Solution in the picture.
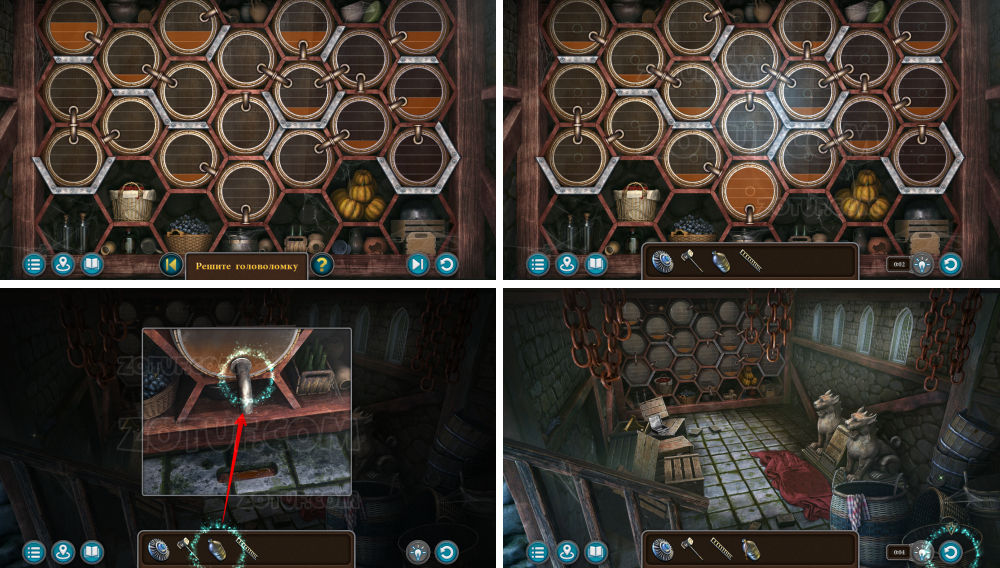
- Solve the puzzle: Fill the bottom barrel to the brim by rotating and pouring contents downward through the chain.
- Solution in the picture.
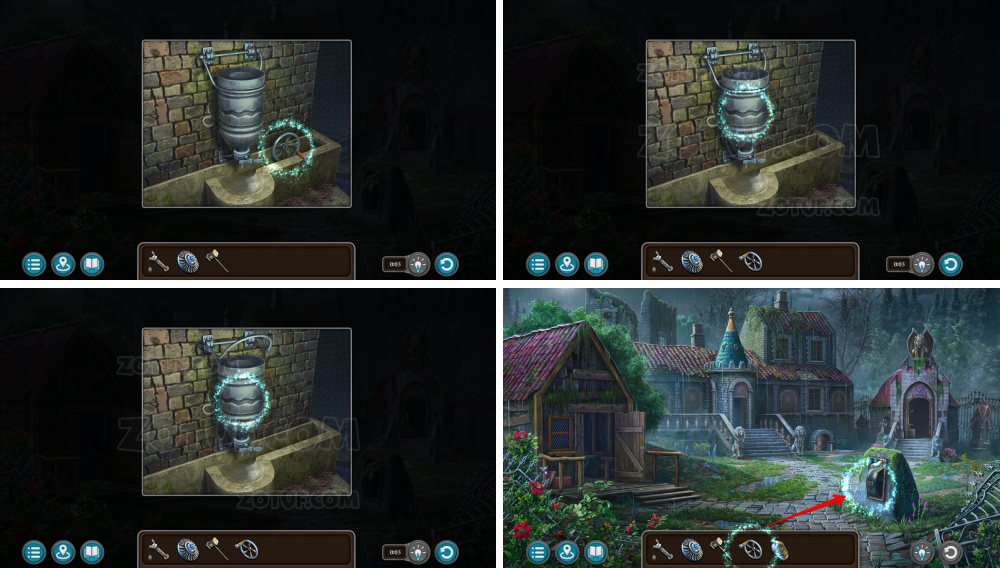
- Use the fuel tank to get the fuel liquid.
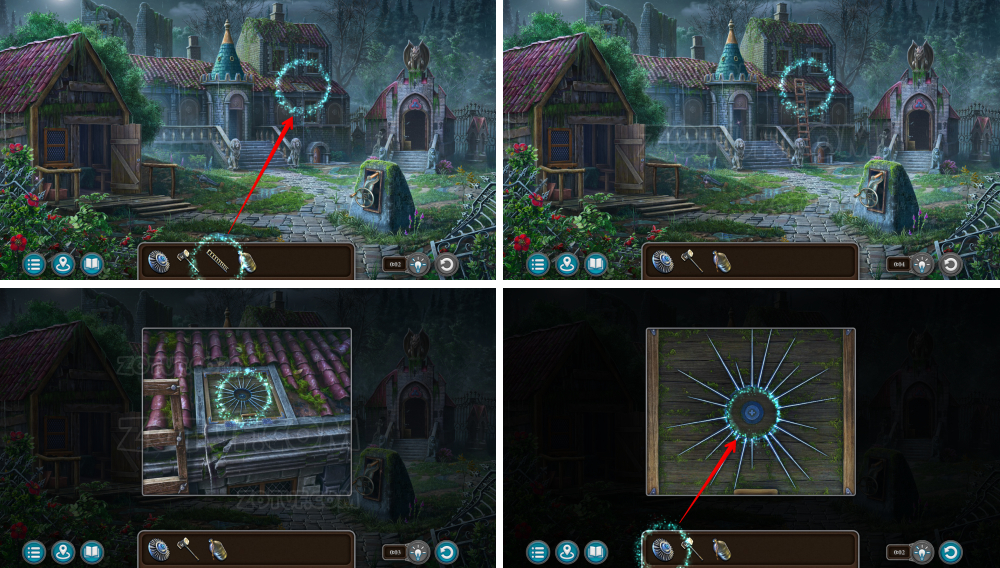
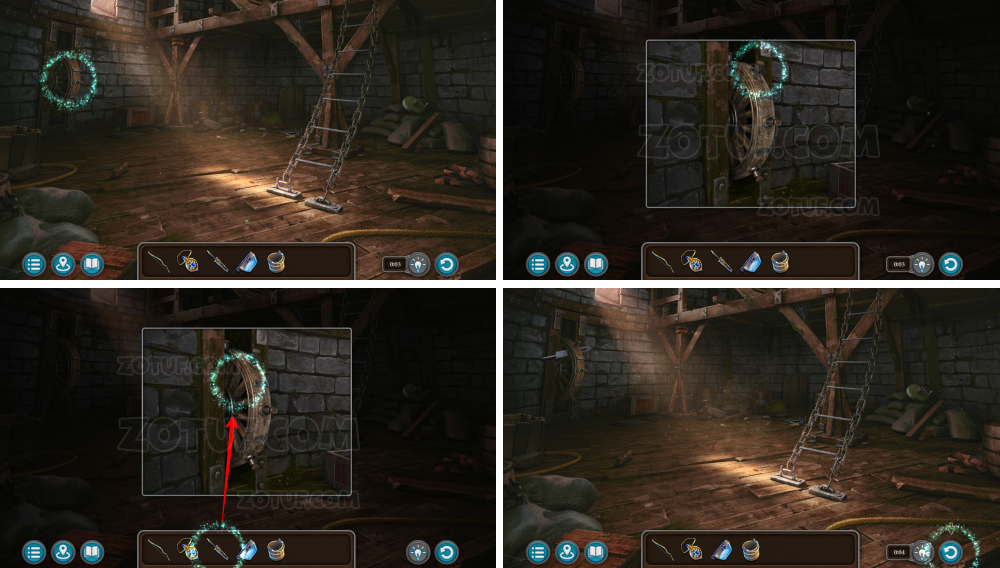
- Use the ladder.
- Use the patterned washer.

- Solve the puzzle: Rotate the medallion to align ray parts.
- Extend the antenna using the handle.
- Use the fuel liquid.
- Open the valve.
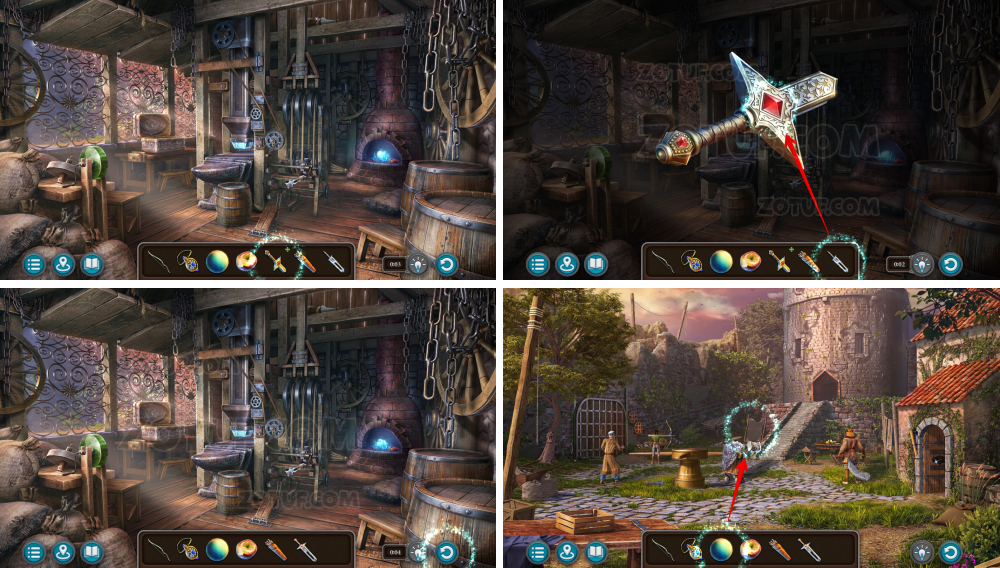
- Use the Follnur’s hammer.
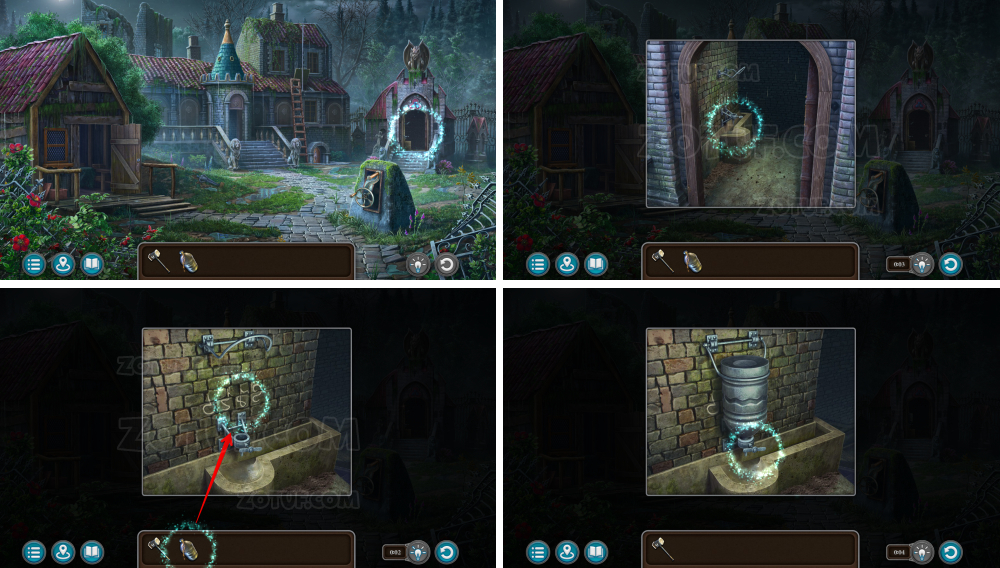
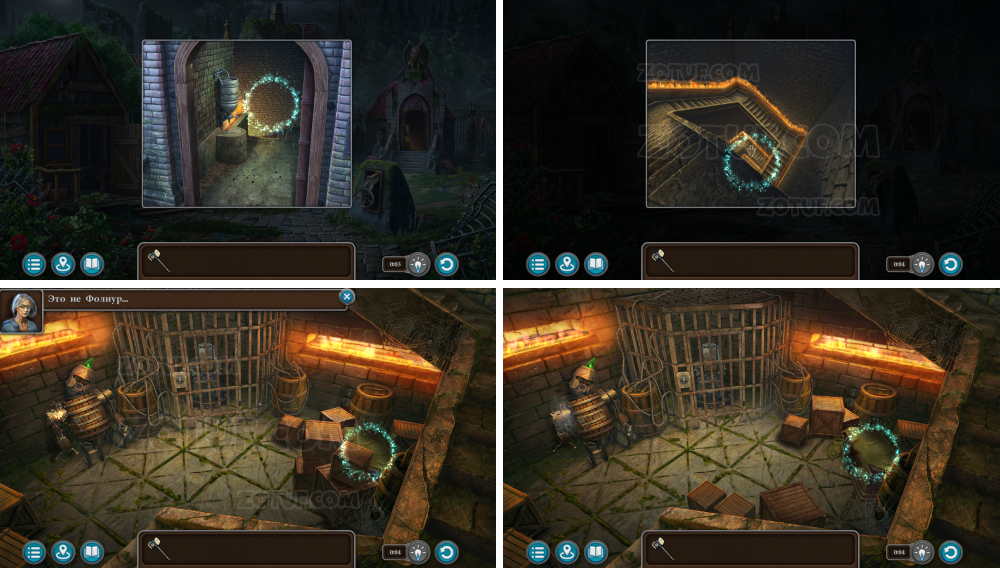
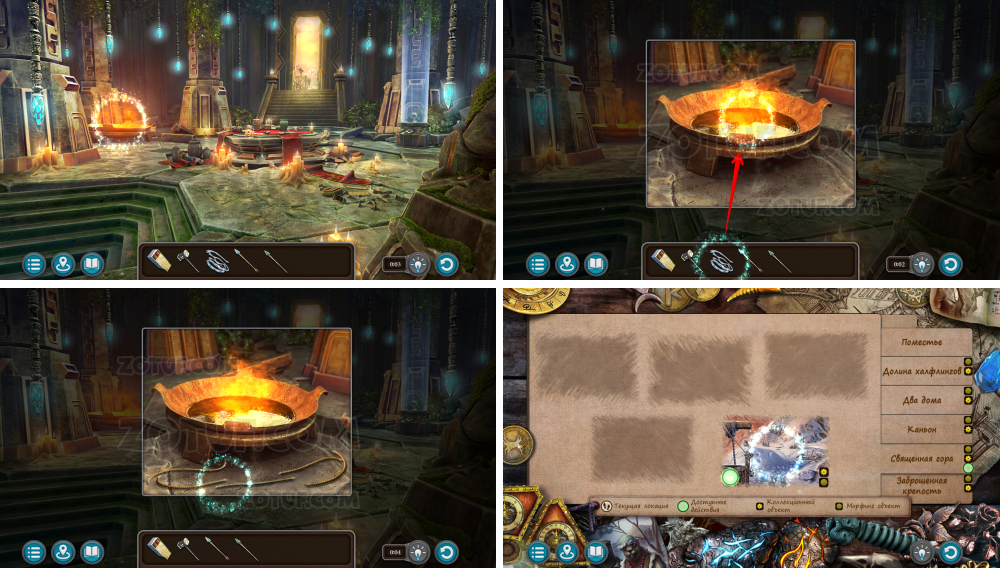
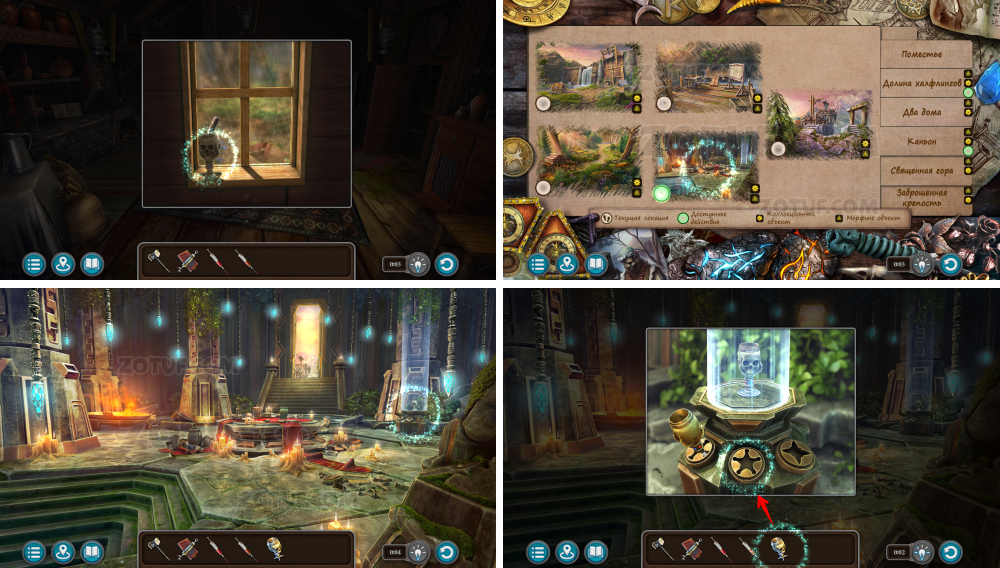
- Take the torch.

- Use the torch to get the soaked torch.
- Use the soaked torch to get the lit torch.
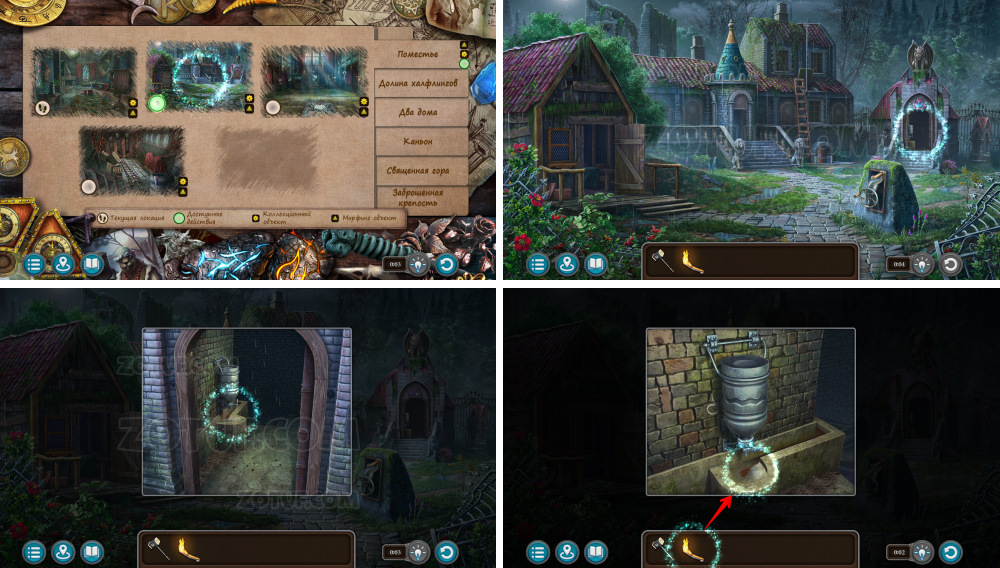
- Use the lit torch.
- Descend downwards.
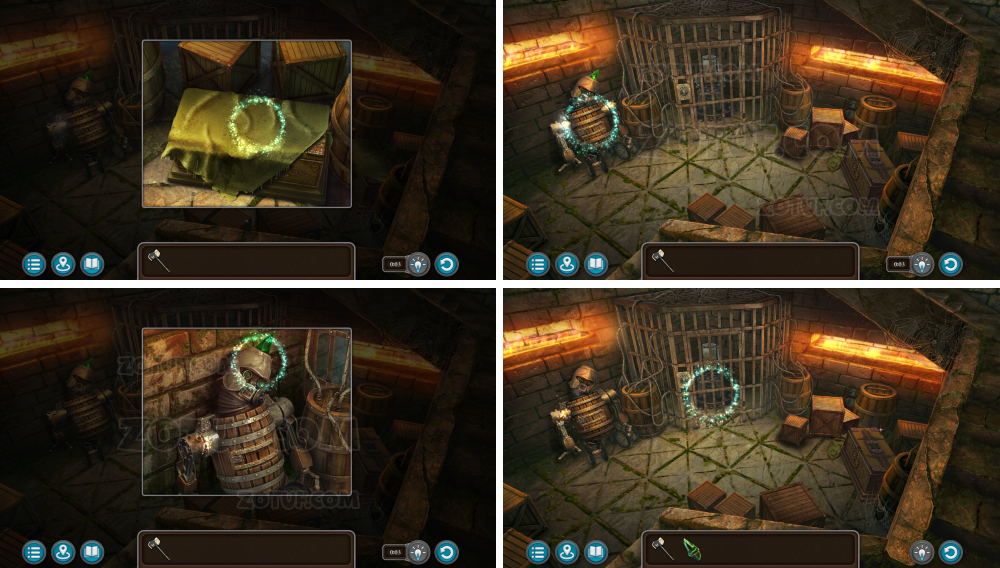
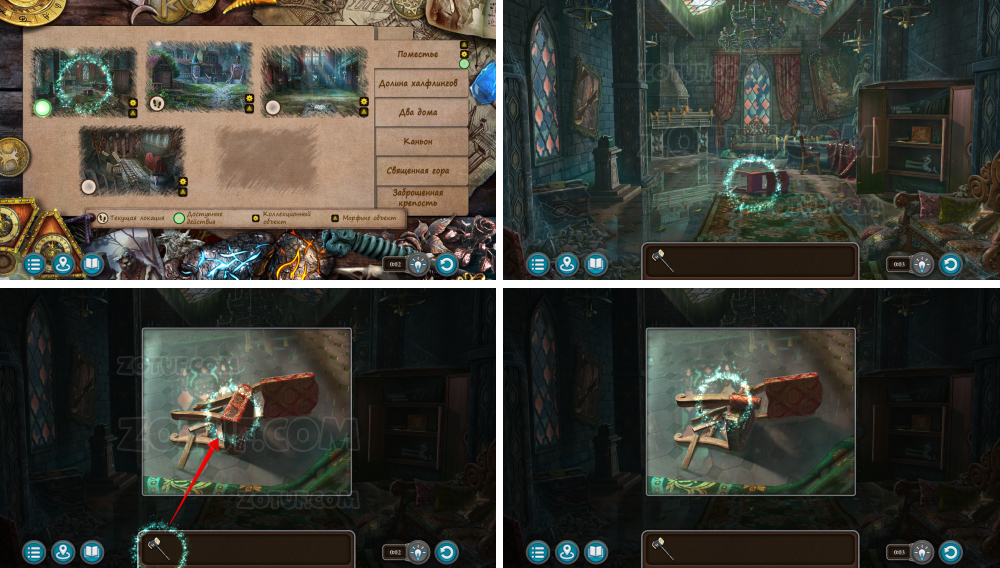
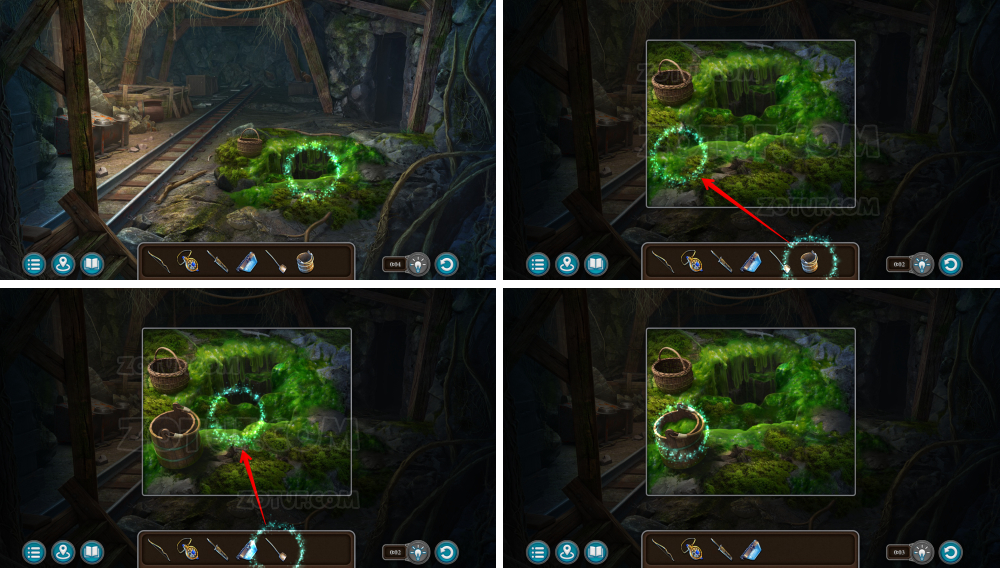
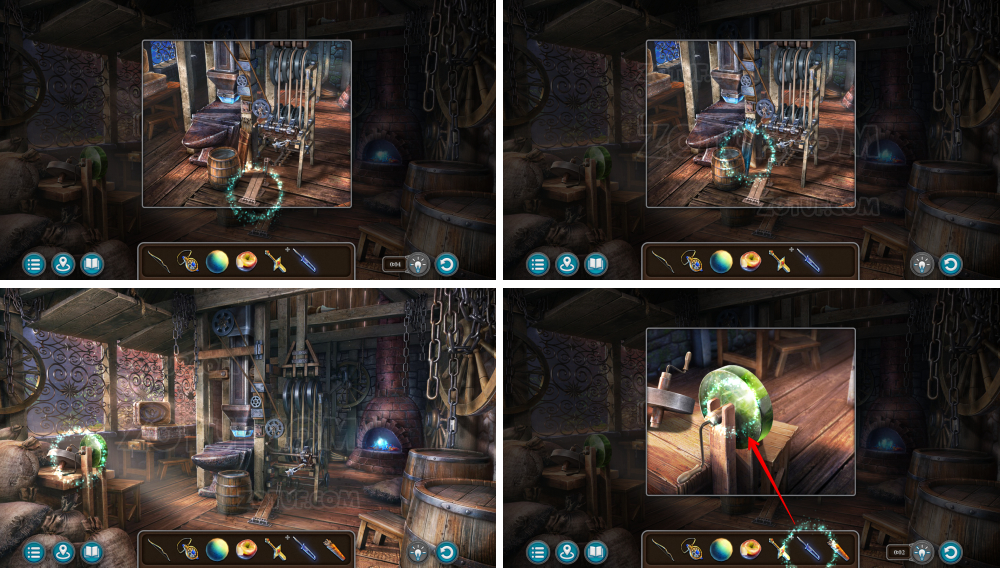
- Take the shimmering crystal.
- Use the shimmering crystal.

- Take the shovel poker.
- Use the shovel poker to get the medallion part.

- Use the medallion part.
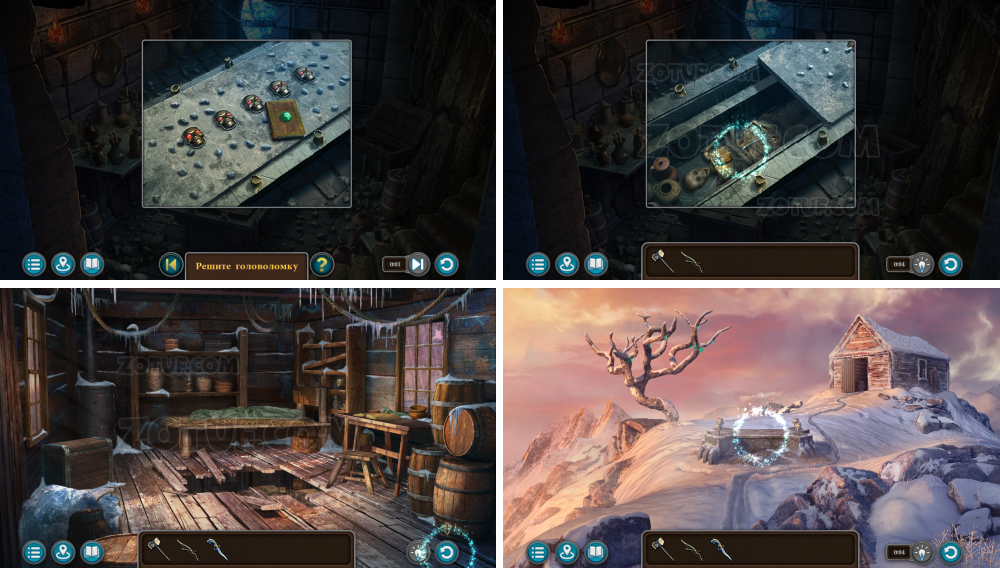
- Solve the puzzle: Rearrange plates to create a path and guide tokens to their places.
- Take manuscript 2/9.
- Take the time hexagon and energy core.
- Use the energy core.

- Take the charged crystal.
- Use the charged crystal.
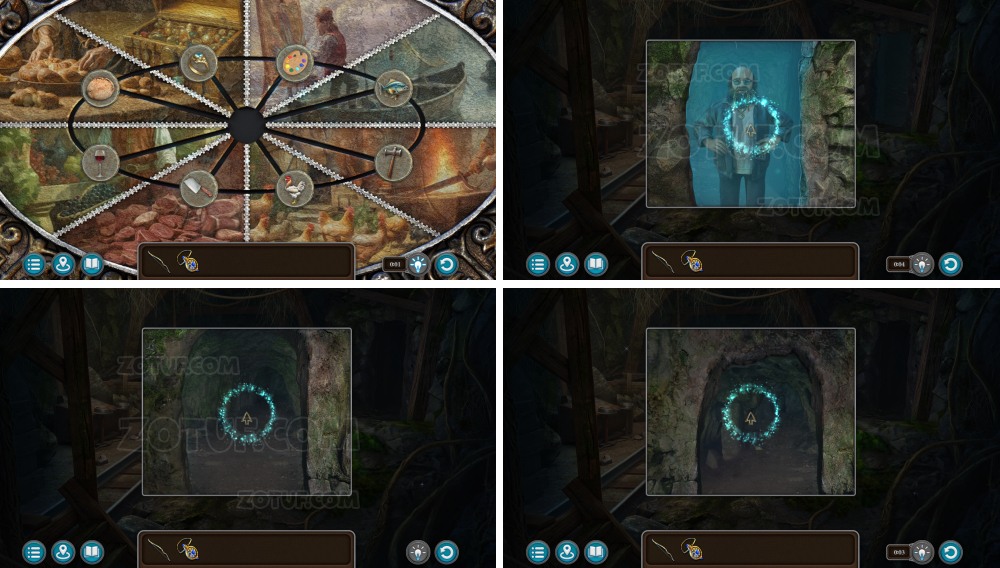
- Open the robot’s abdomen with the key from its mouth, insert the talking device.
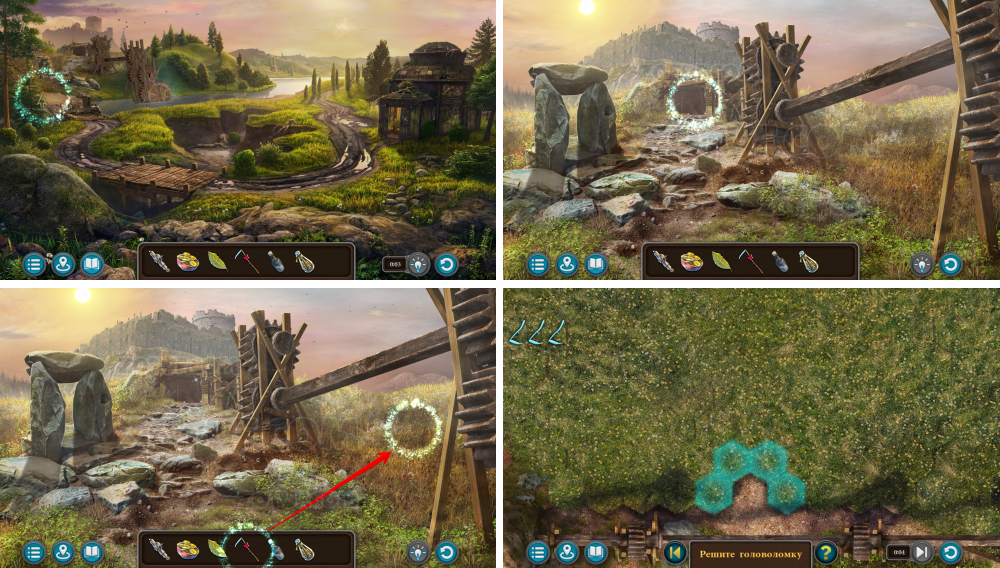
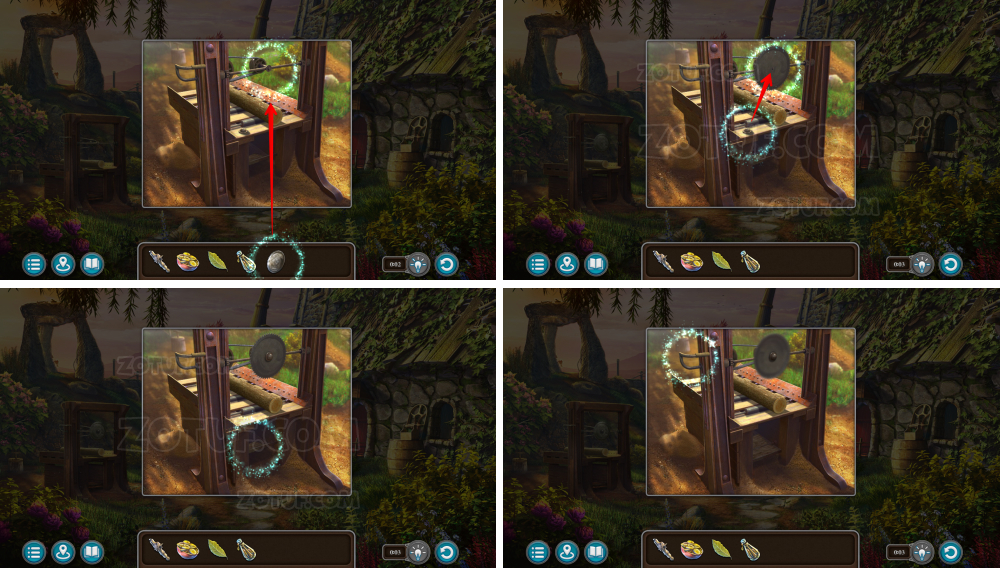
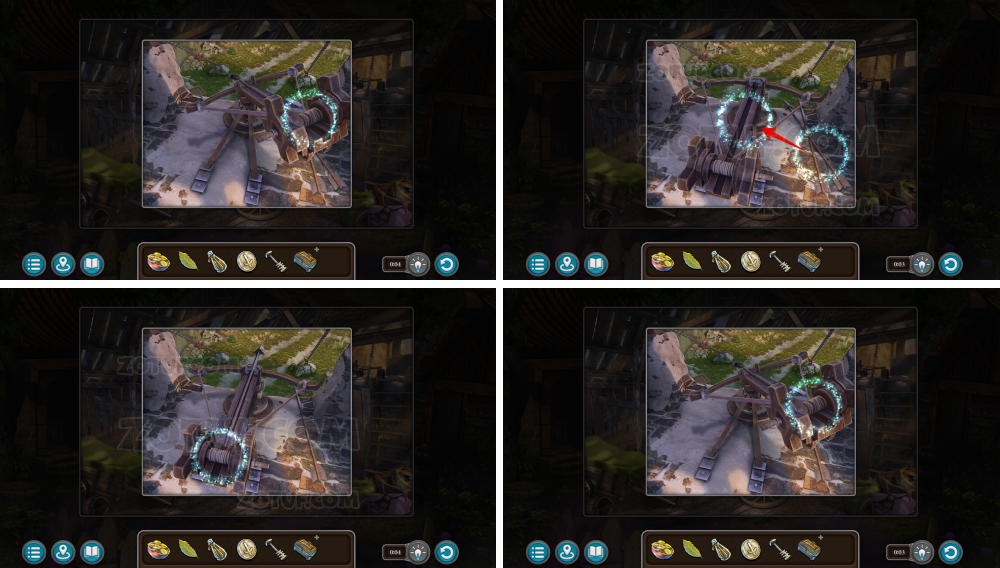
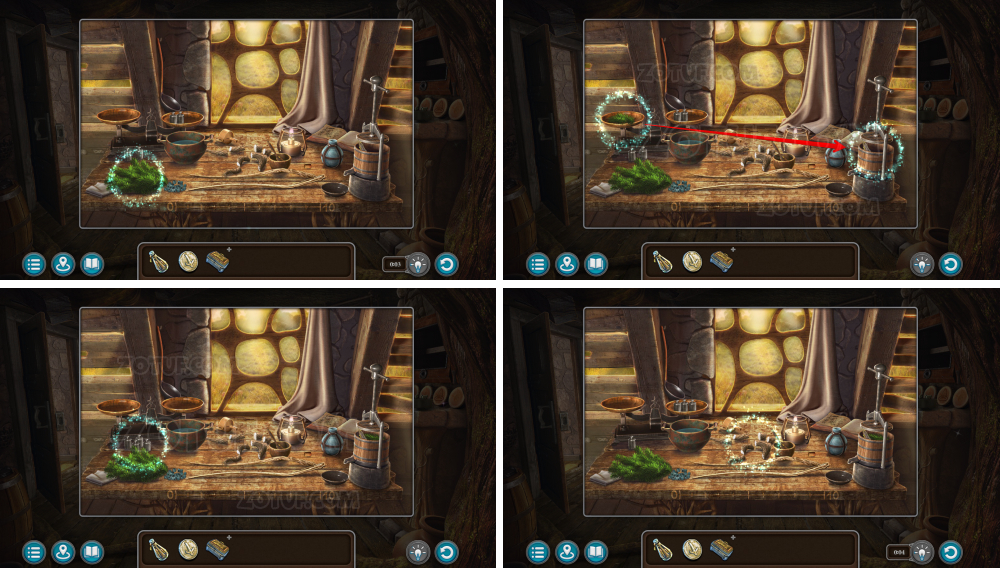
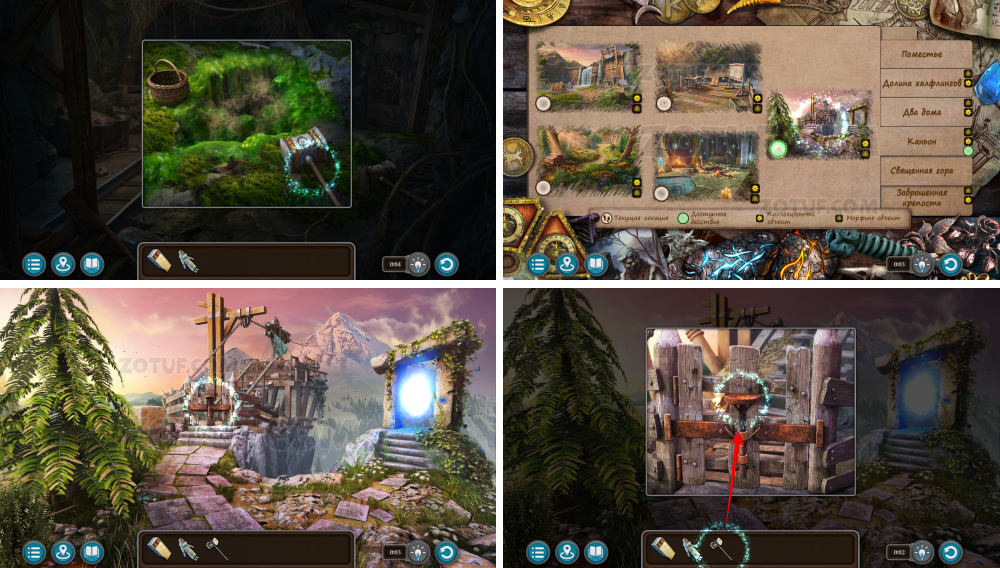
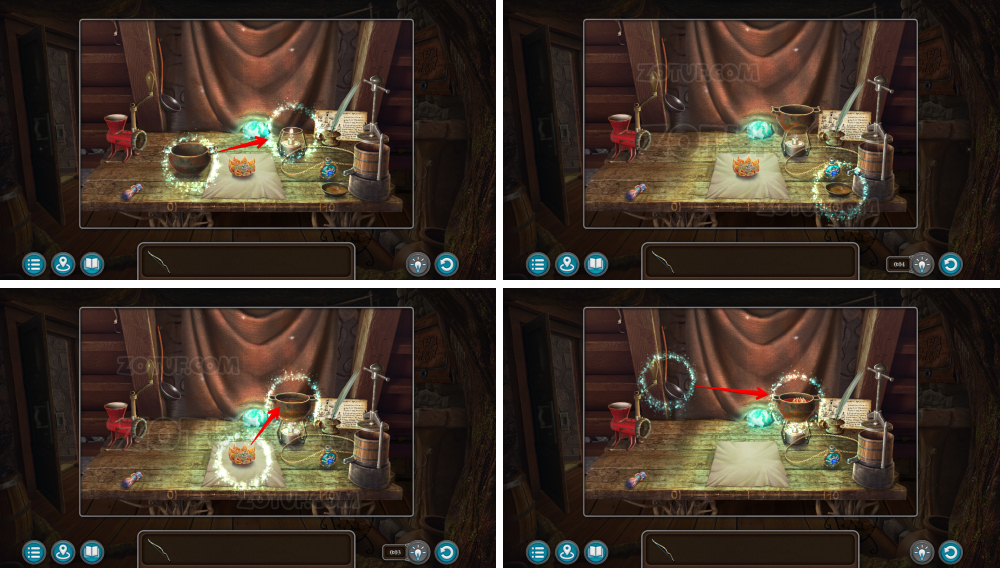
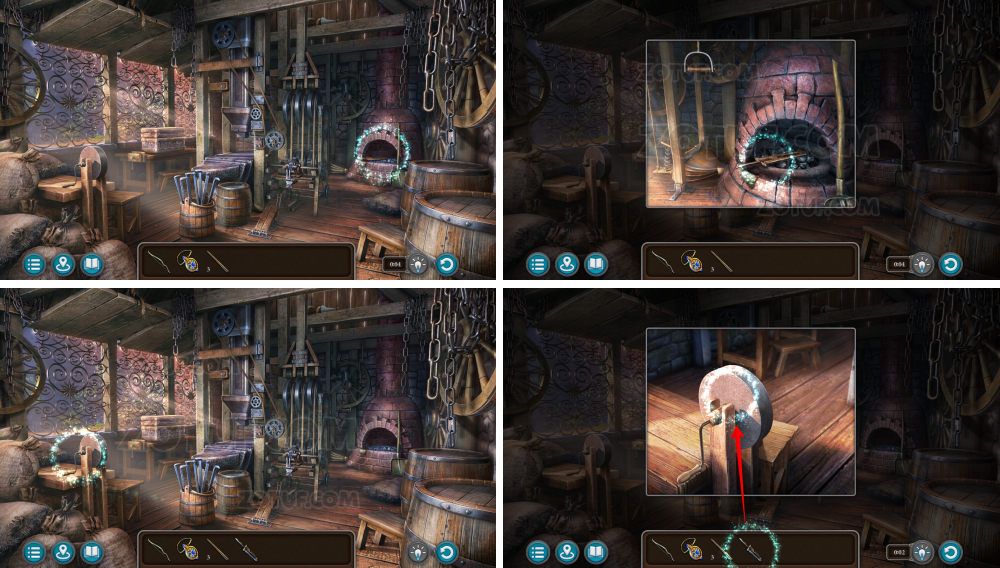
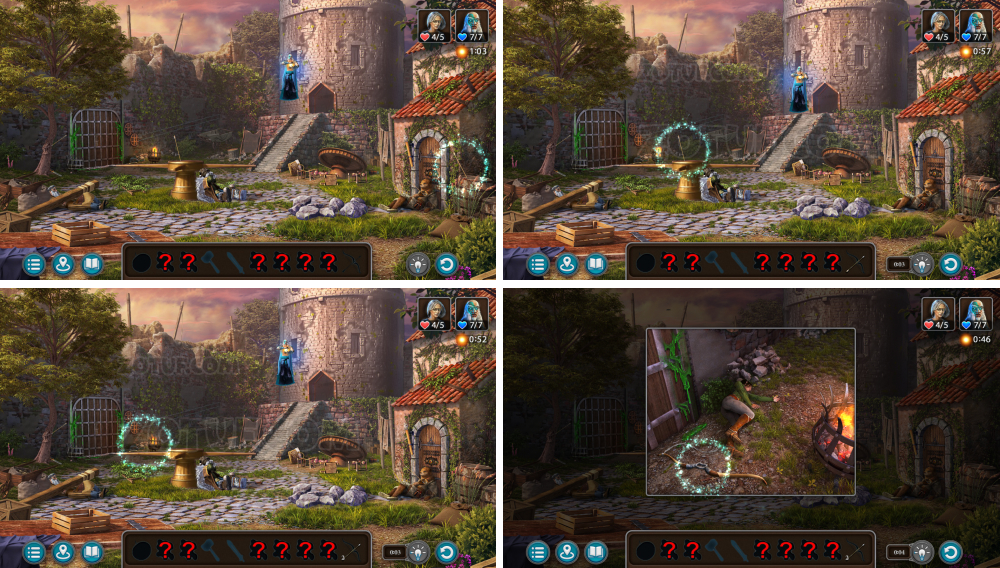
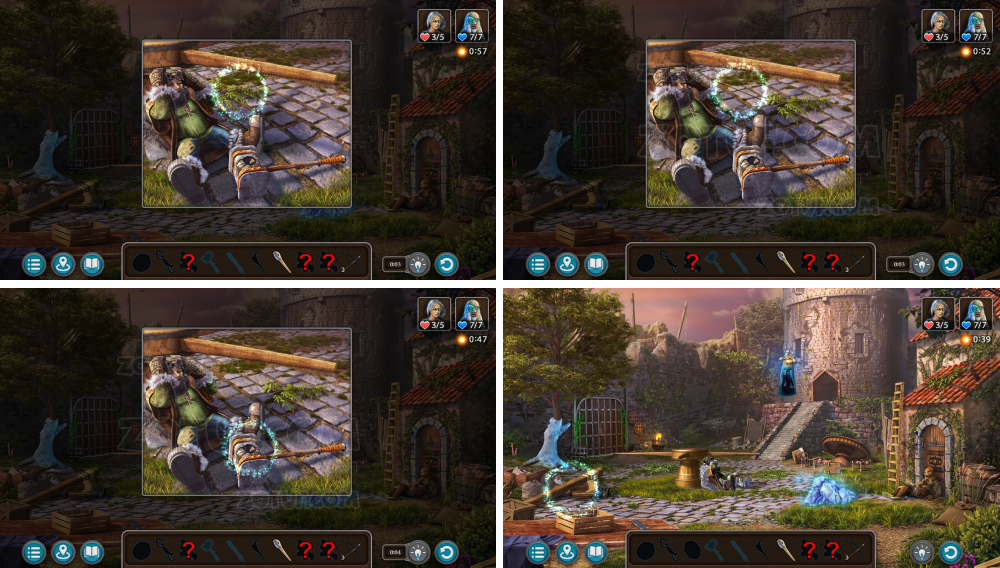
Back to the past again
Fill the Time Hexagon with ashes and travel back in time.
- Solve the puzzle: Turn the mechanism’s arrows into the correct position using the hint.
- Solution in the picture.
- Use the shovel poker to get Follnur’s ashes.
- Open the time hexagon, use Follnur’s ashes, get the charged hexagon.
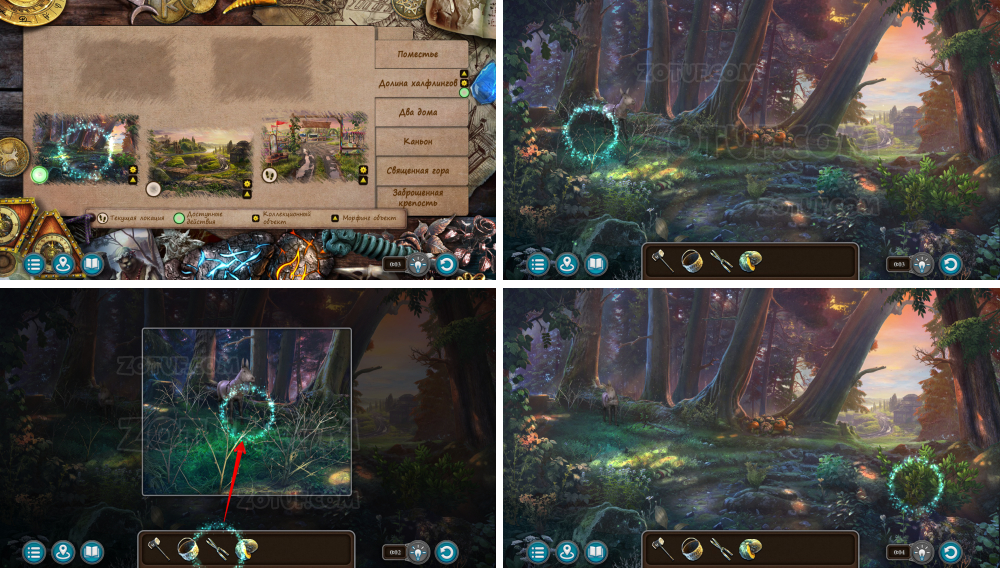
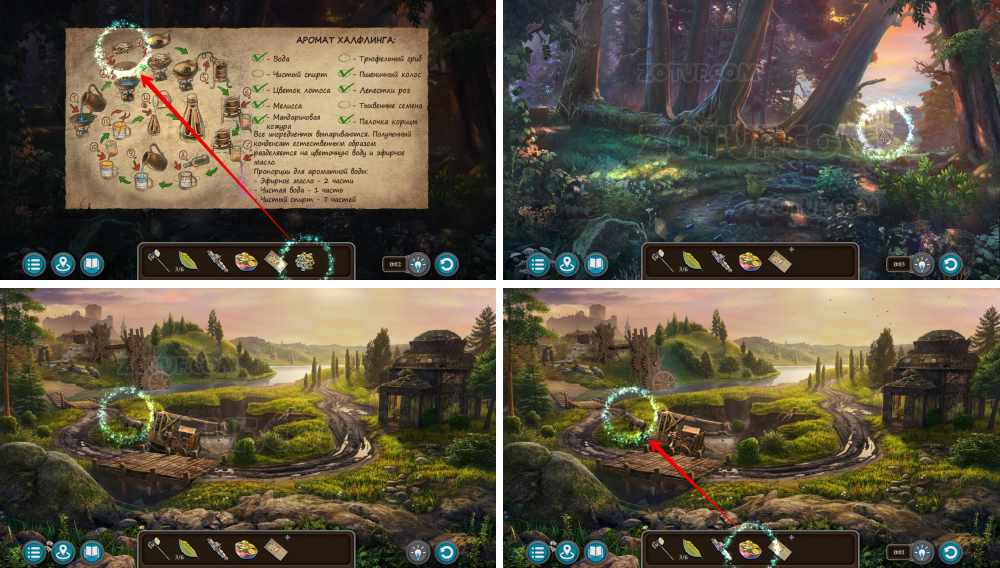
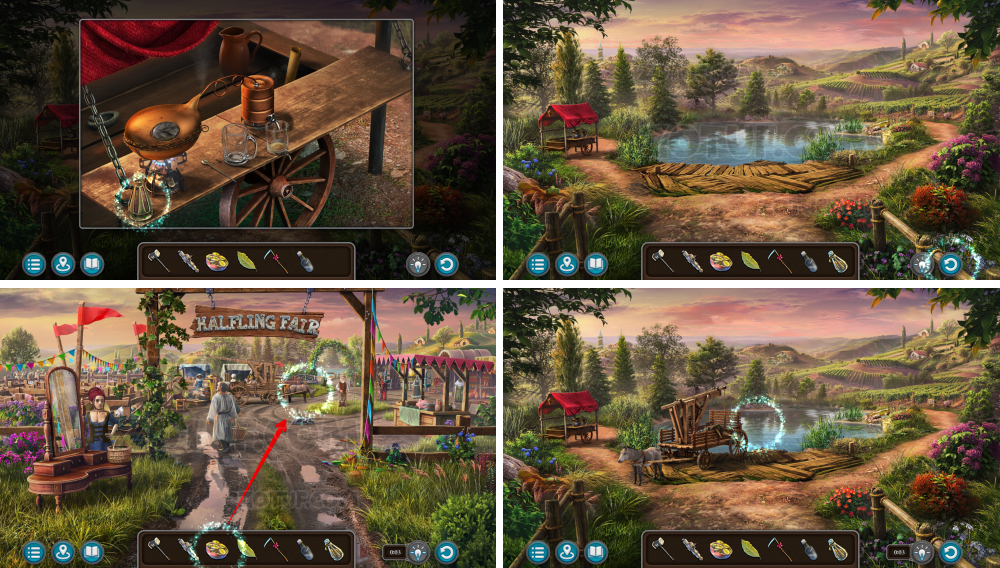
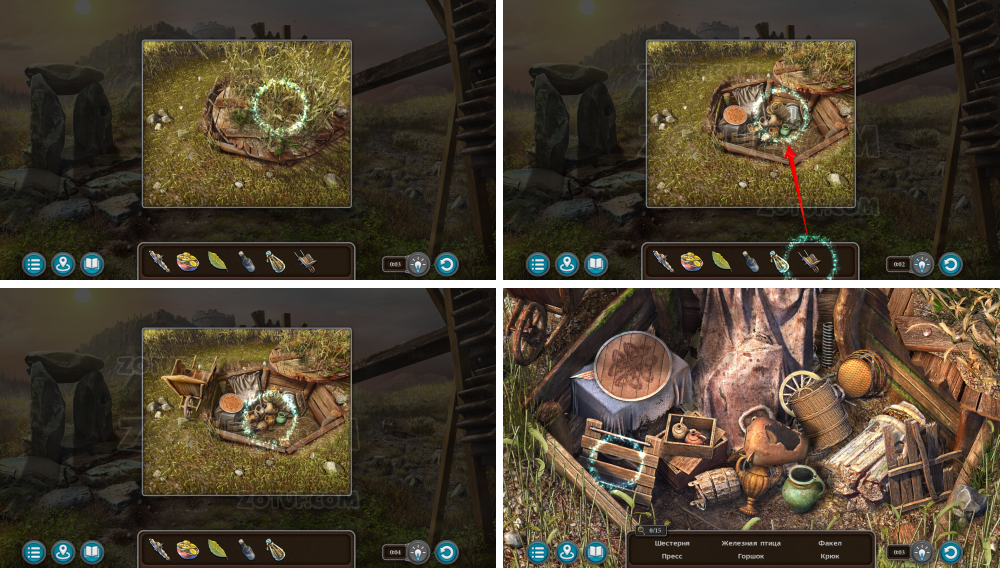
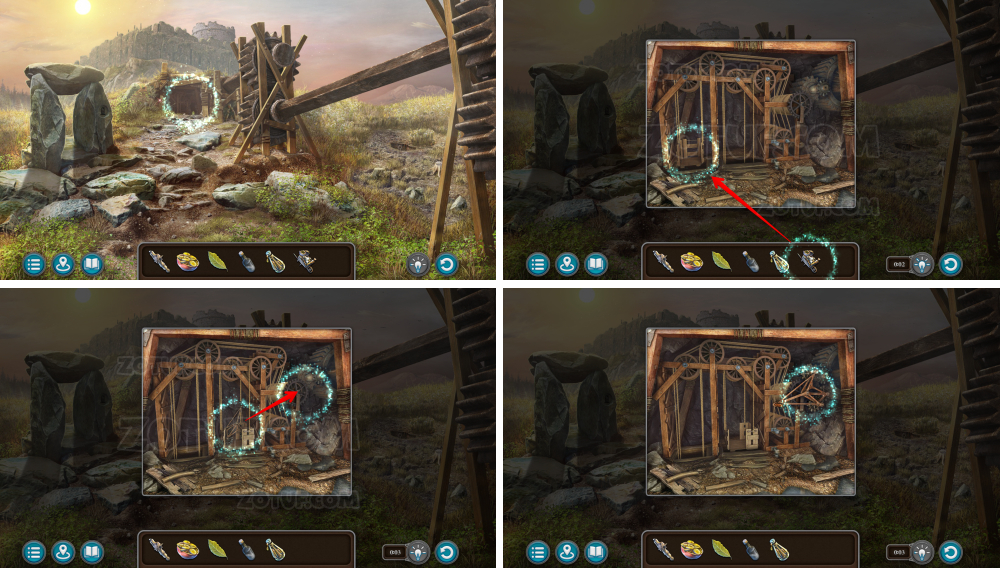
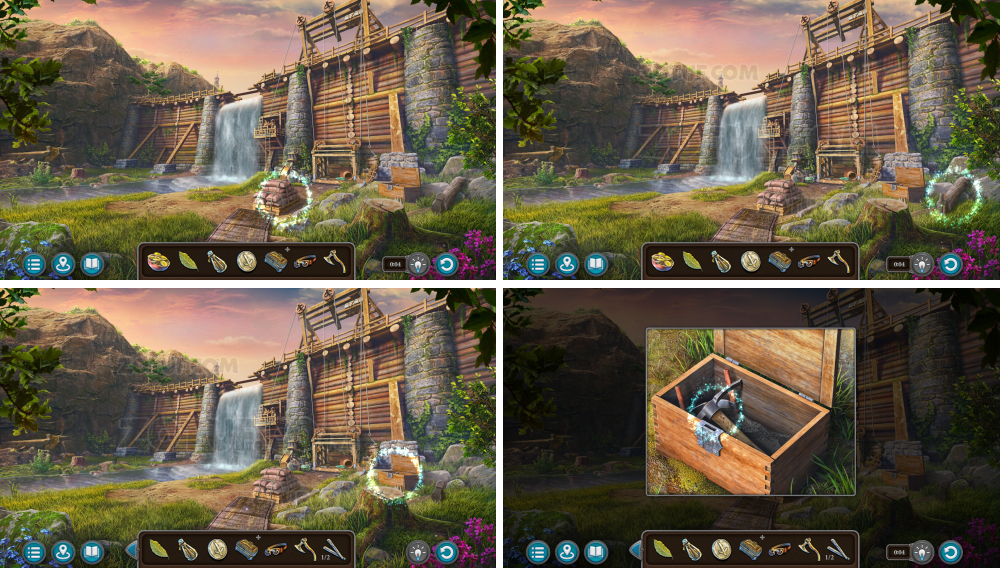
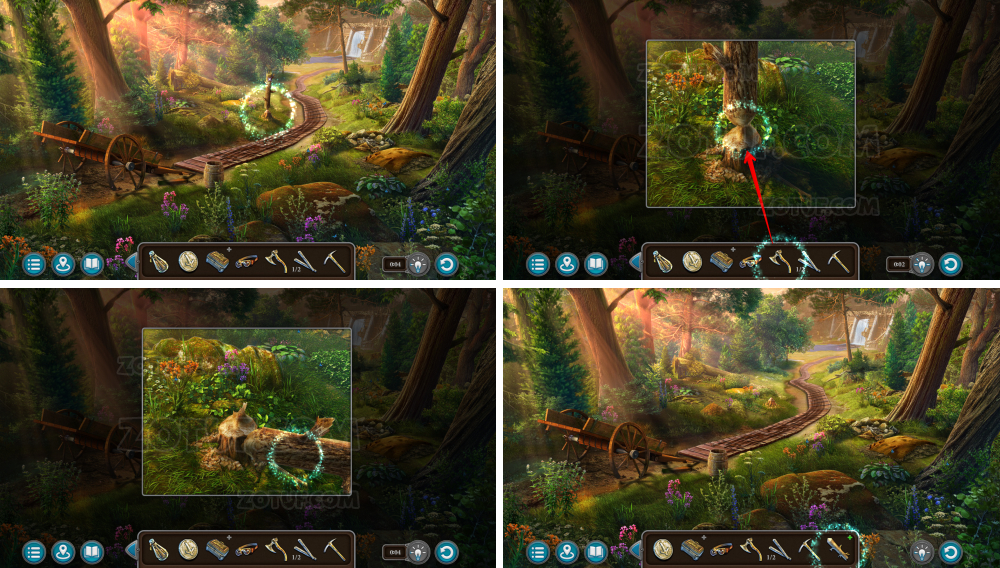
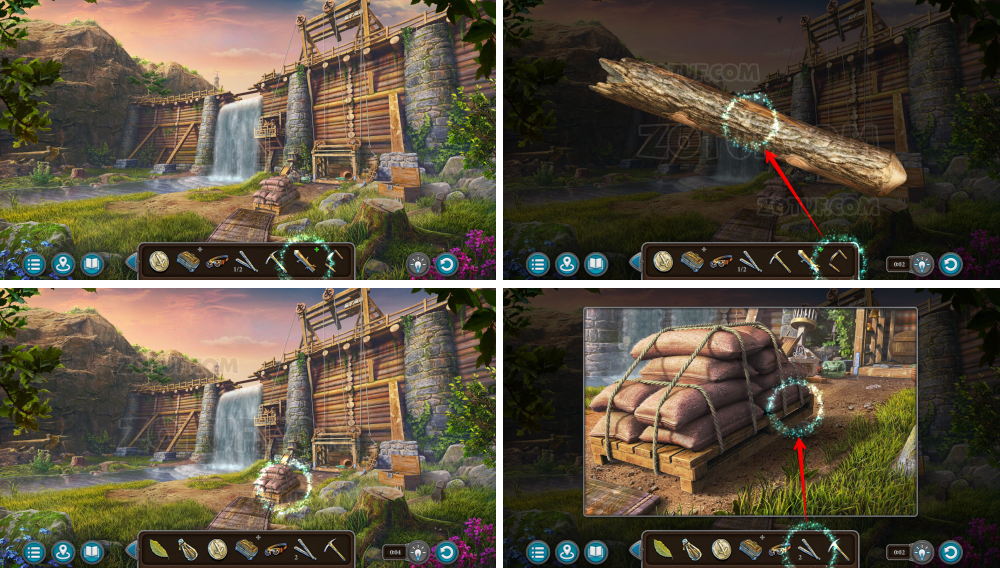
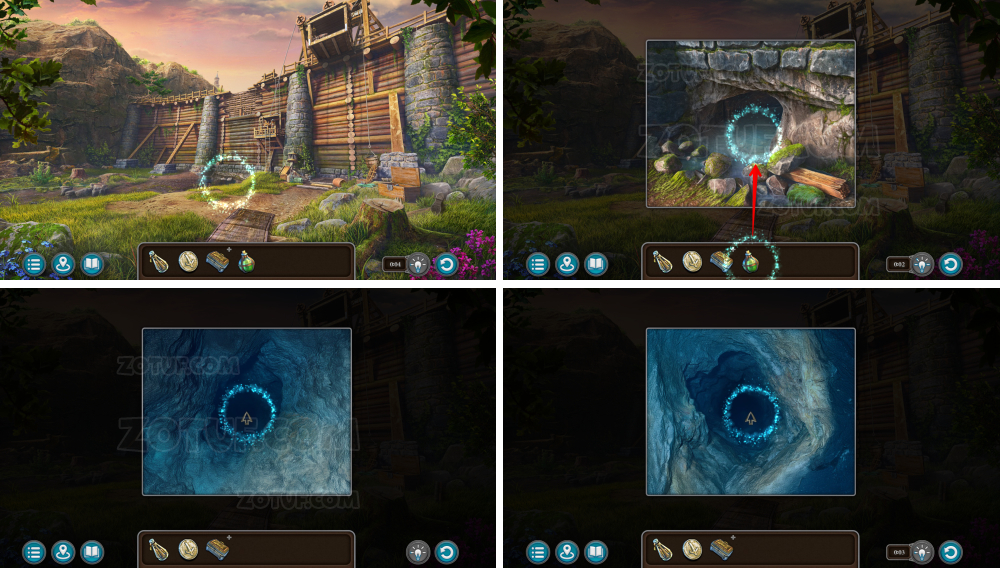
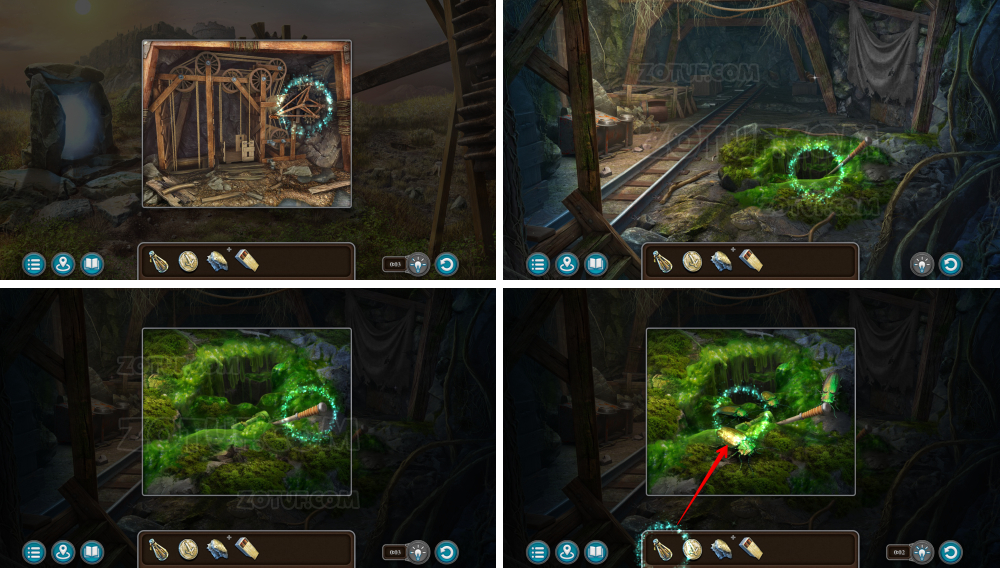
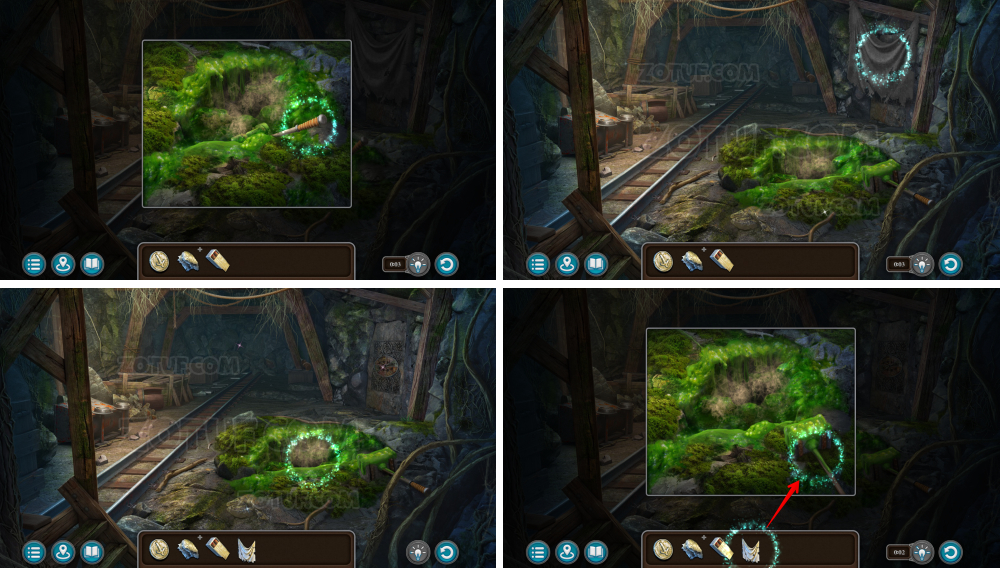
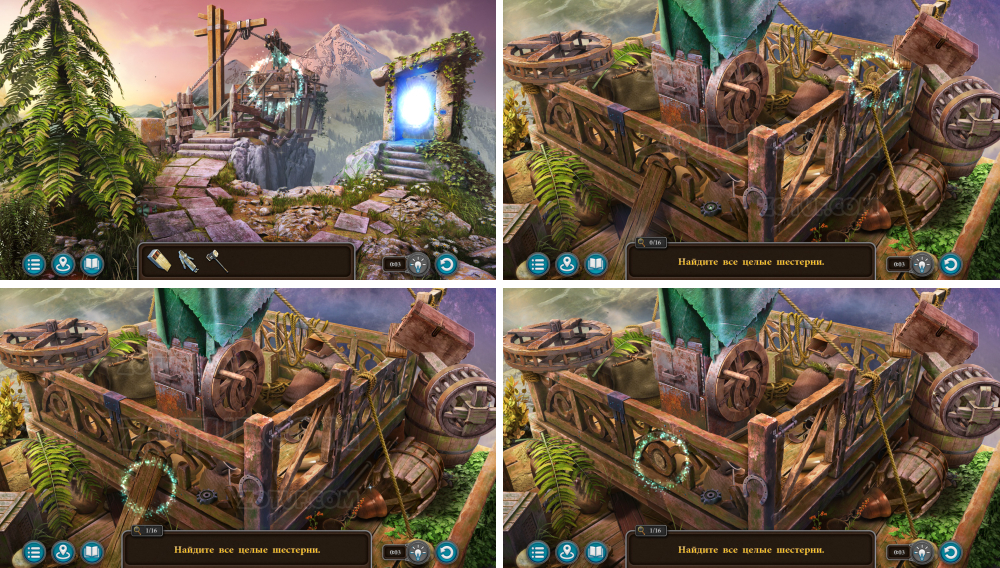
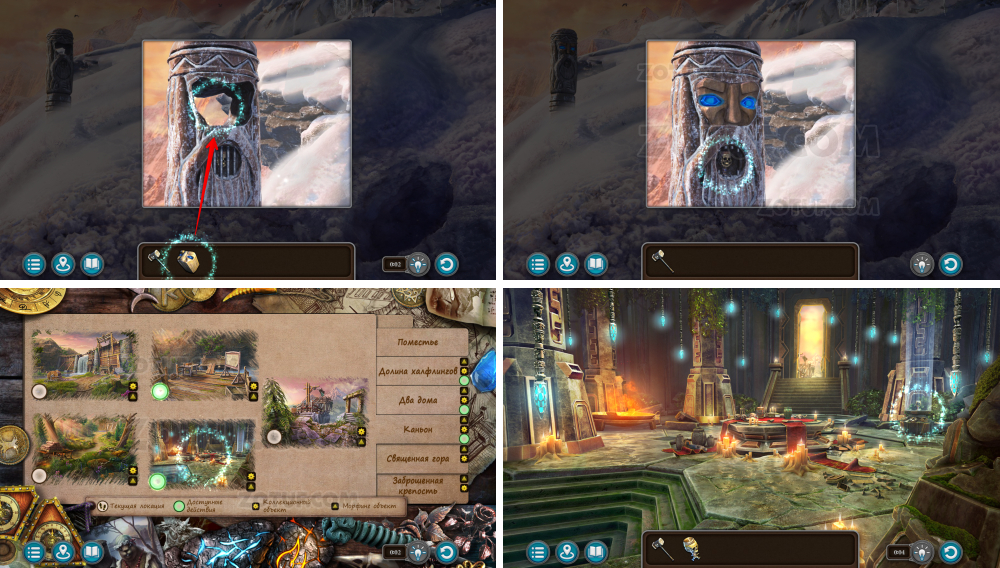
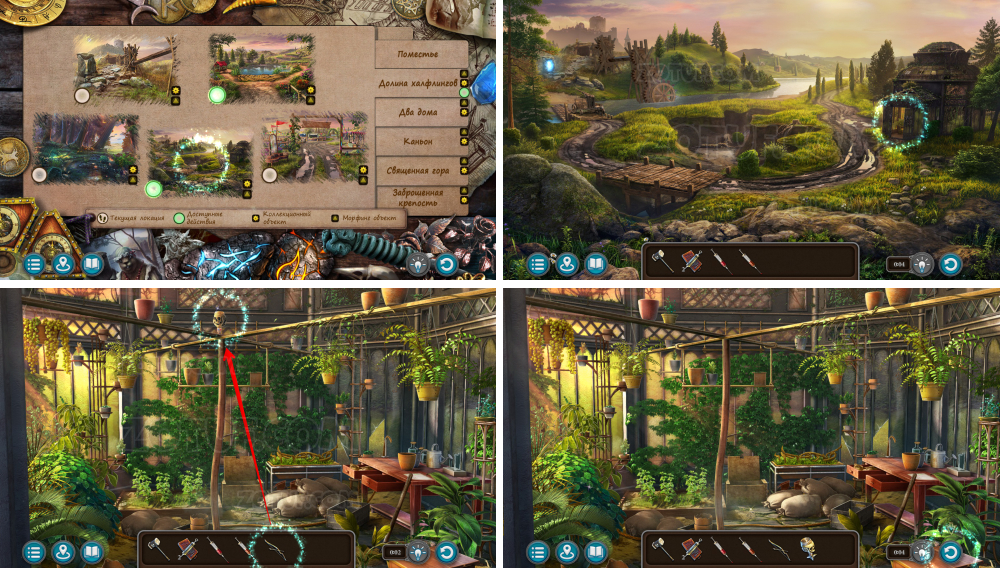
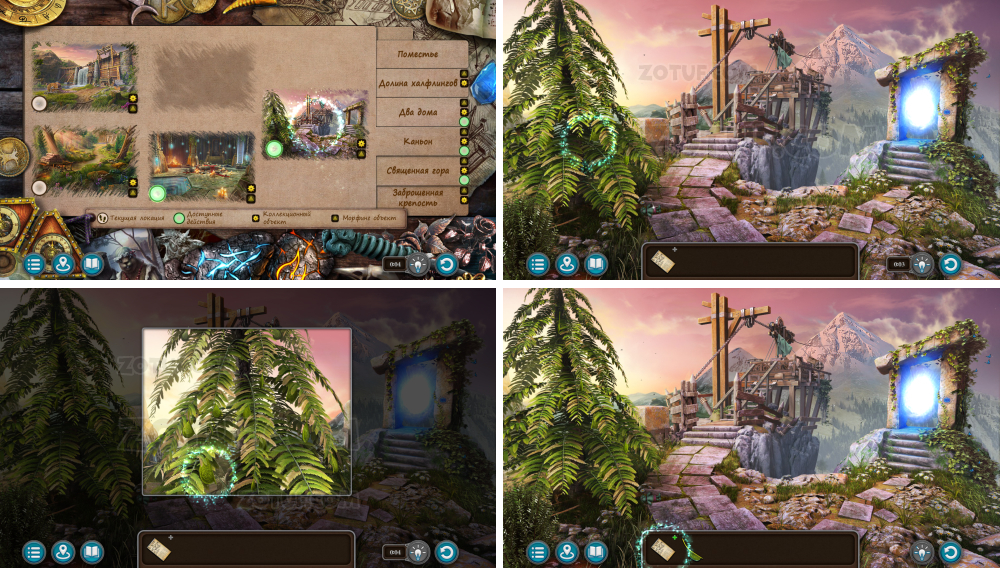
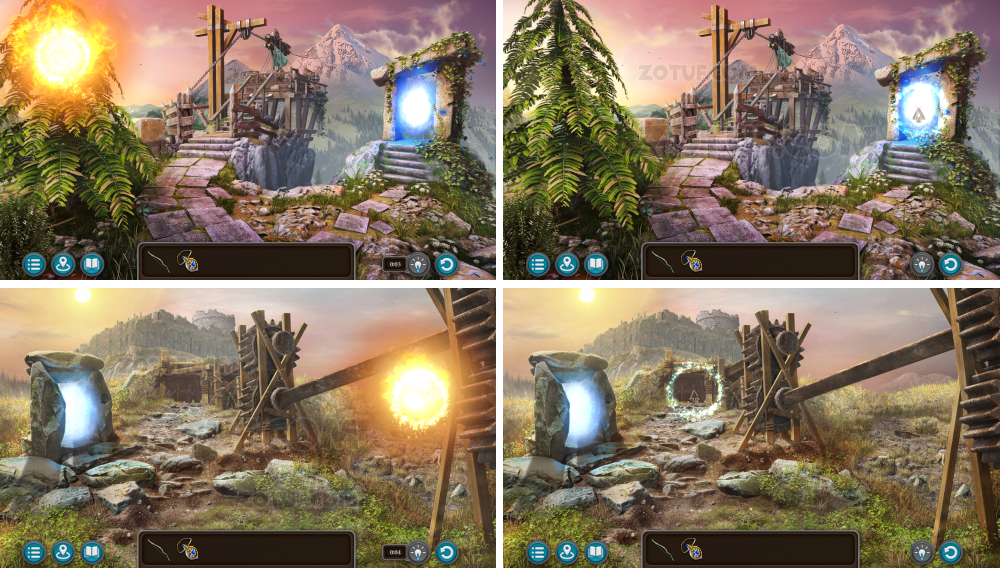
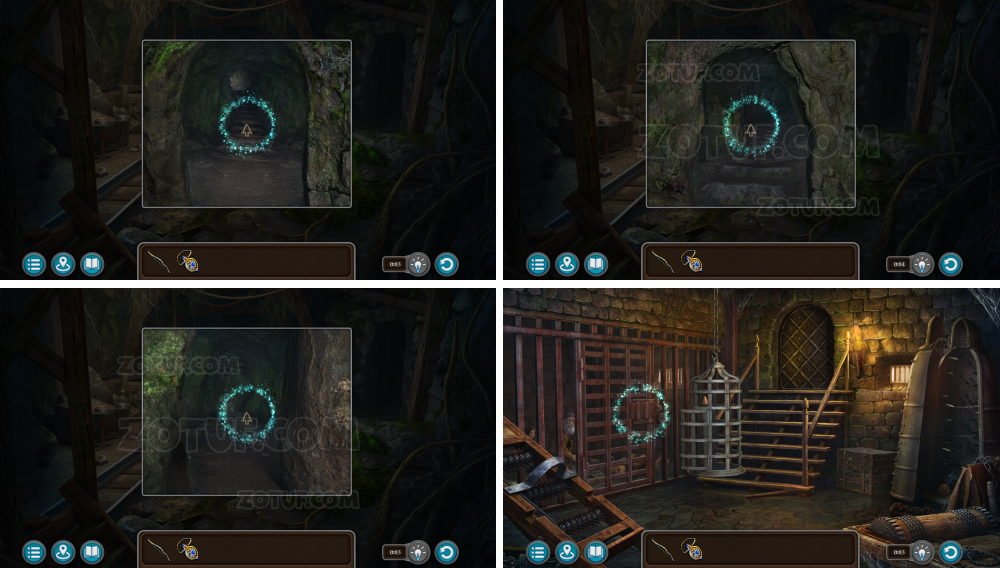
Mine by the river
Get to the mine by the river, where Folnur can be hiding.
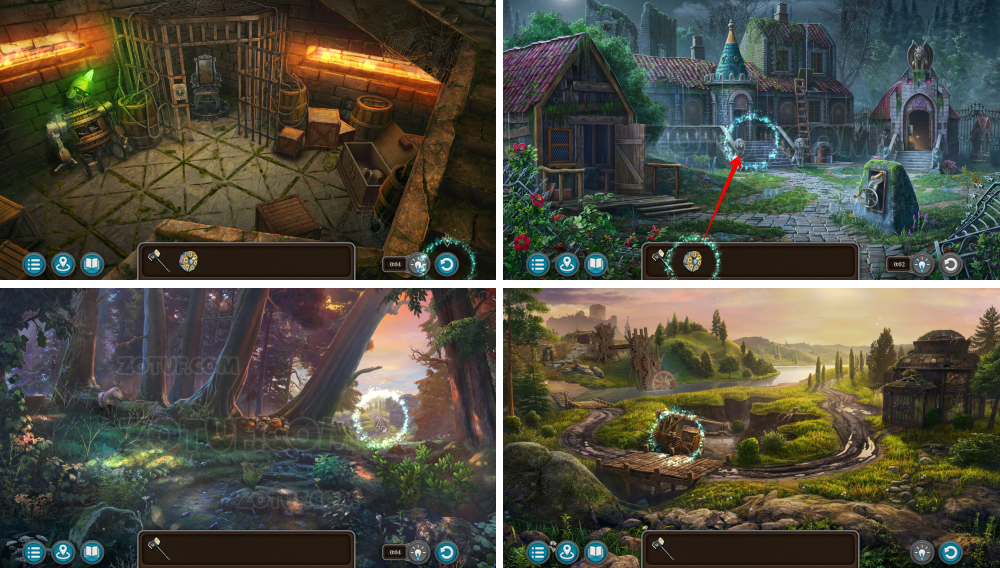
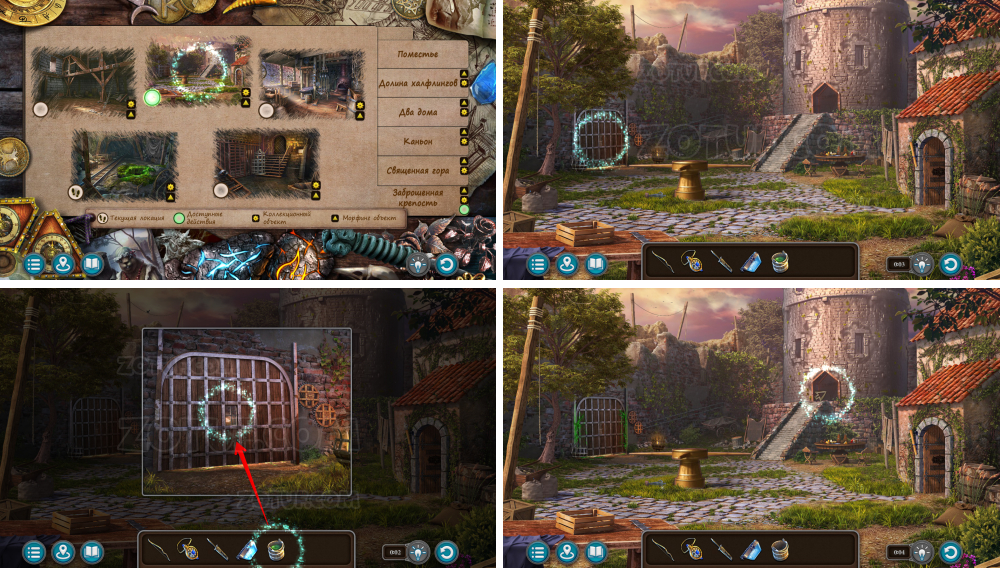
- Use the charged hexagon.
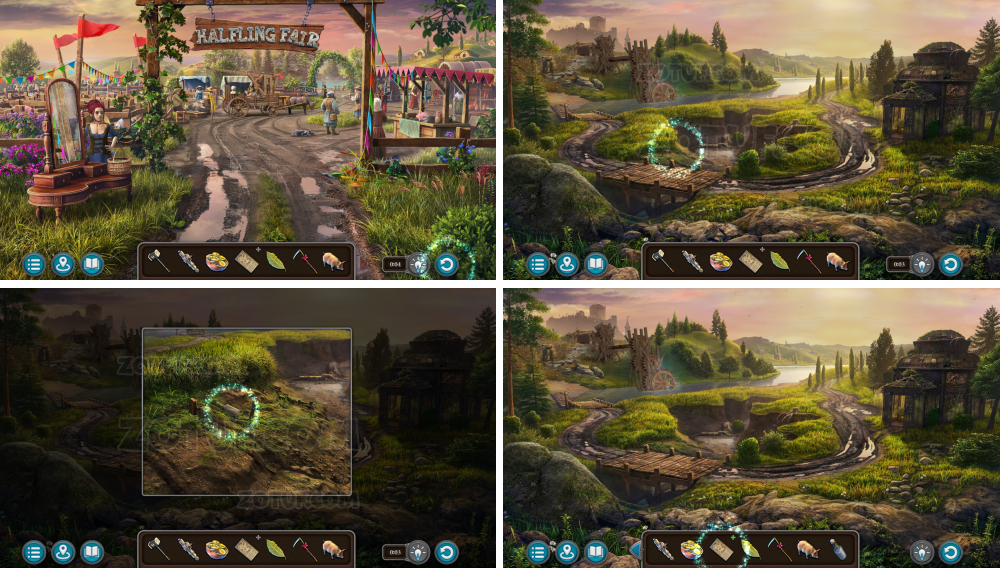
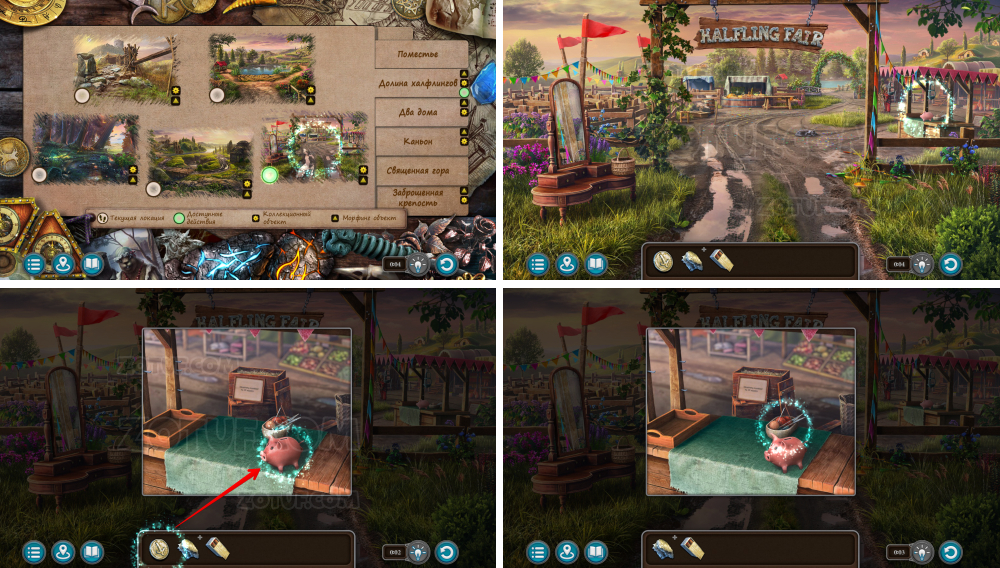
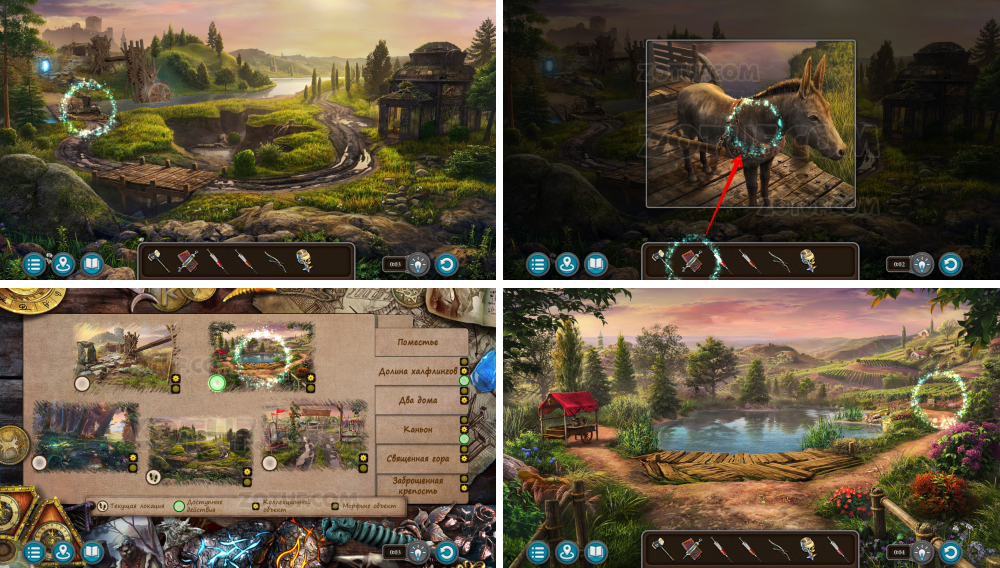
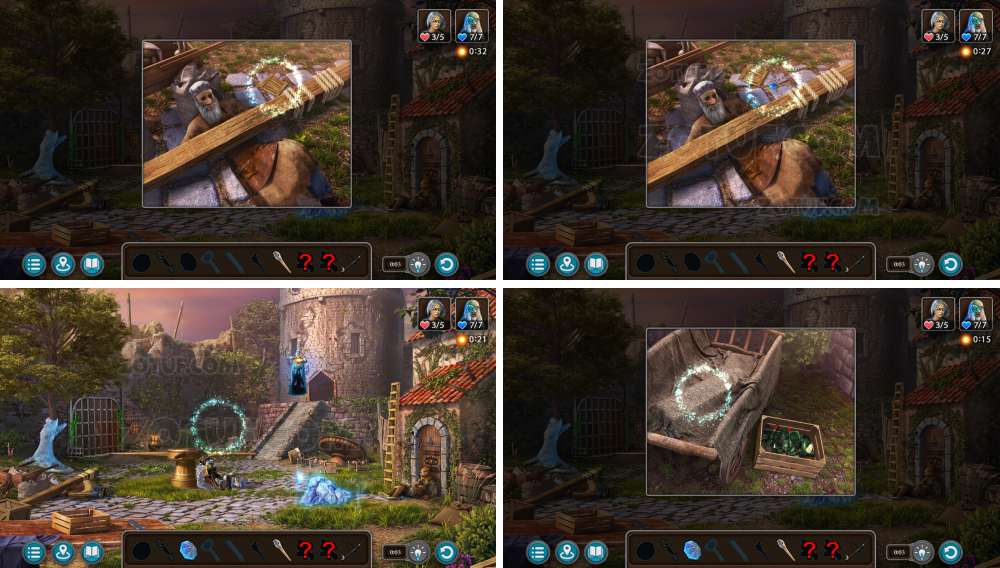
Missing pontoon
Find the missing pontoon module to restore the river crossing.
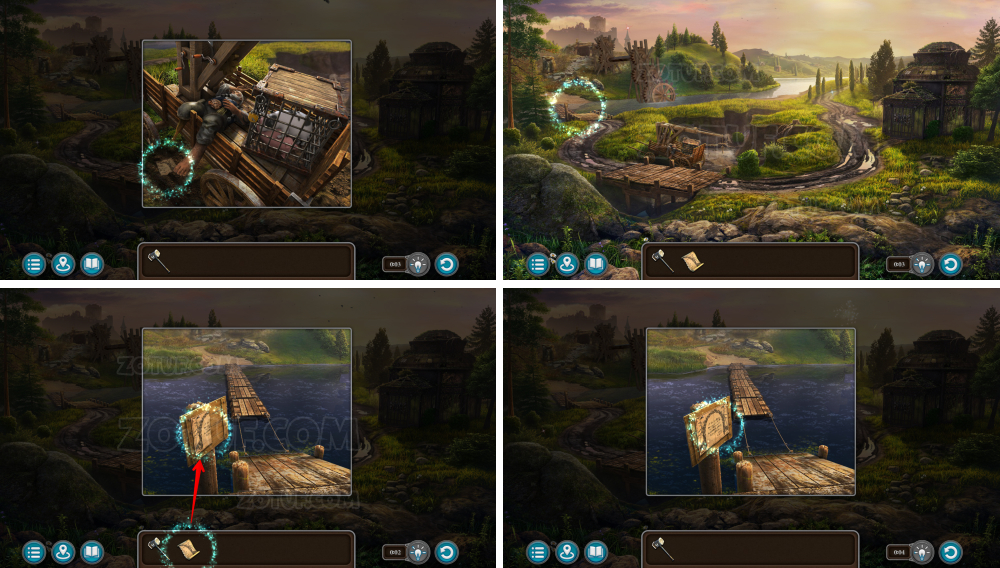
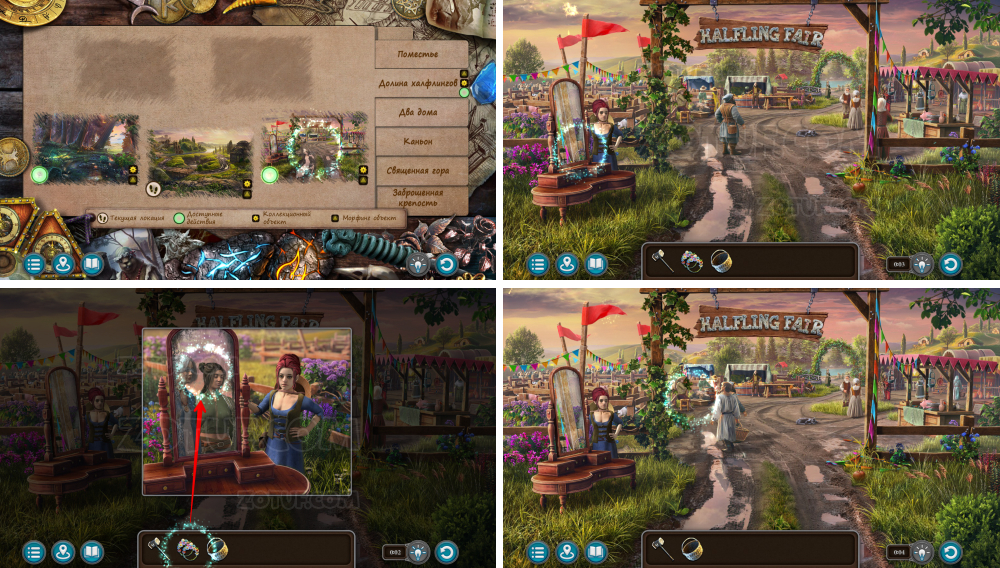
- Take the torn announcement.
- Use the torn announcement.

- Go to the fair
- Talk to the girl to get the greenhouse key.
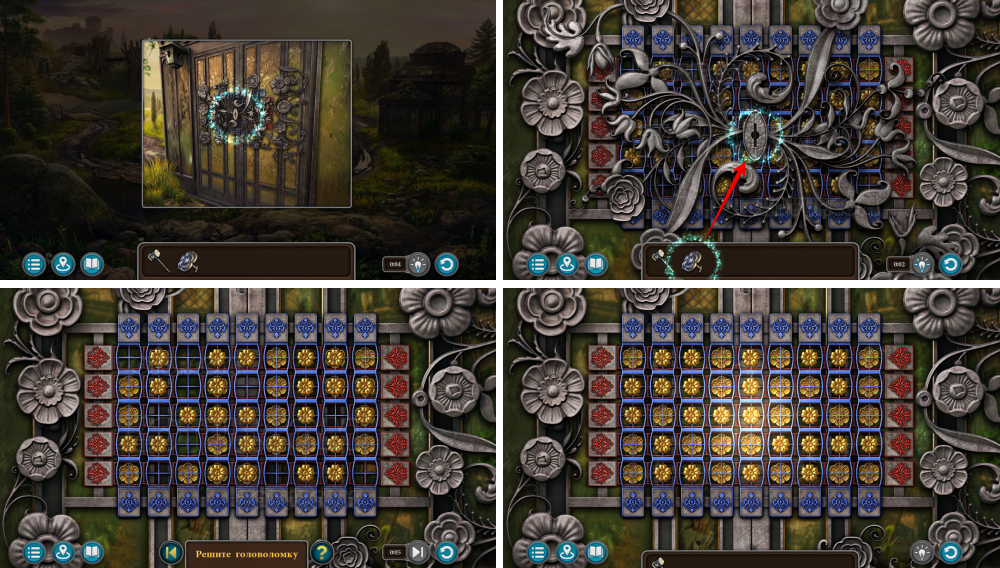
- Use the greenhouse key.
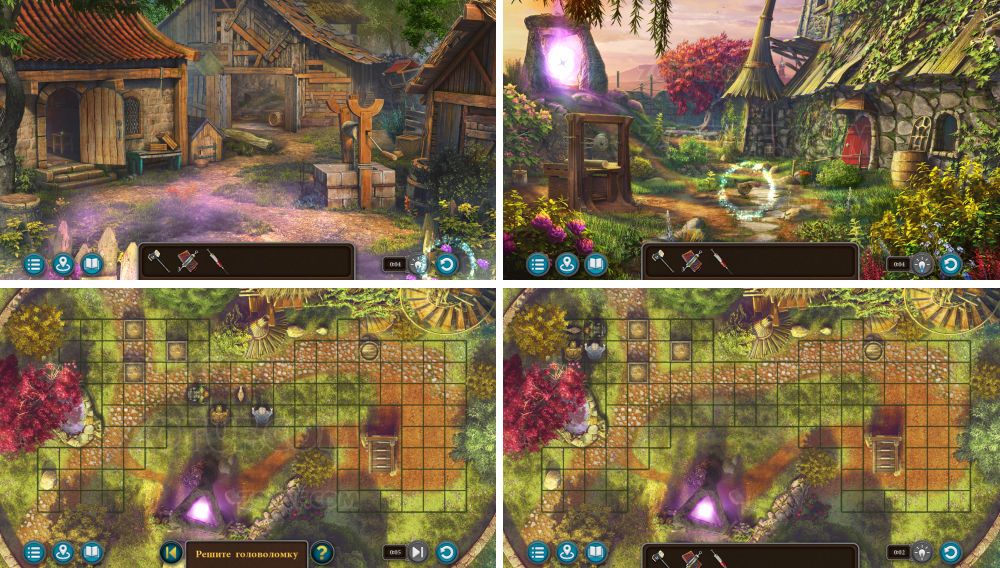
- Solve the puzzle: Rearrange grids to fill all cells with flowers.
- Solution in the picture.
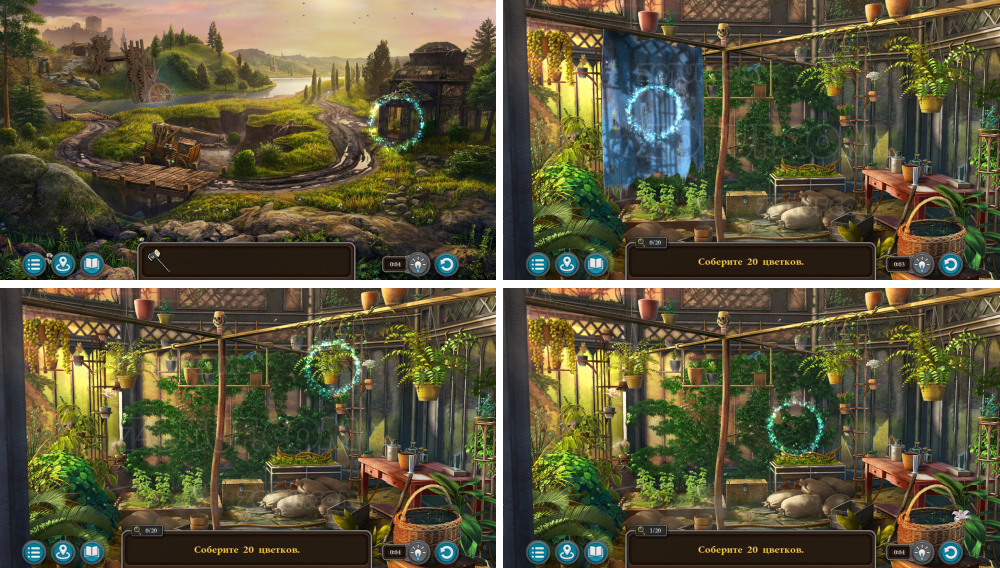
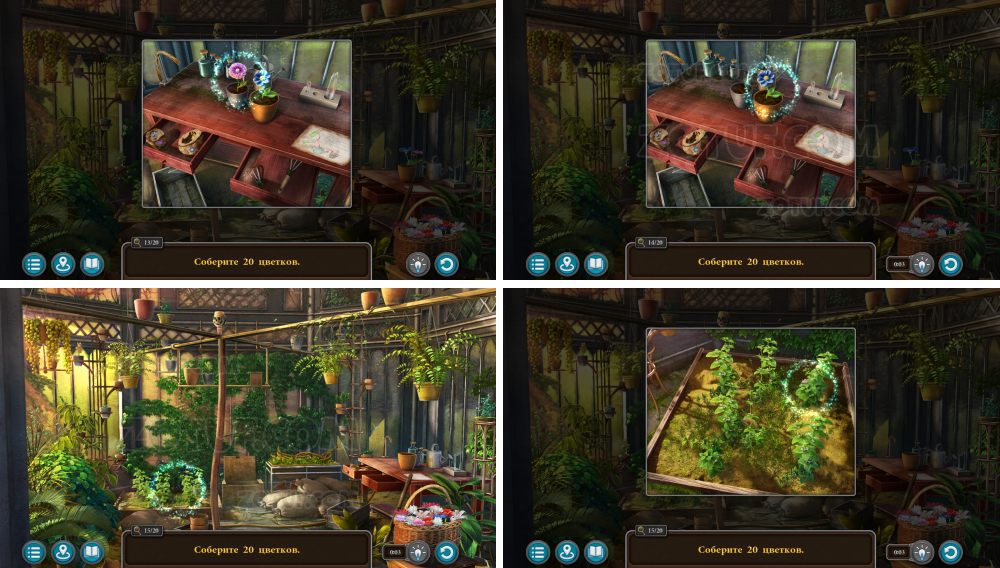
- Collect 20 flowers.
- Take 1-2/20 flowers.
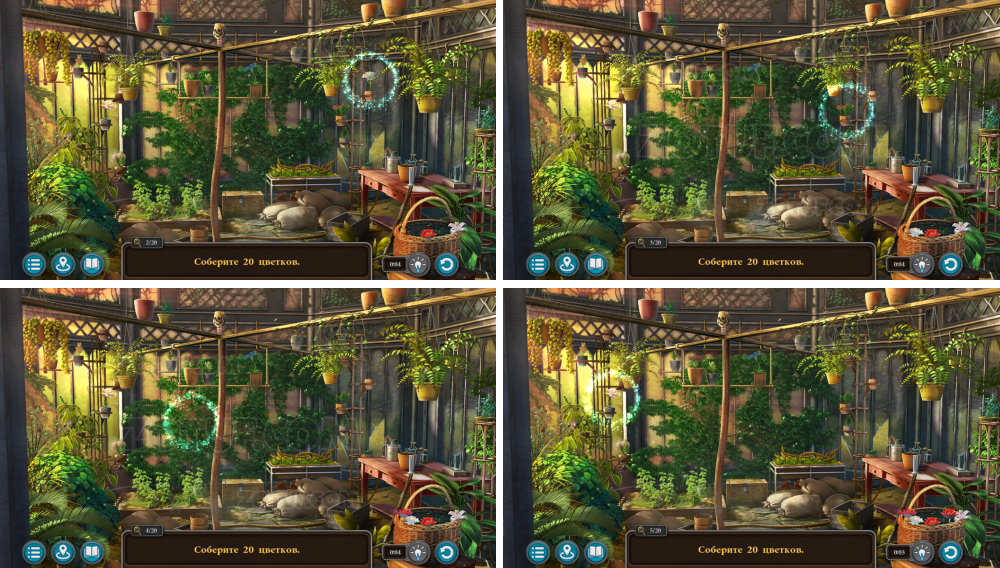
- Take 3-6/20 flowers.
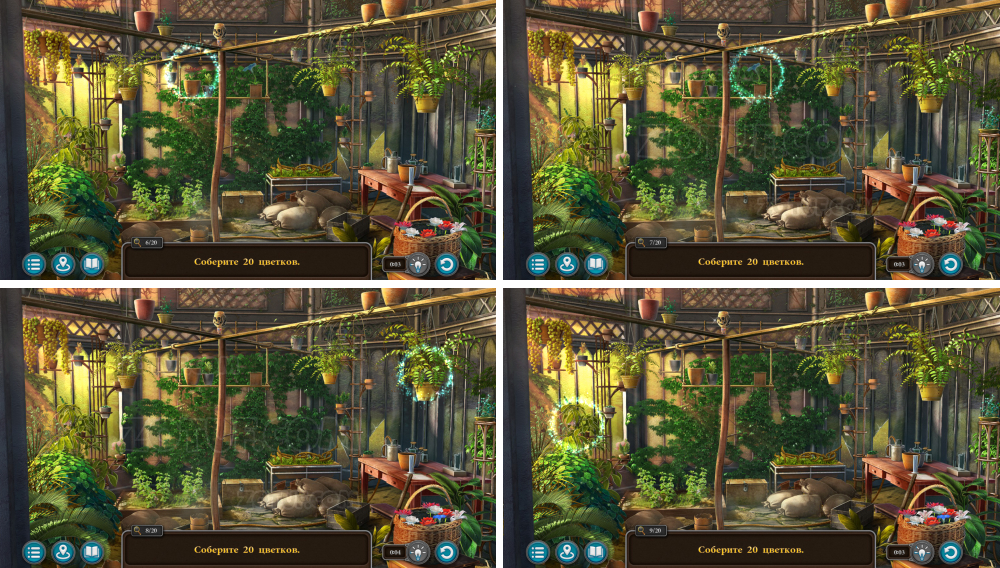
- Take 7-10/20 flowers.

- Take 11-12/20 flowers.
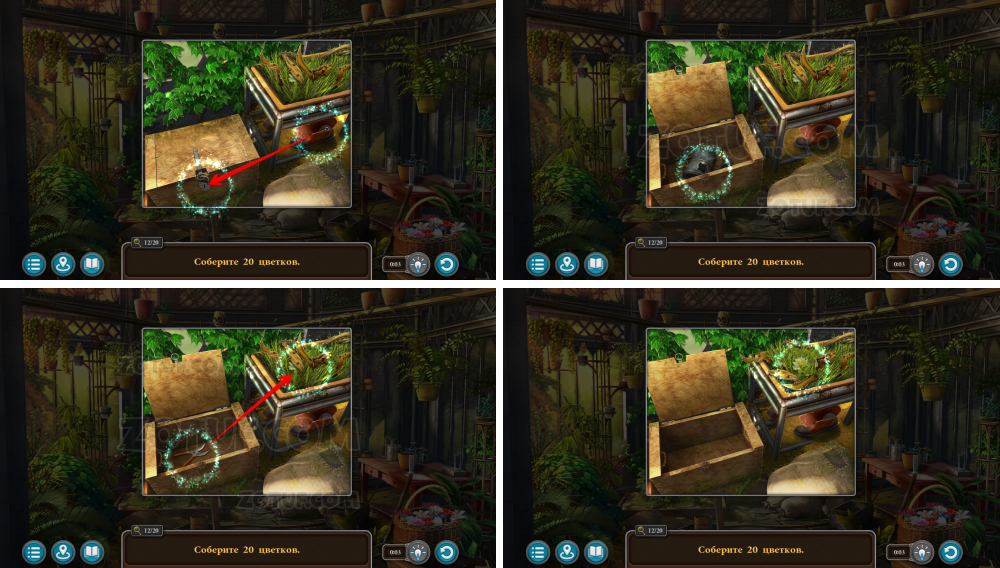
- Open the box with the key, use the pruner.
- Take 13/20 flowers.
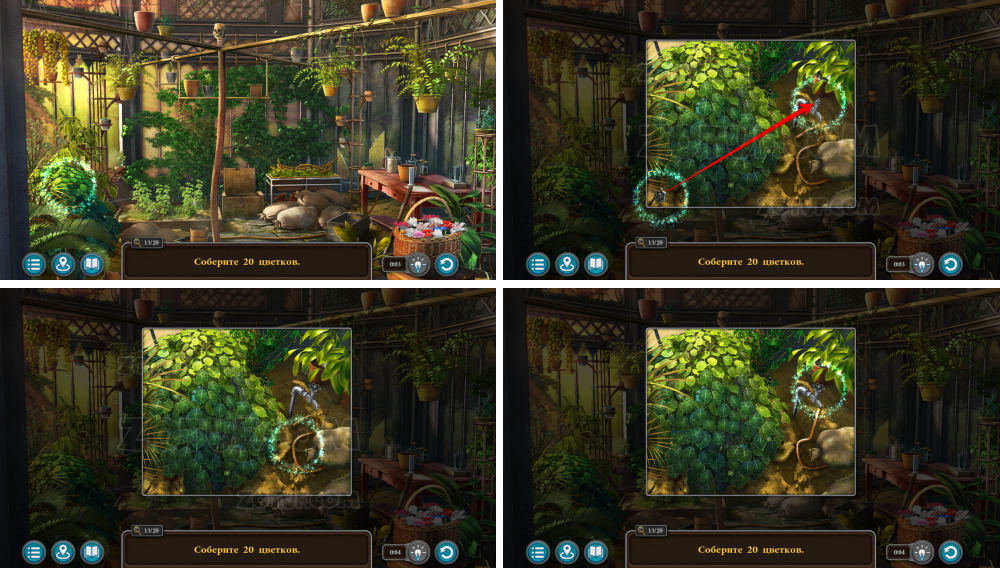
- Use the valve and attach the hose, open the tap.

- Use seeds in two pots.
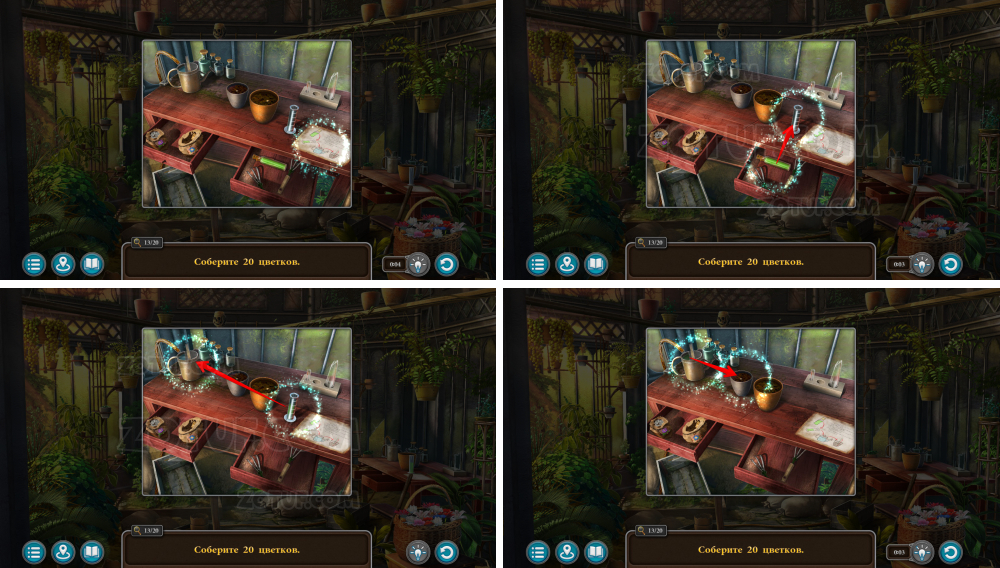
- Check the growth potion recipe.
- Use growth potion on the test tube, pour it into the watering can.
- Water the pots with seeds.
- Take 14-16/20 flowers.
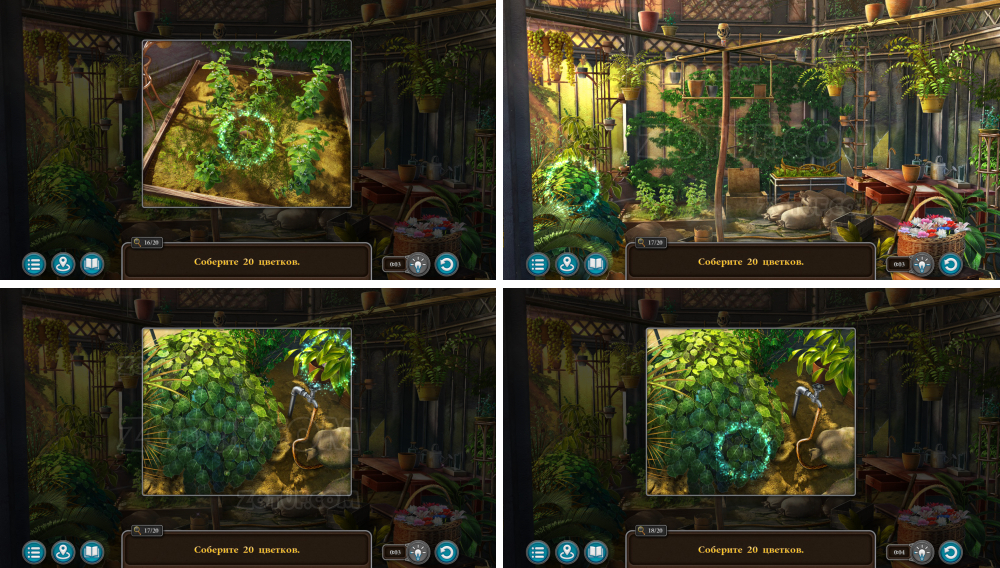
- Take 17-19/20 flowers.
- Take 20/20 flowers.
- Get flowers for wreaths.
- Open the flowers for wreaths.
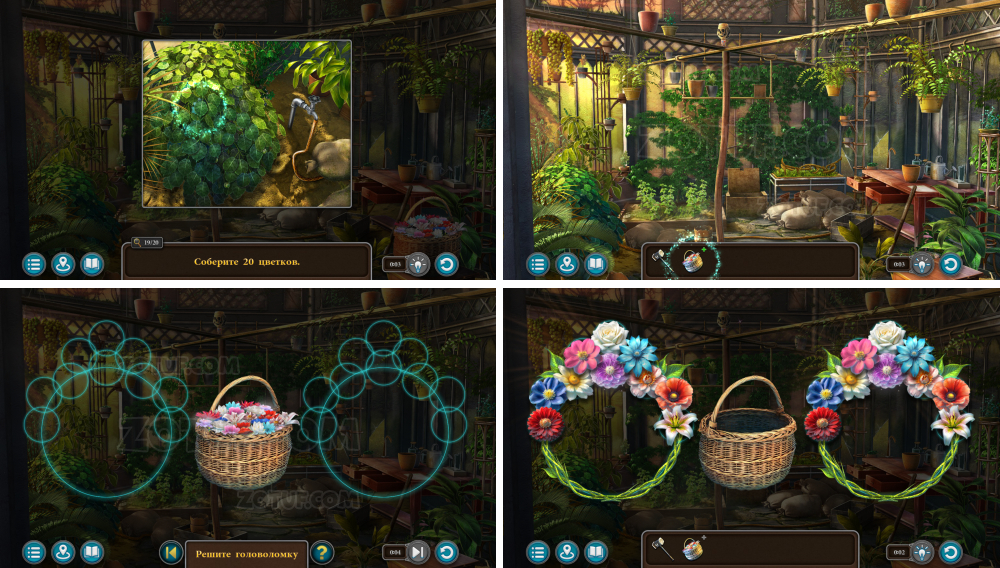
- Solve the puzzle: Press the basket to extract flowers and weave them into wreaths. Each wreath should only have unique flowers.
- Solution in the picture.
- Get celebratory wreaths and an empty basket.
- Use the celebratory wreaths.
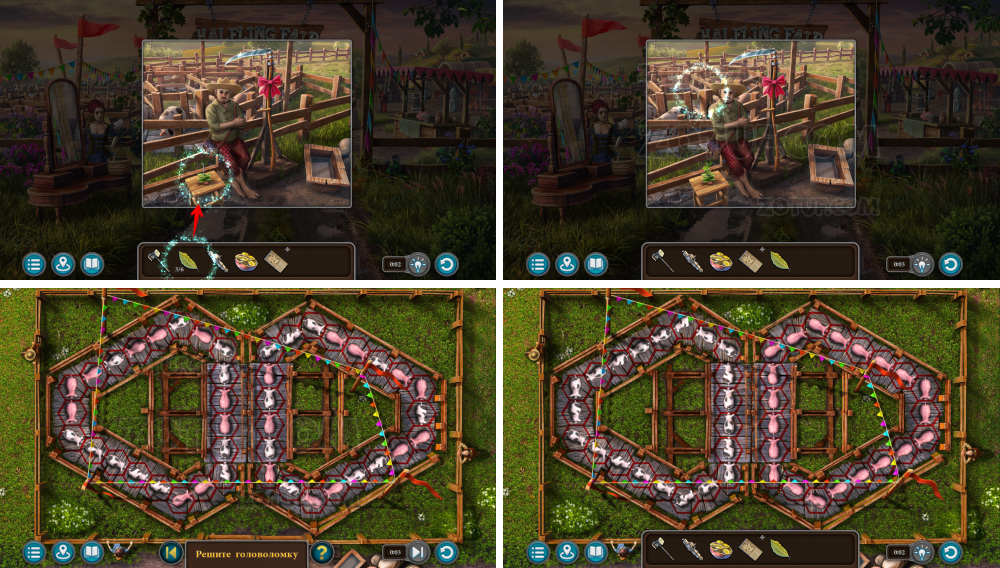
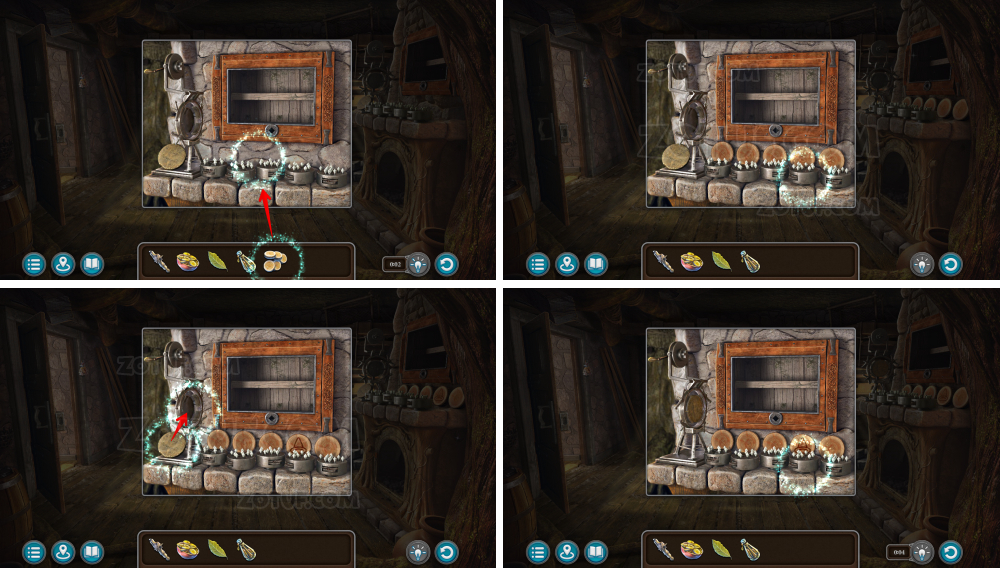
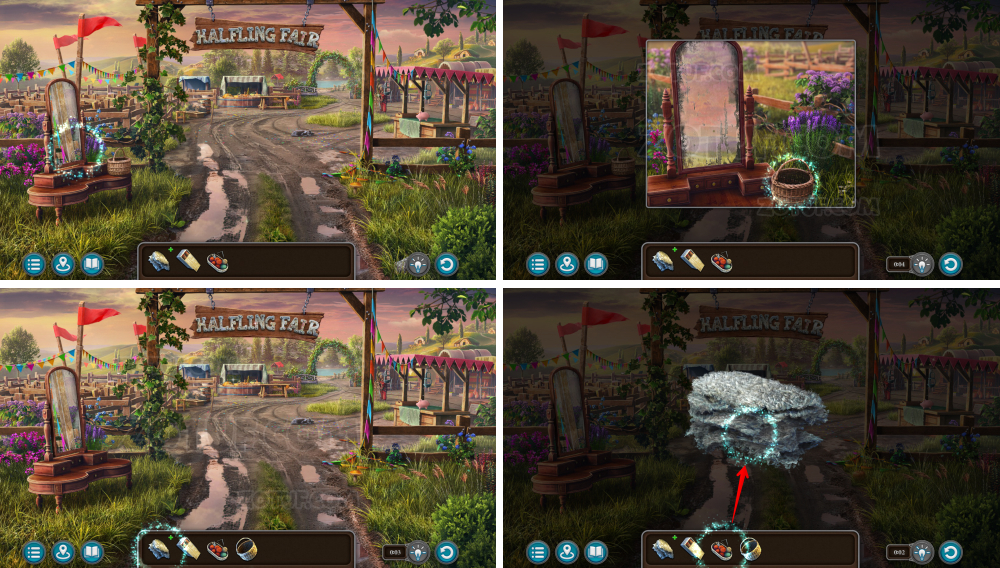
Fair pigs
Deliver two pigs that got stuck on the way to the fair.
- Take the pruner.
- Take the broken pumpkin.
- Use the pruner.
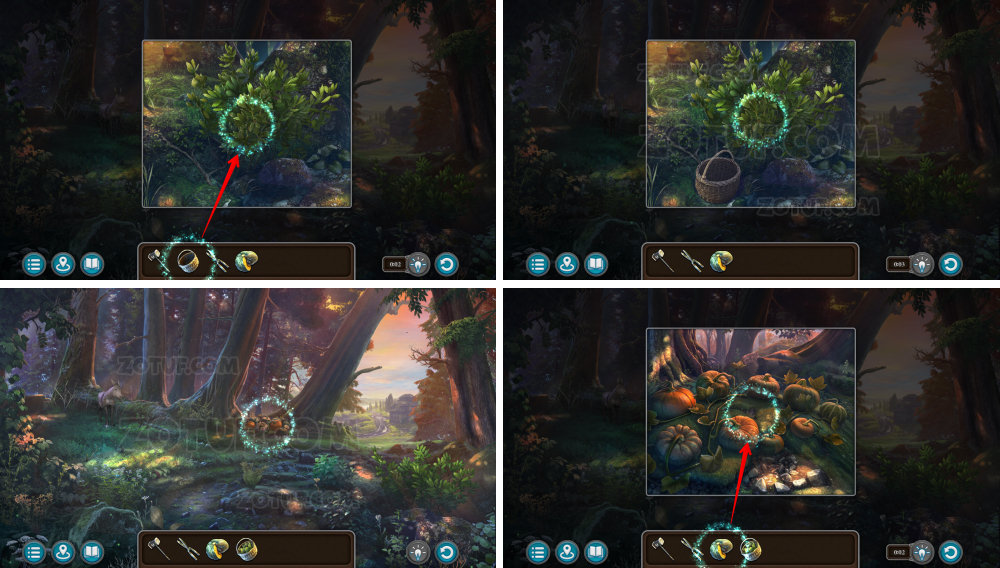
- Use the empty basket to get bay leaves.
- Use the broken pumpkin.
- Compare pumpkins.
- Use the pruner to get the wild pumpkin.
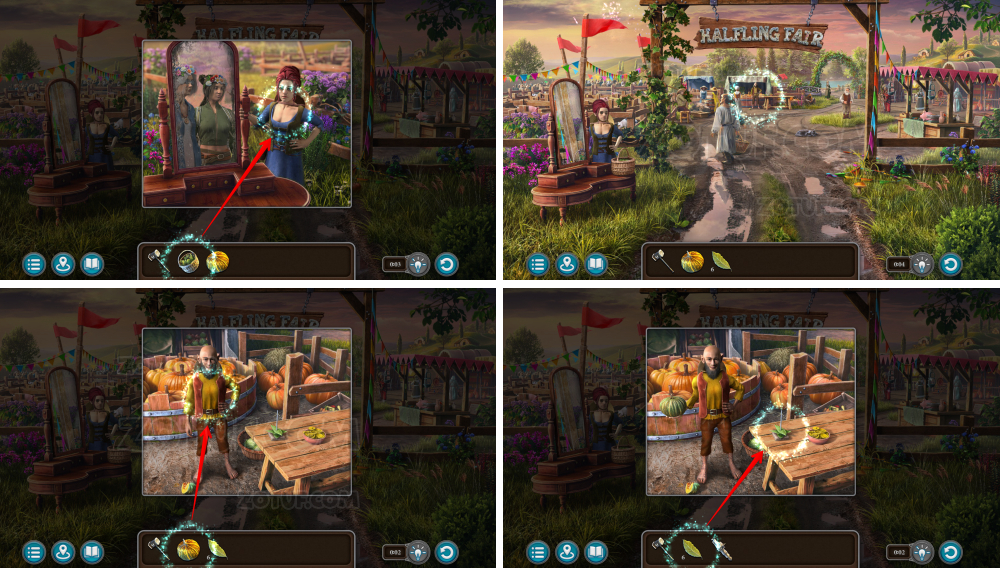
- Use bay leaves to get passage bay leaves.
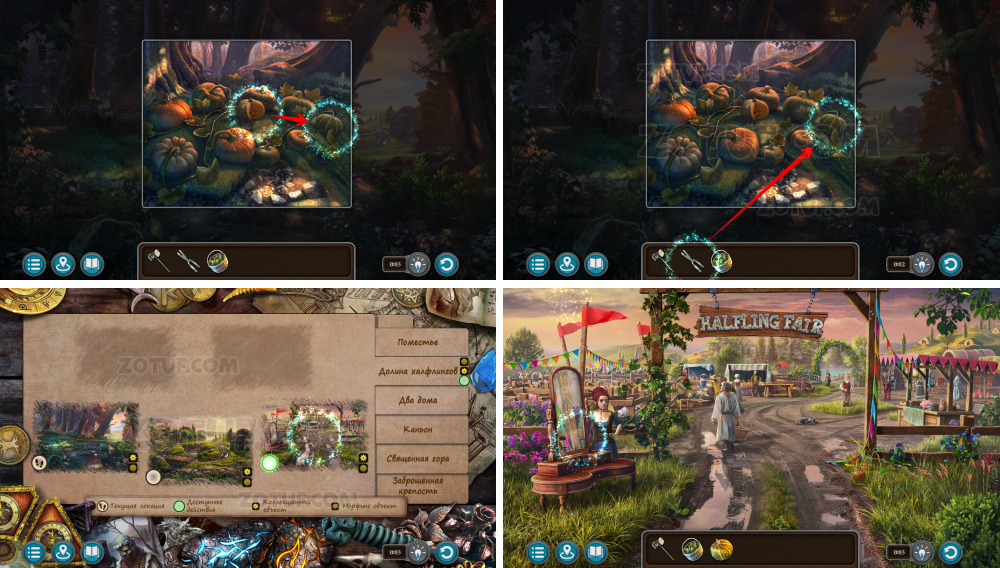
- Use the wild pumpkin to get the dog whistle.
- Use the passage bay leaves.
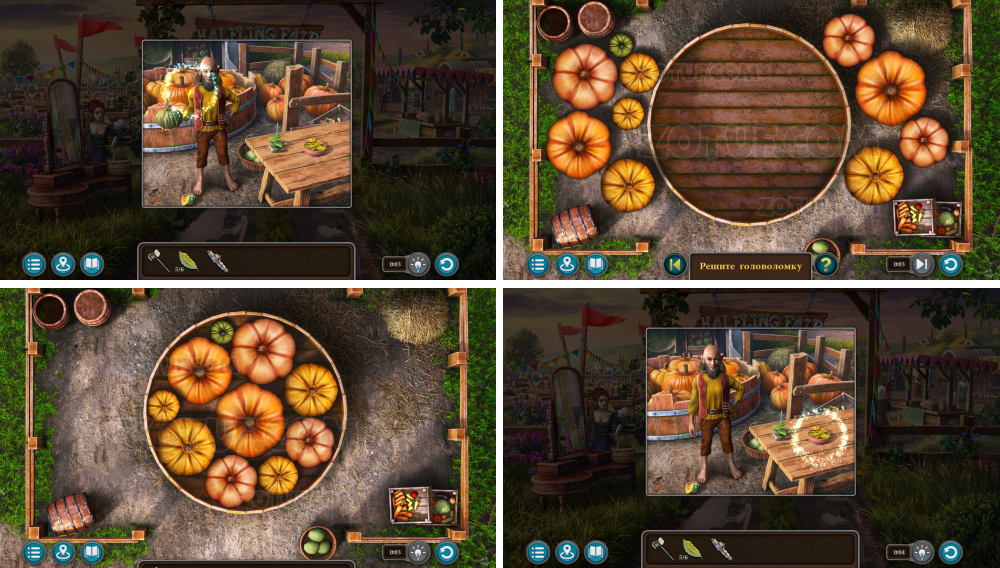
- Solve the puzzle: Fit all pumpkins into the tub without overlapping.
- Solution in the picture.
- Take the sugar candies.
- Use the sugar candies.
- Use the bay leaves.
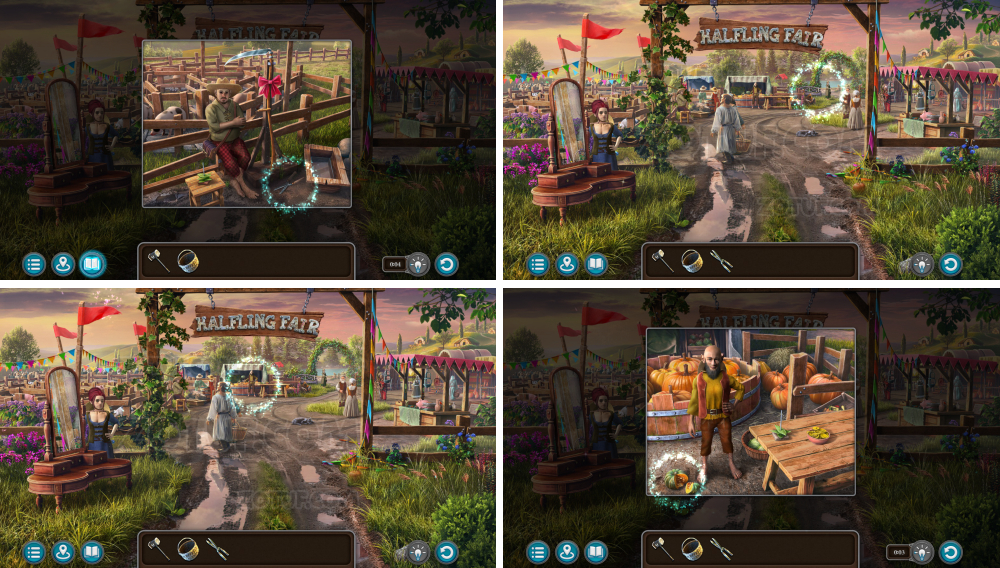
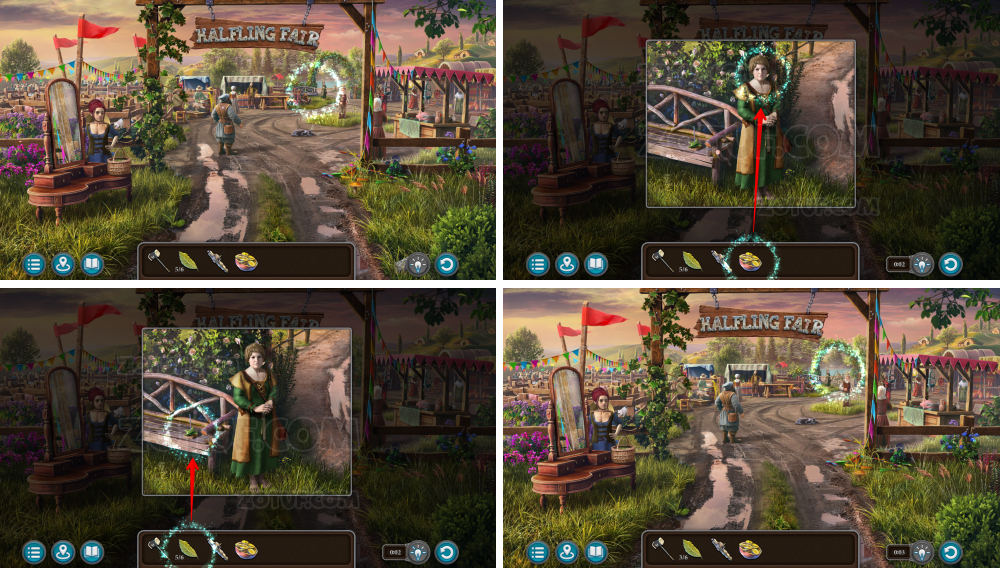
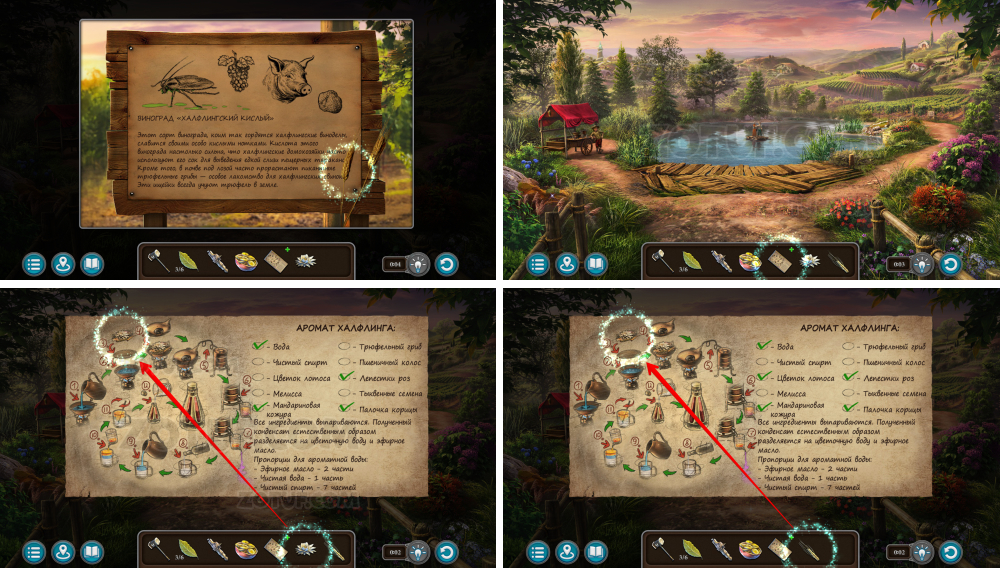
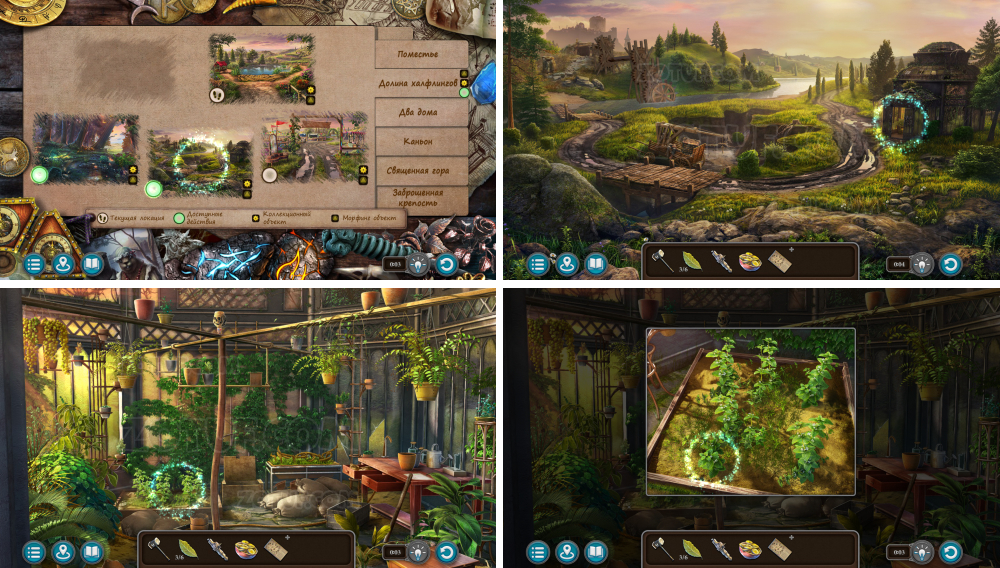
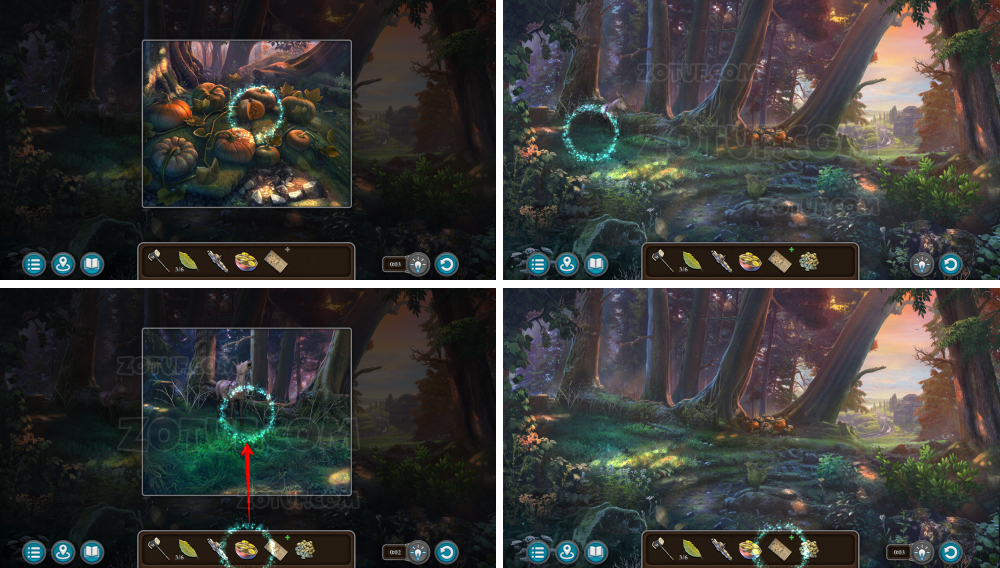
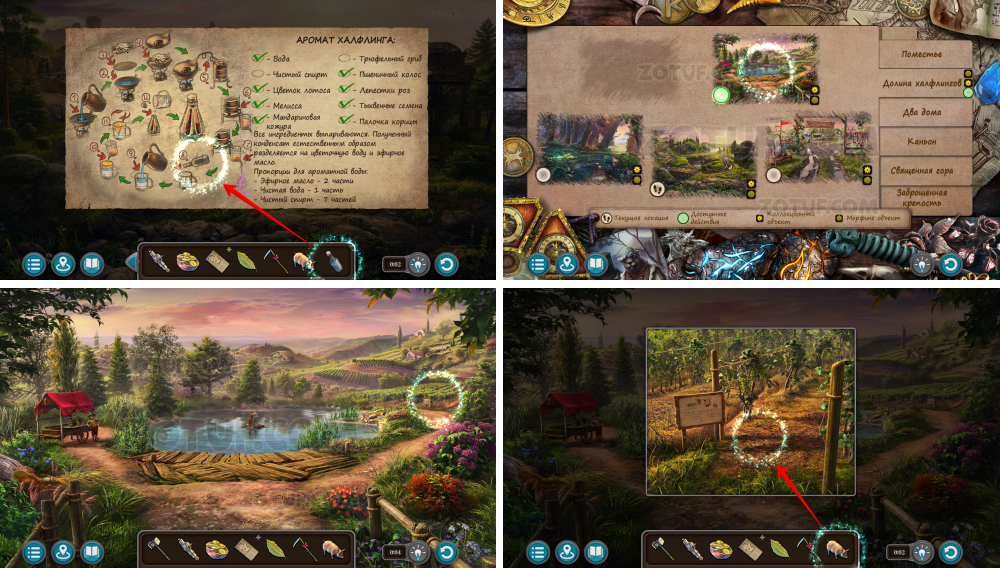
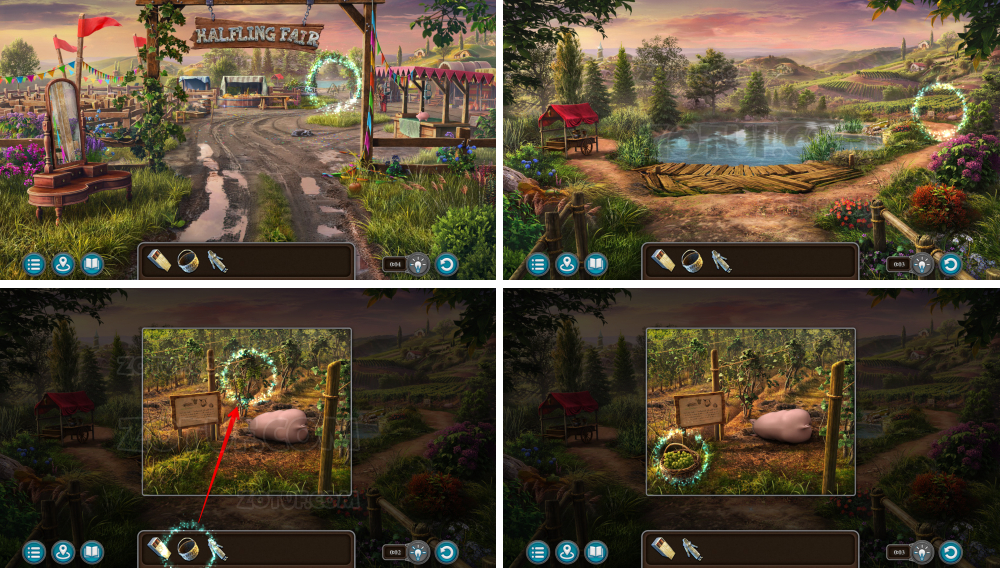
Halfling’s scent
Prepare aromatic water for a couple in love in exchange for a pontoon.
- Talk to the boy.
- Get the perfume recipe.
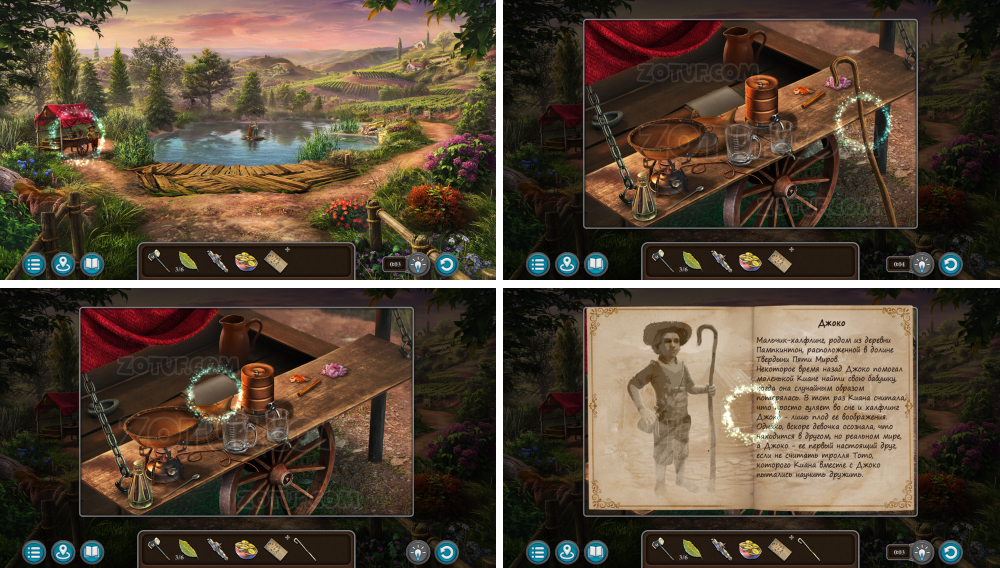
- Take Joko’s staff.
- Take manuscript 3/9.
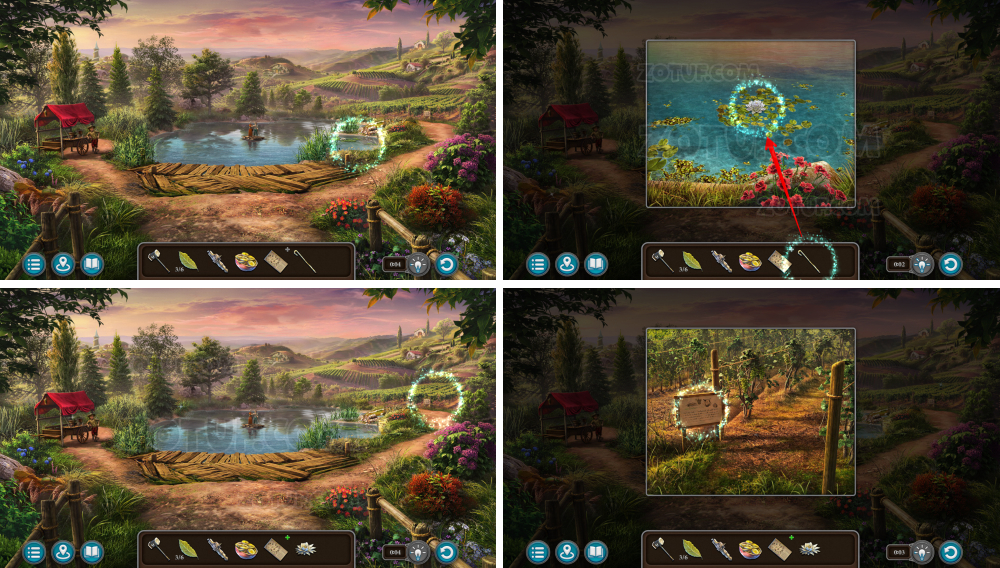
- Use Joko’s staff to get the lotus flower.
- Take the wheat stalk.
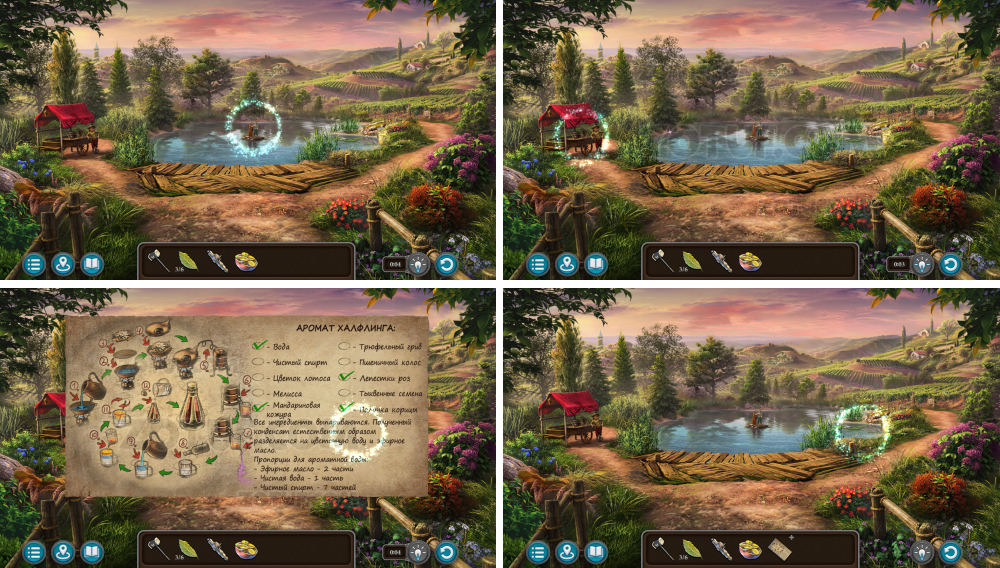
- Open the recipe.
- Use the lotus flower and wheat stalk.
- Take the melissa.
- Open the recipe.
- Use the melissa.
- Take the pumpkin seeds.
- Use the sugar candies.
- Open the recipe.
- Use the pumpkin seeds.
- Use the sugar candies.
- Use the passage bay leaves.
- Solve the puzzle: Move pigs and fences to group identical animals together.
- Get the sickle and piglet.
- Take the alcohol bottle.
- Open the recipe.
- Use the alcohol bottle.
- Use the piglet.
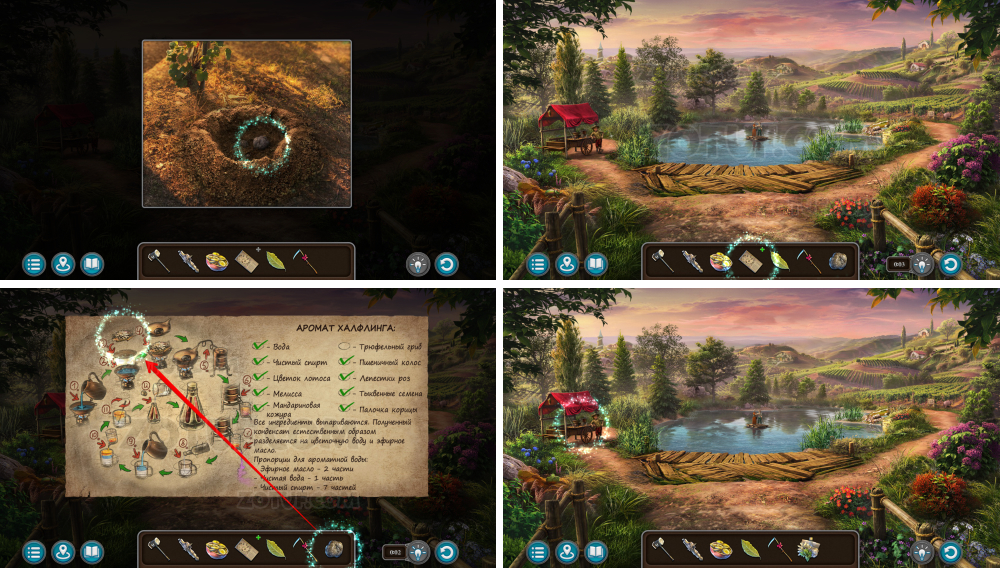
- Take the truffle mushroom.
- Open the recipe.
- Use the truffle mushroom to get the perfume kit.
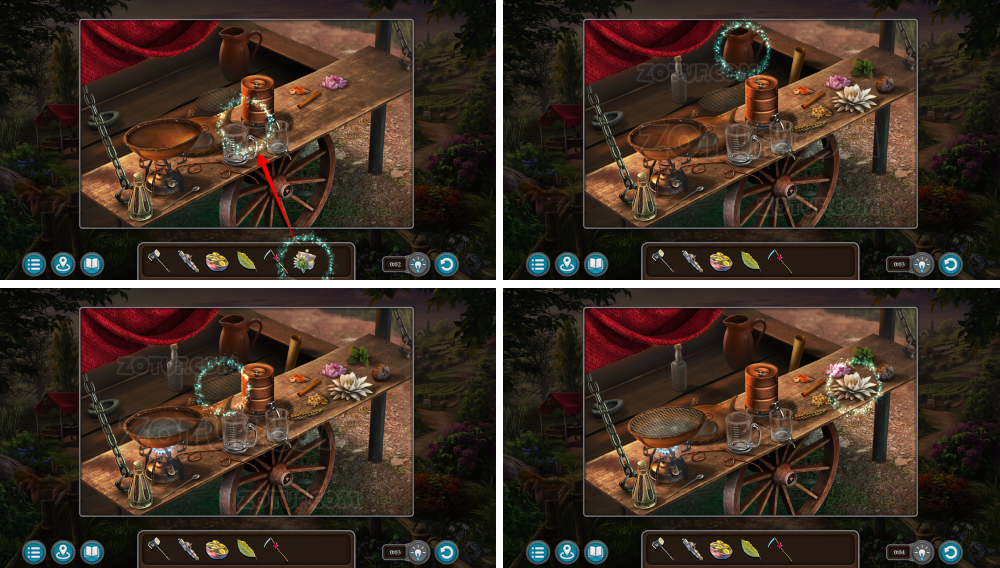
- Use the perfume kit.
- Pour water from the pitcher.
- Place the net.
- Put the perfume kit on the net.
- Attach the tube.
- Drain the settled liquid.
- Add alcohol to get the remaining alcohol.
- Pour water from the pitcher.
- Mix the liquid.
- Get the “Halfling Fragrance” perfume.
- Use the sugar candies.
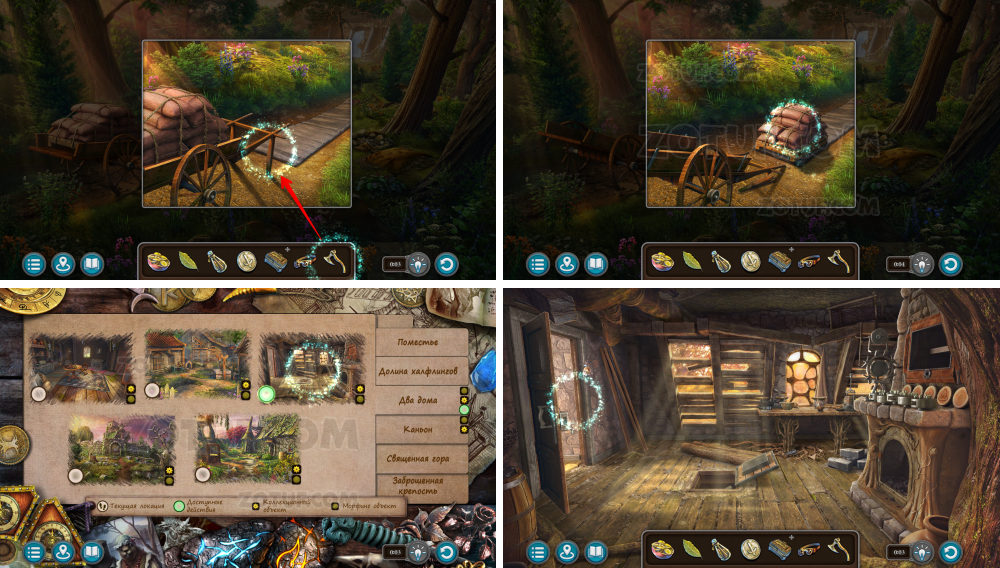
- Use the Follnur’s hammer.
- Secure the pontoon.
- Use the sugar candies.
- Install the pontoon.
- Use the sickle.
- Solve the puzzle: Click the highlighted cells to cut grass and find the stash. Progress resets if the sickle hits an obstacle thrice.

- Solution in the picture.
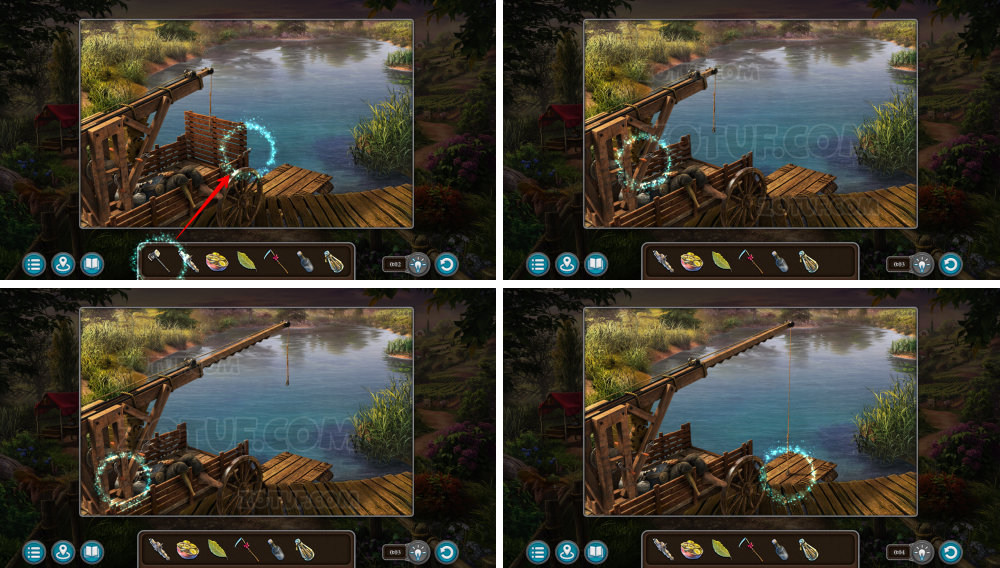
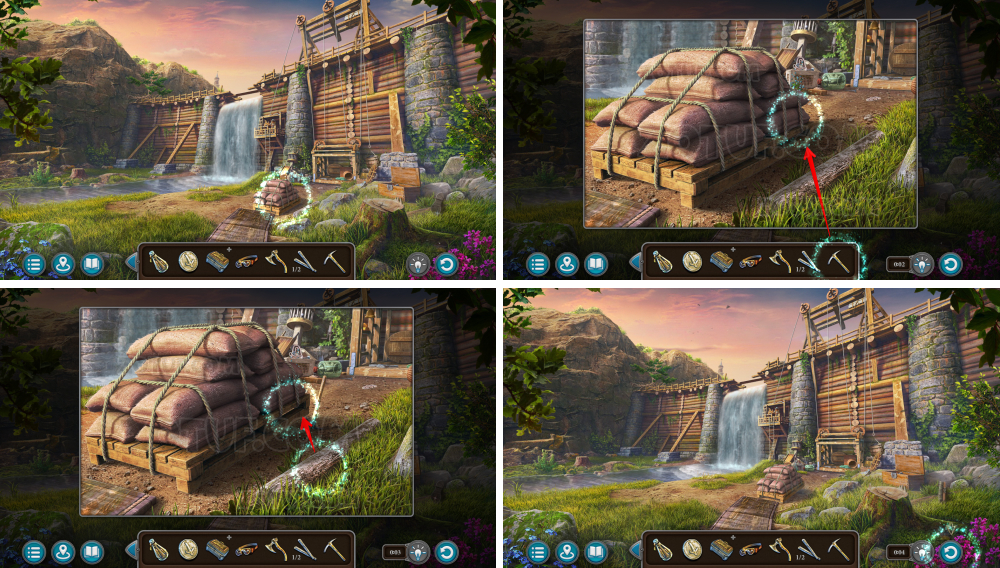
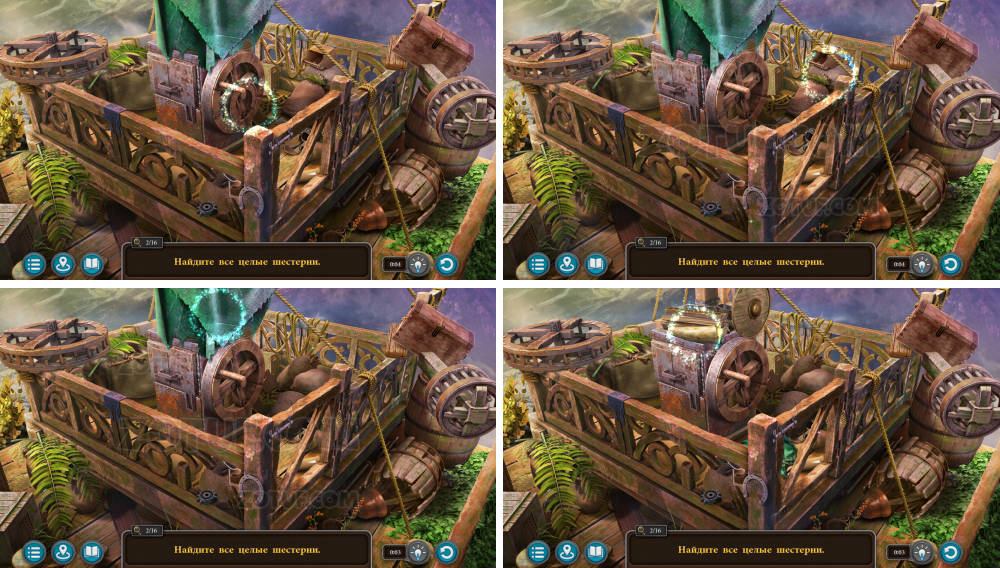
- Take the miner’s cart.
- Use the miner’s cart.
- Collect the heaviest items that fit in the cart.
- Solution 1.
- Solution 2.
- Solution 3.
- Solution 4.
- Solution 5.
- Solution 6.
- Solution 7.
- Solution 8.
- Solution 9.
- Solution 10.
- Solution 11.
- Get the loaded cart.
- Use the loaded cart.
- Install the mechanism.
- Lower the lift.
- Take the gate key.
- Take the H-shaped rod.

- Take the T-shaped rod.
- Use the gate key.
- Solve the puzzle: Unlock all chips by removing locks. Press arrows to remove partitions and rotate chips to move them into free spaces.
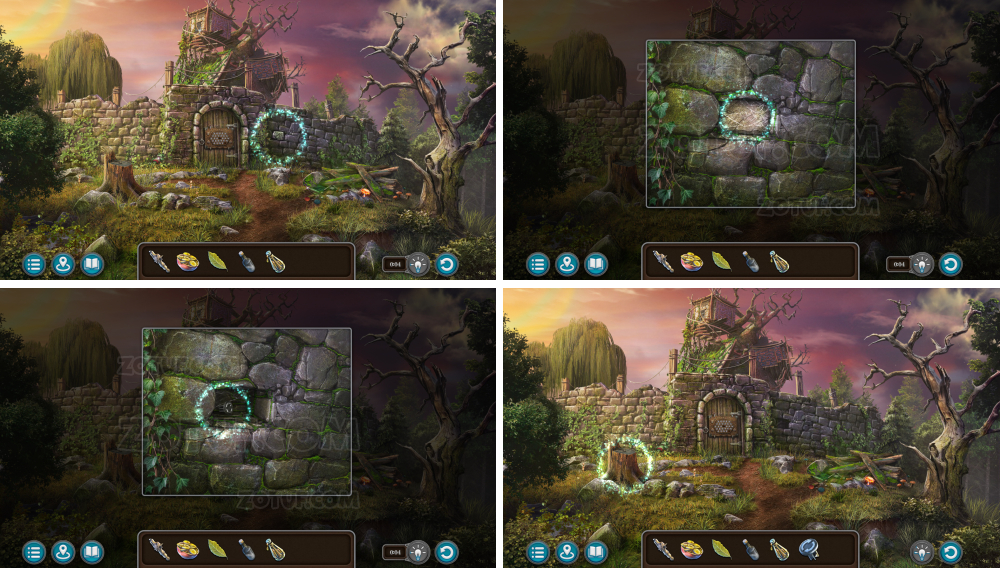
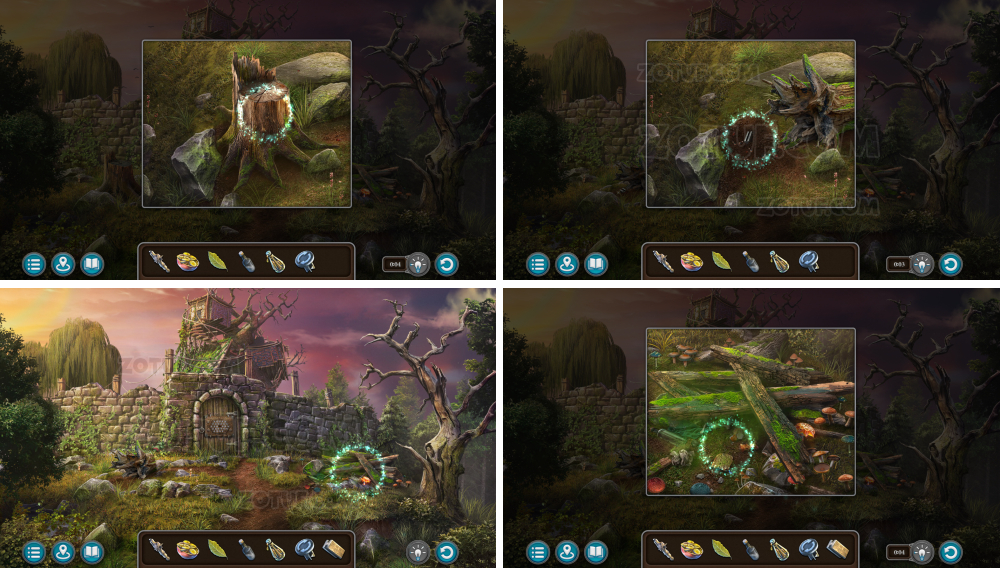
Portal Bridge
Use the portal dolmen to travel to Bogro’s estate.
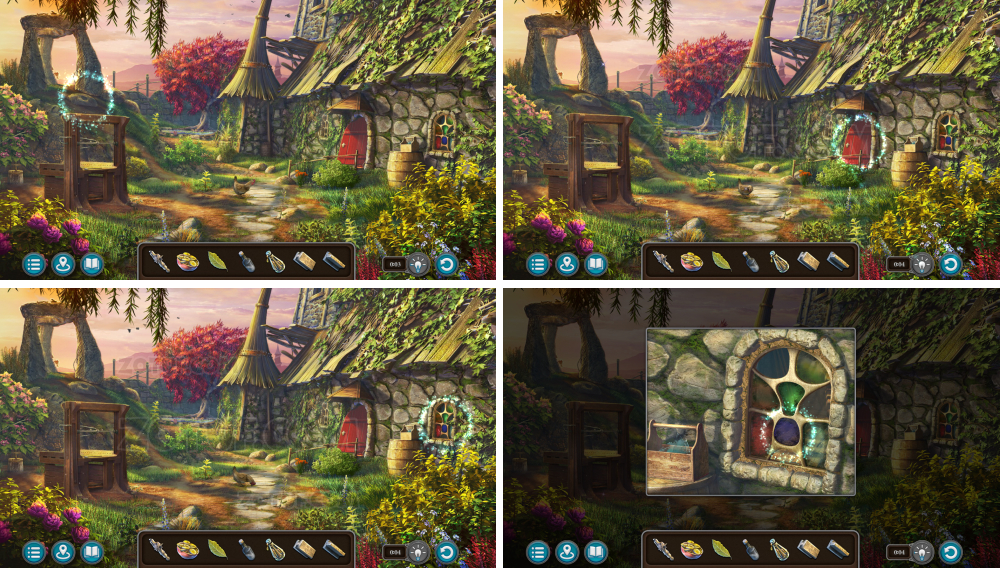
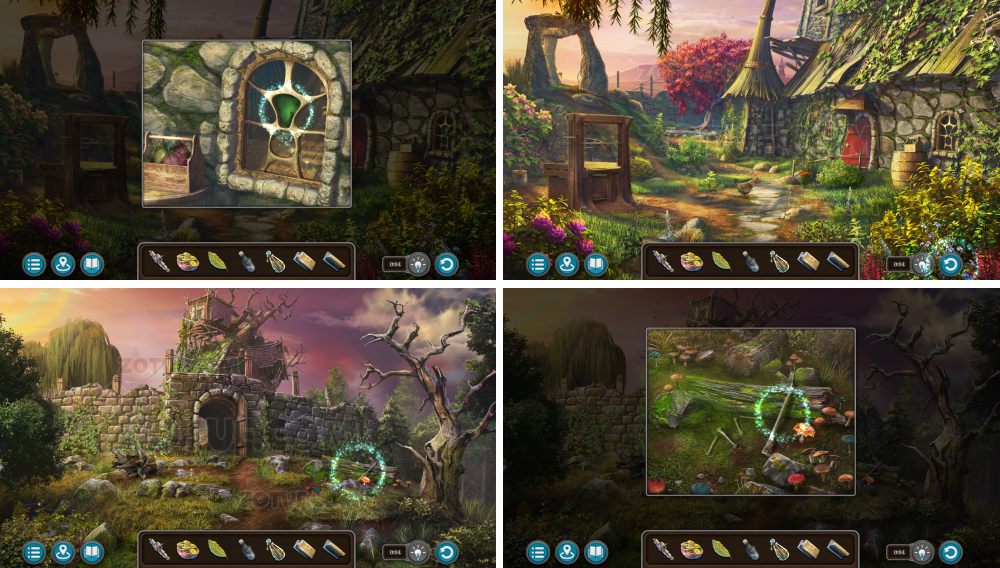
- Disassemble the window.
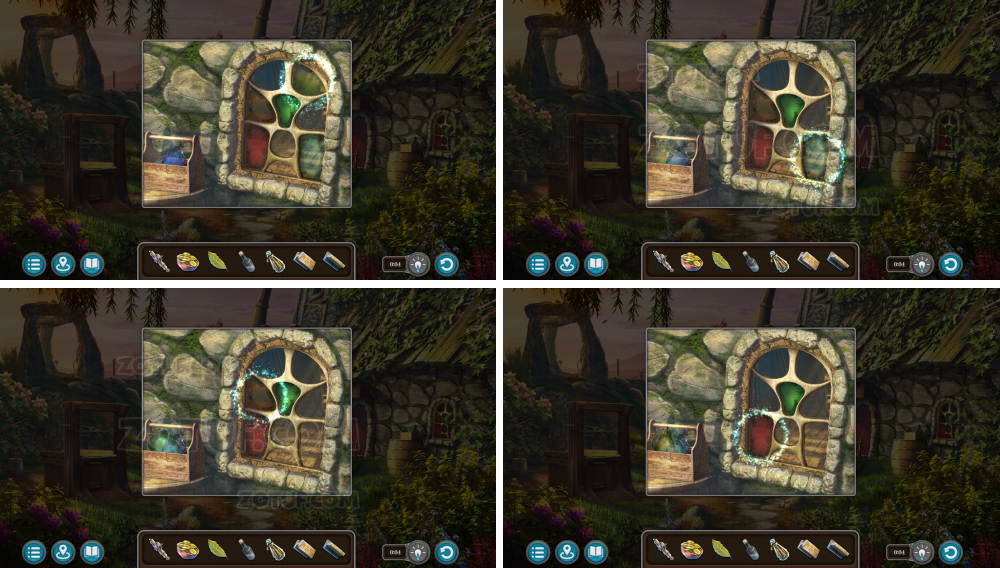
- Disassemble the window.
- Take the sharpened bone.
- Use the sharpened bone.
- Remove the sand from the hatch.
- Take the Z-shaped rod.
- Take the X-shaped rod.
- Use the remaining alcohol.
- Dip the brush into the bowl.
- Wipe the brush with a cloth to get a paintbrush.
- Use the paintbrush.
- Use the T-shaped rod.
- Use the H-shaped rod.
- Use the Z-shaped rod.
- Use the X-shaped rod.
- Solve the puzzle: Move the yellow cubes using the arrows and place them in the slots with matching symbols.
- Take the clean rune stone.
- Take the stash key.
- Use the clean rune stone.
- Use the stash key.
- Take the log.

- Use the log.
- Take the circular blade.
- Use the circular blade.
- Secure the circular blade with a nut.
- Start the saw.
- Cut five blanks.

- Take the wooden blanks.
- Use the wooden blanks.
- Create a test sample.
- Set the clean rune stone to receive the “Friend” rune stone.
- Use the “Friend” rune stone.
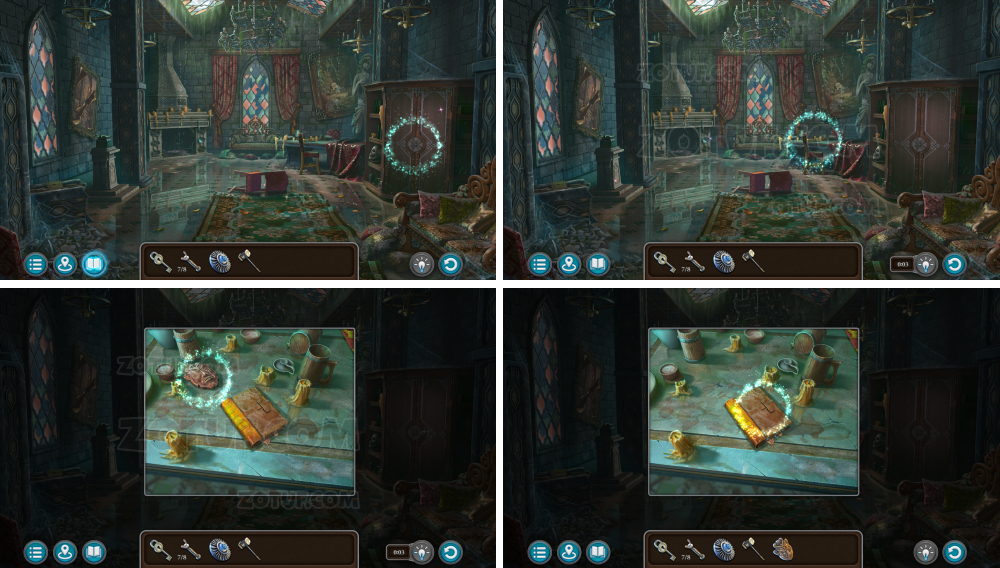
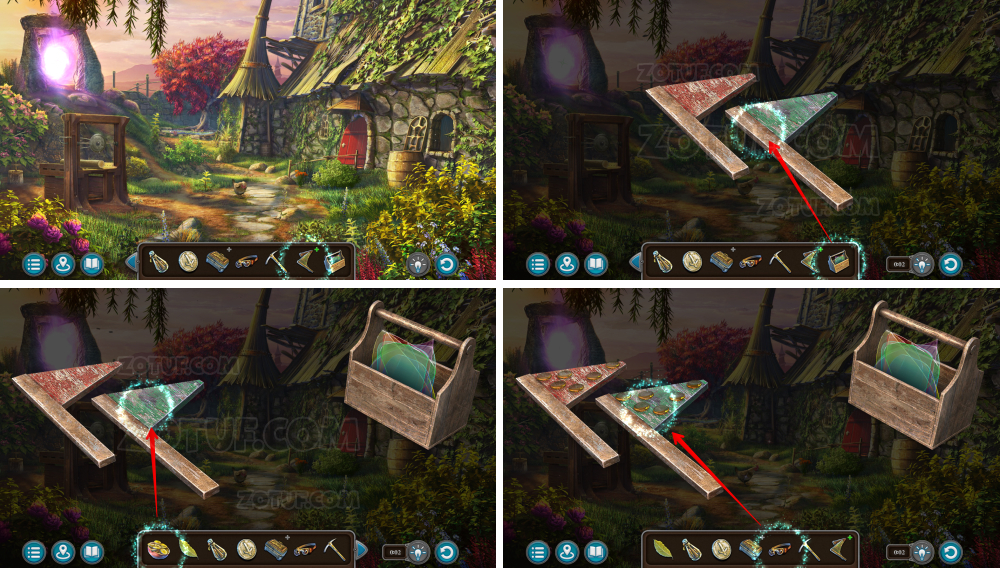
Bogro’s Estate
Explore the entire estate to find any information about Folnur.
- Use the dog whistle.
- Take the magnet.
- Use the magnet to get the magnet with objects.
- Click on the magnet with objects to remove extra items.

- Take the key and the iron kjol.
- Use the key.
- Remove the fruits.
- Take the wind-up key.
- Take the manuscript 4/9.
- Take the mechanical horse.
- Use the mechanical horse.
- Use the wind-up key.
- Solve the puzzle: Click the tiles to light them all.
- Examine the study.
- Take the heraldic flower.
- Use the heraldic flower.
- Take the spear.

- Use the spear to get the magnifying glass.
- Take the scissors.
- Use the scissors.
- Take the paper fragment.
- Take the triangular piece.

- Take the hexagonal piece.
- Take the compass.
- Use the paper fragment.
- Take the pentagonal piece.
- Use the magnifying glass to note the symbols in the lower-right corner.
- Use the triangular piece.
- Use the hexagonal piece.
- Use the pentagonal piece.
- Use the compass.
- Solve the puzzle: Adjust the compass needles to the correct positions. You’ve seen the hint already.
- Solution shown in the image.
- Take the quadrilateral piece.
- Use the quadrilateral piece.
- Solve the puzzle: Rotate sections to select the correct patterns – you’ve seen them earlier in the game.
- Solution shown in the image.
- Solve the puzzle: Arrange the shields to activate all numbers at the top.
- Solution shown in the image.
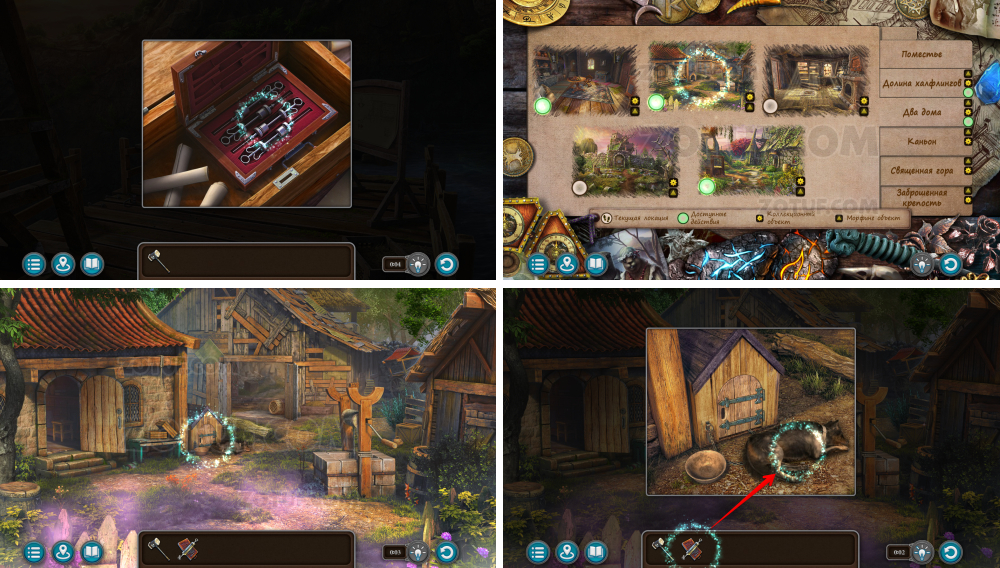
- Take the key.
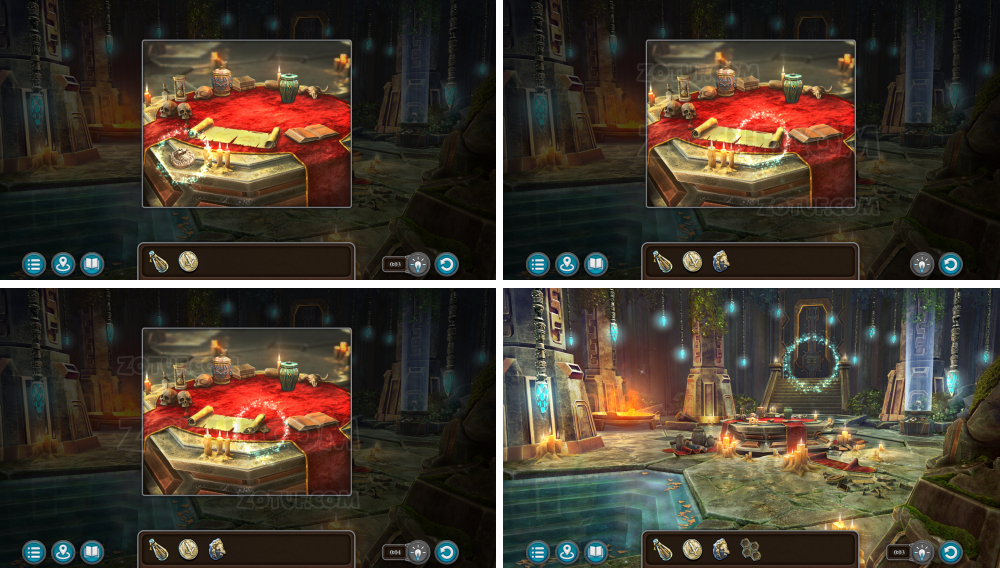
- Talk to Maaron to get the “See-Remember” stone and Follnur’s box.
- Check the dog porridge recipe.
- Take the pot.
Dog’s memories
Use the See-Remember stone to enter the dog’s memories and find out what Folnur did last time.
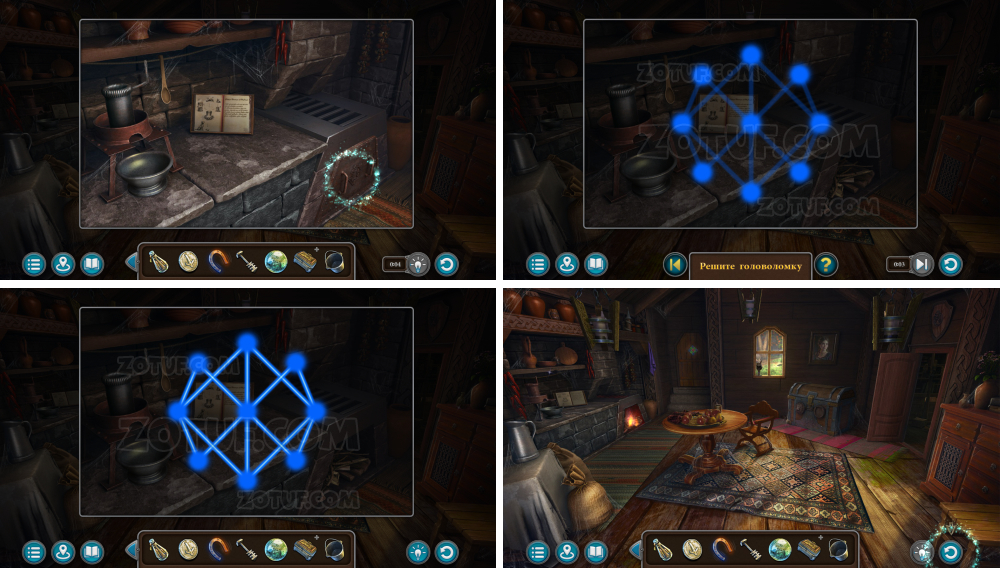
- Solve the puzzle: Repeat the pattern by connecting all dots with beams. Each line can only be drawn once.
- Take the bag of grain.
- Use the pot.
- Take the pot with water.

- Use the pot with water.
- Use the bag of grain.

- Take the animal bones.
- Use the animal bones.
- Pour the ground grain into the pot.
- Stir the porridge.
- Take the dog porridge.
- Use the dog porridge.
- Use the dog whistle.
Dog’s sniff
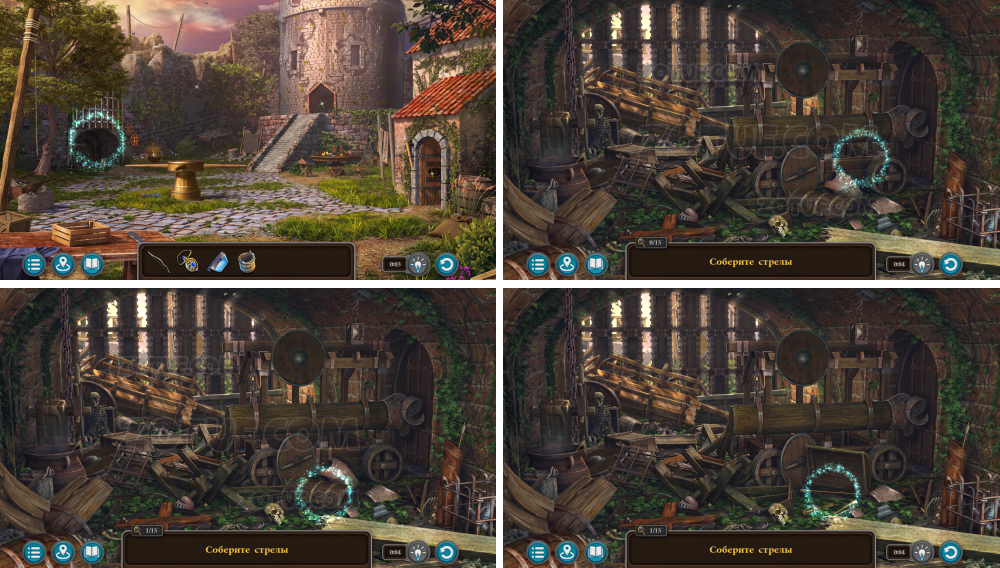
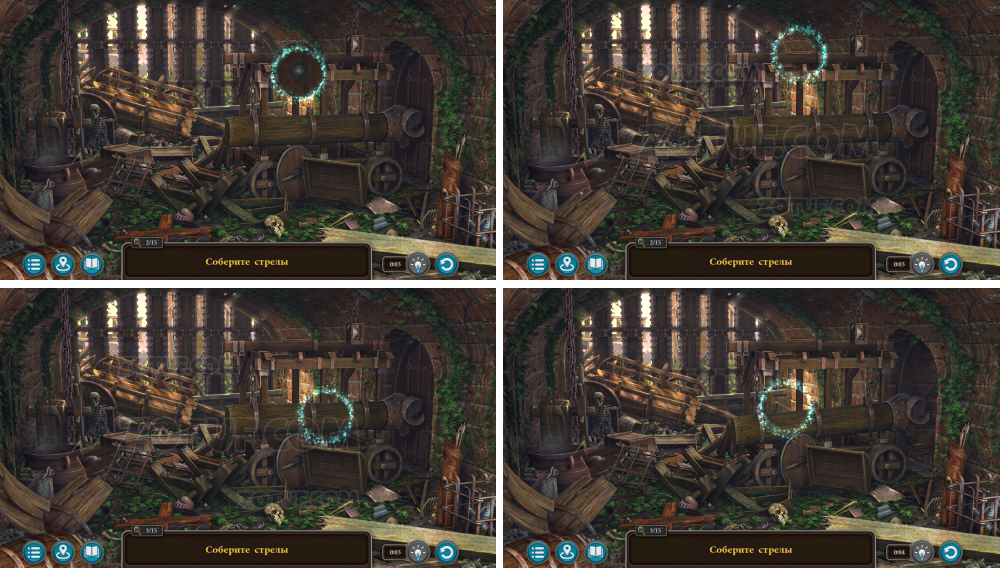
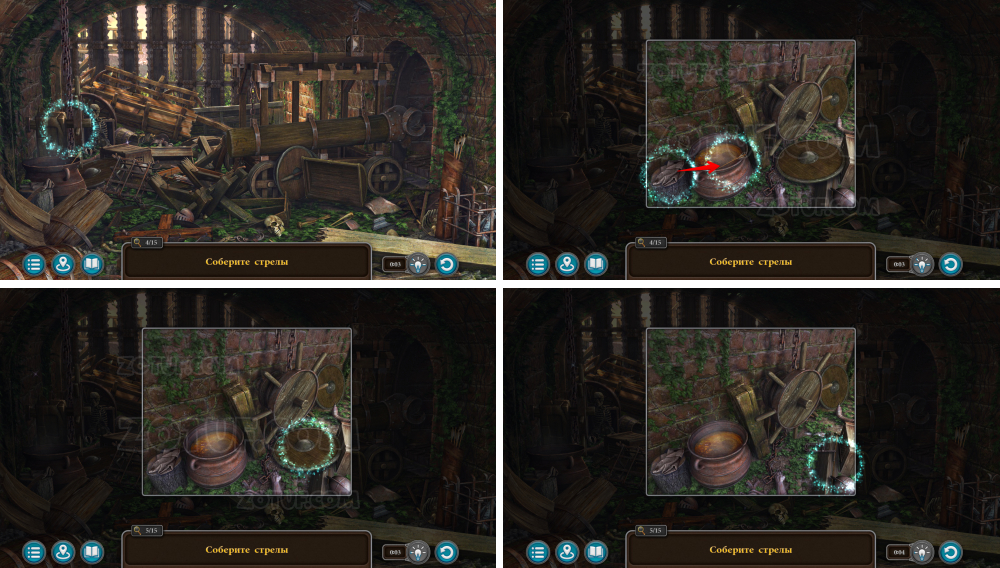
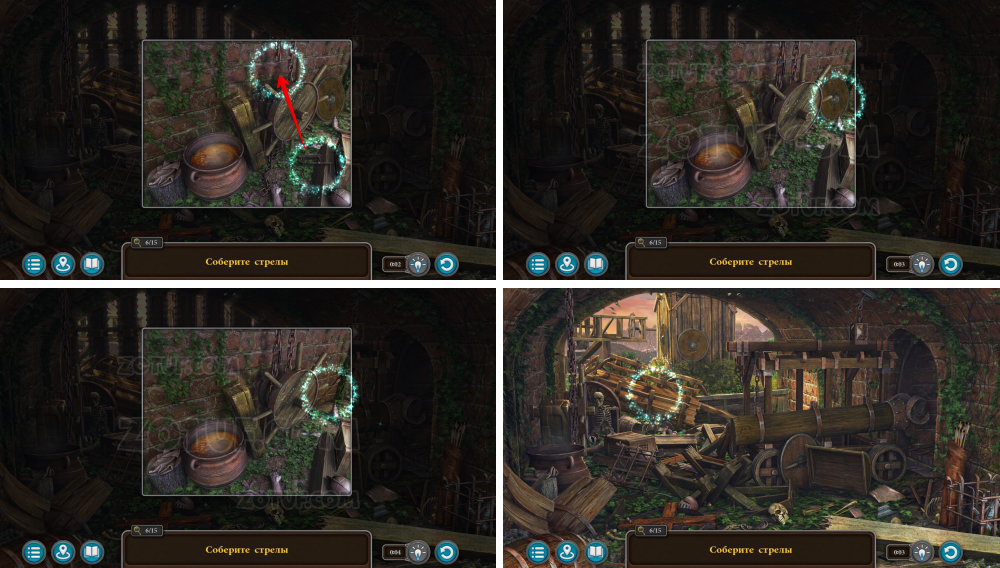
Follow Folnur’s trail and try to catch up with him.
- Use the “See-Remember” stone.
- Use the magnet.
- Take the powerful arrows.
- Use the powerful arrows.
- Use the powerful arrows.
- Shoot to the left.
- Use the powerful arrows.
- Shoot left again.
- Use the powerful arrows.
- Shoot to the right.
- Use the key.
- Solve the puzzle: Move the stones to the indicated spots using the arrows.
- Check the note.
Beaverling problems
Climb to the dam crest and talk to the Beaverling foreman.
- Take Follnur’s glasses.
- Talk to the beaver to get the chest key.
- Take the spool with the trap.
- Use the chest key.
- Take the hatchet.
- Use the spool with the trap.
- Use the hatchet.
- Take the butter grease.
- Use the butter grease.
- Take the trowel.

- Use the trowel.
- Solve the puzzle: Hold the pallet on the trap, preventing it from sliding off, and guide it to the end.
- Take the round beam 1/2.
- Take the pickaxe.
- Use the pickaxe.
- Place the log underneath.
- Use the hatchet.
- Take the rough beam.
- Click on the rough beam.
- Use the hatchet.
- Take the carpenter’s shave.
- Click on the rough beam.
- Use the carpenter’s shave to get the round beam 2/2.
- Use the two round beams.
- Get the key to the drawers from the beaver.
- Use the key to the drawers.
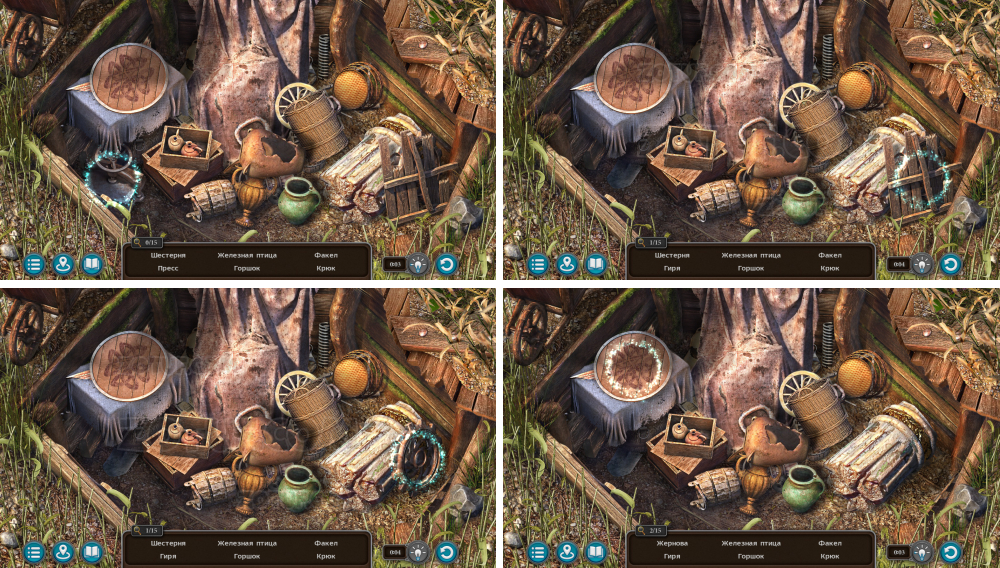
- Find all items on the list.
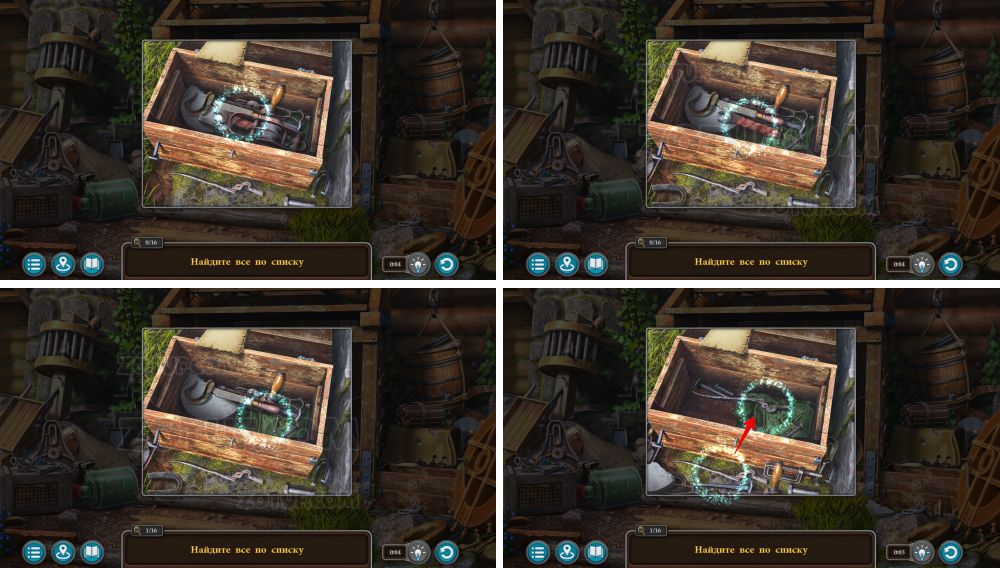
- Take the wrench.
- Assemble the blacksmith’s tongs.
- Take the blacksmith’s tongs.
- Take the clamps.
- Take the mallet.
- Take the anvil.
- Take the crowbar.
- Take the plane.
- Take the vise.
- Take the pallet with bricks.

- Take the rope.
- Take the bundle of planks.
- Take the scissors.
- Take the bag of sand.
- Take the corner brackets.
- Break open the top of the barrel.
- Take the glass cutter.
- Take the chisel.
Dam repair
We need to help the Beaverlings seal the breach in the dam to stop the waterfall and understand the nature of the explosion that shook the dam.
- Talk to the beaver to get the old flags.
- Take the key.
- Take the manuscript 5/9.
- Use the key.

- Inspect the old flags.
- Take the colored glass shards.
- Click on the old flags.
- Use the colored glass shards.
- Use the sugar candies.
- Use Follnur’s glasses.
- Use the pickaxe.
- Take the diamond crystal.

- Click on the old flags.
- Use the diamond crystal.
- Attach the glass shards to get the signal flags.
- Use the signal flags.
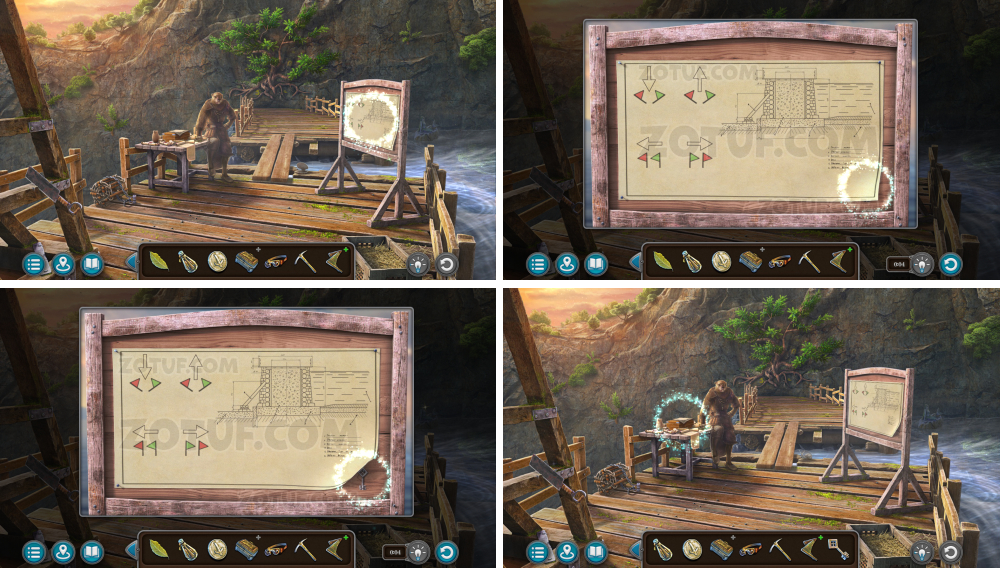
- Solve the puzzle: Use the flags to allocate bags and seal the dam breach.
- Remove the boards with stones.
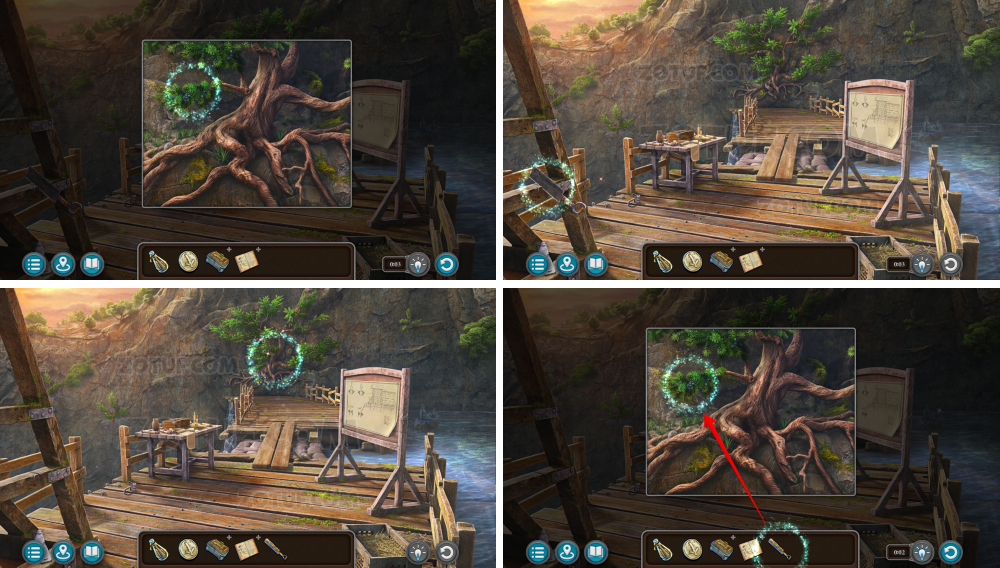
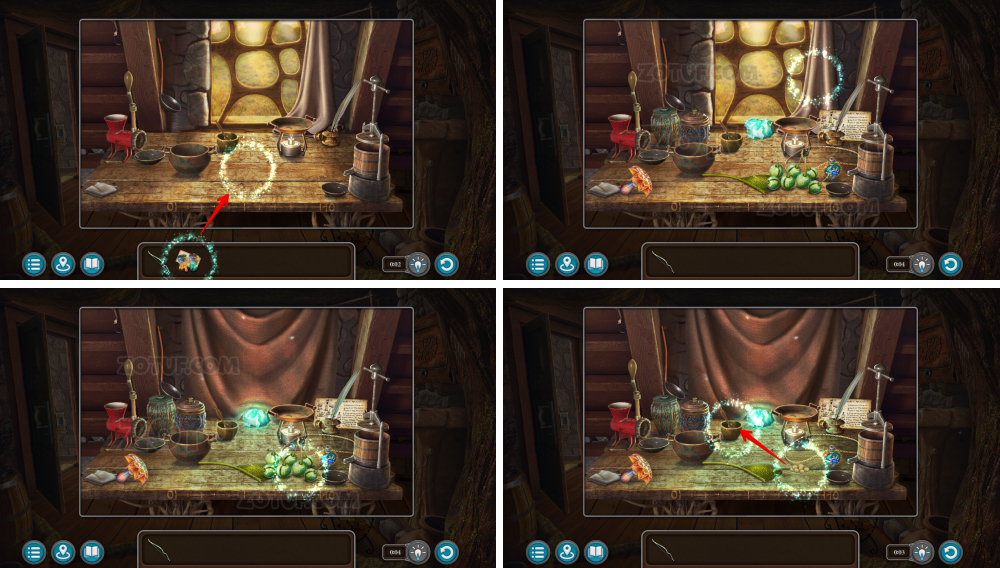
Potion of underwater breathing
Make a potion that allows to breathe underwater for a while to swim through a long flooded tunnel.
- Solve the puzzle: Press the symbols in the correct order.
- Take Maaron’s book.
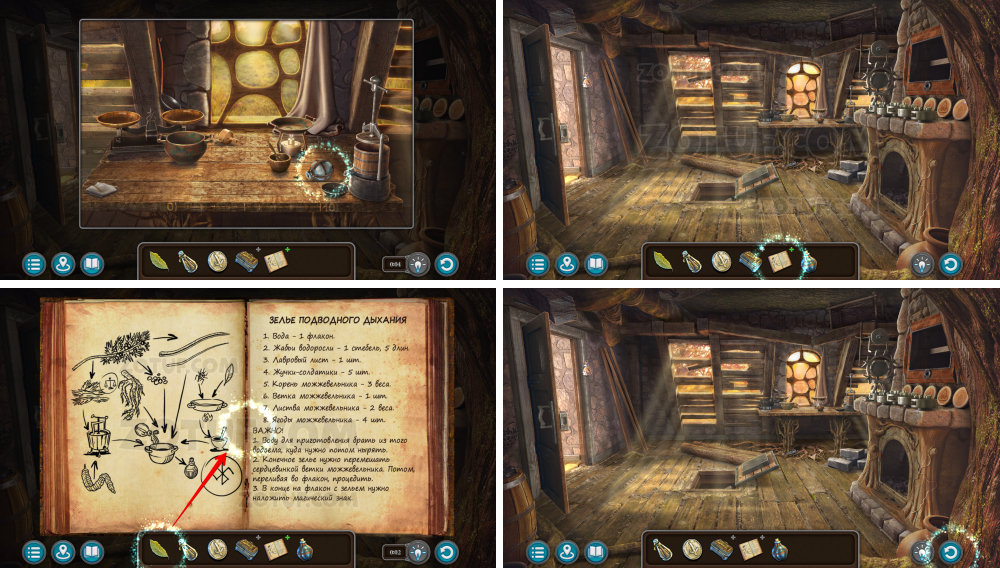
- Take the empty flask.
- Open Maaron’s book.
- Use the bay leaf.
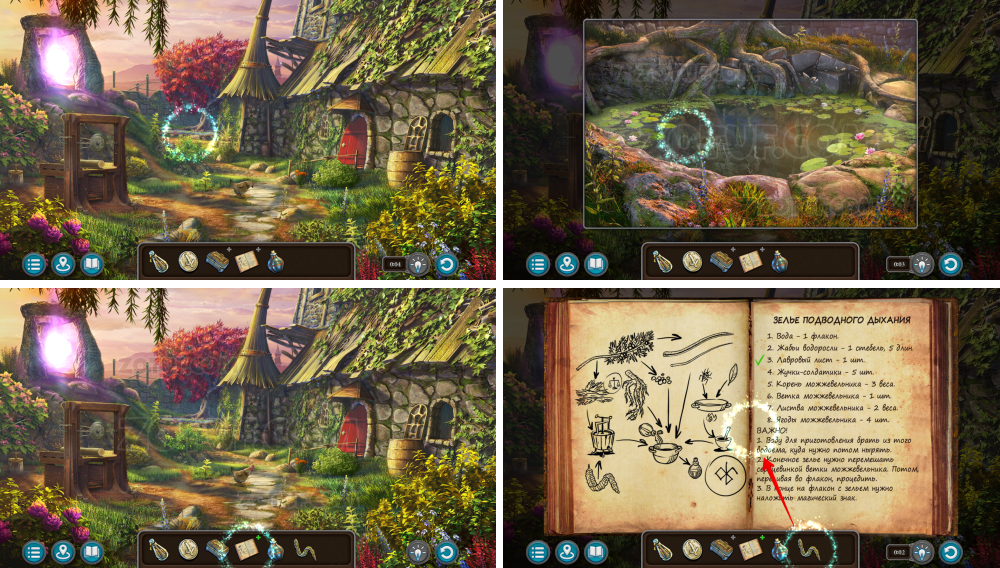
- Take the frog seaweed.
- Open Maaron’s book.
- Use the frog seaweed.

- Take the firebugs.
- Open Maaron’s book.
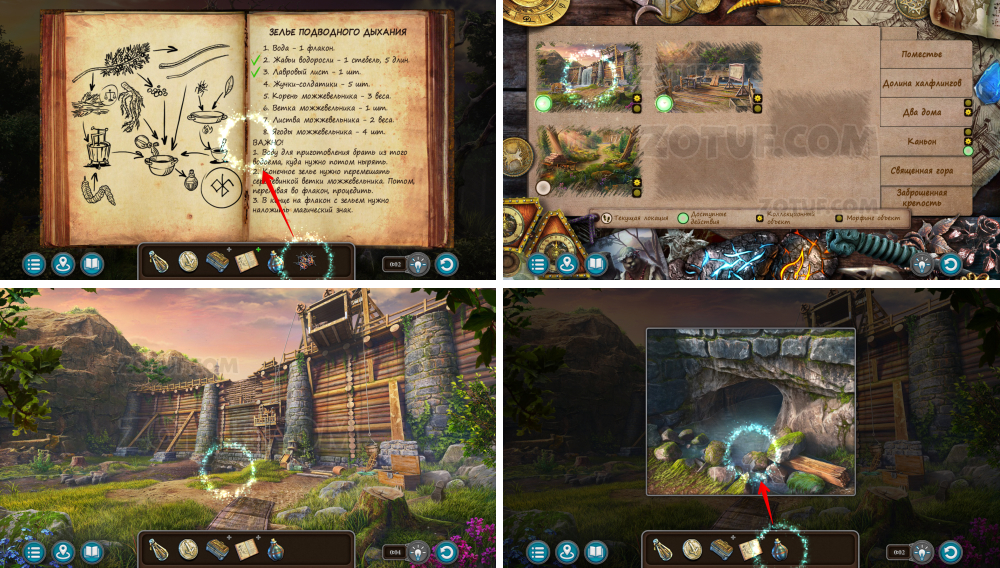
- Use the firebugs.
- Use the empty flask to get cave water.
- Open Maaron’s book.
- Use the cave water.
- Take the cleaver saw.
- Use the cleaver saw to get the juniper branch and juniper root.
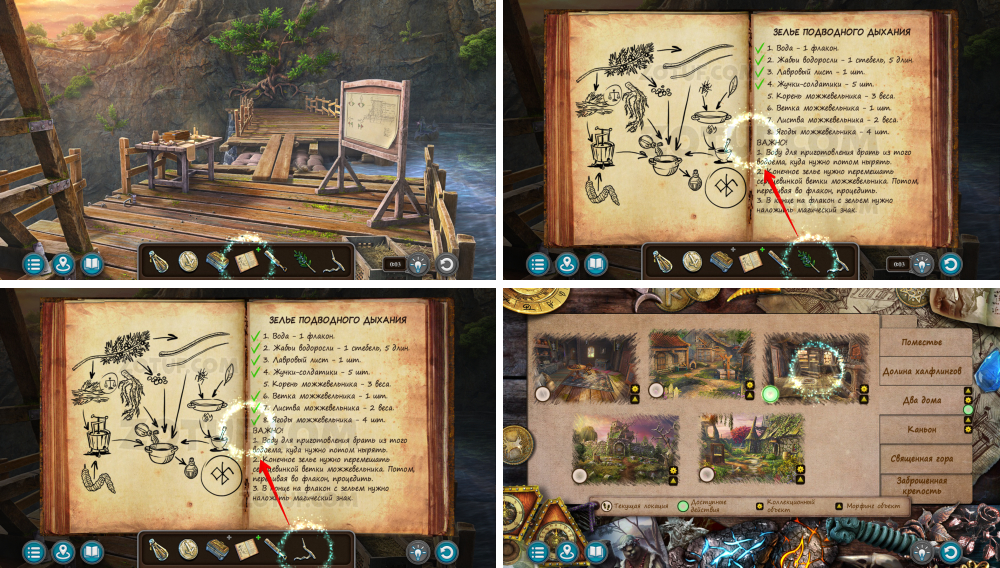
- Open Maaron’s book.
- Use the juniper branch and juniper root to get the potion kit.
- Use the potion kit.
- Add the firebugs and the bay leaf.
- Use the cleaver saw twice.
- Add the cave water.
- Stir.
- Add the juniper berries.
- Set the weights.
- Weigh the juniper leaves.
- Place the juniper leaves in the press.
- Set the weights.
- Weigh the juniper root.
- Add the juniper root.
- Use the press.

- Mix with the juniper branch.
- Set the funnel and place the cloth.
- Pour the potion into the flask.
- Solve the puzzle: Repeat the pattern by connecting all dots with beams. Each line can only be drawn once.
- Get the underwater breathing potion.
- Use the underwater breathing potion.
- Swim forward.
- Swim forward.
- Swim upward.
- Take the manuscript 6/9.
- Take the lion head.
- Take the mechanism part.

- Use the mechanism part.
- Solve the puzzle: Clear the board by finding matching symbols and removing them.
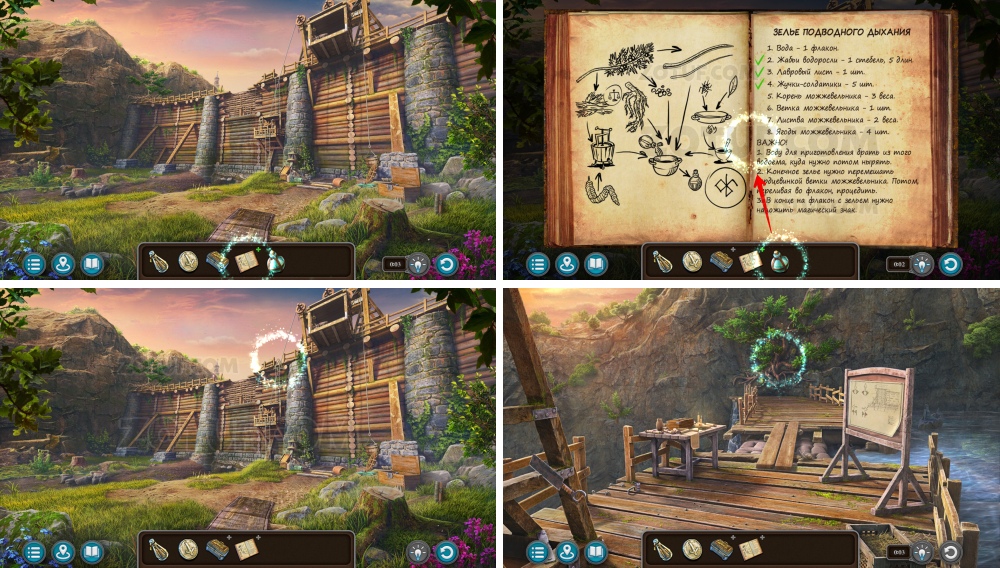
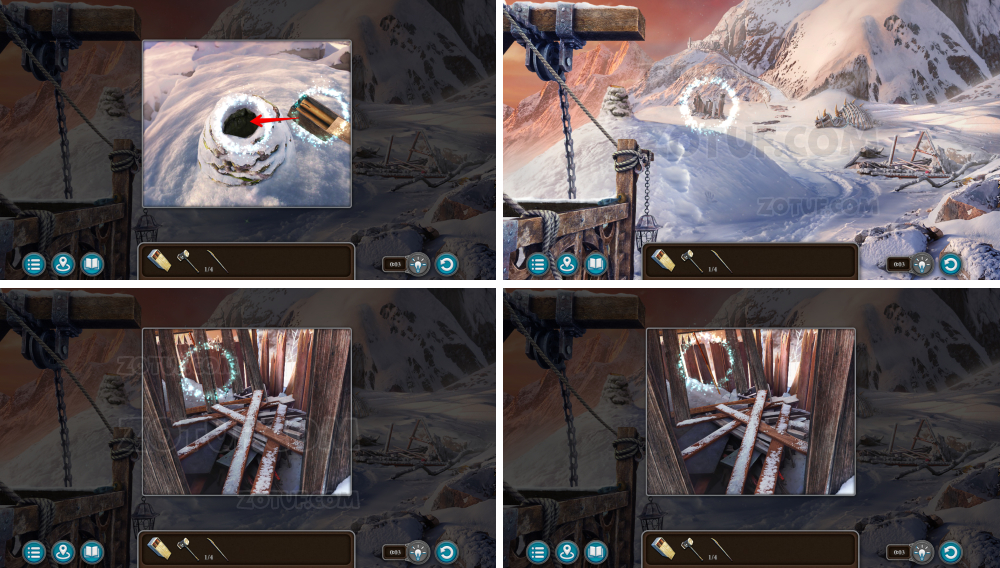
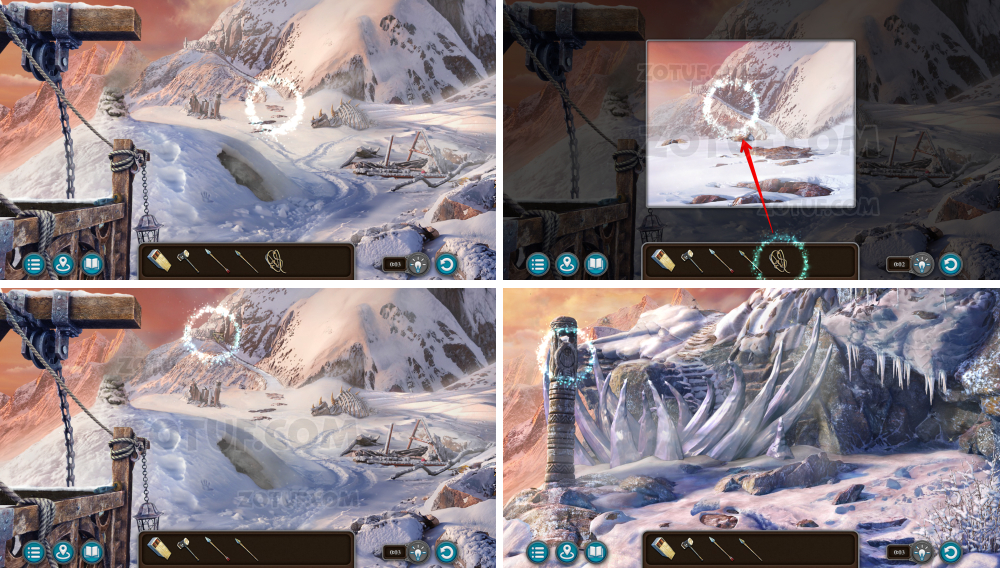
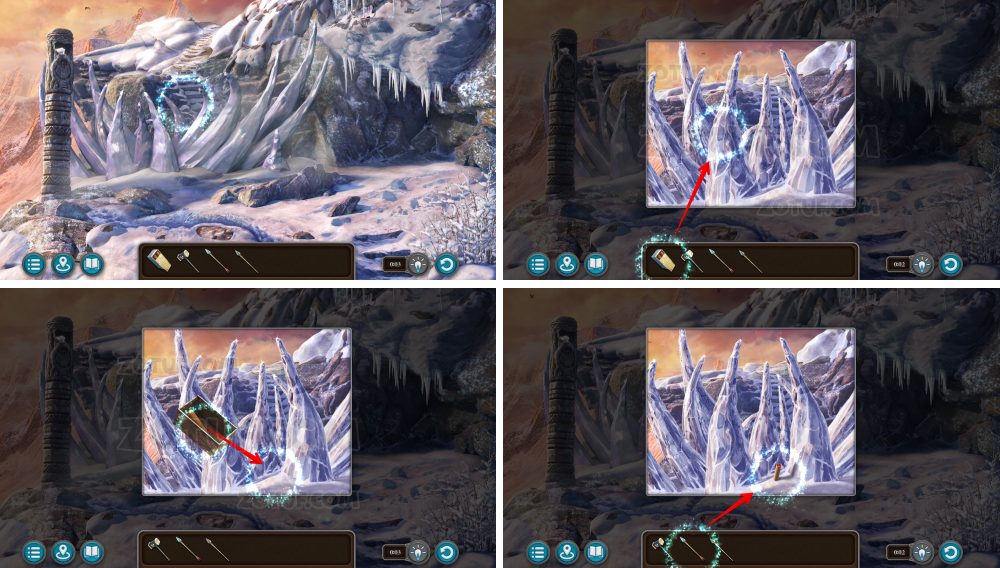
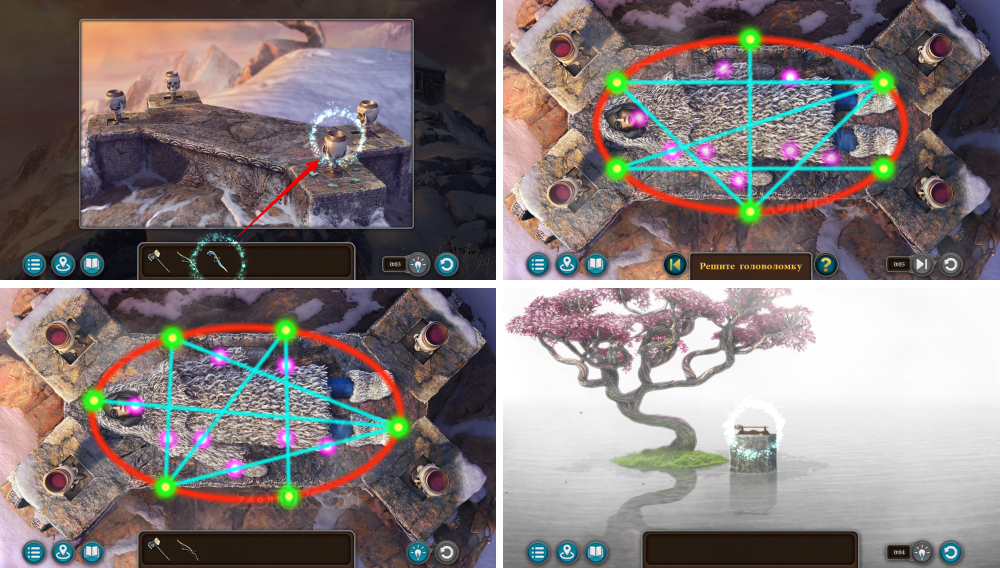
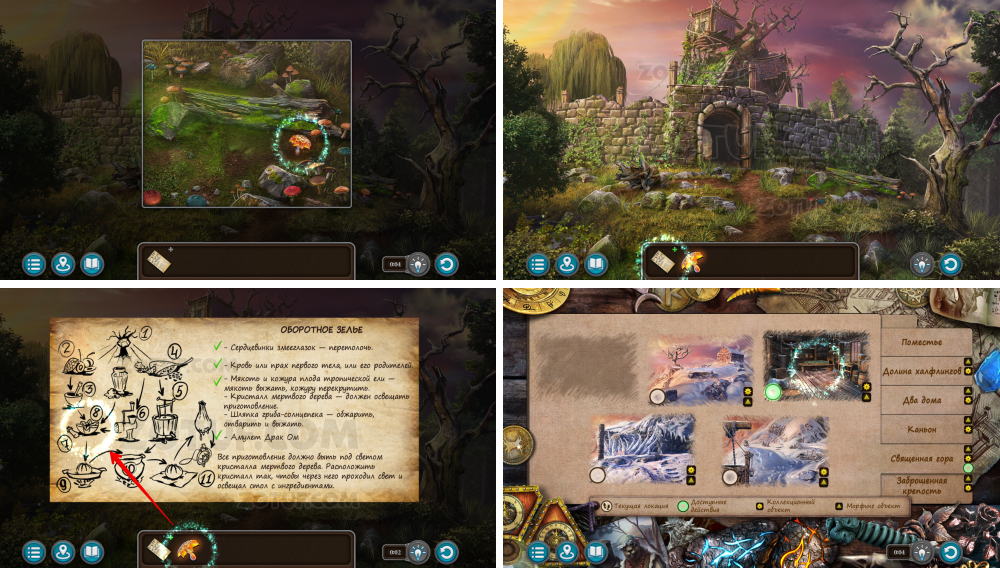
Snowy Peak
Dress warmly and reach the top of the sacred mountain.
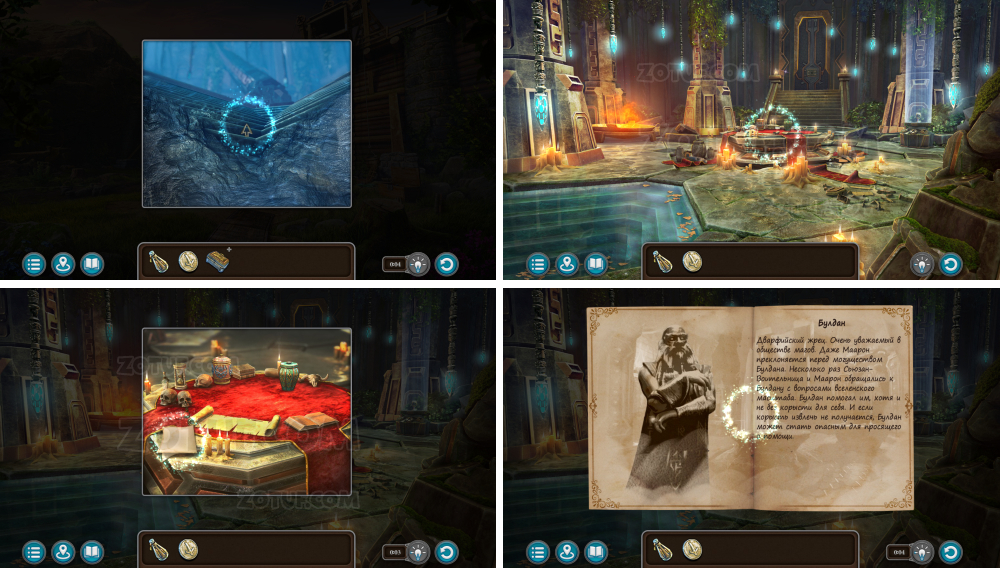
- Inspect the portal.
- Use the lion head.
- Take the fur pelts.
- Take the box of dynamite.
- Create a test sample.
- Take the clean rune stone.
- Use the clean rune stone.
- Set the clean rune stone to get the “Pumpkin” rune stone.

- Use the “Pumpkin” rune stone.
- Lower the lift.
- Lower the second lift.
- Use “Halfling Fragrance” perfume.
- Take the old fabric.
- Use the old fabric.
- Use the iron kjoll.
- Take the sewing kit.
- Take the empty basket.
- Click on the fur hides.
- Use the sewing kit to get fur clothing.
- Use the empty basket to get a basket of grapes.
- Use the basket of grapes.
- Take the Follnur’s hammer.
- Use the Follnur’s hammer.
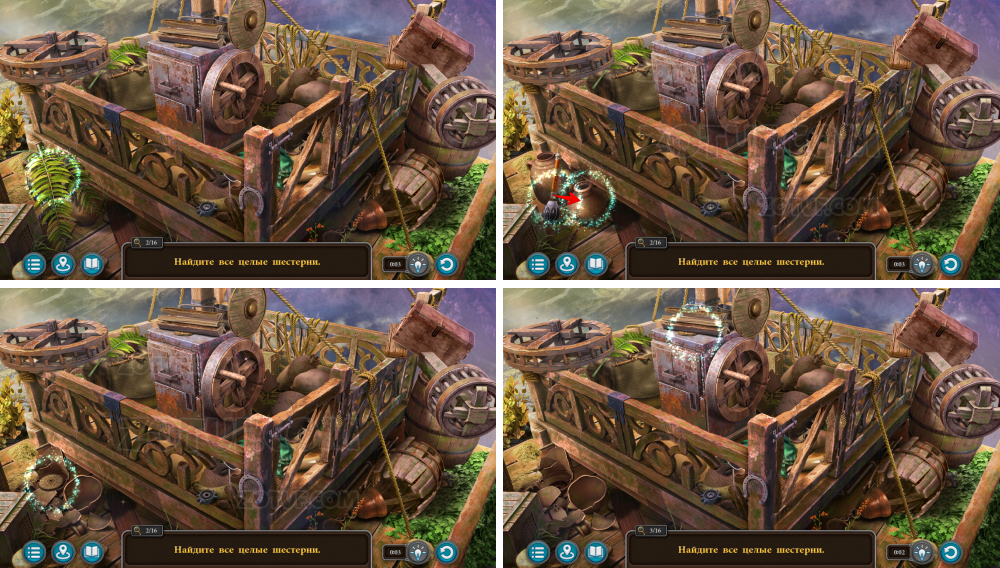
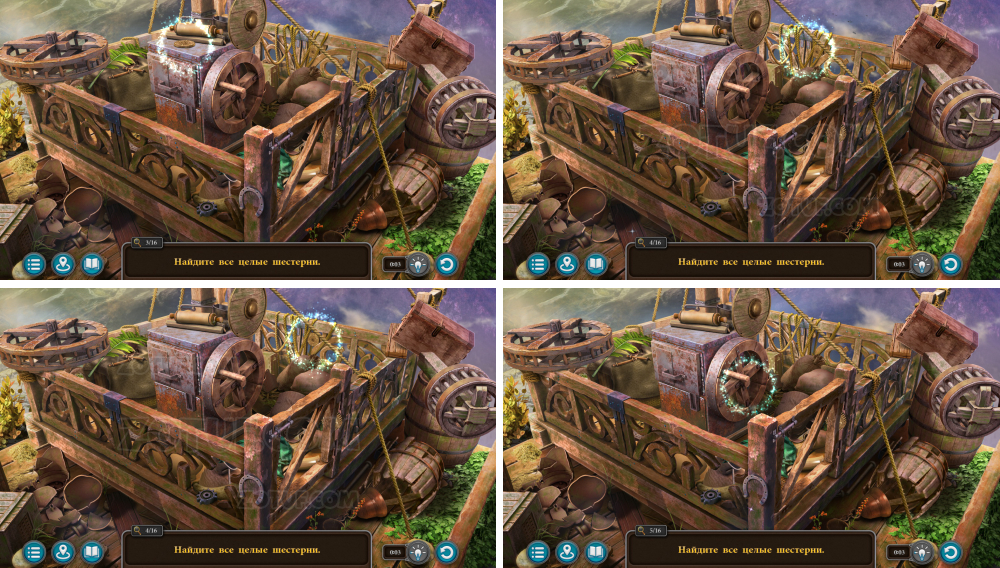
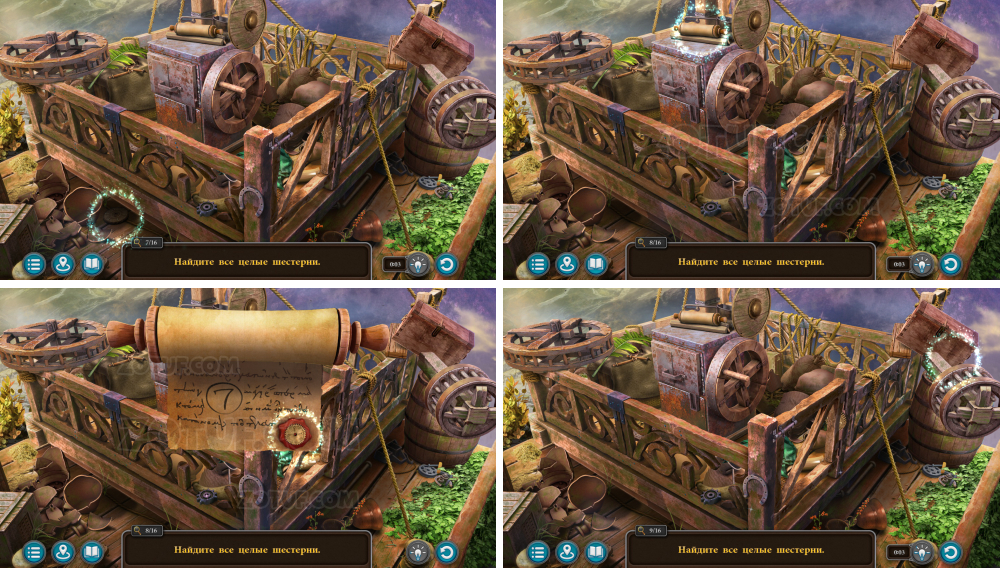
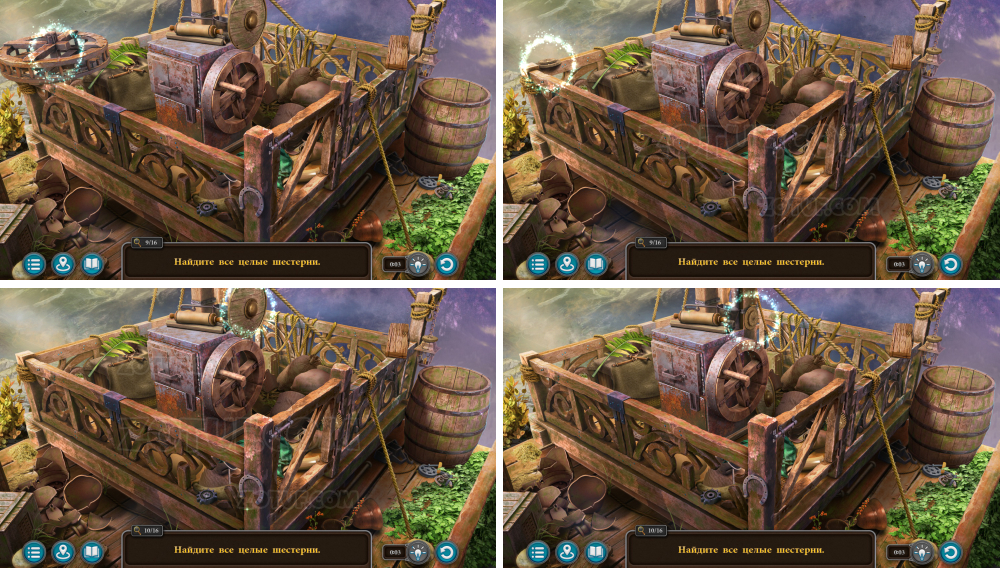
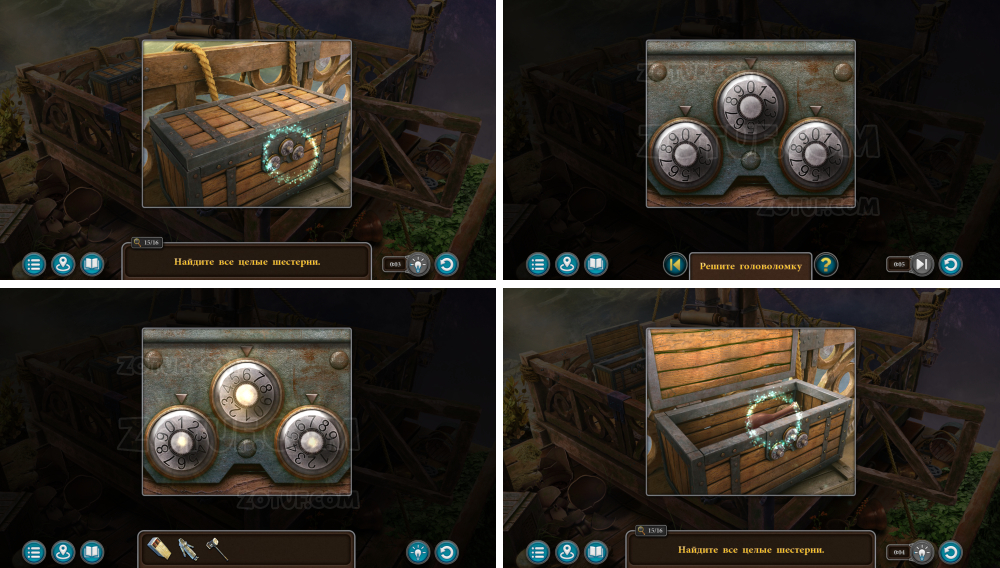
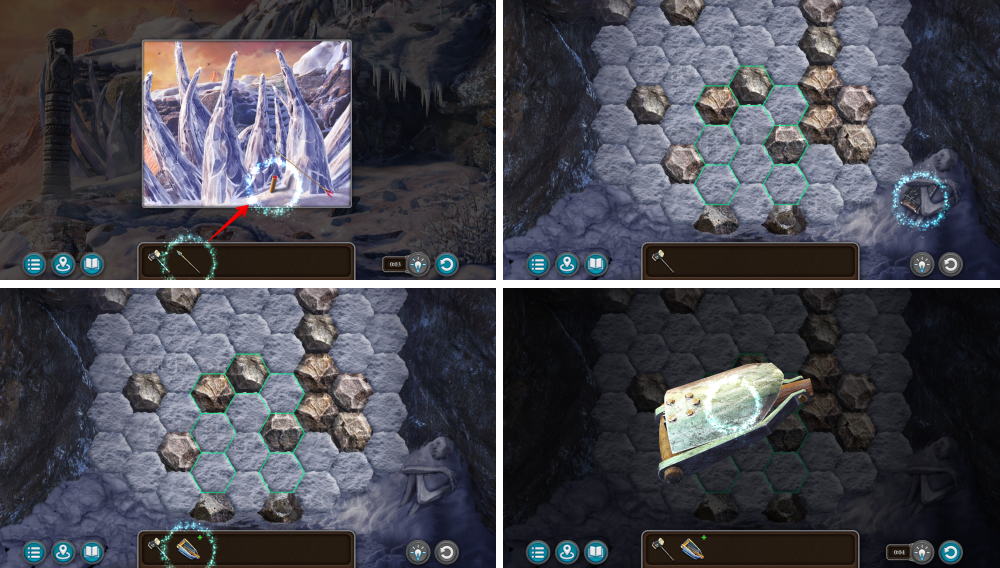
- Find all intact gears.
- Solution 1.
- Solution 2.
- Solution 3.
- Solution 4.

- Solution 5.
- Solution 6.
- Solution 7.
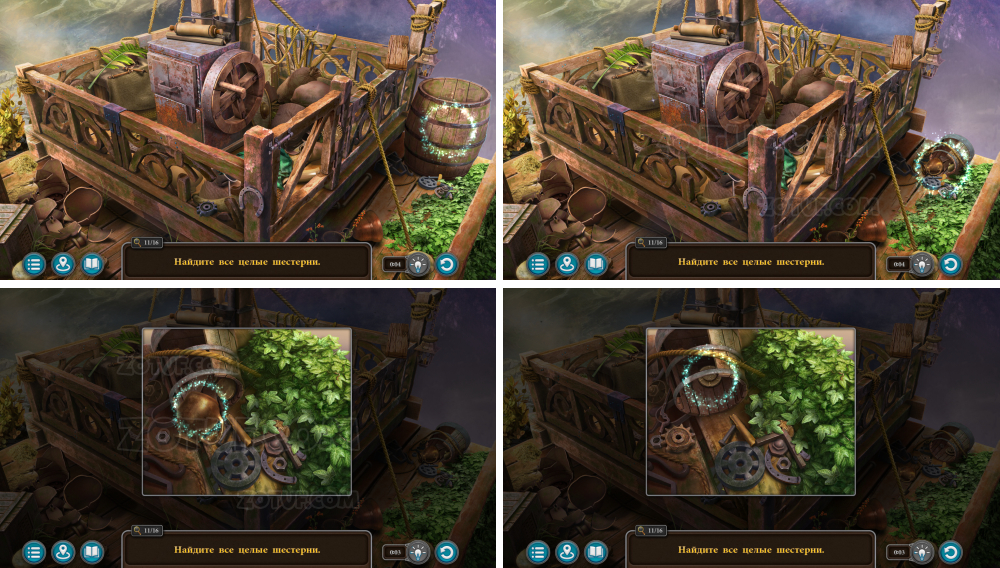
- Solution 8.
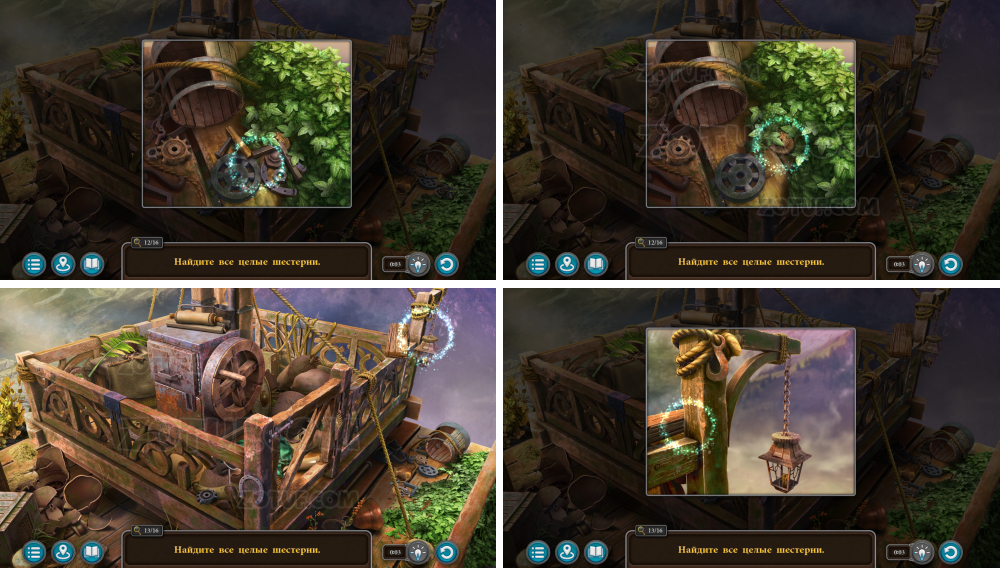
- Solution 9.
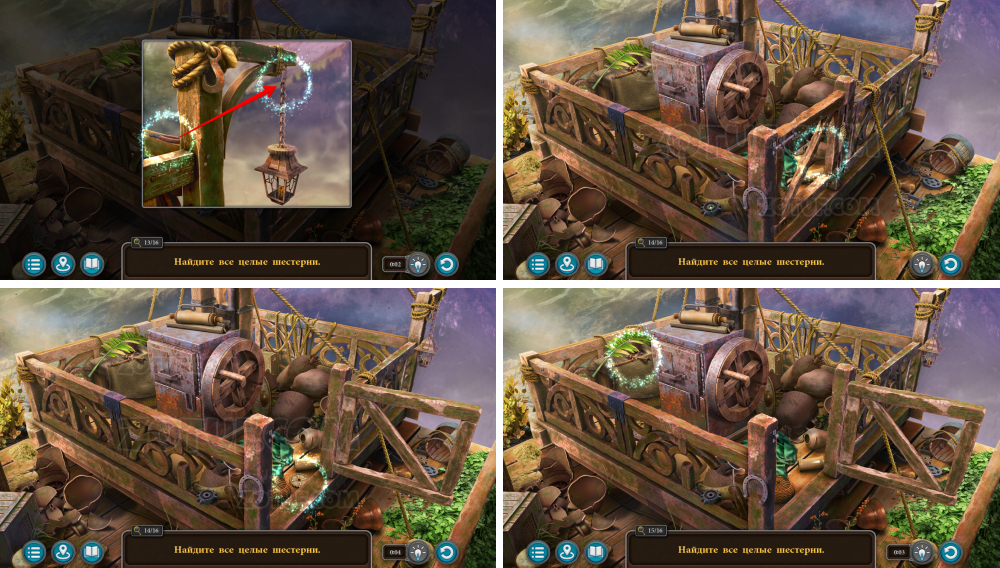
- Solution 10.
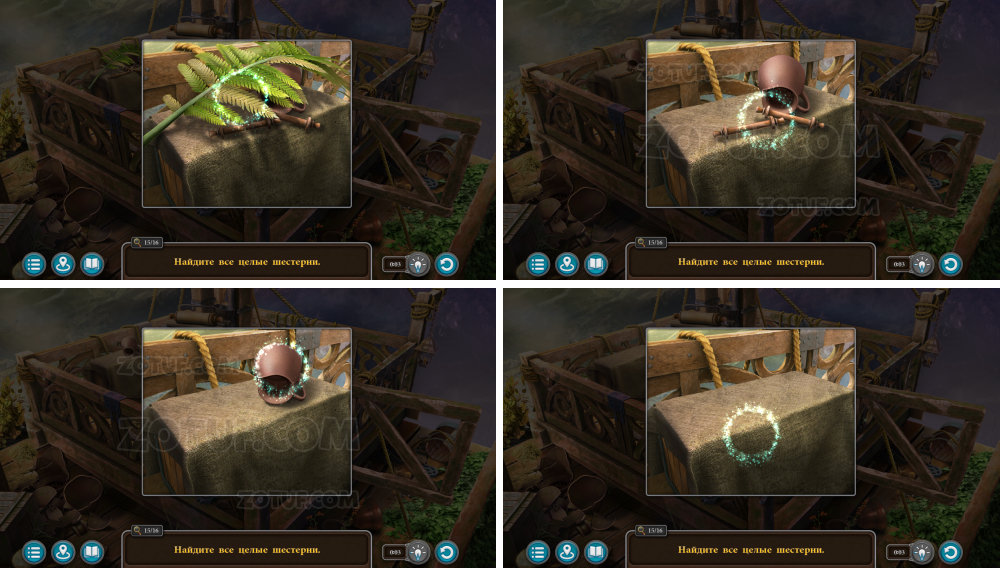
- Solution 11.
- Solution 12.
- Solve the puzzle: Rotate the drums to find the cipher. A clue was encountered earlier in the game.
- Solution in the image: code 1, 6, 7.
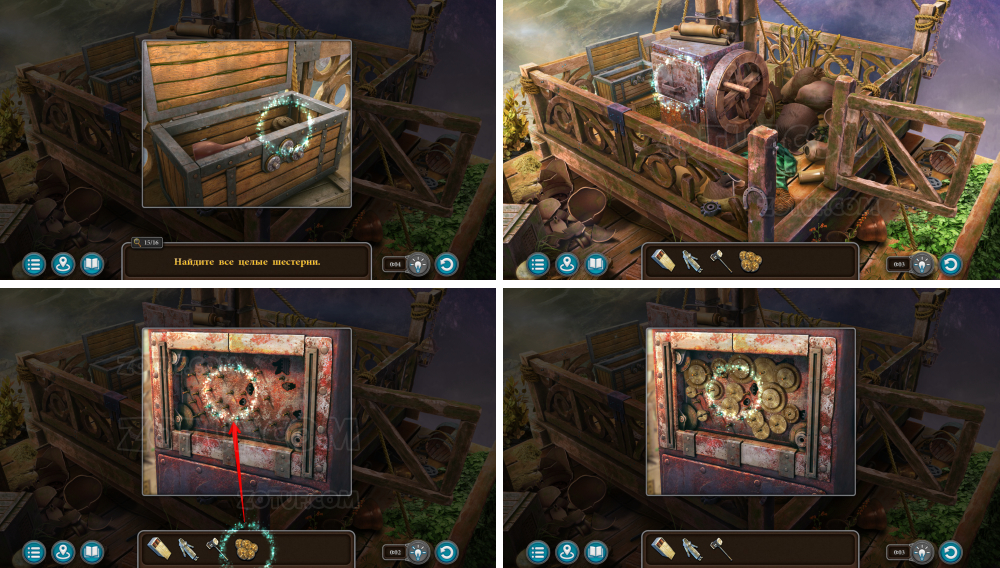
- Take the gears.
- Use the gears.
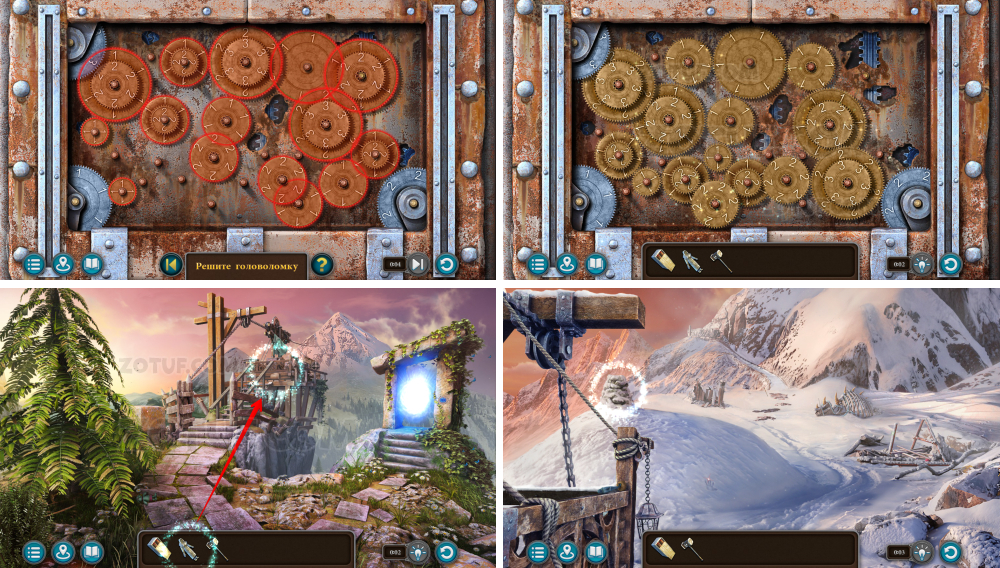
- Solve the puzzle: Engage all the gears so that the numbers on their surfaces align. Matching gears won’t spin if they don’t fit.
- Solution in the image.
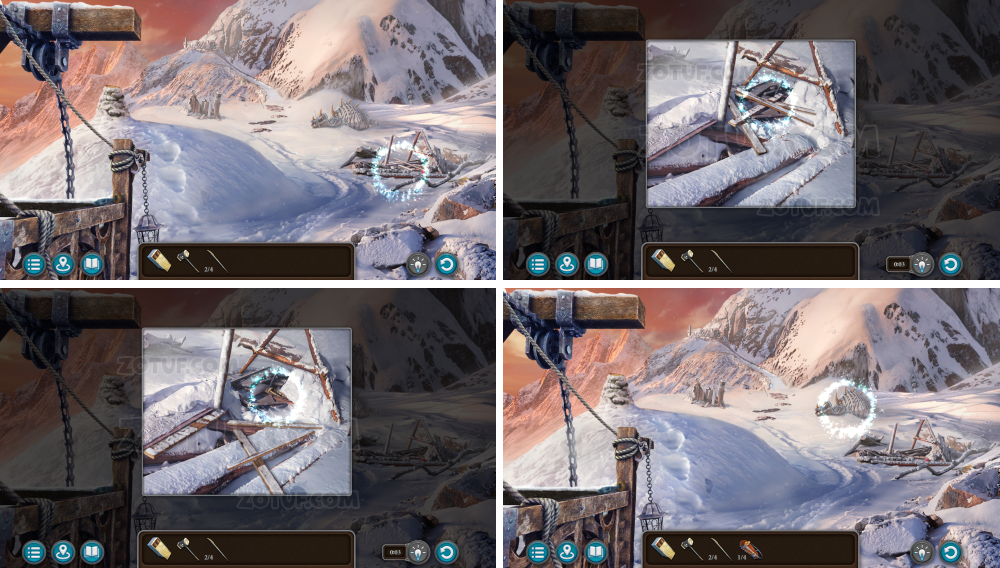
- Use the fur clothing.
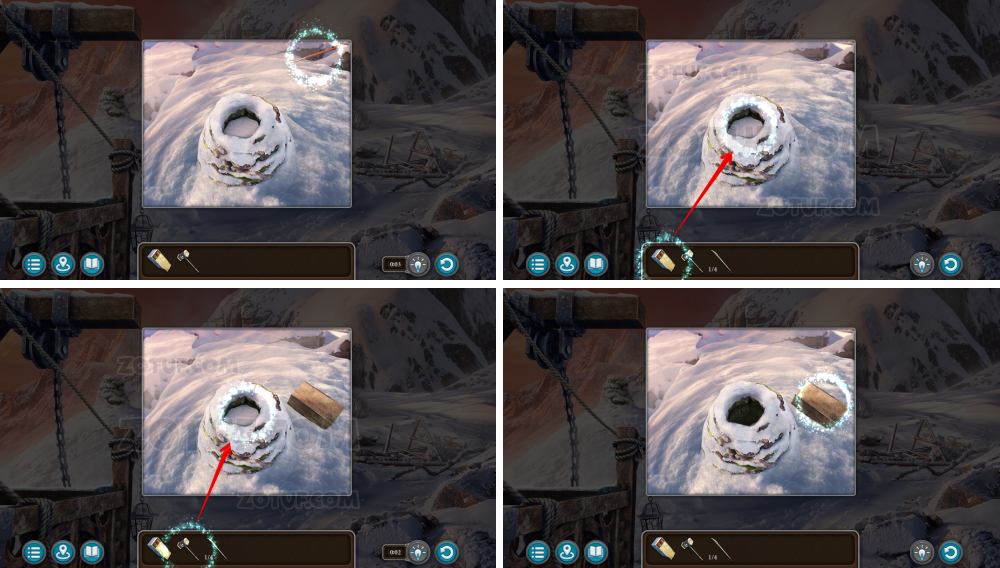
- Take the stilt staff 1/4.
- Use the box of dynamite.
- Use the Follnur’s hammer.
- Place the dynamite.
- Take the stilt staff 2/4.
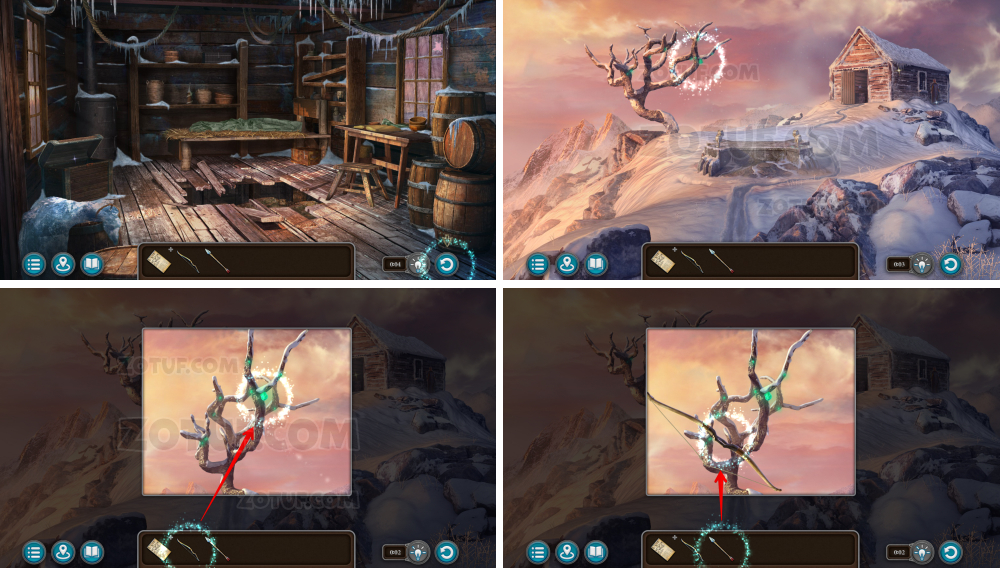
- Take the primitive ice pick 1/4.

- Take the frozen rope pieces.
- Take the iron arrow and flint arrow.
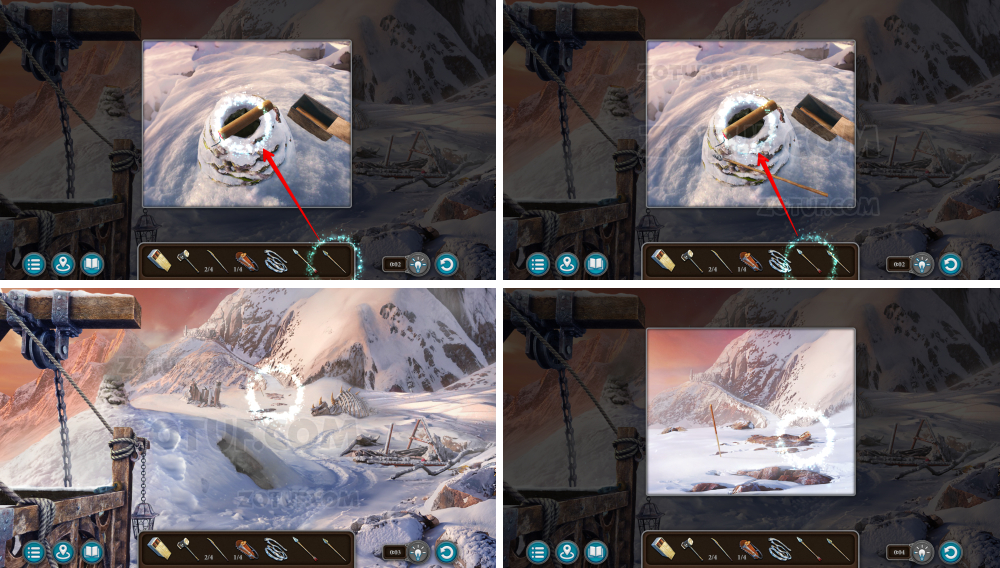
- Use the iron arrow and flint arrow.
- Take the primitive ice pick 2/4.
- Take the stilt staff 3/4.
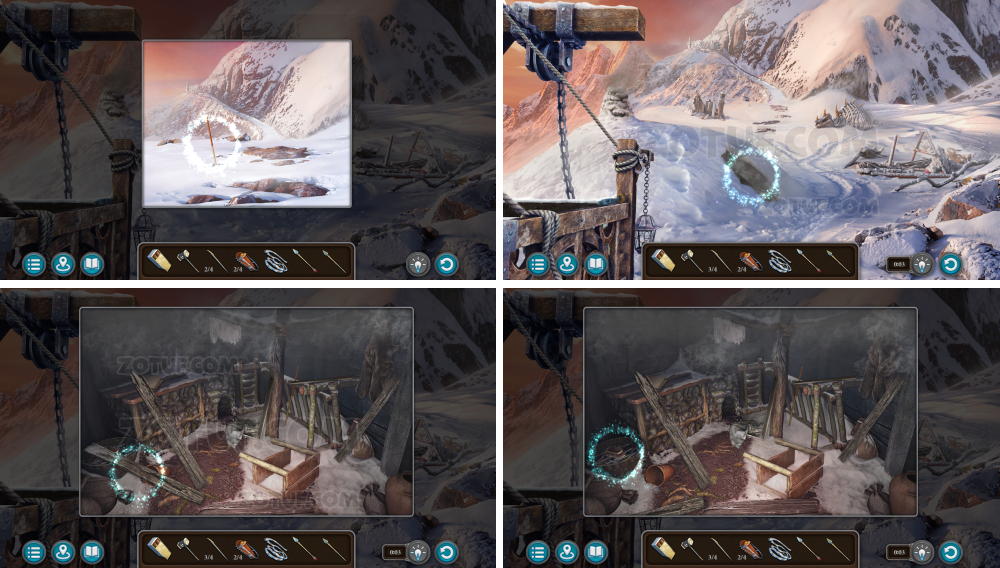
- Take the primitive ice pick 3/4.
- Take the stilt staff 4/4.
- Take the primitive ice pick 4/4.
- Use the four stilt staffs.
- Use the four primitive ice picks.
- Use the frozen rope pieces.
- Take the safety rope.
- Use the safety rope.
- Use the box of dynamite.
- Place the dynamite.
- Use the iron arrow.
- Use the flint arrow.
- Take the portable shovel.
- Click on the portable shovel to get an ice axe.
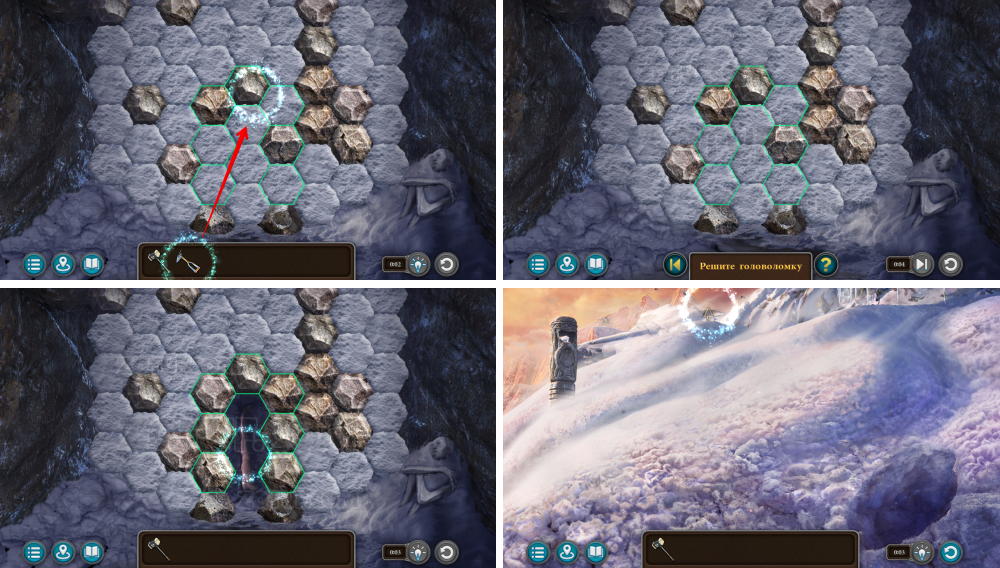
- Use the ice axe.
- Solve the puzzle: Clear the snow, stack stones in the marked area to dig a tunnel. The stones prevent snow collapse.
- Use the Follnur’s hammer.
- Take the key.
- Use the key.
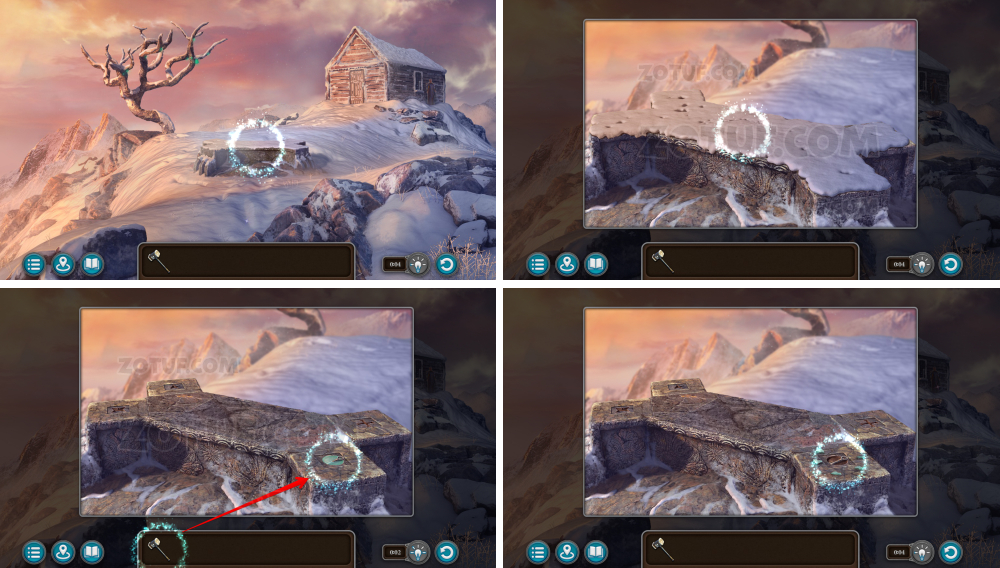
Suicide ritual
Perform a ritual to enter the Limbo, communicate with the gods, and return back.
- Talk.
- Use the Follnur’s hammer.
- Take the wooden block with a face.
- Use the wooden block with a face.
- Take the ritual chalice.
- Use the ritual chalice.
- Solve the puzzle: Make the flaps fully cover the recess.
- Take the empty syringe set.
- Use the empty syringe set to get “wolf” blood.
- Solve the puzzle: Move the characters to corner the chicken.
- Draw a line with a stick.
- Use the empty syringe set to get “eagle” blood.
- Take the ritual chalice.
- Use the ritual chalice.
- Enter the greenhouse to get the bow and arrows.
- Use the bow and arrows to get the ritual chalice.
- Use the empty syringe set to get “horse” blood.
- Use the empty syringe set to get “boar” blood.
- Use the ritual chalice.
- Take the four ritual chalices.
- Use the four ritual chalices.
- Use the “boar” blood.
- Use the “wolf” blood.
- Use the “horse” blood.
- Use the “eagle” blood.

- Take the bull skull.
- Use the bull skull.
- Solve the puzzle: Click the symbols in the correct order. You saw the clue earlier.
- Find the ritual dagger.
- Solution 1.
- Solution 2.
- Solution 3.
- Solution 4.
- Solution 5.
- Solution 6.

- Solution 7.
- Solution 8.
- Solve the puzzle: Assemble the plates into the correct shape. You saw the clue earlier.
- Solution 9.
- Solution 10.
- Solve the puzzle: Activate the skulls in the correct order. You saw the clue earlier.
- Take the ritual dagger.
- Use the ritual dagger.
- Solve the puzzle: Move the green lights to make their beams pass over all the purple points.
- Solution in the image.
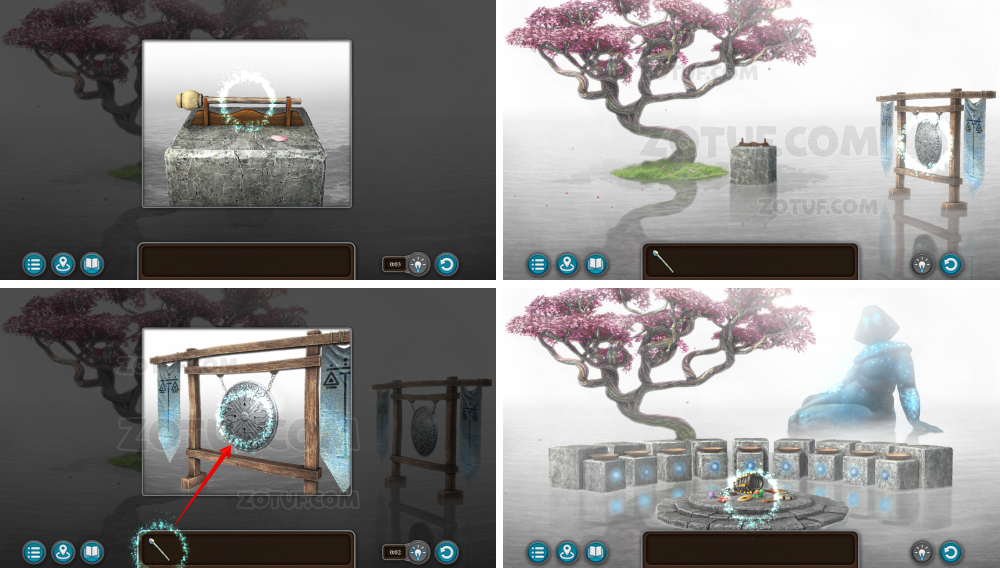
- Take the ritual bat.
- Use the ritual bat.
- Solve the puzzle: Distribute the artifacts across the altars, each represents a trial from the past.
- Solution in the image.
- Receive the flask amulet.
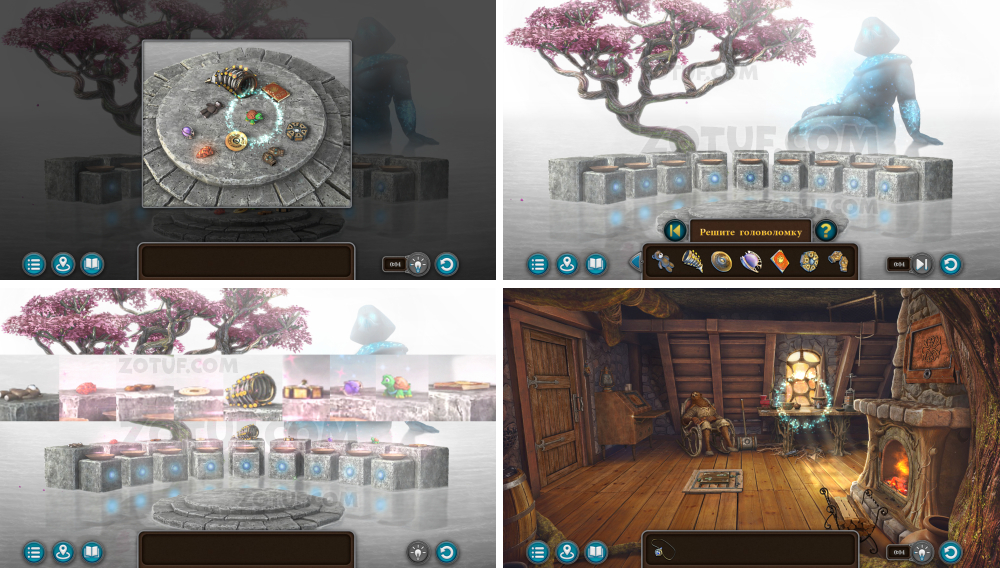
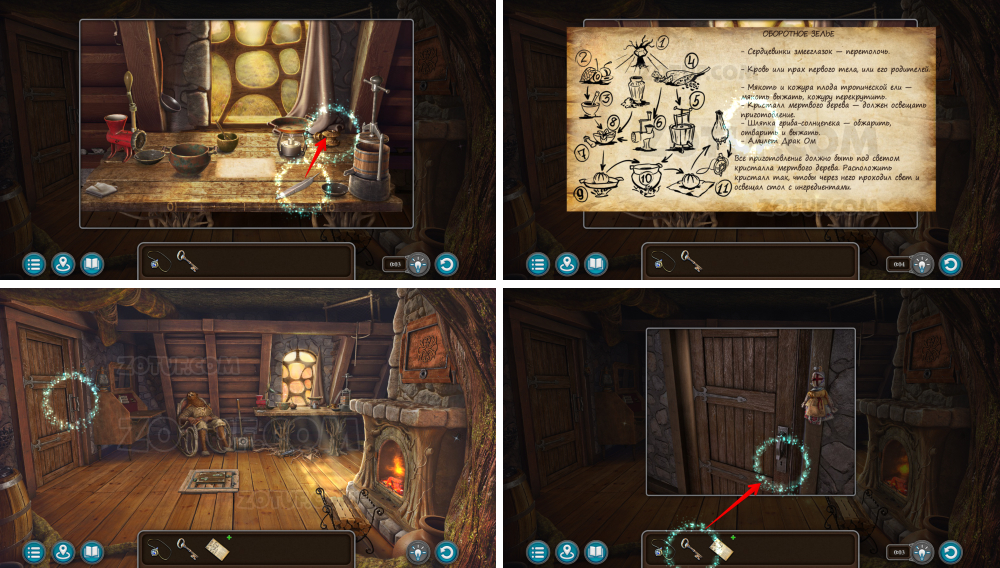
Amulet with potion
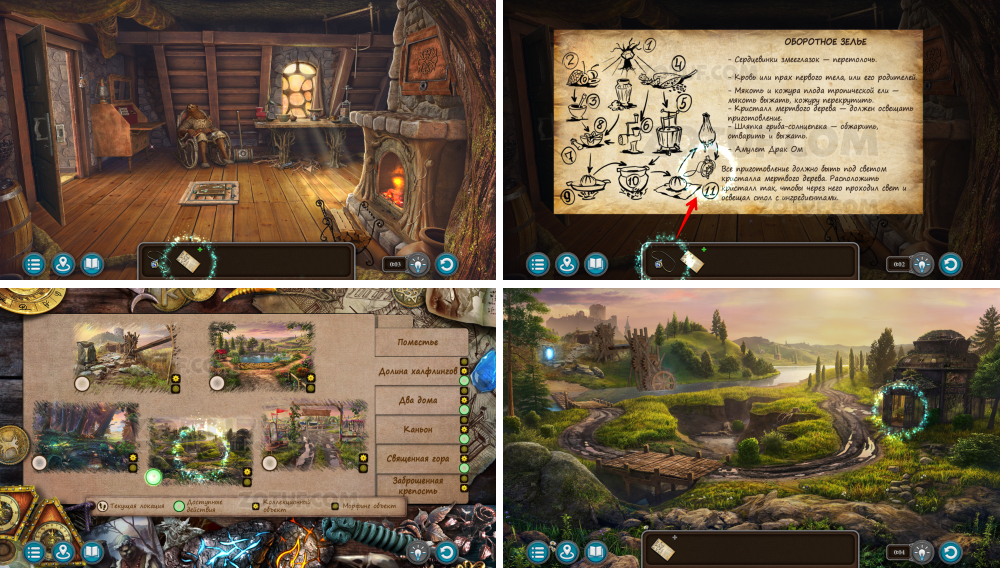
According to Drak Om’s instructions, I need to make an artifact to transform Folnur.
- Take Maaron’s key.
- Solve the puzzle: Place the red gem in the recess – it must not touch the blue stones. The level resets if they come into contact.
- Take the manuscript 7/9.
- Take the inkwell.
- Use the inkwell.
- Dip the quill into the inkwell to get the reversal potion recipe.
- Use Maaron’s key.
- Open the reversal potion recipe.
- Use the flask amulet.
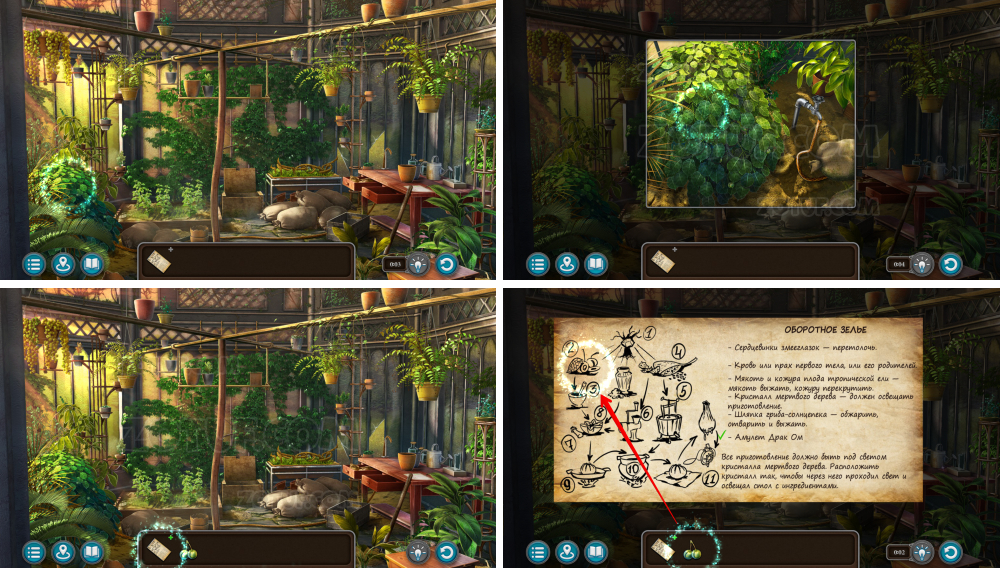
- Take the snakeberry.
- Open the reversal potion recipe.
- Use the snakeberry.
- Take the tropical pine fruit.
- Open the reversal potion recipe.

- Use the tropical pine fruit.
- Take the urns with ashes.
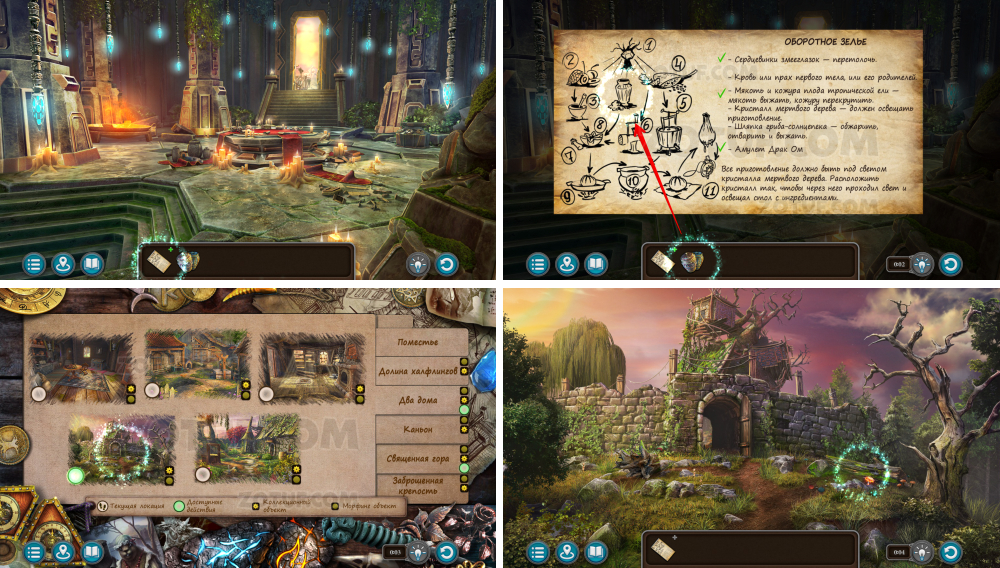
- Open the reversal potion recipe.
- Use the urns with ashes.
- Take the sunburn mushroom.
- Open the reversal potion recipe.
- Use the sunburn mushroom.
- Take the bow and iron arrow.
- Use the bow and iron arrow to get the deadwood crystal.
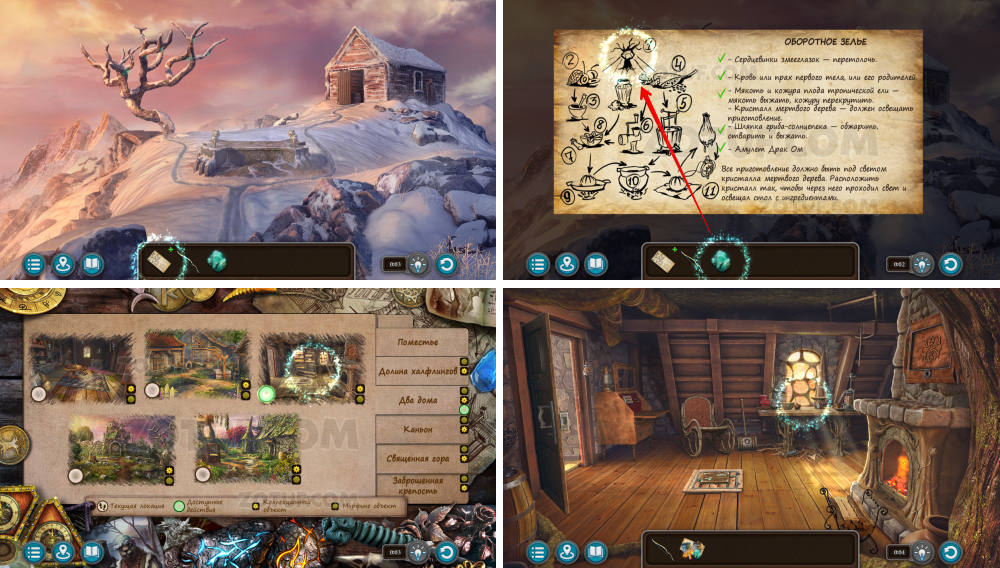
- Open the reversal potion recipe.
- Use the deadwood crystal to get the reversal potion.
- Use the reversal potion.
- Solution 1.
- Solution 2.
- Solution 3.
- Solution 4.
- Solution 5.
- Solution 6.
- Receive the potion amulet.
- Solve the puzzle: Restore the image by arranging the pieces into a complete picture.
- Solution in the image.
Fireball
Follow the mysterious fireball.
- Click on the fireball and follow it.
- Follow the fireball.
- Keep following the fireball.
- Keep following the fireball.
- Solve the puzzle: Match the circles with images to the appropriate backgrounds.
- Solution in the image.
- Move forward.
- Move forward.
Preparation
Inspect the fortress territory and think out a plan for a battle with Buldan.
- Talk, get the cage key.
- Use the cage key.

- Take the mechanism part.
- Take the winch lever 1/3.
- Take the winch lever 2/3.

- Use the mechanism part.
- Solve the puzzle: Rotate the mechanism parts to align the cylinders with the external niches.
- Take the winch lever 3/3.
- Take the blade blank.
- Use the blade blank to get the sharpened sword blade.
- Use the three winch levers.
- Use the sharpened sword blade.
- Click on the winch lever.
- Click on another winch lever.
- Take the S-shaped hook.
- Use the S-shaped hook.

- Take the bucket with braces.

- Use the bucket with braces.
- Attach the braces.

- Take the numbered cube.
- Take the manuscript 8/9.
- Remove the ladder board.
- Use the numbered cube.
- Solve the puzzle: Move the cube across all three walls, sum up the numbers, and bring it to the central corner with the required sum.
- Take the magic nozzle.
- Take the wrench.
- Use the wrench twice.
- Take the wooden gear.
- Use the wooden gear.
- Click on the winch.
- Take the scoop shovel.
- Take the empty bucket.
- Use the empty bucket.
- Use the scoop shovel.
- Take the bucket with slime.
- Use the bucket with slime to get the empty bucket.
- Click on the winch.
- Use the sharpened sword blade.
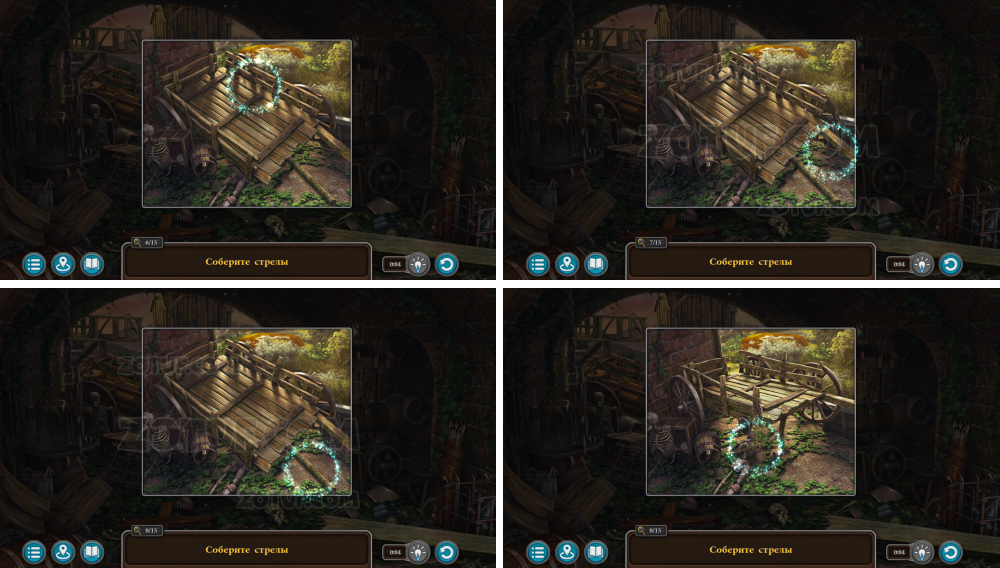
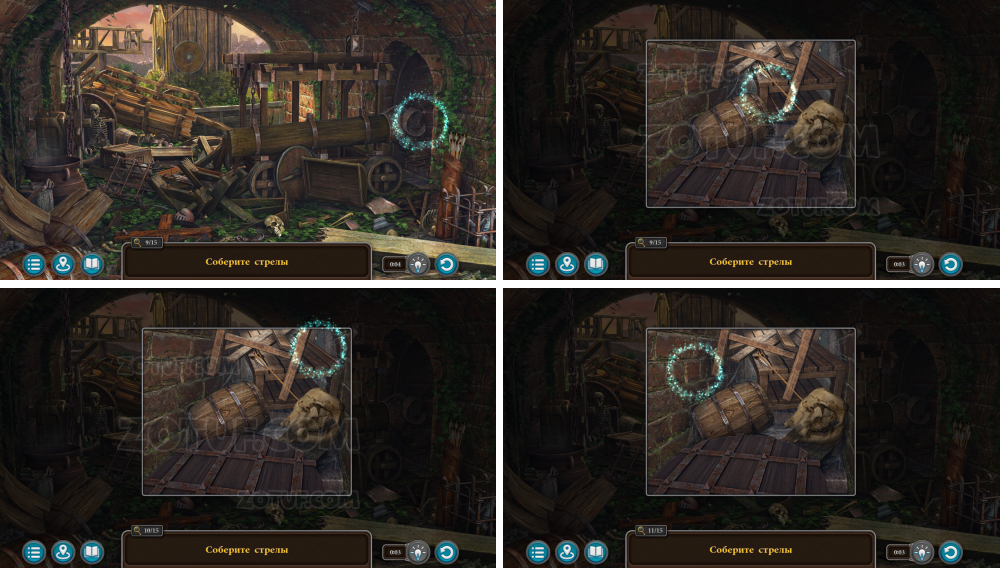
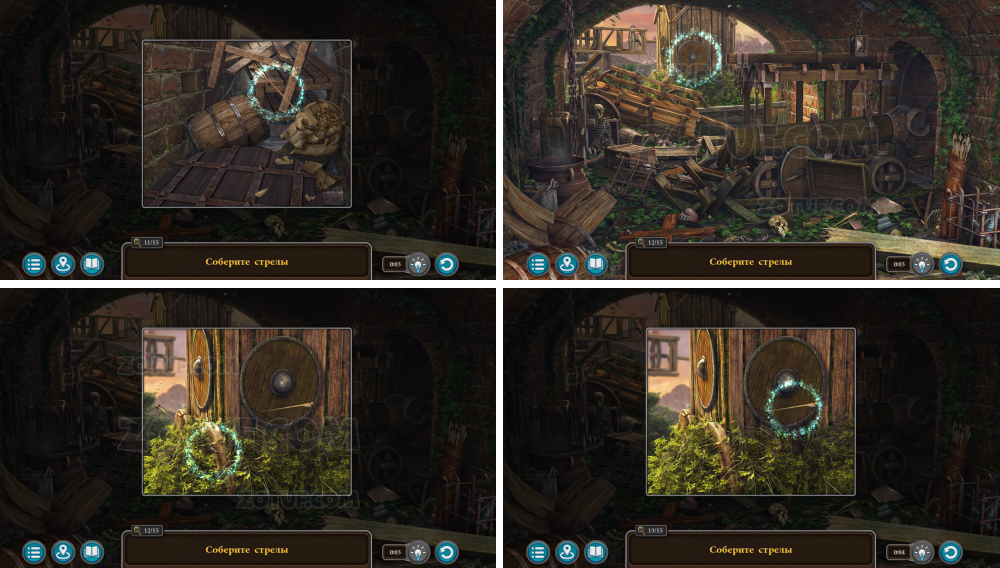
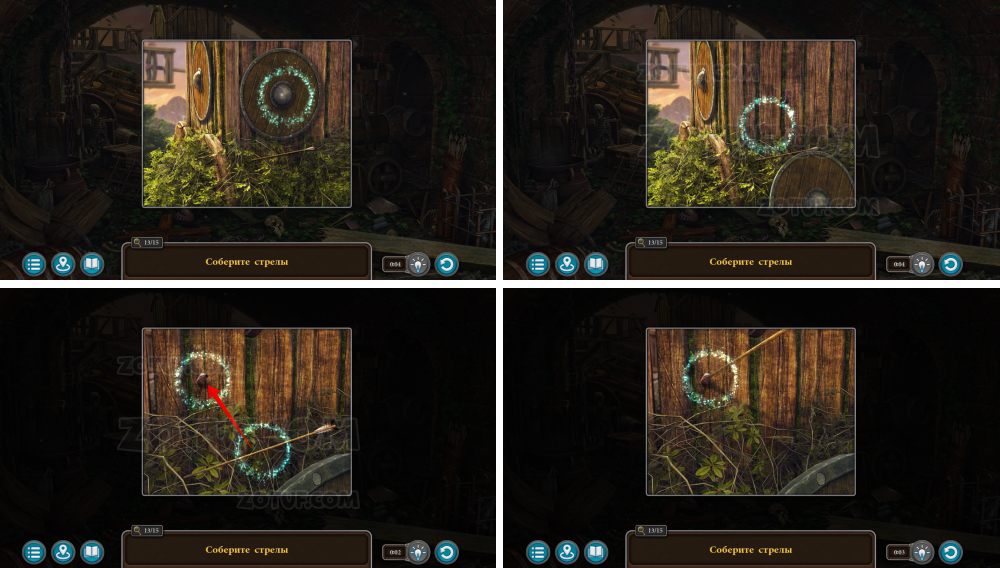
- Collect arrows.
- Solution 1.
- Solution 2.
- Solution 3.
- Solution 4.
- Solution 5.
- Solution 6.
- Solution 7.
- Solution 8.

- Solution 9.
- Take the quiver of arrows.
- Talk, get the “Scarab” figurine.
Magical weapons
Use the forge to imbue arrows, sword and Folnur’s hammer with magic.
- Take the sharpened sword blade.
- Use the magic nozzle.
- Use the “Scarab” figurine.
- Solve the puzzle: Place the squares on the spots marked with the same symbols.

- Solution in the photo.
- Take the crystal ball.
- Take the Mountgor apple.
- Take the sword hilt.
- Take the jade sharpener.
- Use the jade sharpener.
- Use the empty bucket.
- Take the crystalline coal.
- Use crystalline coal.
- Solve the puzzle: Repeat the pattern by connecting all the dots with rays. Each line can only be traced once.

- Use the sharpened sword blade.
- Take the heated sword blade with a rag.
- Use the heated sword blade.
- Adjust the lever to change power settings. A lower power is needed for swords and arrows.
- Dip the blade in oil to get a forged sword blade.
- Use the quiver of arrows.
- Forge the arrows.
- Take the enchanted arrows.
- Use the forged sword blade to get the magical sword blade.
- Click on the sword guard.
- Use the magical sword blade to get a sharpened sword blade.
- Use the crystal ball.
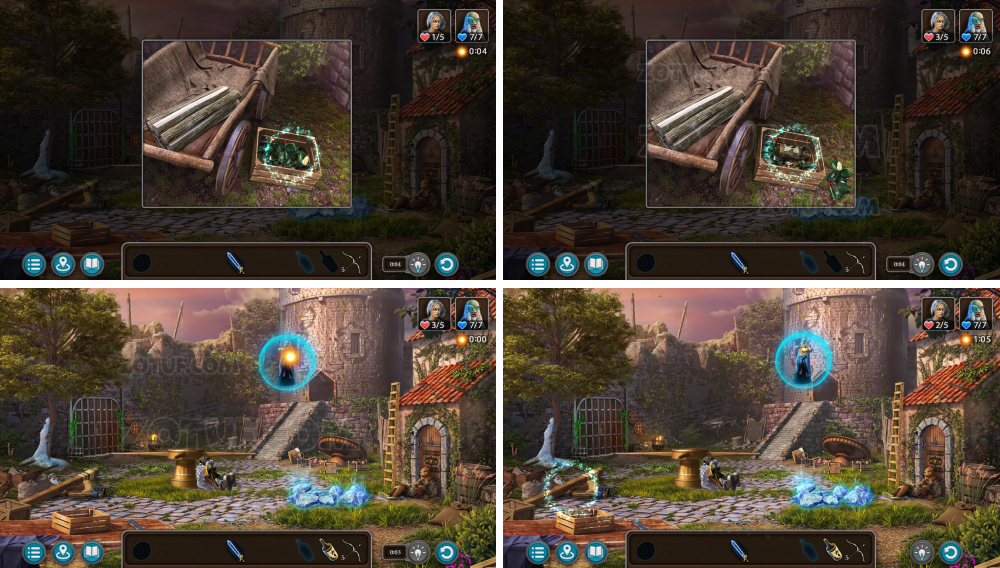
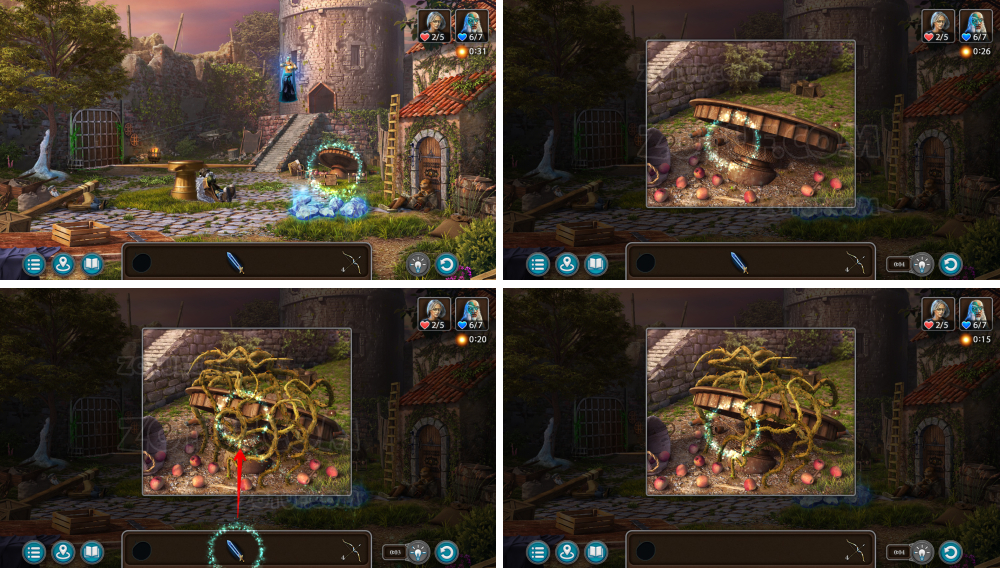
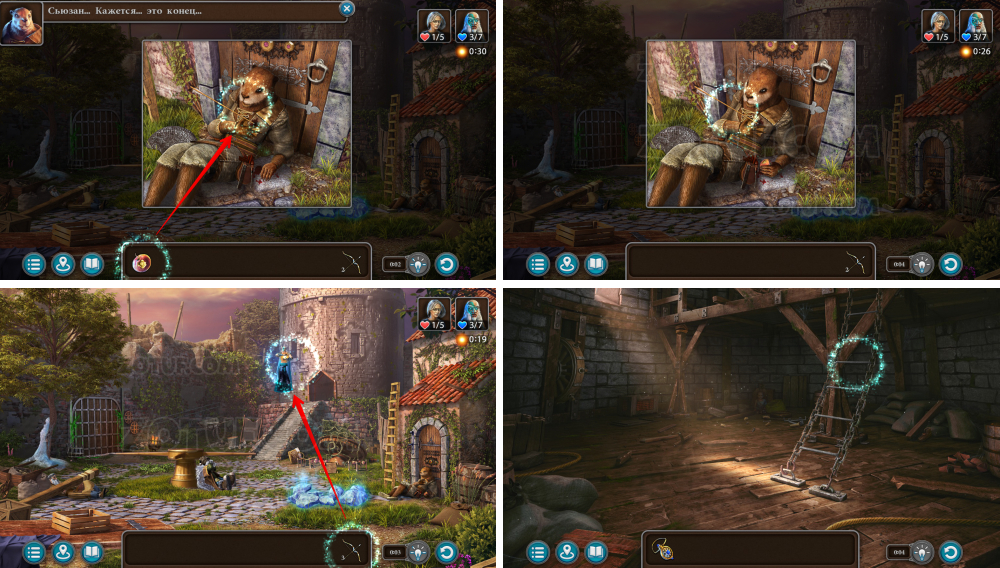
Confrontation
Find all the lost weapons and defeat Buldan.
- Take the arrow from the barrel.
- Take the arrow from the winch lever.
- Click on the broken bow (you’ll need to find the string).
- Place the ladder near the building.
- Try to take the arrow in the rocks (the rocks will freeze).
- Try to take the sword near the tree (the tree will freeze).
- Take the torch near the building’s door.
- Click on Folnur.
- Under the branch near Folnur, take an arrow and click on the hammer.
- Near Maaron, under the plank, take the power stone for Folnur’s hammer.
- Remove the rag from the cart.
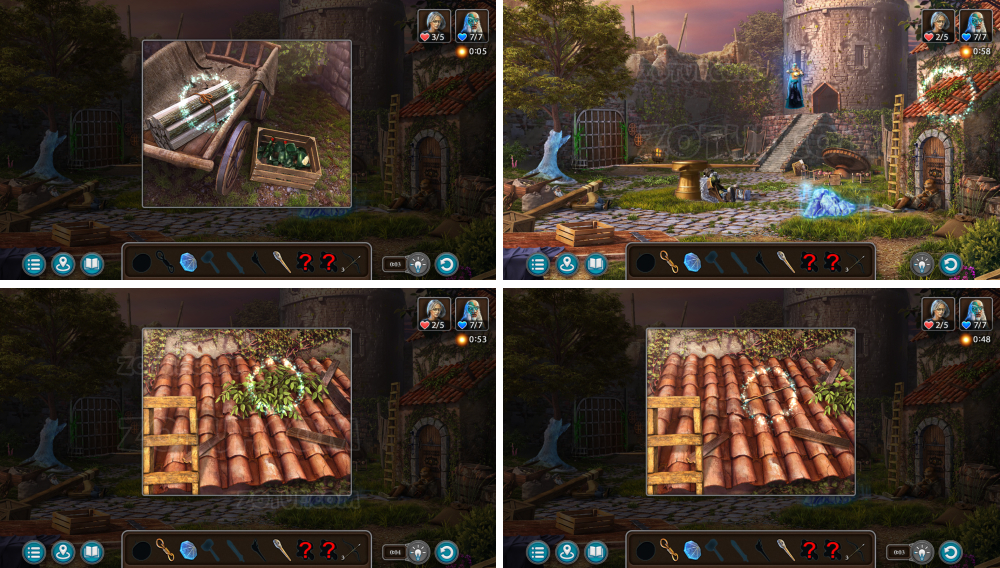
- Take the lace from the woodpile.
- Take the arrow from the building roof.
- Use the lace on the bow to get a charged bow.
- Use the torch on the fire to get a lit torch.
- Shoot at Buldan with the bow (the first shot won’t harm him).
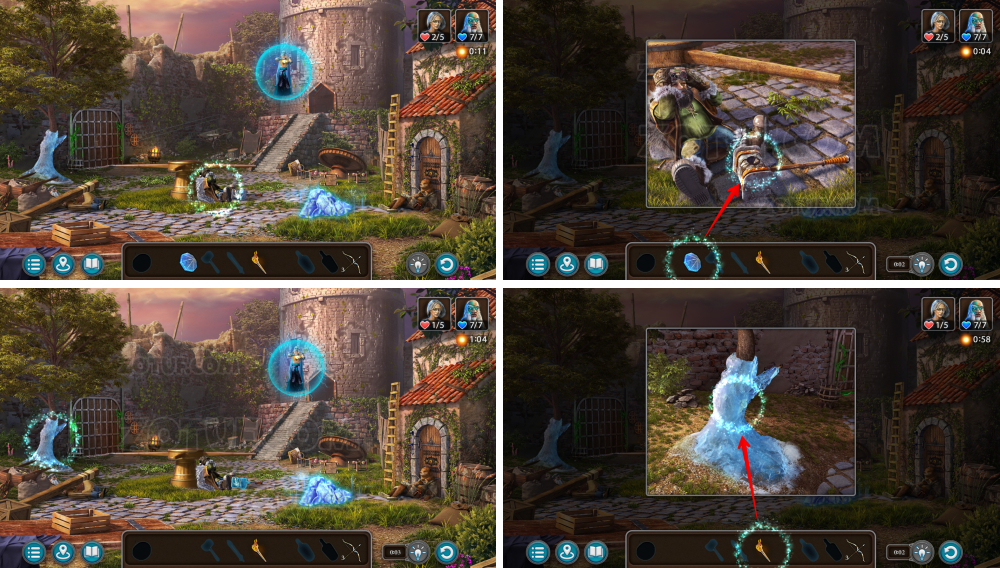
- Use the power stone on Folnur’s hammer to get Folnur’s hammer.
- Use the lit torch on the tree.

- Take the sword and the arrow.
- Use Folnur’s hammer on the rocks.
- Take the arrow.
- Near the cart, in the box, take the bottle of rum.
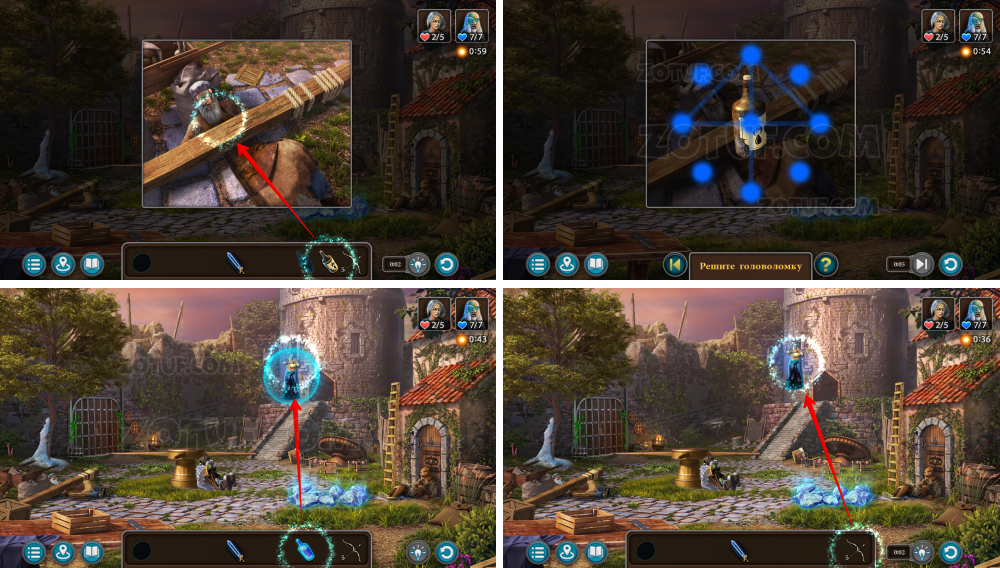
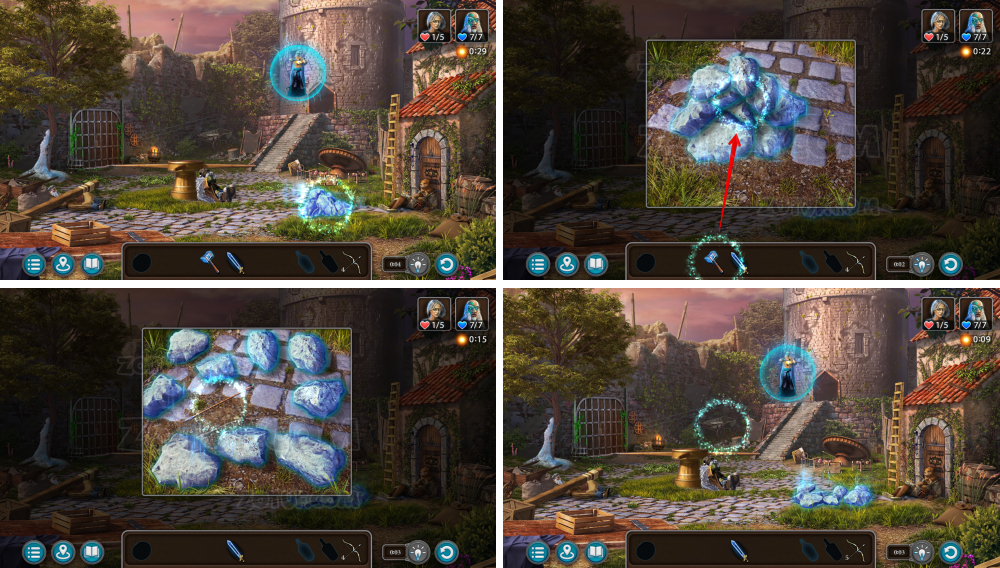
- Use the bottle of rum.
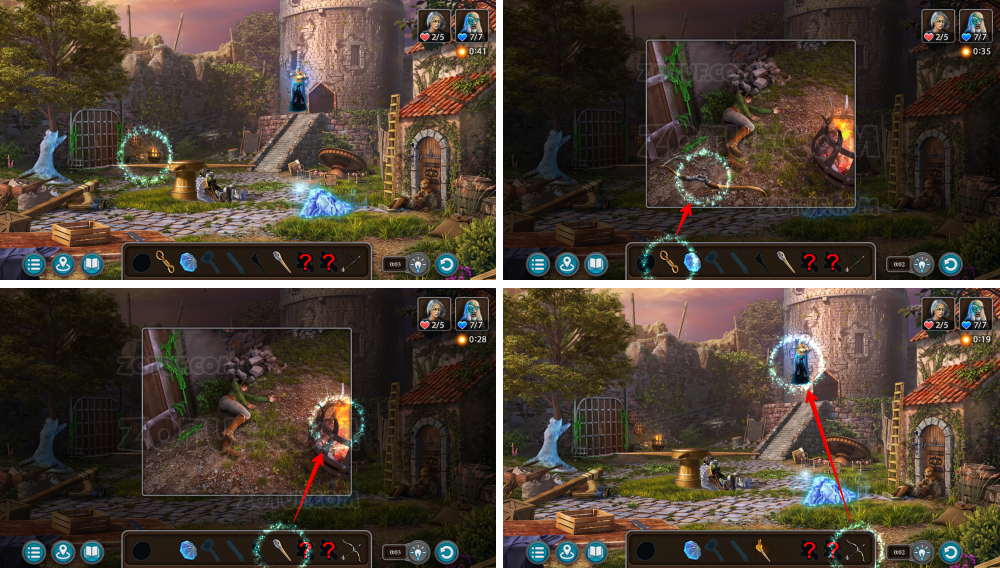
- Solve the puzzle: Repeat the pattern by connecting all the dots with rays. Each line can only be traced once.
- Get the magical bomb.
- Use the magical bomb.
- Use the charged bow (Buldan’s health will drop to 6/7).
- Try to take the arrow (roots will grow).
- Use the sword.
- Take the arrow.
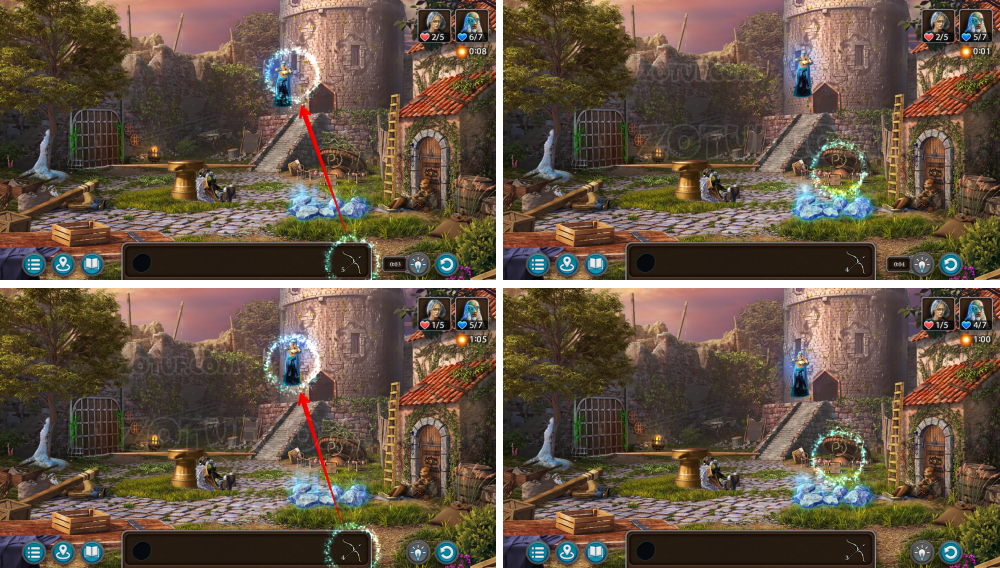
- Use the charged bow twice (Buldan’s health will drop to 4/7).
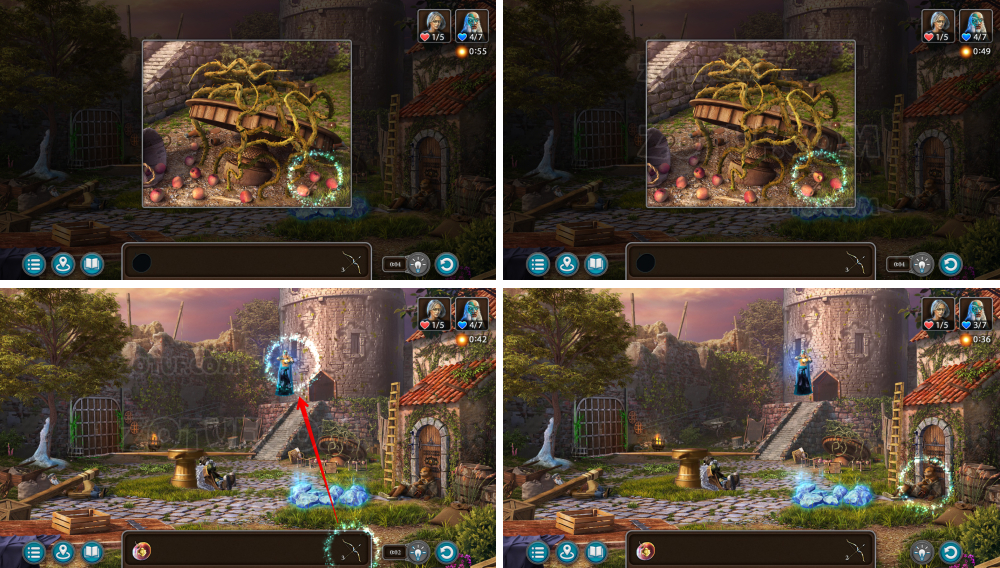
- Take the Mountgor apple.
- Use the charged bow (Buldan’s health will drop to 3/7).
- Click on Korko.
- Give the Mountgor apple to Korko the beaver to get an arrow.
- Shoot Buldan with the last three arrows (his health will drop to 0/7).
- Climb up the ladder.
- Go to the roof.
- Walkthrough Bonus Chapter, at the link below.


